 |
| I have a little two part thanksgiving craft for you. I don’t know about you but I host thanksgiving. It has been a nice little tradition ever since we moved near my Husbands family. I have a passion for cooking, especially Thanksgiving. It was always a BIG deal growing up. So I take it pretty seriously. While I have been spending a lot of time planning the menu this year I realized it is less than a week away and while dinner will be great I felt maybe I should do something special for the table. So I spent a little time and came up with these little scrap book name cards. Best part? I used digital scrapbook supplies instead of the real supplies so besides some printer ink and paper this was Free! I love free. So if you want to make some for yourself go for it! I thought I would walk through the steps incase there are those who don’t know how to use the digital scrapbook stuff. I also made some blank ones up for you to download and print if you want some but don’t want to make them. Ready? Let’s go! You can download blank ones HERE |
 |
| (Hopefully you can click and make the images bigger than you can see the details) Start in Photoshop, or if you don’t have photoshop you can download GIMP (a free photoshop type product) I used Gimp for awhile when we had lost photoshop and now I have photoshop elements, so I know that they all work about the same the pictures today are from photoshop elements. Start with a blank page I sized mine 4X5 (inches) with 300 resolution. (the resolution helps make the pictures clearer) |
 |
| Then select “open as layers” or in photoshop you just open and drag the pieces on to the blank page. Here are the great places to get free downloads:HERE HERE Then add different elements to the page resizing if necessary and you can always move layers back and forward to change how they lay |
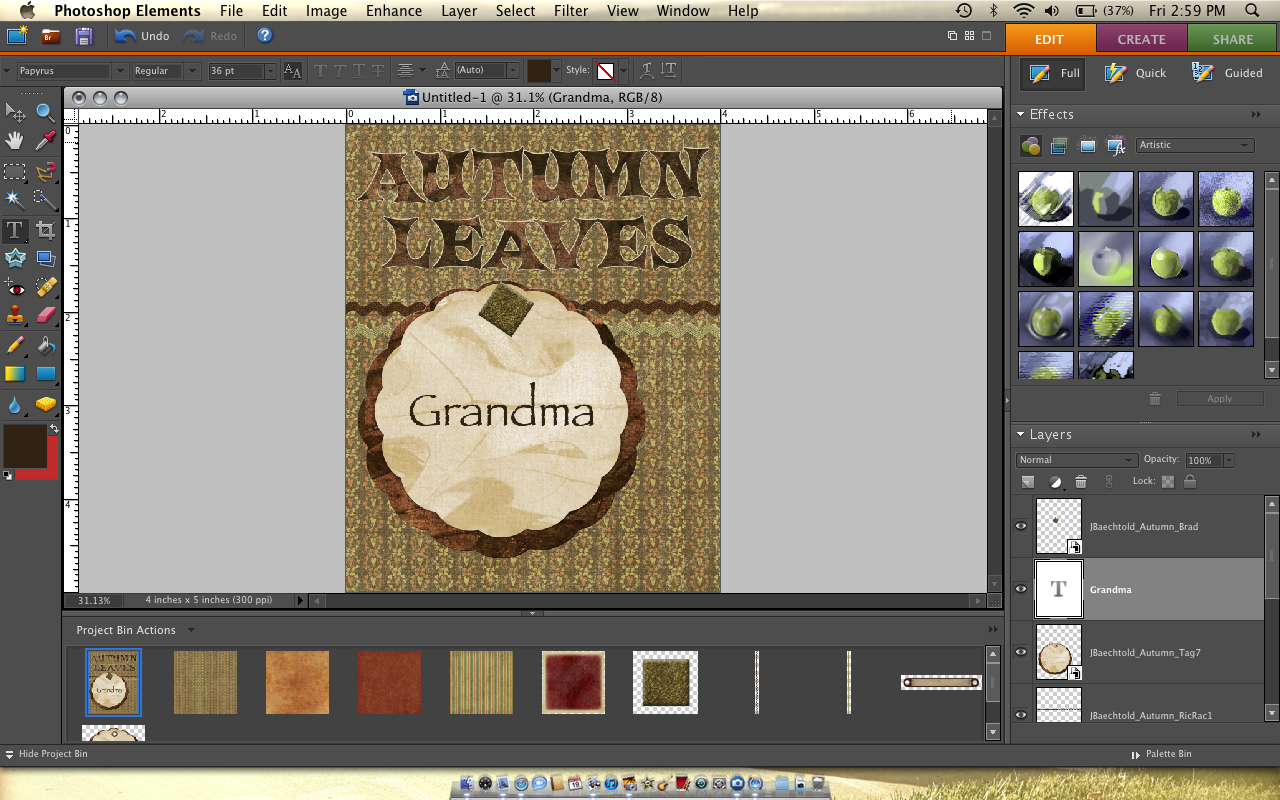 |
| Then you can add text like the name of the person. |
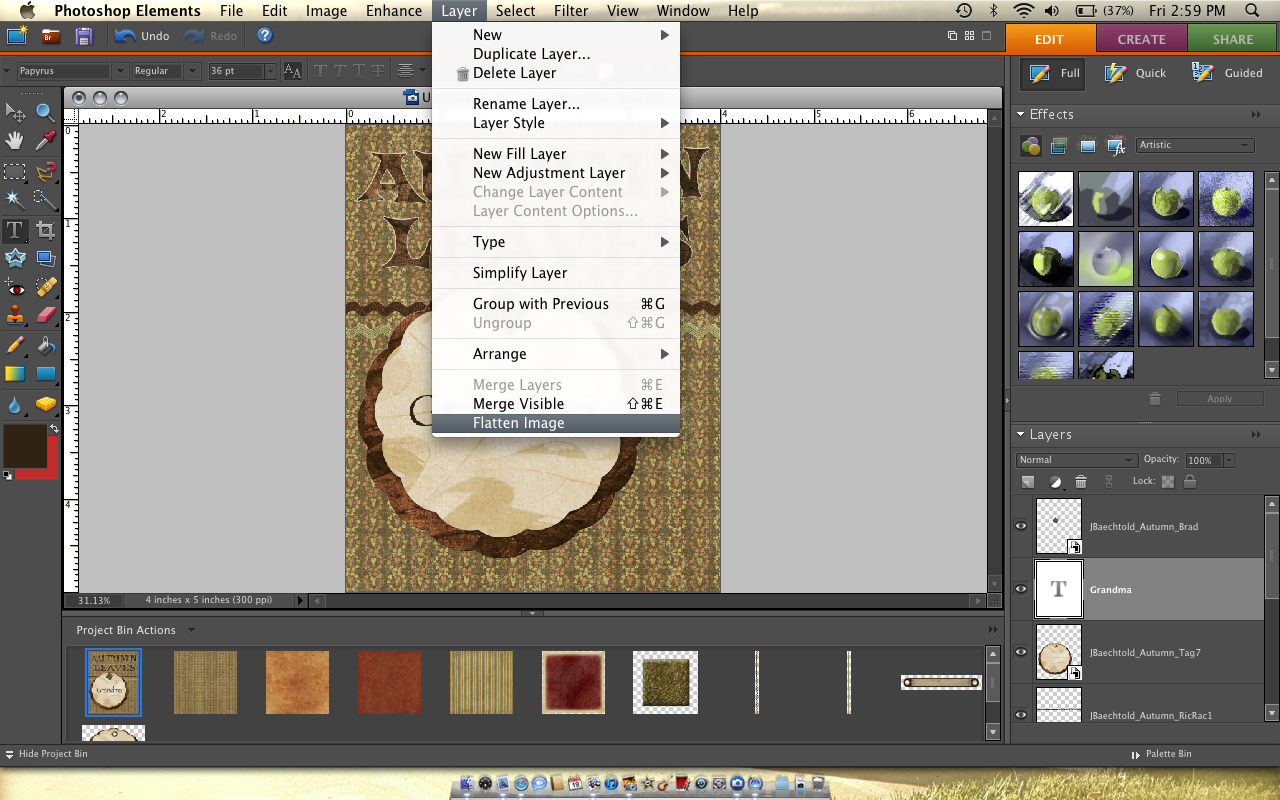 |
| Lastly you want to go to layers and select flatten image. Then you can save it. |
 |
| Then create a new blank page that is 8.5X11 (the size of a piece of paper) |
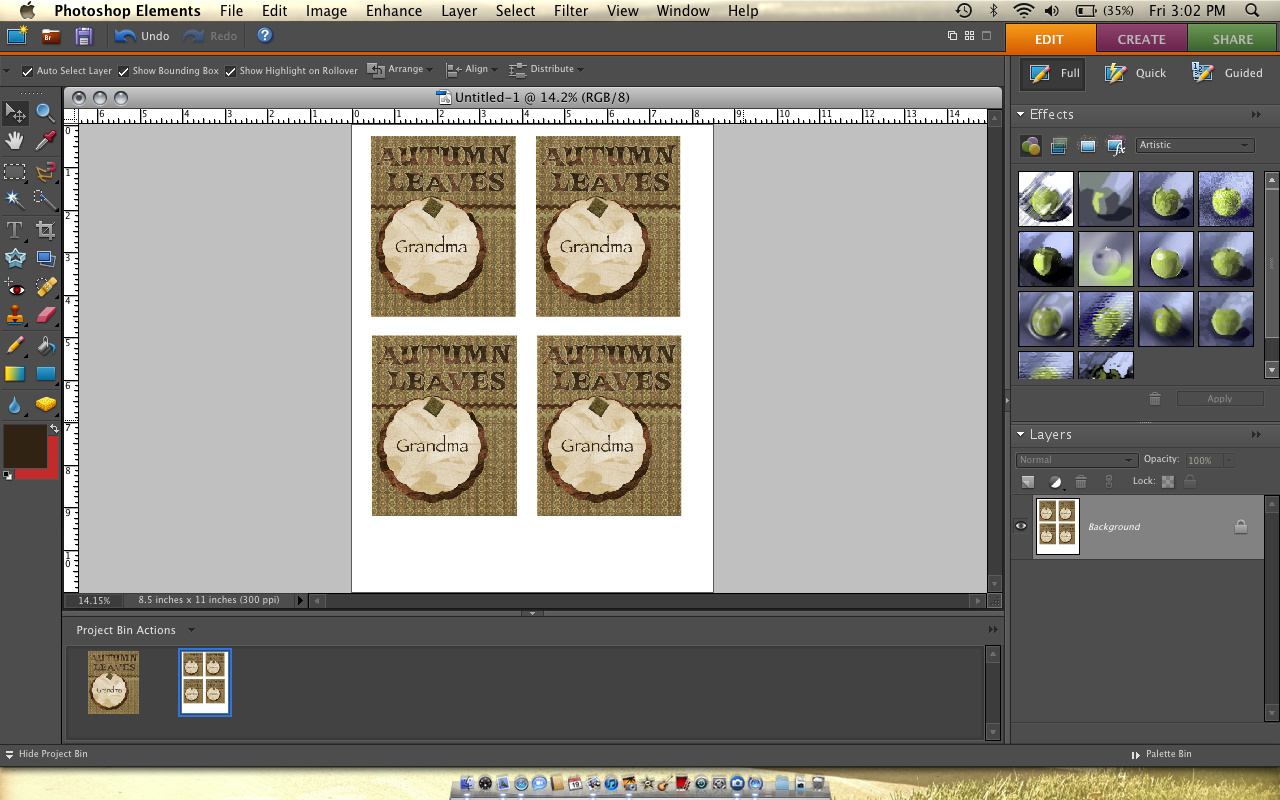 |
| Then again open as layers or drag the saved name card on to the blank page. Tile them on the page. Then go to print and see the print preview to make sure it will print ok. If so Print away. |
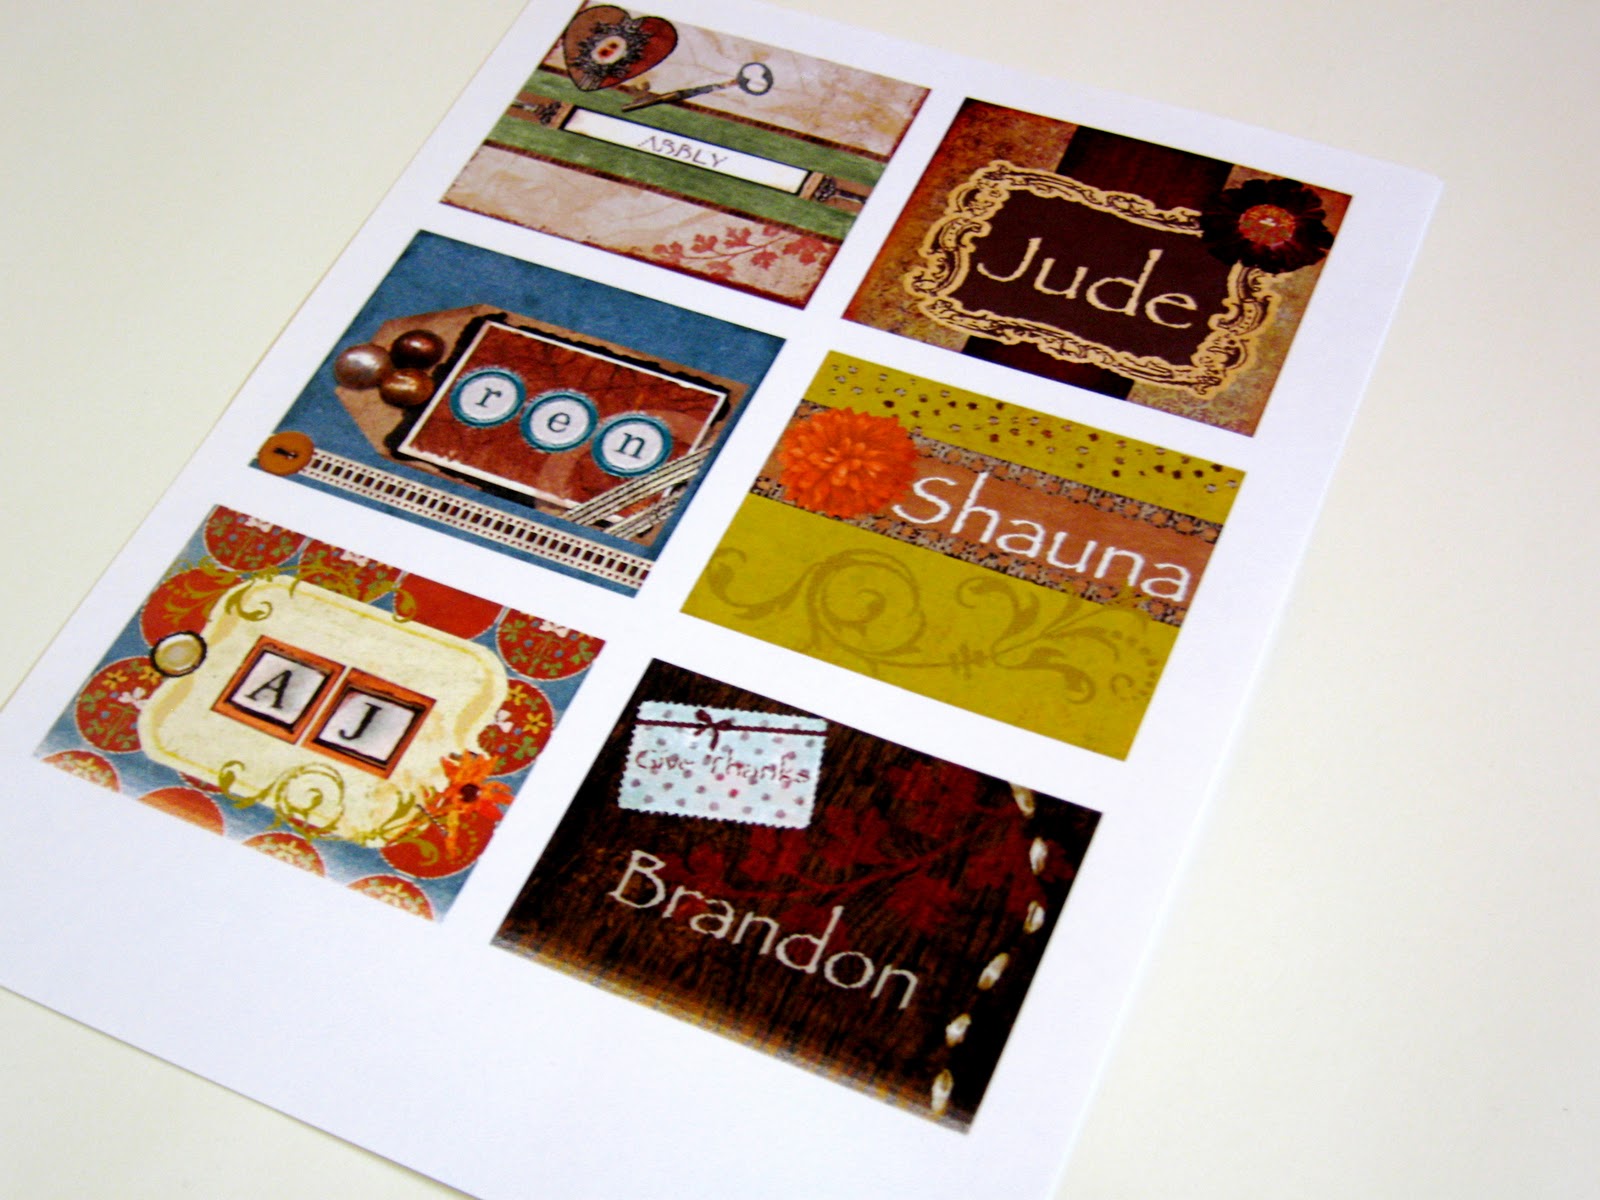 |
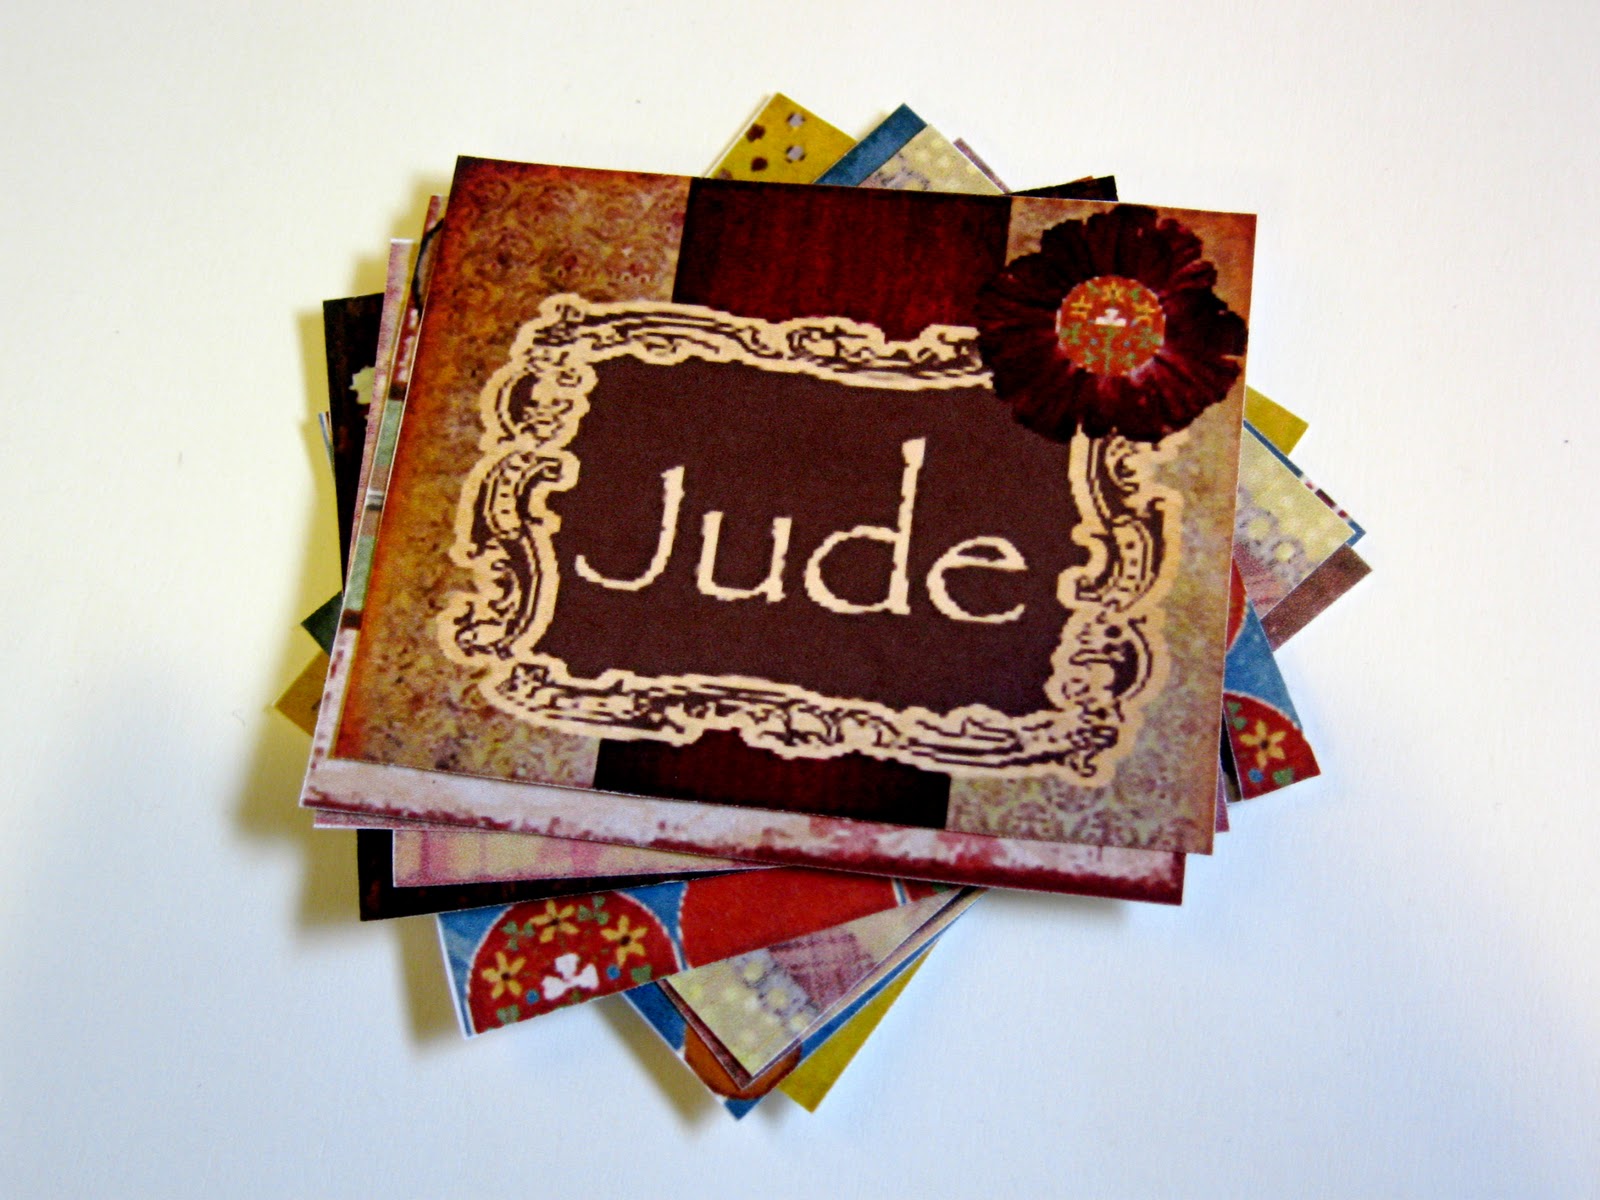
| Printed out it should look like this. If you don’t have a good printer and you want them to look nice you could always get them printed at a printer they are usually a few cents a page to print in color. |
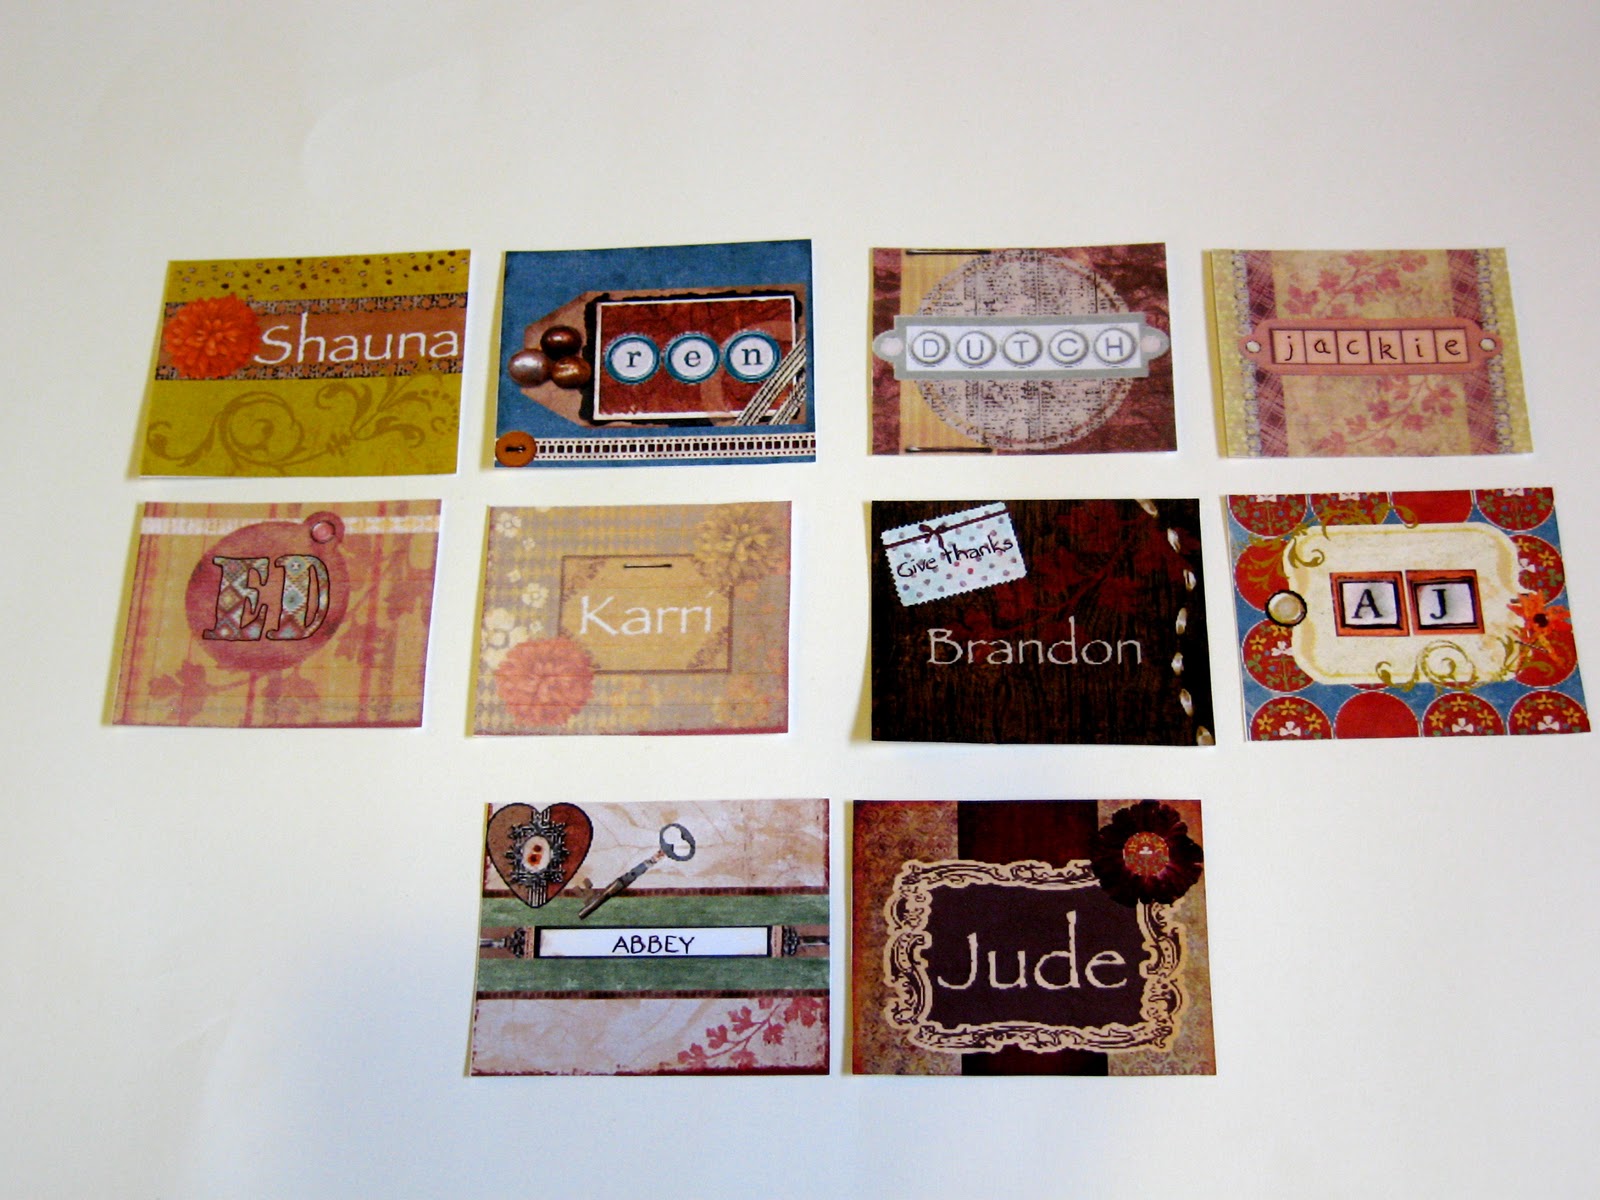 |
| Then you are done. Easy and fun right? It is always nice to have something personal on the table. Tomorrow I will show you holders for these beauties that cost next to nothing. Dressing up your holiday table has never been cheaper!
And as promised if you don’t want to make your own you can download these and fill in the names yourself. Enjoy! |