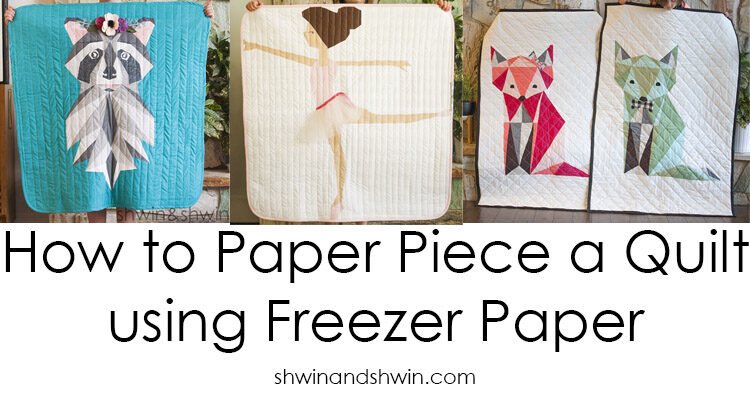
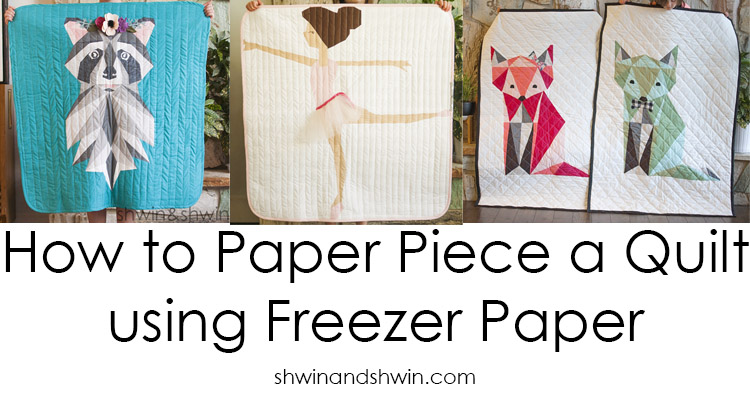
I have said it before, and I will say it again. I don’t consider myself a quilter. My grandma is a fabulous quilter, I have aunts who are quilters, my mom quilts. I honestly always thought quilting was kind of boring and repetitive. Then I starting making some quilts. I started with appliqué quilts and I still love those but my new obsession is pieced quilts. It’s like putting together a puzzle and designing the pattern is like making the puzzle. I love it all. In the past I shared a pattern for the fox quilts I made my niece and nephew. Now I have a few more paper pieced patterns coming. I thought I would do a master post of how to follow the pattern and sew the quilts. (also this may not be the “proper” way because I don’t really care, the fact is this works)
To paper piece this way you will need:
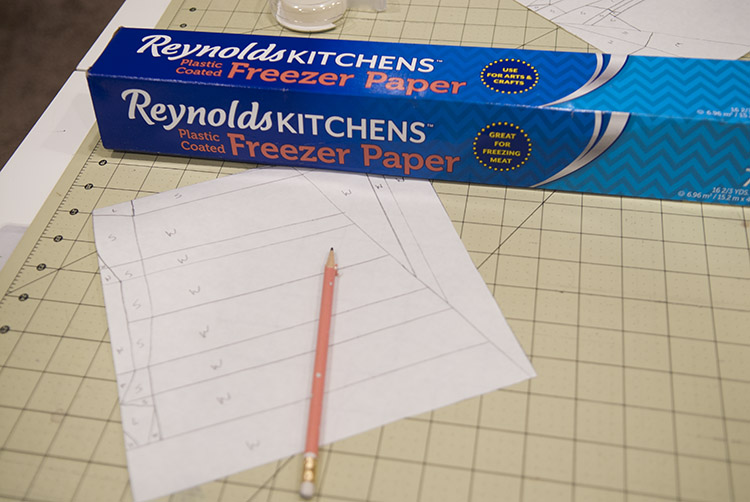 To start, print the pattern out and tape it together. Then with the freezer paper you are going to trace the pattern on to the freezer paper. The freezer paper has a shiny waxy side and a paper side. You will draw on the paper side. Transfer any and all labels to the pieces. This should be a color code and number or letter code for the order you will sew them back together. Both are important and helpful for sewing later. (mine may only show color code and that’s because I took these photos while I was trying out a new pattern I figure out the best order when I am sewing them together so they aren’t numbered yet in these photos)
 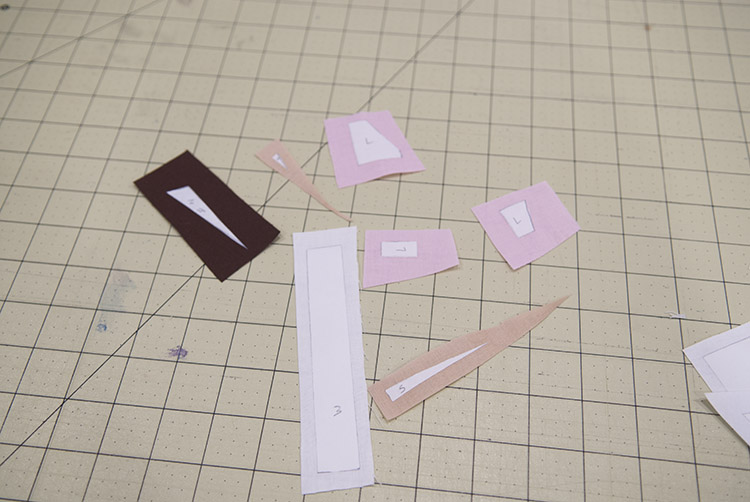 Cut the pieces apart at the lines. Then iron the pieces on to the right side of the fabric. Cut around them leaving enough space for at least a 1/4″ for the seam allowance.
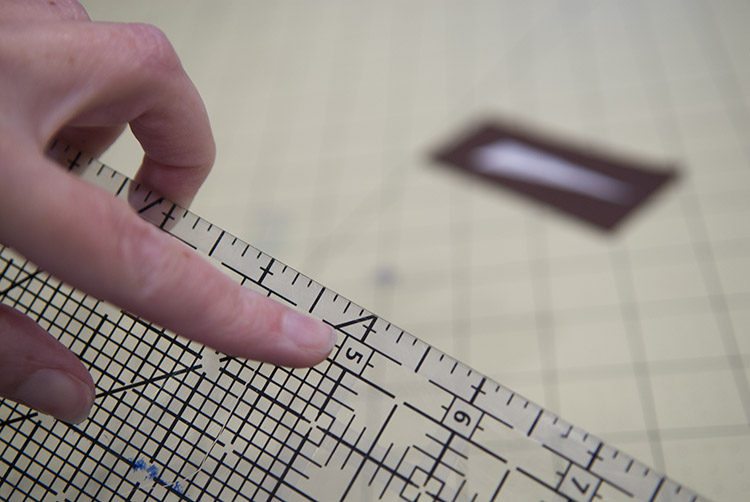 You will need a clear ruler with a 1/4″ marker on it. This will be your guide for adding the 1/4″ seam allowance.
 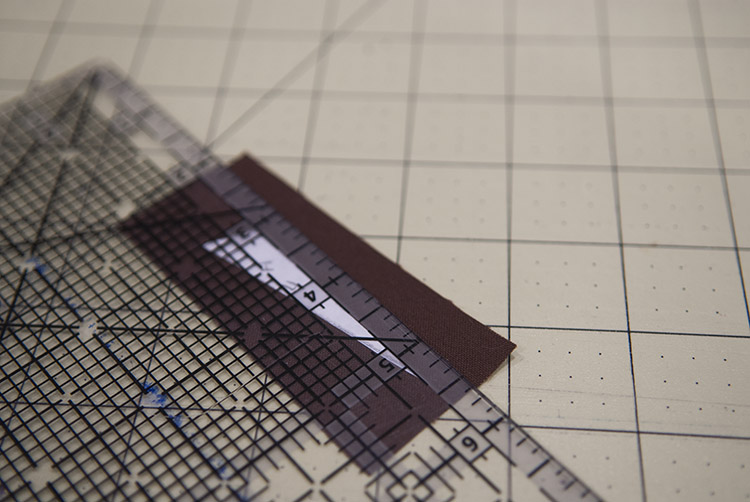 Line the quarter inch guide along your ironed on pattern piece.
 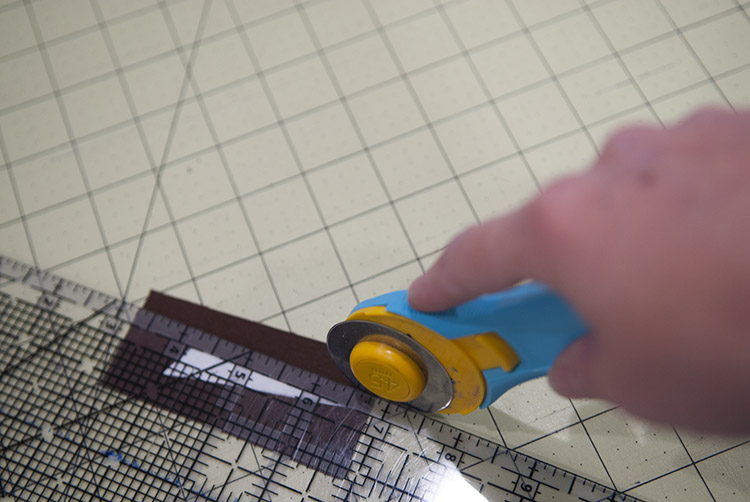 Then cut off the excess.
 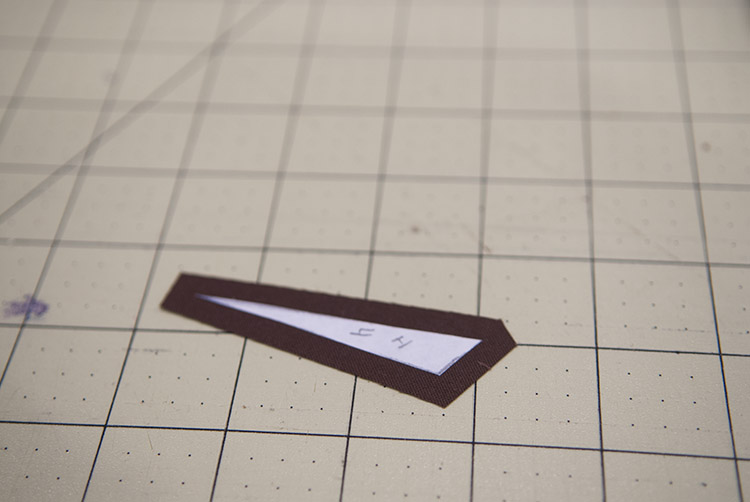 Repeat this to all sides of the pattern piece. On pieces with angles that com to a point like a triangle, cut the point off with the same 1/4″ seam allowance, this will help when you are lining up your pieces later.
To answer a few questions you might have so far in this process:
- Yes you have to use freezer paper. You can usually find in in your grocery store in the paper goods isle, next to sandwich bags, or on Amazon with the link above. Only freezer paper works to iron on and stick to the fabric while you work.
- You don’t HAVE to use a 1/4″ seam allowance, you could cut it to whatever seam allowance but you are sewing a LOT of seams piecing together this way, so it can get quite bulky. I have found that 1/4″ works quite well.
- Cutting out one section at a time can seem like quite a hassle v.s. cutting all the pieces and then sewing all the pieces but some of my patterns have a lot pieces, especially a lot of little pieces. I find it’s easier to do a section at a time. If you label the pieces really well (number, color and section) it would be fine to cut them all at once.
We are ready to put the puzzle together:
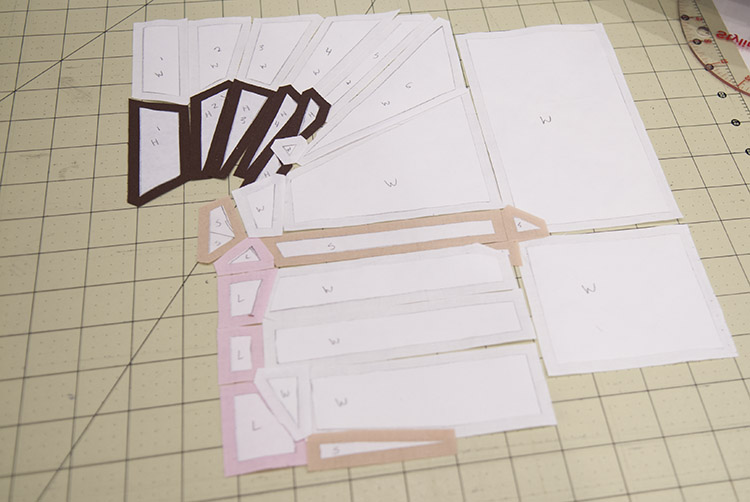 I tend to lay out my pieces in a rough placement for how they will go back together. With all the seam allowances on there it won’t go together perfect, but it helps me visualize while I sew.
 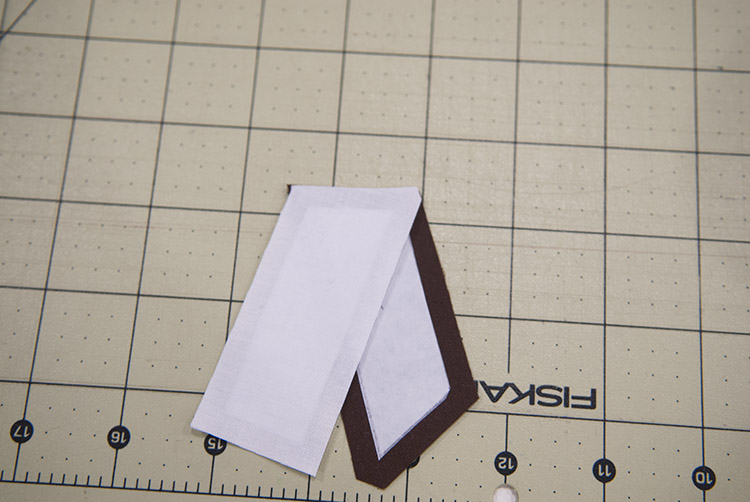 Paper piecing like this HAS to be done in a particular order. It’s done this way so you are always only sewing straight lines. The pattern will have an order written for you. For example; sew A to B or sew 1 to 2 If you look at how the pieces are next to each other on the pattern you will see one edge of A and B or 1 and 2 match up. Those are the edges you will sew together. To do that you will sew right sides together, match up the paper pieces so they match perfect from edge to edge. Your seam allowances should also match up. Sew using a 1/4″ seam allowance, and a shorter then usual stitch length but no need to back stitch just sew a straight line.
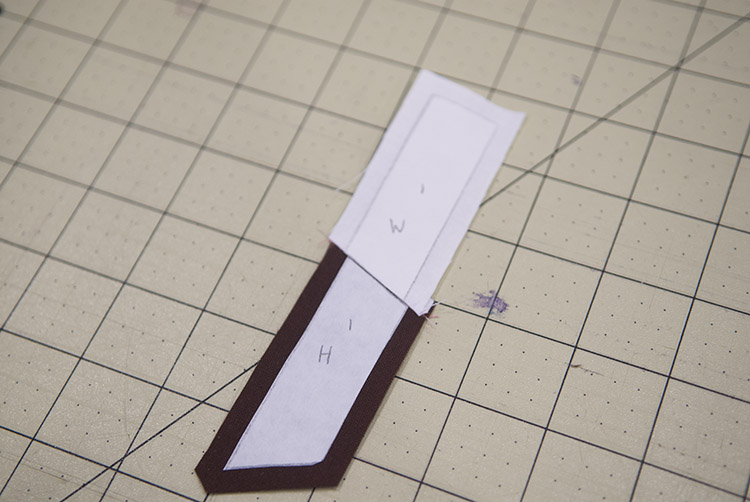 Then press your pieces. You will notice that the paper matches up again as if it was never cut. This is what you want since ultimately you are putting the pattern right back together again.
 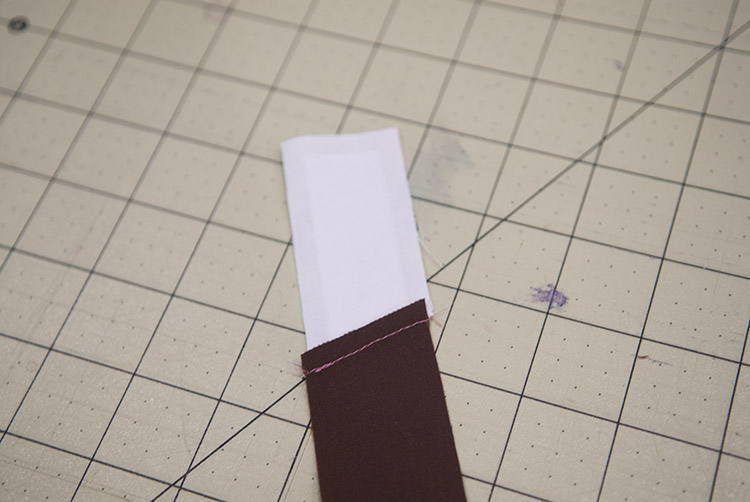 Pressing is VERY important however the direction you press your seams isn’t all that important. You will press the seam allowance all to one side instead of opening it.
 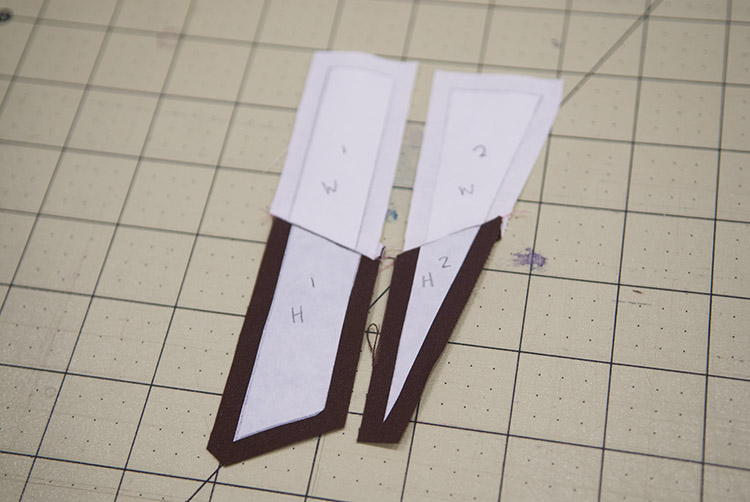 Once you have 2 or more pieces sewn together you will come to where you are sewing sections big or small together. You will do this in the same way as if these were now just 2 pieces. Flip them right sides together and match up the paper pieces from edge to edge.
 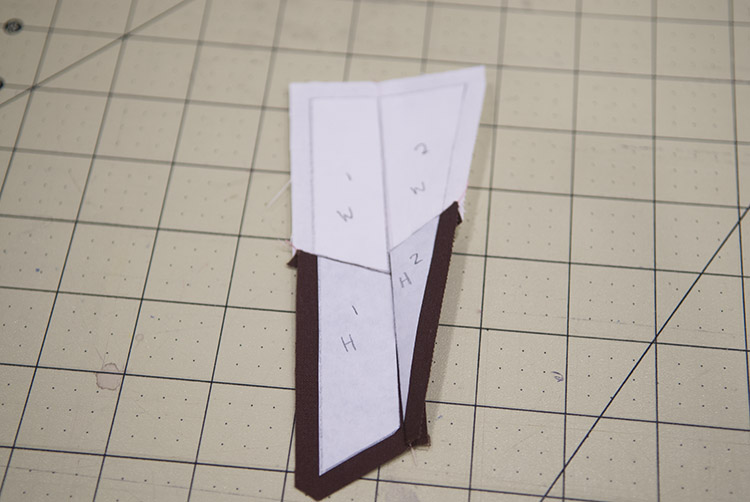 You won’t always be matching up a seam line, like here for example the brown and white don’t match in the middle here since this is where the ballerina bun takes a step up. However I know it was matched up properly since the point and the bottom matches up and the paper at the top matches straight across. Other times you will be matching seams, just make sure the paper matches up as it should and all will be fine.
 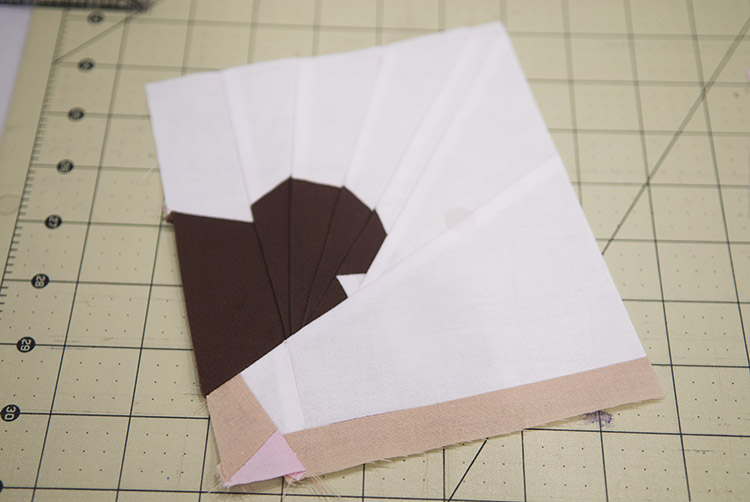 Here is a section of this mini ballerina doll quilt where you can see where the seams match across the bun. I tend to leave the paper on for as long as I can, I do this because it also acts as a stabilizer so you can stretch and warp the fabric as you sew. Piecing in this way means you are often sewing on a bias where it is easy to stretch the fabric. The freezer paper holds that in place. It also makes it very easy to match up all the sections by matching up the paper.
So that is the run down of how to paper piece using freezer paper. It can take a little time but as long as you label everything well and sew in the proper order it’s really quite easy, just a bunch of straight lines.
Also if you sew through the paper, don’t worry it rips away from the seam pretty easily so you can still get it off.
