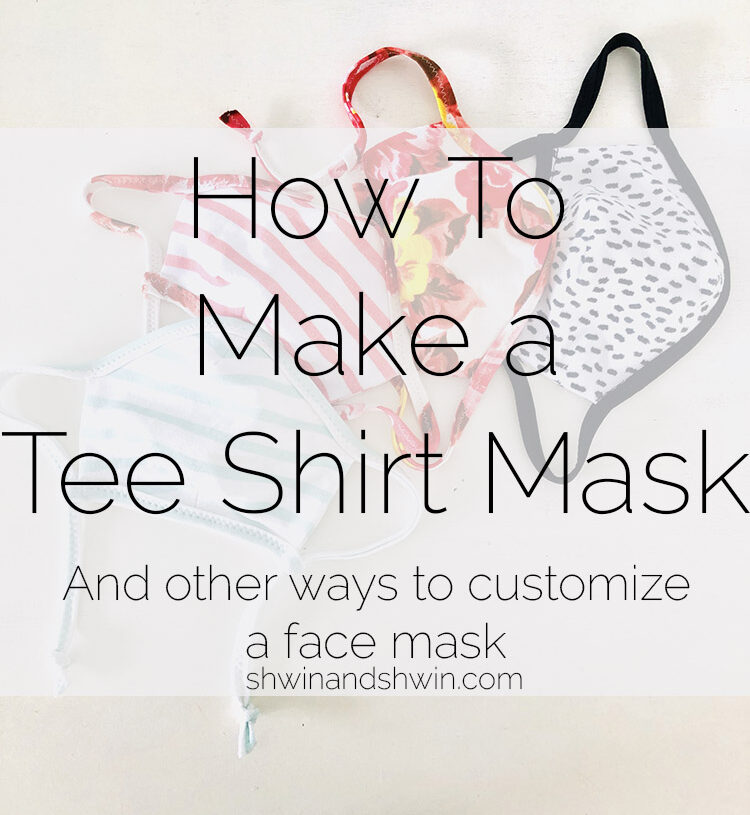
Masks have been a hot topic issue since the start of Covid-19, and one I tried to quietly ignore. Sure as someone who sews I made my fare share of masks as they were requested in the beginning. Friends, neighbors, and medical workers who were in need. However it took a very long time before I was making them for myself and my family. One, because we didn’t go anywhere, and two because I wasn’t sure how effective they were. However as it is for me and perhaps for many of you, as restrictions in our area are lifting mask mandates are becoming more of a thing. So I have made several different mask patterns and styles and as a family we have settled on 2 masks we like the most and several different finishes to them. I thought I would share a few of the things I did with or for the masks in case you are just now venturing into the world of mask making, or perhaps you are still struggling to find the perfect style.
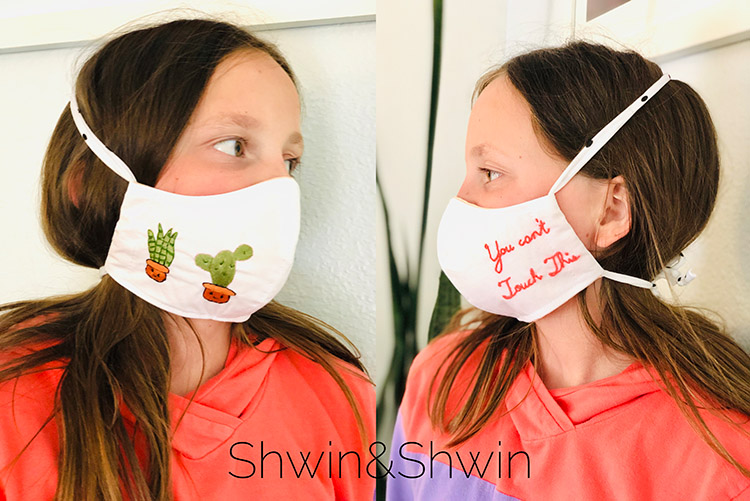
First up is a regular cotton fabric mask with head tie option.
I used this pattern: https://www.craftpassion.com/face-mask-sewing-pattern/
First I love the pattern and the fit of the pattern and we have used these from my youngest to us adults and we all really like it. They are quick to sew and have a lot of options including a filter pocket or nose wire. At first I only made the around the head tie style because I didn’t want them complaining about sore ears, and while they love how comfortable it is to wear they don’t love how it’s a little harder to put on, and it does slip on the head a little.
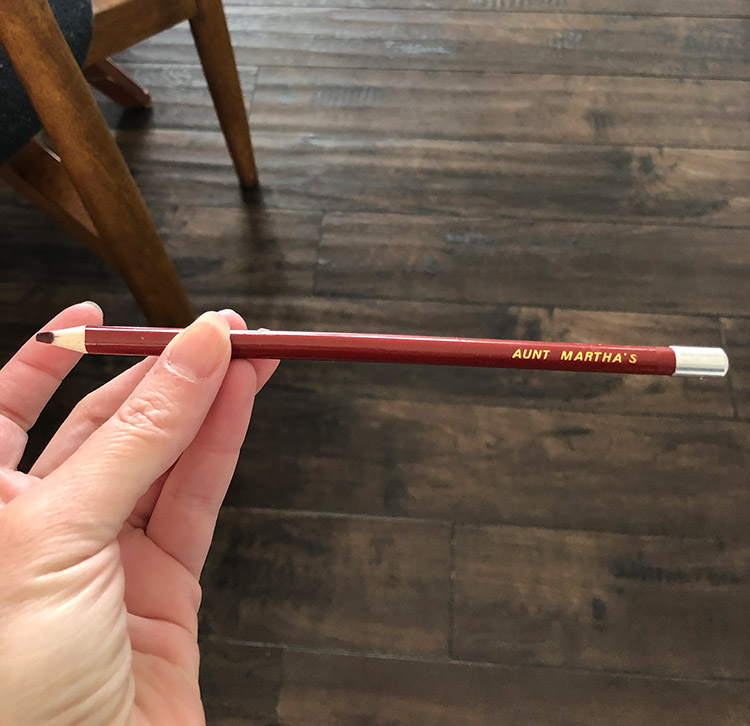
I customized each mask for my kids by adding some embroidery to them. It made them fun and unique and I find kids are more likely to wear the mask if it’s something fun. To add the embroidery I used a heat transfer pencil to draw the design on some paper. (remember to reverse the design if needed) and then you iron it on to fabric.
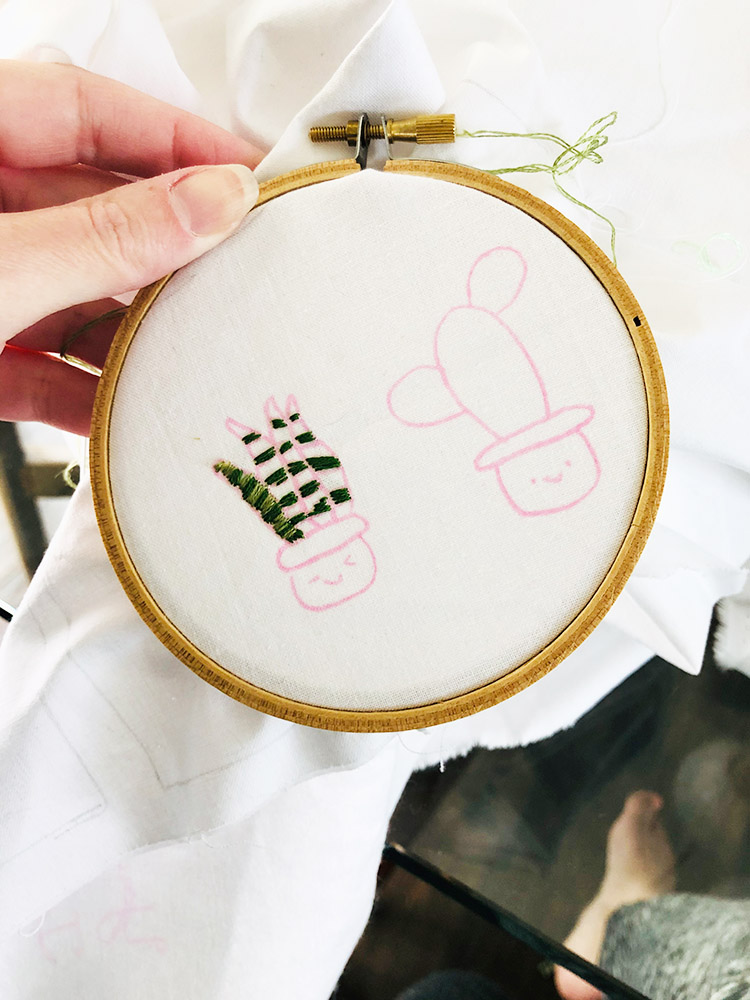
This particular heat transfer pencil is a pink line, and works best on light (mostly white) fabric. I used a light weight fusible interfacing to stabilize the fabric. Then using a satin stitch I filled in the design.
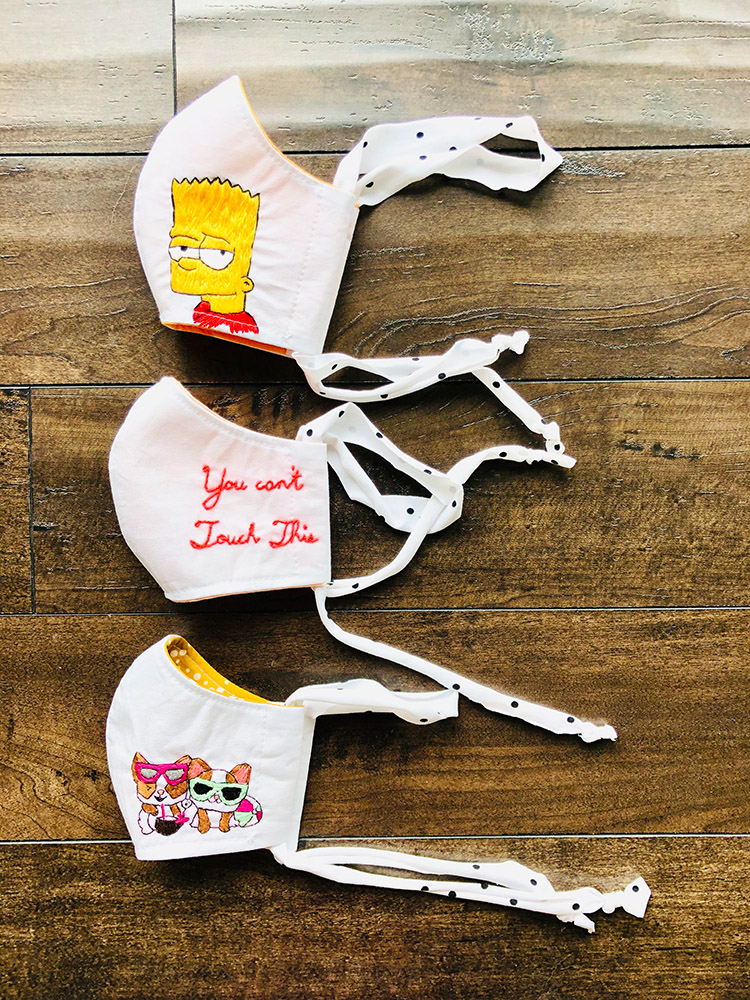
For the head ties I used knit fabric strips cut 1″ by 36″
My husband and son prefer to wrap the top band around their head and leave the bottom ties loose and hanging instead of tying them around their neck, they find that the mask stays on and not having it tied around their neck keeps the mask just loose enough around the chin that they can talk without it pulling off their nose.
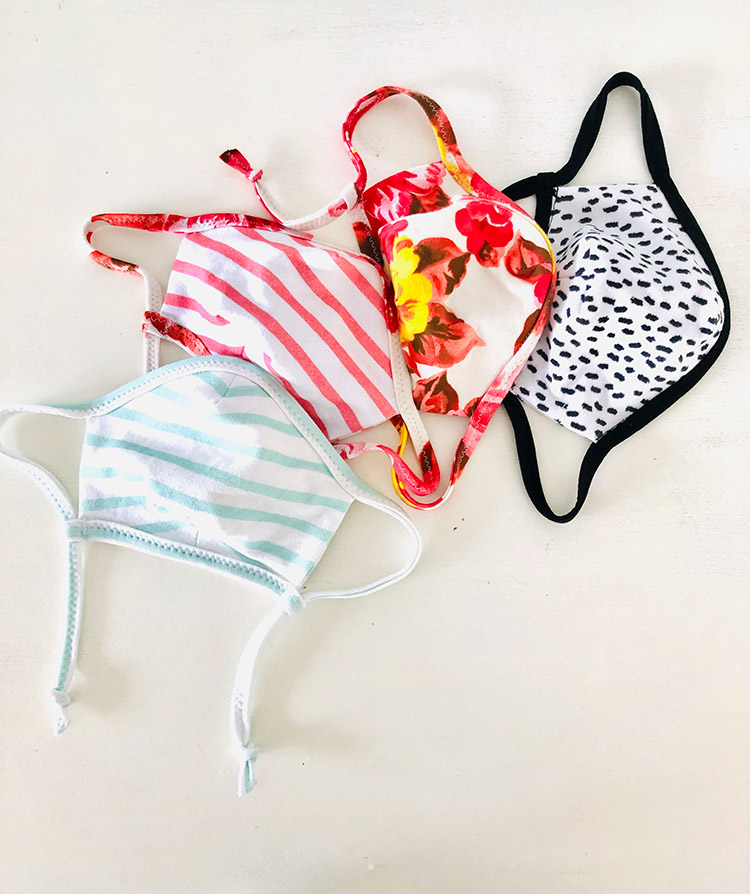
After they struggled with the cotton masks sliding around on their face I thought I would try some knit masks. I am 100% aware of the fact that knit fabric is not the recommended fabric for mask “safety” but neither are the surgical masks if we are all being honest. There is risk with all masks, but since wearing one is better than not wearing one I decided they might as well be cute and comfortable.
I made this style (one piece mask with darts instead of a center seam) following this pattern: https://dhuratadavies.com/blogs/things-i-make-and-do/free-face-mask-pattern-and-tutorial
Most of the knit fabrics used are from raspberry creek fabrics
I made a few with the pattern as is, and then I made a few with my own alterations for a slightly different fit/style and I will show you that below.
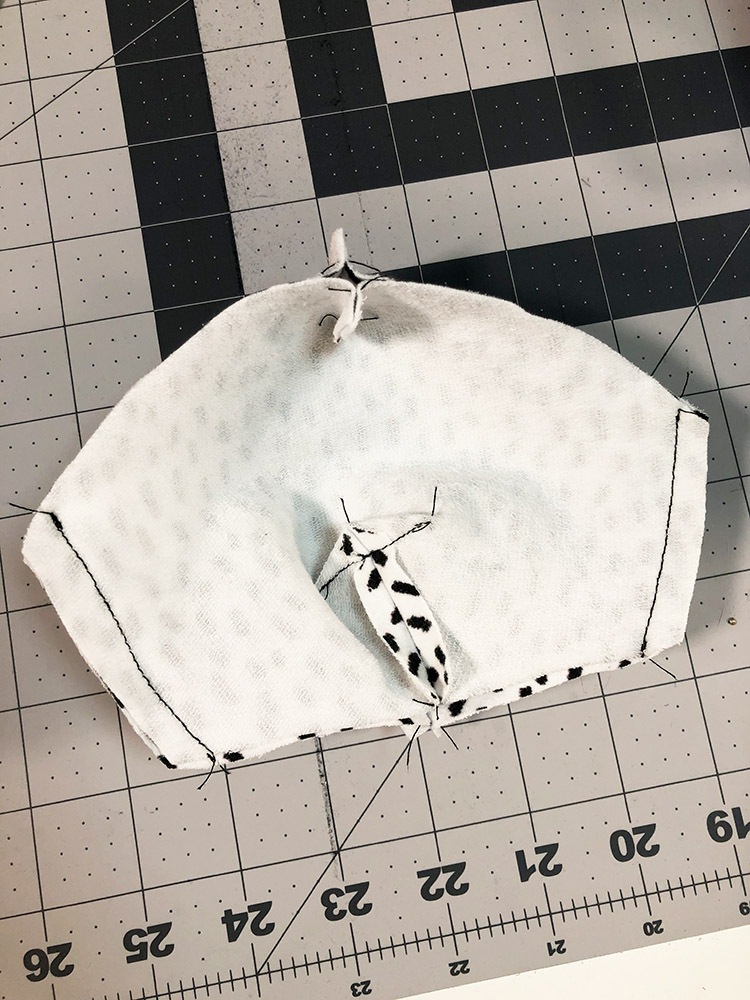
To start, I cut the pattern at the line marked for the interlining (not the pocket line but the other lining line) Then I trimmed off the seam allowance from the top and bottom of the mask. Then with 2 of those cut out and sewn along the darts as the pattern directs I sewed them right sides together along the sides.
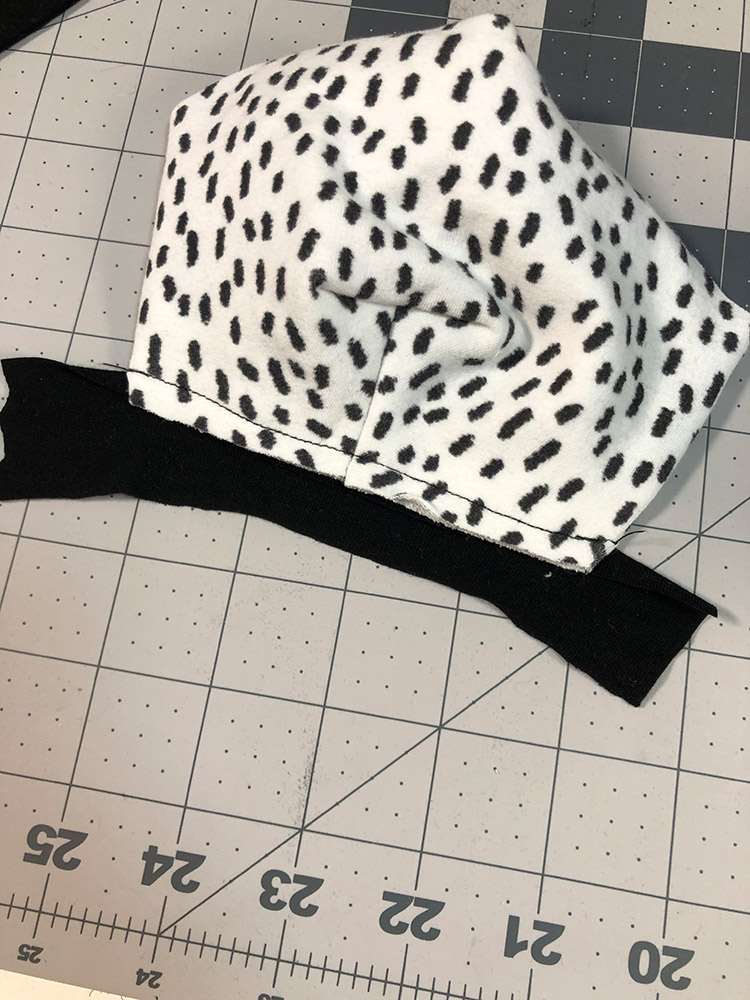
Then I turned the mask right side out. Next I am adding knit binding to the top and bottom of the mask. For the bottom you want the knit binding to hang over the edge by about an inch. Now I am working with black thread, and black fabric and I didn’t go into great detail on how to sew binding. So if this is a concept you are new to I recommend this post. It will show you how knit binding is done. If you have worked with knit binding before this is very basic. First you sew the right side of the binding to the wrong side (inside) of the bottom edge of the mask. Stretch the binding slightly while sewing. I use a basic straight stitch for this part.
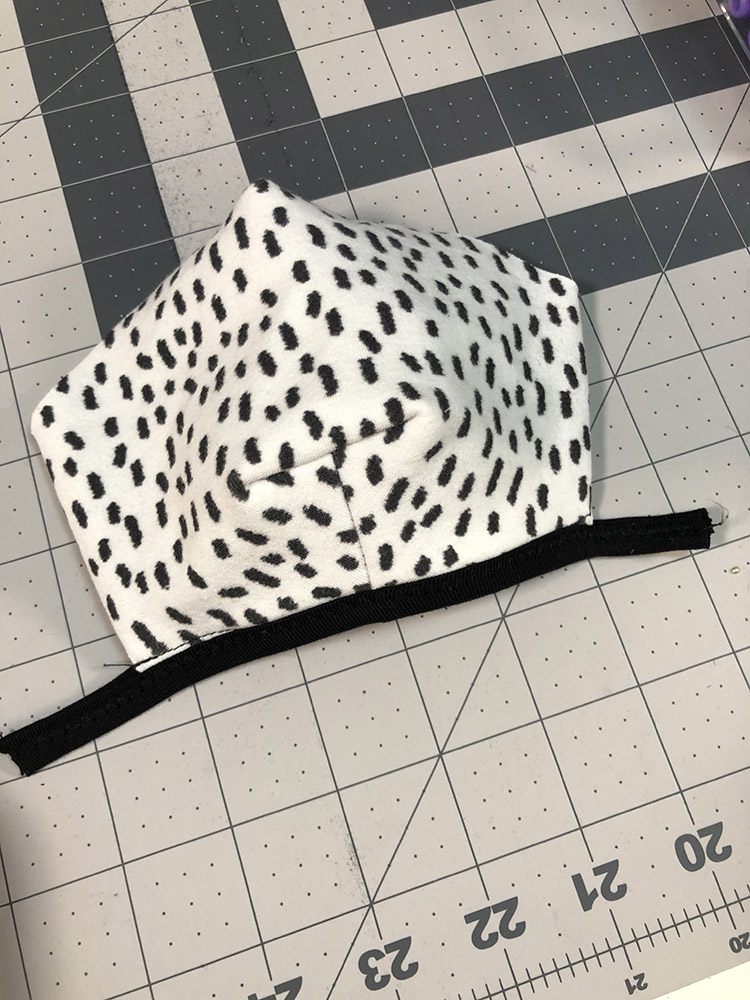
Next you will turn the bottom edge of the binding up to the middle of the binding and then turn it up again so at this point its wrapped around the bottom edge of the mask. The part of the binding that hangs over should also be folded (4 times at this point) so all the raw edges are towards the inside and the top edge of the binding is two folds. You will sew along the top edge of the binding and along the edge of the binding where it meets the mask, so you are sewing straight across, again stretching slightly as you sew. For this part I use a zig zag stretch so the mask will have some stretch to it.
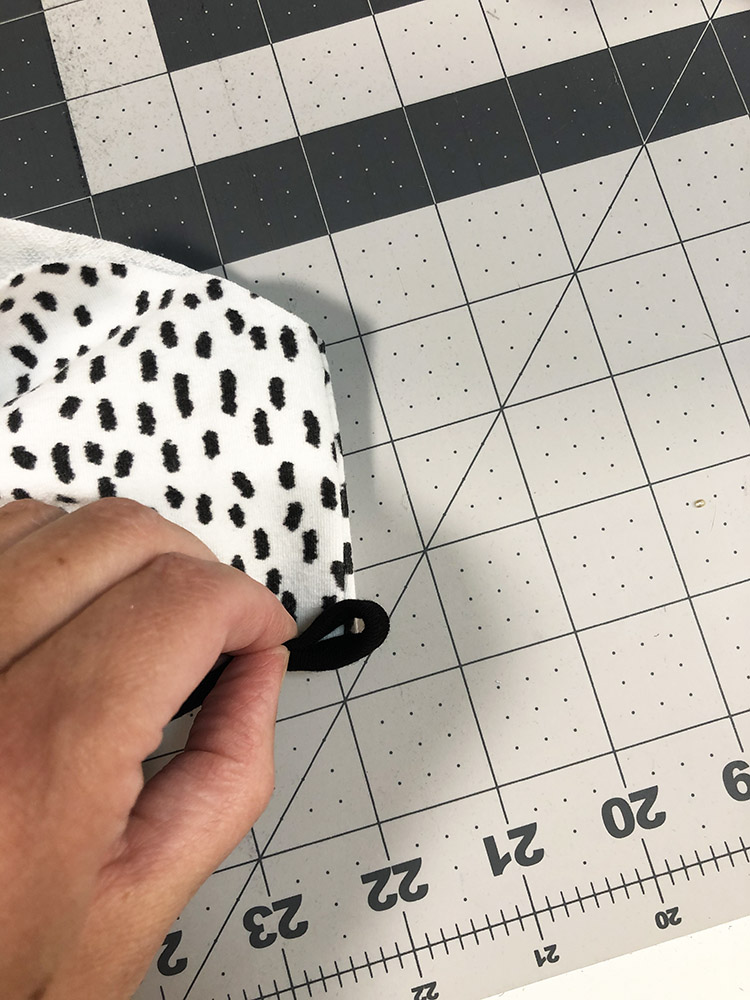
Then you will fold the end of the binding over towards the inside of the mask. You will be creating a loop, you want this loop to be a snug fit for the strap to go through, so the loop should be small. Then sew the loop in place. Trim off any extra binding if you need.
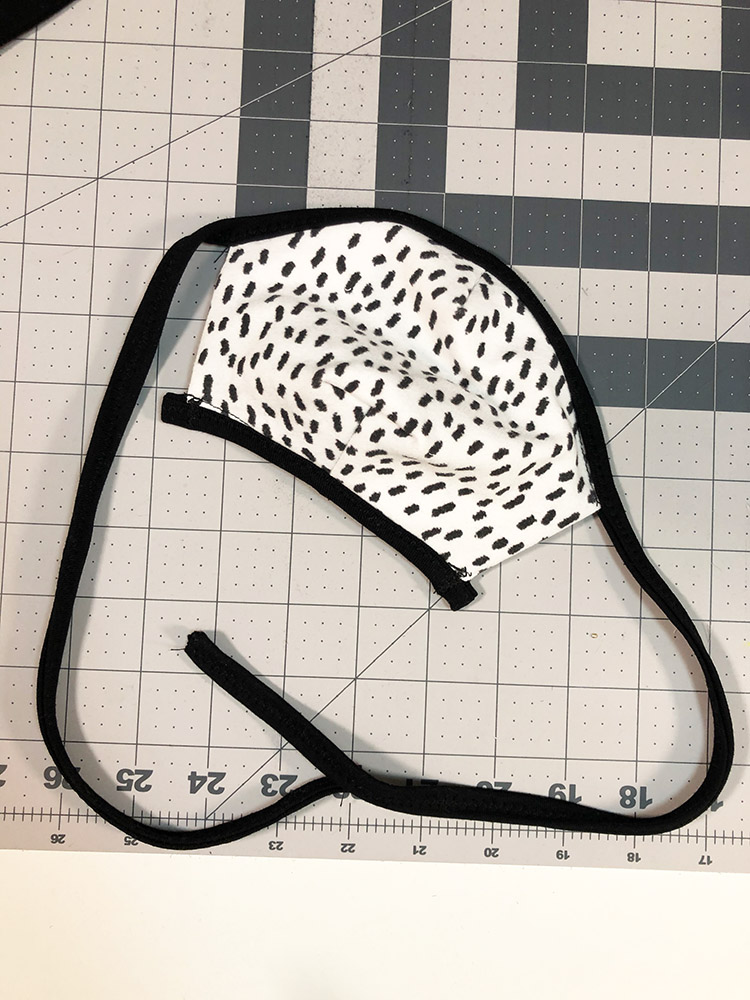
Next you will sew binding to the top of the mask the exact same way you did for the bottom only you want much more overhang. I made my straps 24″ long since you can trim them shorter later if needed.
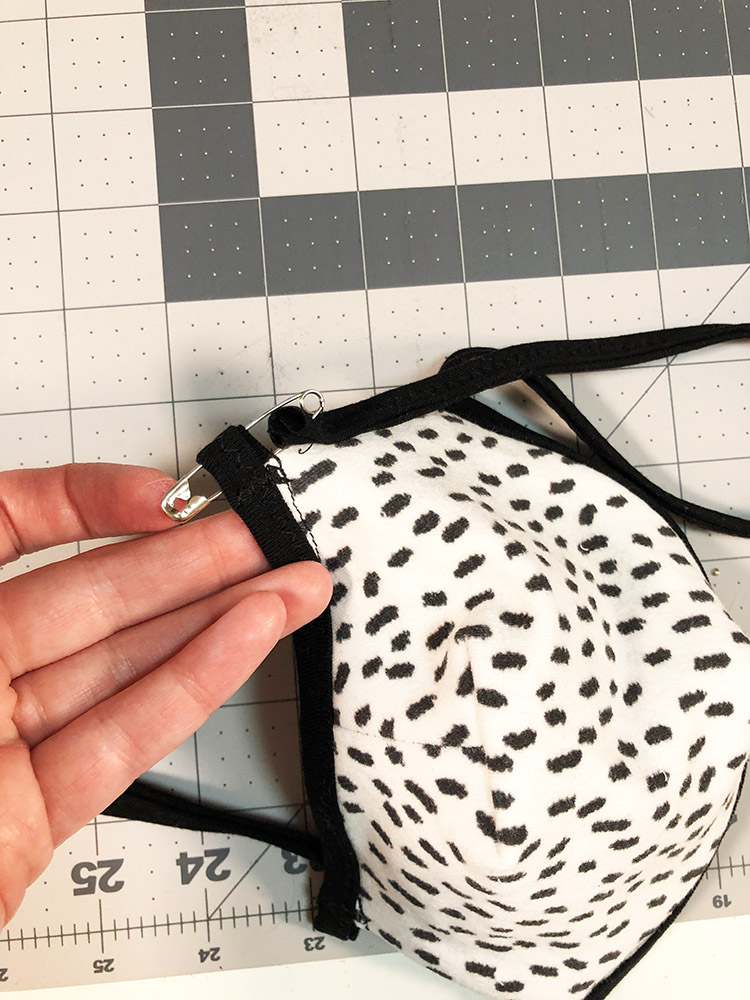
Then you will slip the strap through the little loop you created at the bottom of the mask. The loop can stretch a bit but remember you want this to be a snug fit. If the loop is too loose, the mask will slip off the face constantly. You can also stitch the loop closed more to make it a tighter fit.
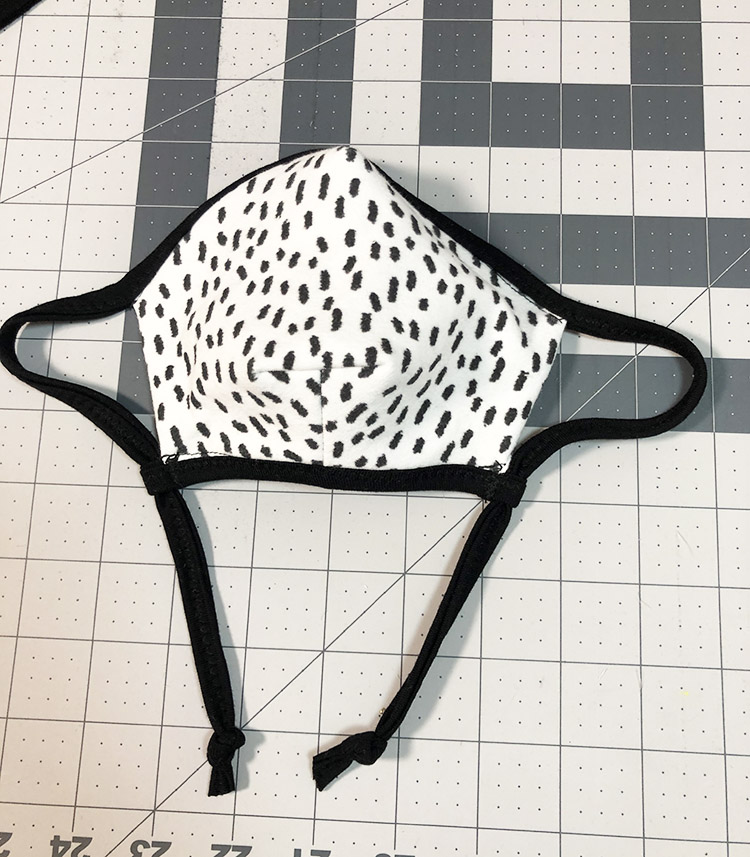
Then tie knots in the ends of the straps so they can’t slip out of the loops.
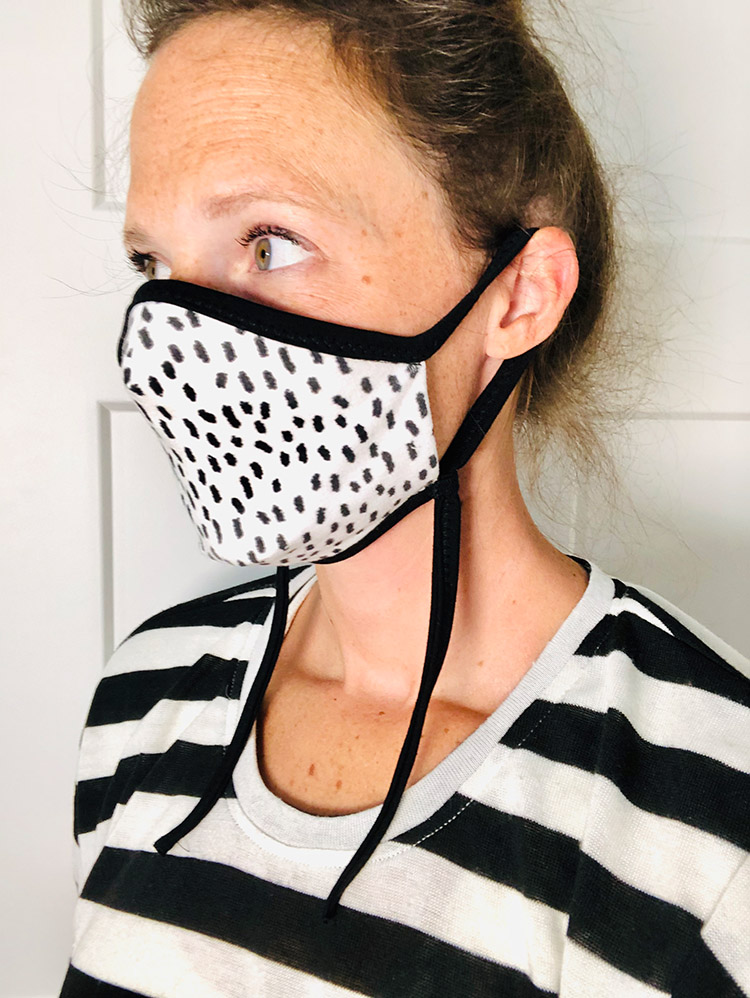
Just like that the mask is done. The loops go over the ears and you can loosen and tighten the straps by pulling them through the loop. As a note this is the size S version from that pattern. I made it based on the measurements for my youngest daughter and it fits everyone in our family although my oldest son and husband both said they would rather have a slightly larger one. Knit fabric is stretchy so you may find you need to go down a size for a good fit.
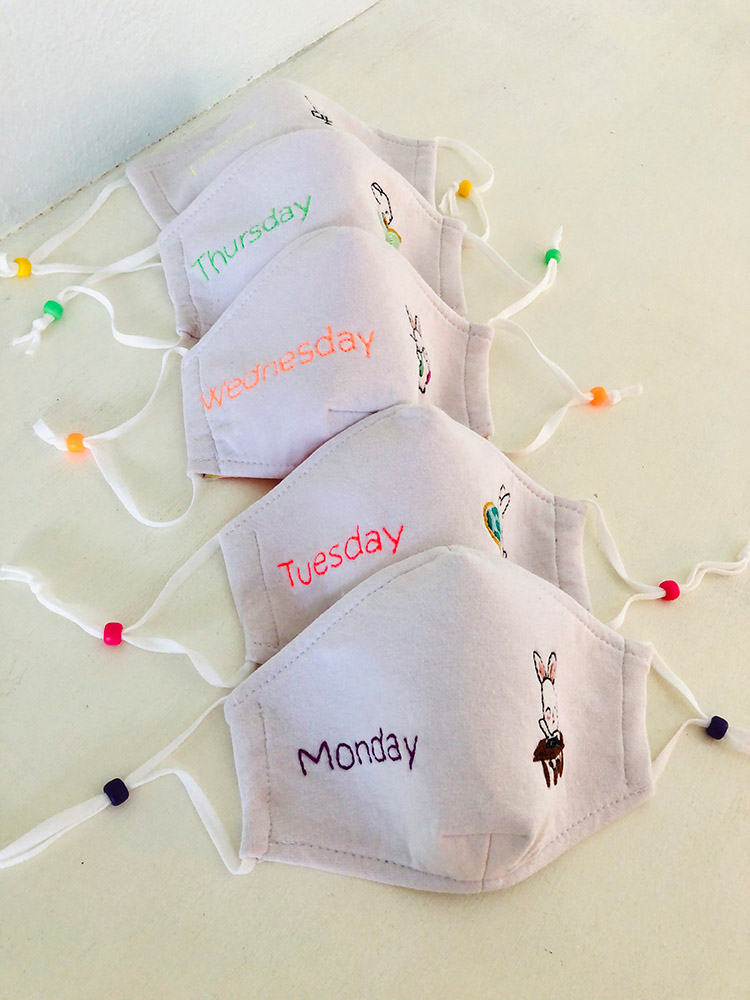
With that same mask pattern, sewn just the way the pattern states I also made some fun day of the week masks for my daughter. I used knit fabric for these as well, but I used interfacing to stabilize the outer layer since I was adding the embroidery. I also made adjustable around the ear loops for these instead of the around the head loops because I thought it might be easier for her at school. (they can easily be switched if she finds her ears get sore)
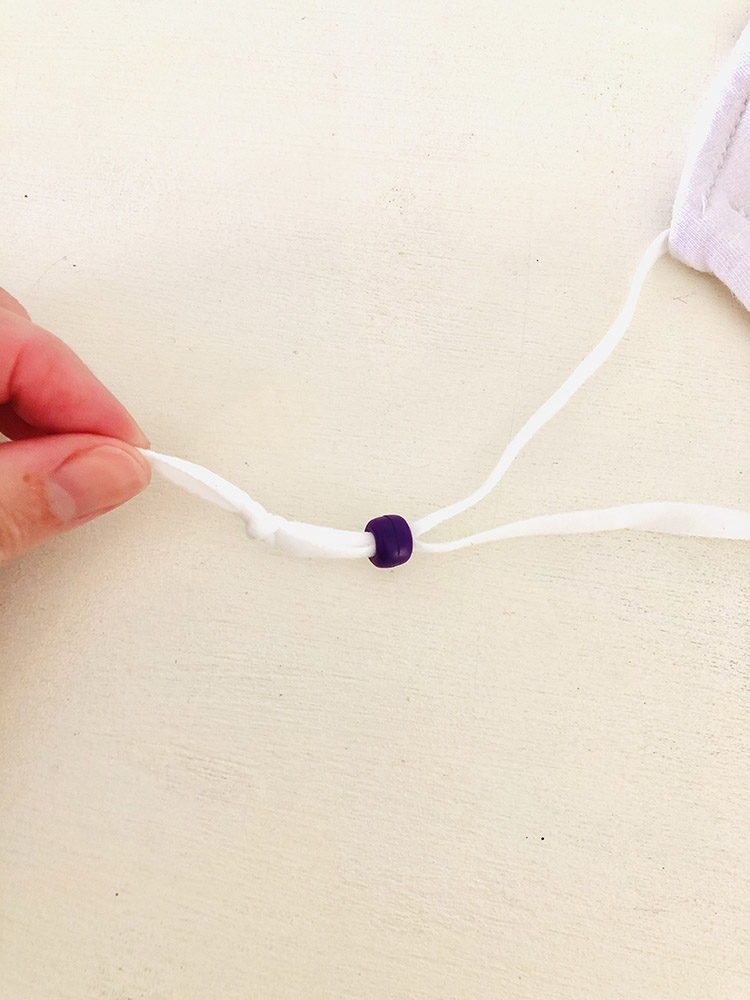
To make them adjustable it’s super easy. I used 1/4″ elastic that is super soft (skin friendly) off Amazon. I cut the pieces 12″ in length. I slipped them through the casing and then slipped both ends through a pony bead. (it helps to put both ends of elastic together and then kind of fold in in half to slip it through the bead. If you really struggle you could tape the ends and then feed it through) Then tie a knot in the ends of the elastic tying them together.
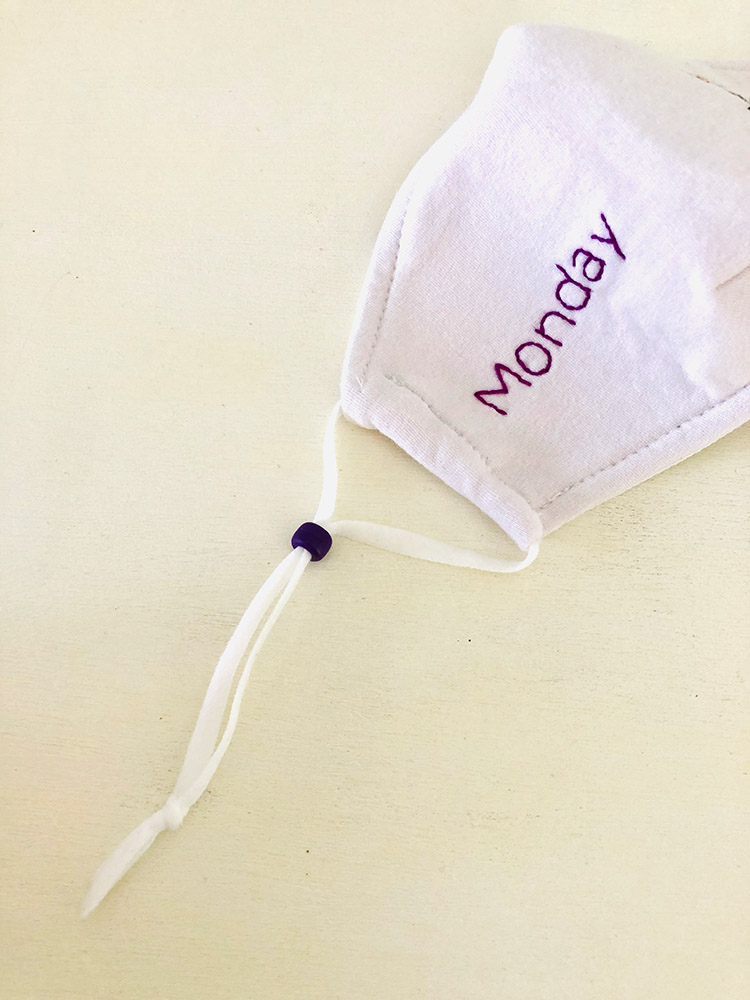
Then you can slide the bead up and down for an adjustable fit. You might think it won’t hold but it really does and no the bead is not uncomfortable, it’s hardly even noticeable.
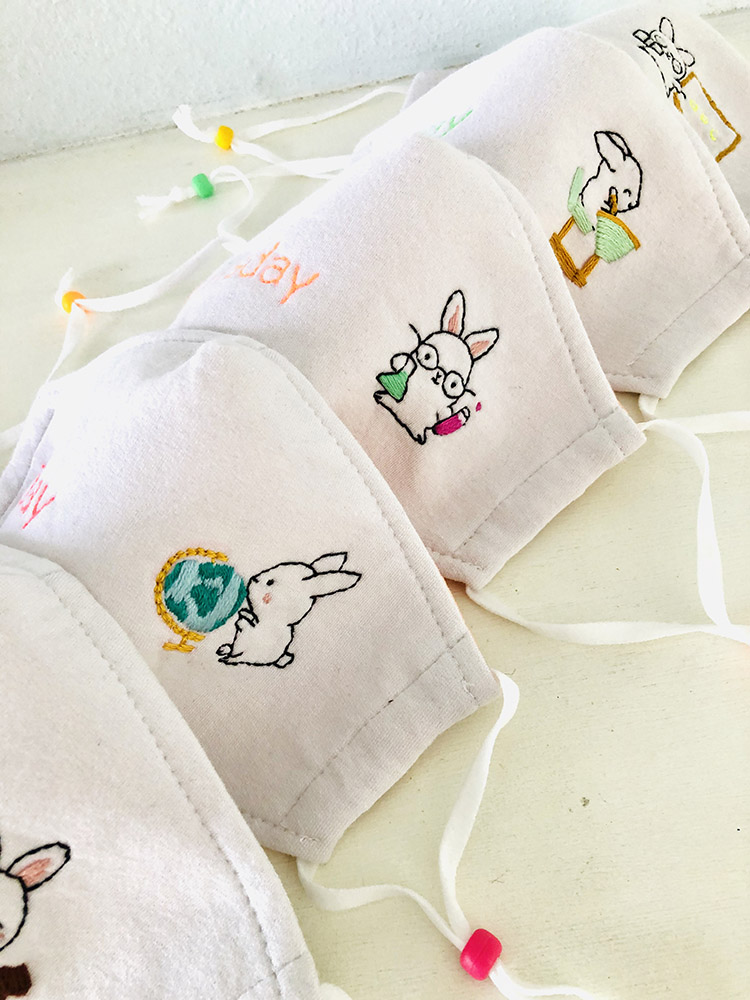
I had a lot of fun customizing these with little school graphics, perfect for my little 2nd grader to get excited about wearing them to school.
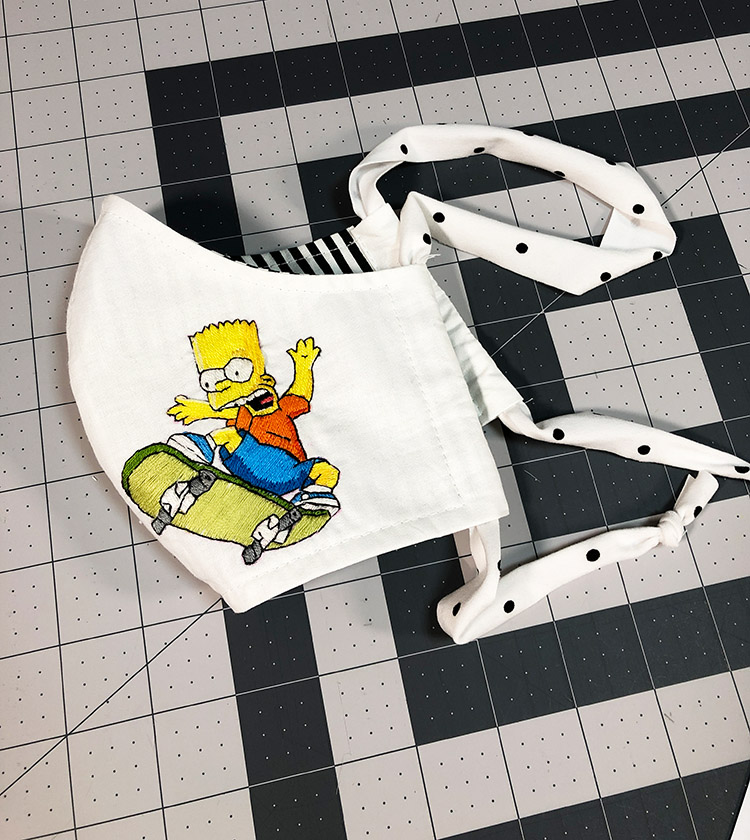
Some other fun ideas, letting your kids pick the designs and using embroidery, fabric markers, or even heat transfer vinyl to the outside, or adding a fun print to the inside.
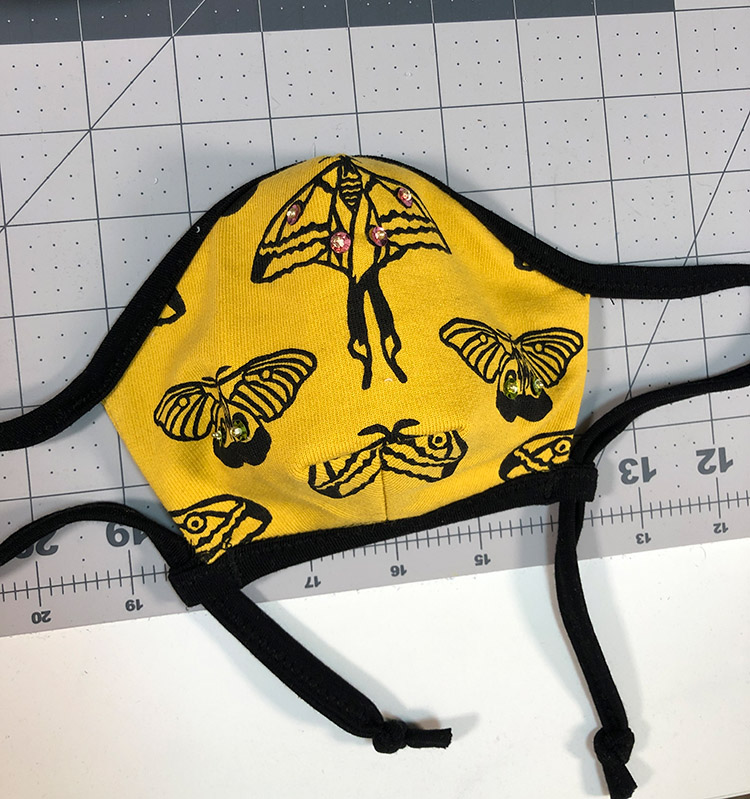
Or adding a little bling like some beads or sequins to a design for a fun look. It should be noted that the beads are all on the OUTSIDE and stitches are all in between the layers so nothing rubs up agains the face and the beads don’t pose a choking risk, but should probably not be used with young kids who may play with the mask, these were made for my teens.
So regardless of your feeling towards or about masks if you are like us and have to wear them in order to leave the house, at least now you have some ideas of how to make them fun.
