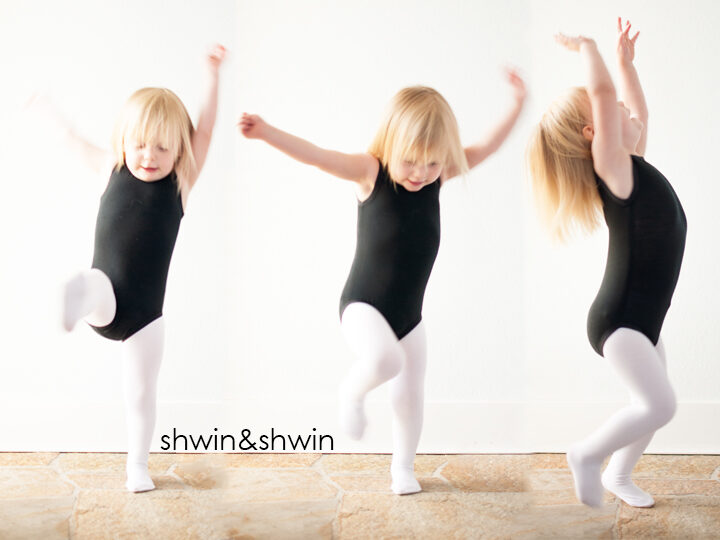
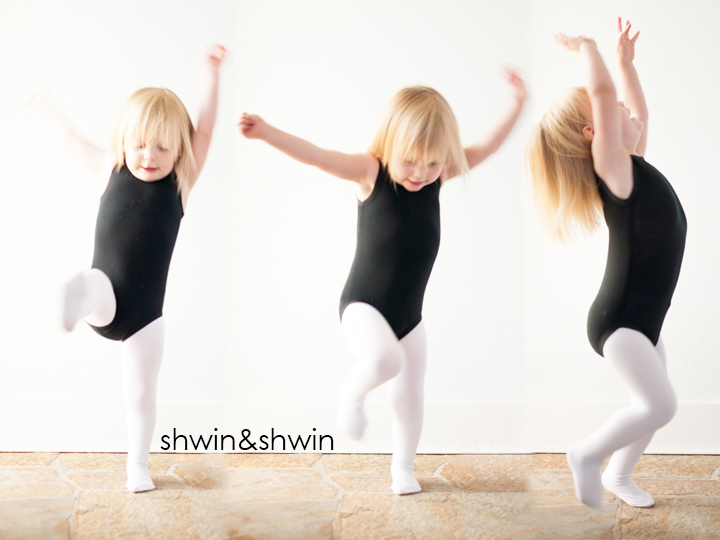
My girls are starting a summer dance class. My youngest (she is 2.5) is probably the most excited. I was however really having a hard time fining dance clothes to fit her. I kept thinking this is silly, I sew I should make them. Then I would think about it and say “no it seems way to hard I don’t have time for that” (true story) However I kept coming up short and the ones I could find which I thought we could make work just kept falling off her. So I decided to give it a go, I used a swimsuit as my guide, and just went for it.
Guess what?? It was SOOOO easy. Like whip it out in 20 min then go make a dozen more easy. I could not believe how easy and cheap, and fast (and did I say easy) it was. You can TOTALLY do this.
I even have a free pattern for you. I made it for my petite 2.5 year old. I would say its a 24m, but it could be a 2T just the same. My daughters chest measurement is 19.5″ and I meant to measure her torso length but I forgot, you can measure the pattern piece, if you are concerned about length add some in the torso and you should be fine. If 24m. is not the size you are seeking, you could easily follow a swimsuit as your guide and the pattern pieces and extend the pattern as needed.
You will need:
- Free Pattern
- 3/4 yard of 4 way stretch with at least 60% stretch knit. (think spandex)
- 1 yard FOE (fold over elastic, any width will do)
- A sewing machine that can do a straight stitch and a zig zag stitch (seriously nothing fancy needed)
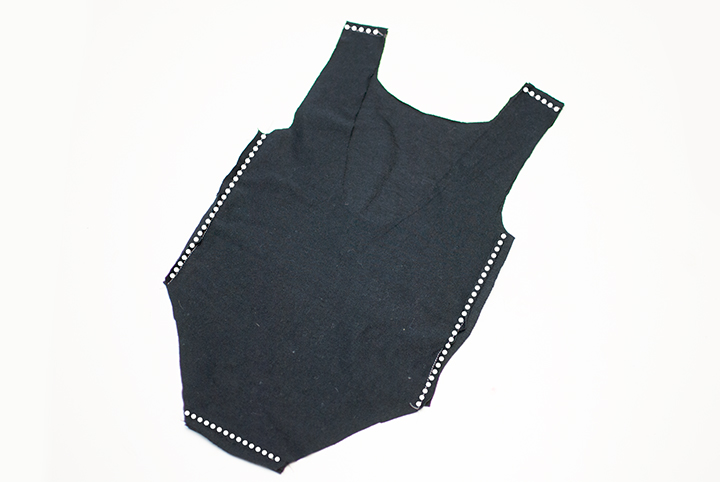
To start sew the front and back right sides together at the shoulders, sides, and crotch. I used a regular straight stitch here.
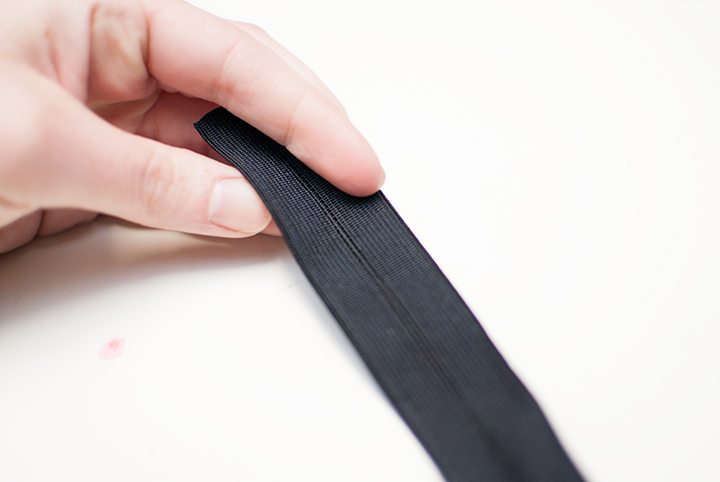
Then you will need to grab the FOE. If you have never used it before, you will notice it has a fold line running down the middle with regular elastic on the inside and softer fuzzier elastic on the outside. (or some is the same on both sides but it will always have the fold)
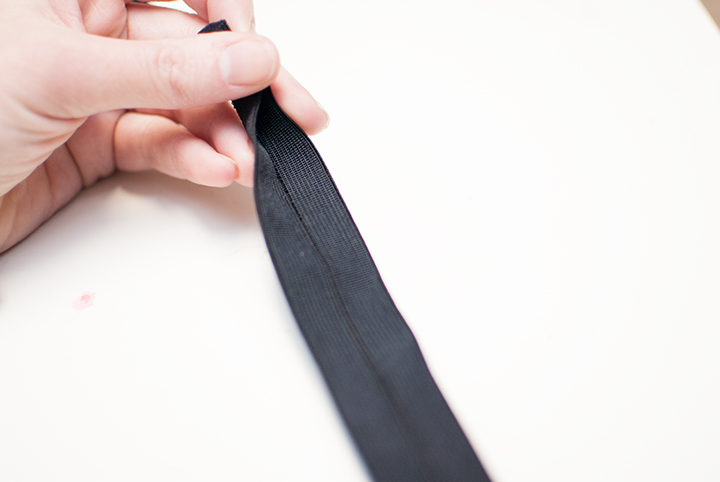
See how it nicely folds. The part that folds together, is the inside or the WRONG side. You will be cutting strips of the elastic to finish the arm, leg, and neck openings of the leotard. The pattern includes lengths for these to be cut, but keep in mind all elastic is not equal, some will have a lot of stretch some may be more stiff, so always check that the elastic fits the opening when stretched comfortably.
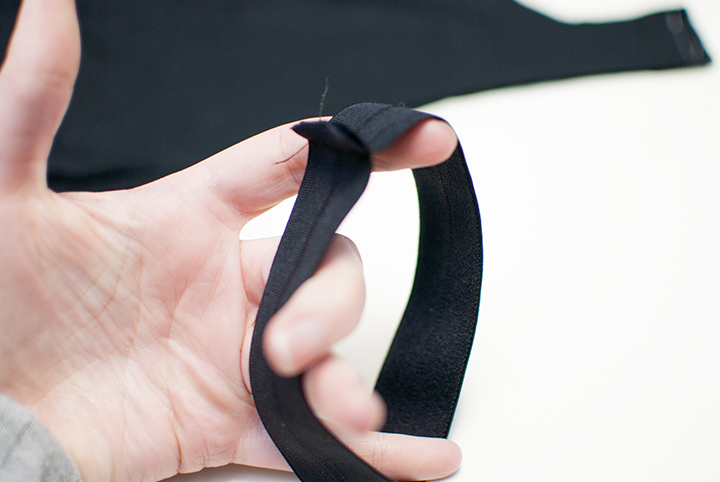
Then with the elastic RIGHT sides together sew the ends to create an elastic band.
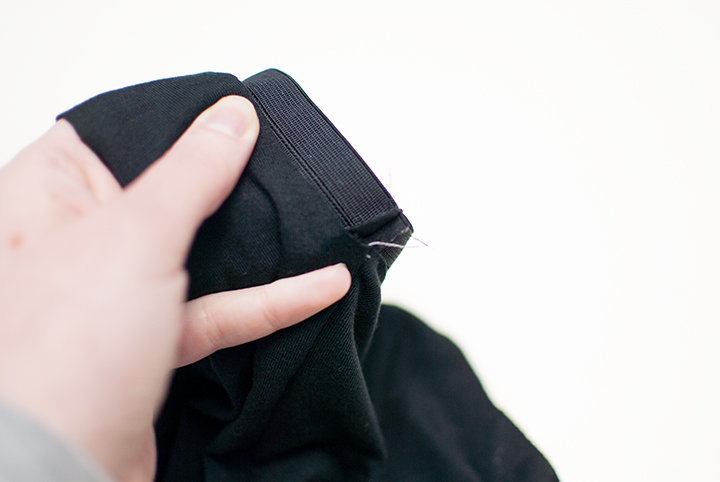
(We are sewing an arm band for these photos.) Match the elastic up so the seam from the elastic matches a seam in the leotard (here it is the underarm seam) You wan the WRONG side of the elastic to be toward the WRONG side of the leotard. Here you are seeing the right side of the leotard. You want the edge of the arm opening to meet with the fold line in the elastic. (so the elastic is hanging half way past the sleeve edge)
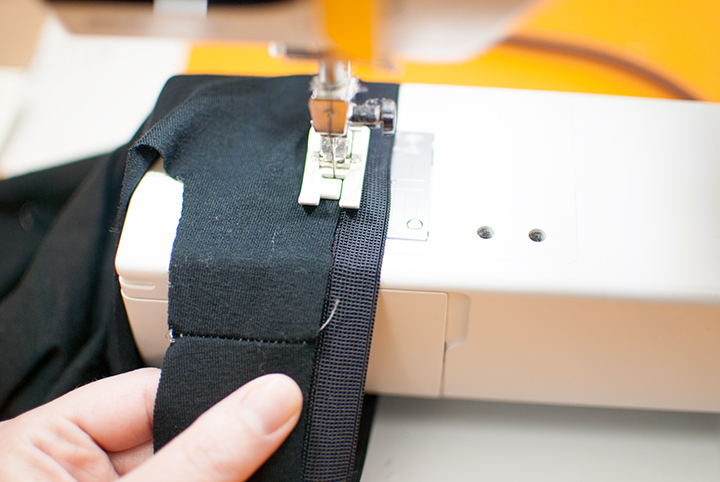
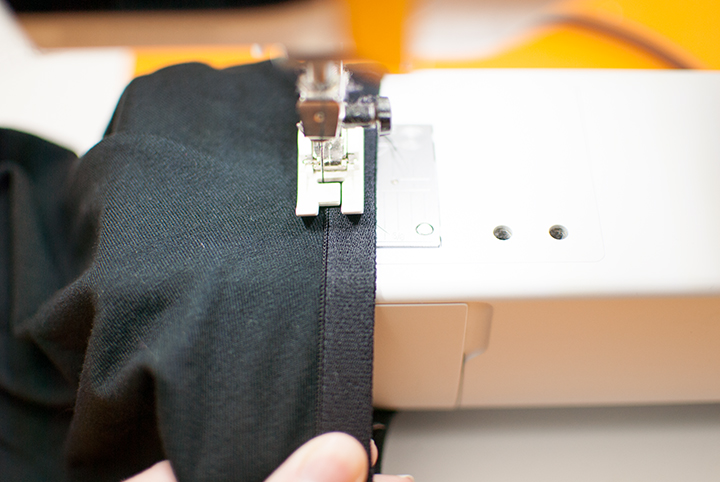
Then while pulling the elastic so it is stretched to fit the arm opening, sew along the edge of the fabric so you are sewing just along side of the center fold in the elastic.
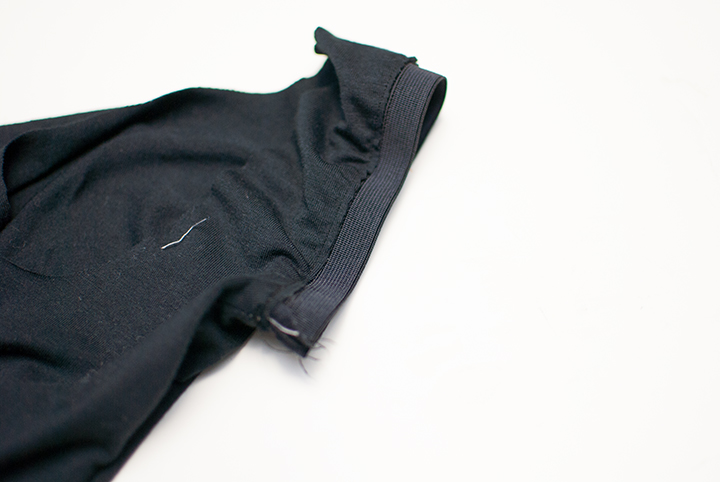
Then you should have a slightly gathered sleeve sewn to the elastic cuff.
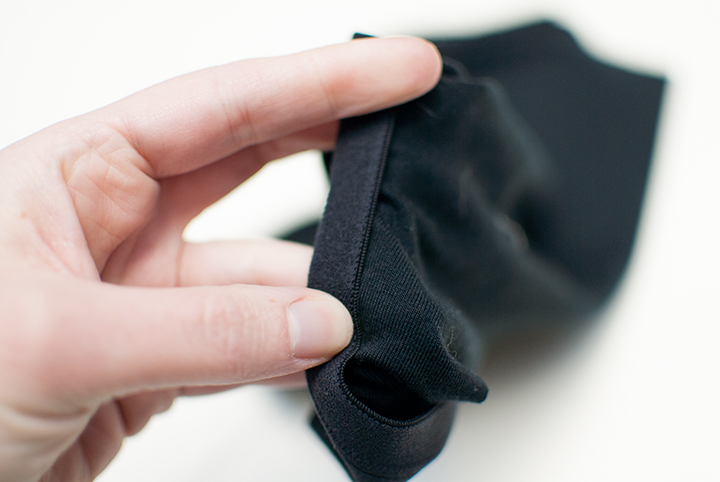
Fold the elastic over at the fold line so the edge of fabric is encased in the elastic.
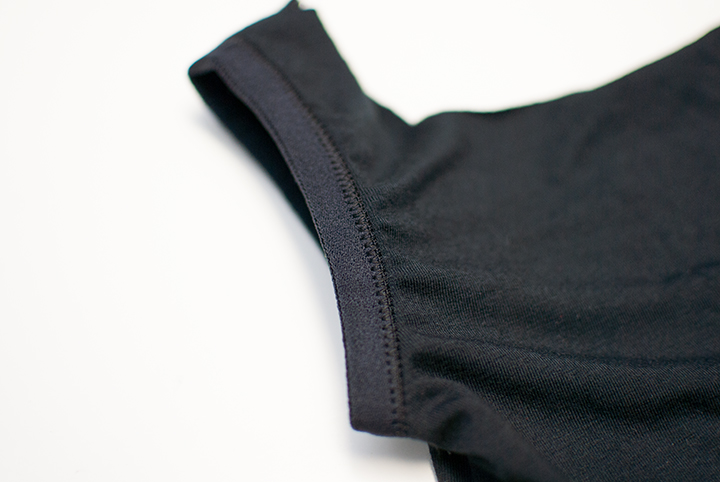
Now change your machine stitch to a wide zig zag stitch and a narrow stitch length. Sew just along the edge of the elastic and the leotard. Be sure to pull the elastic to fit again.
Then you have a nicely finished arm opening. Repeat this same thing with the other arm opening, both leg openings and the neckline.
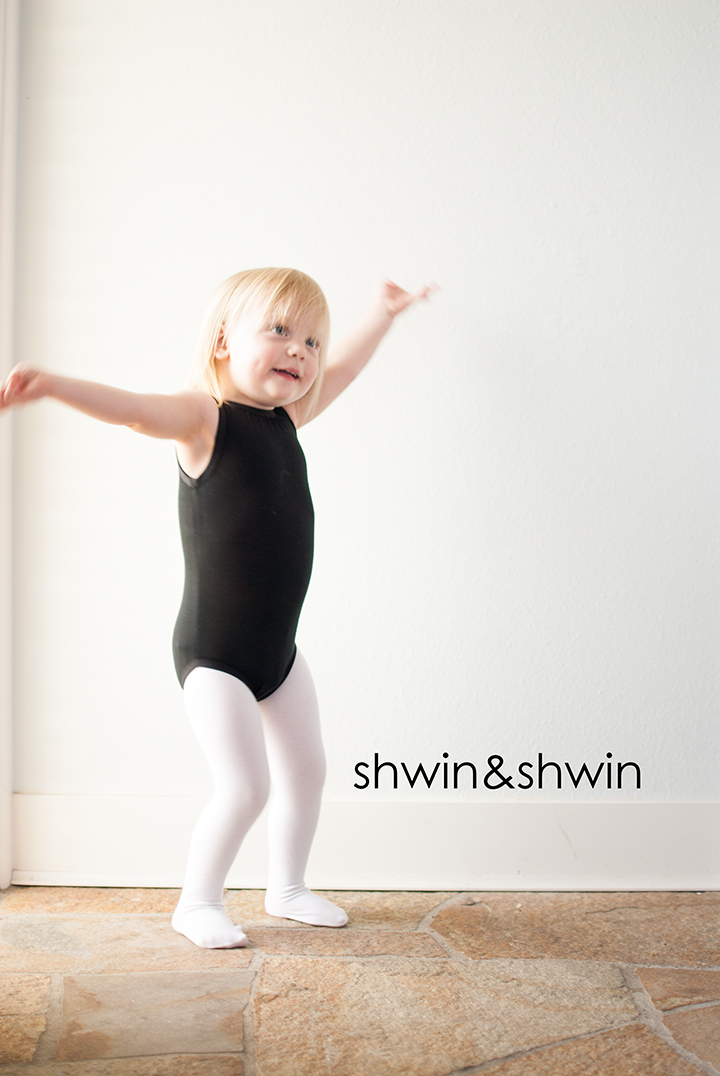
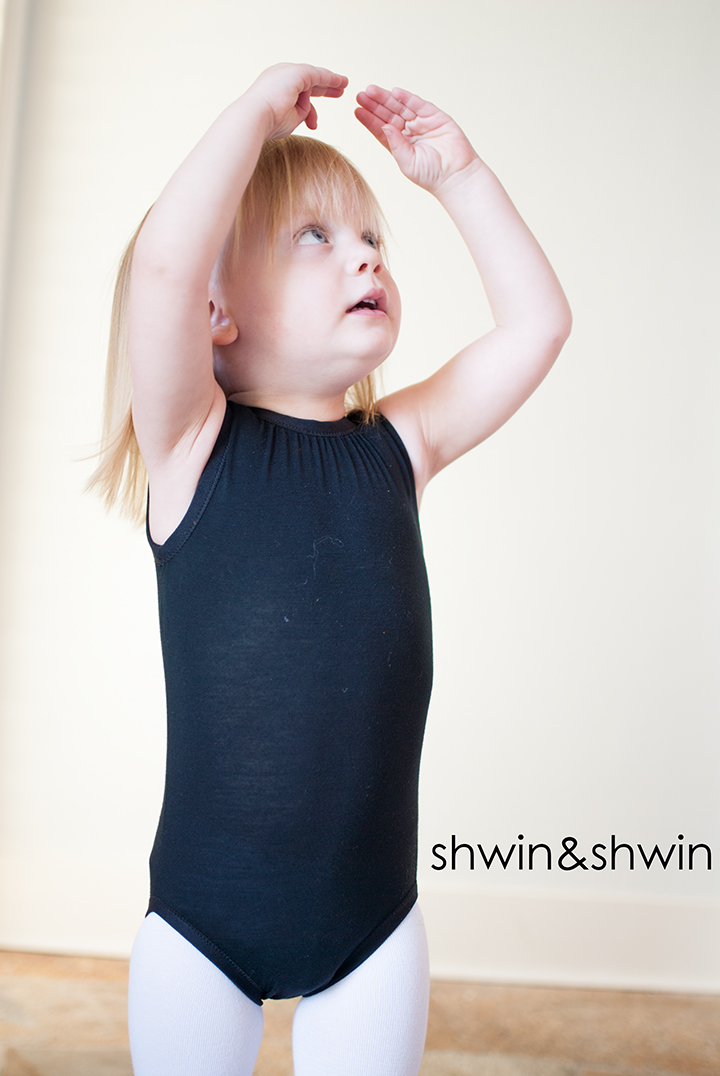
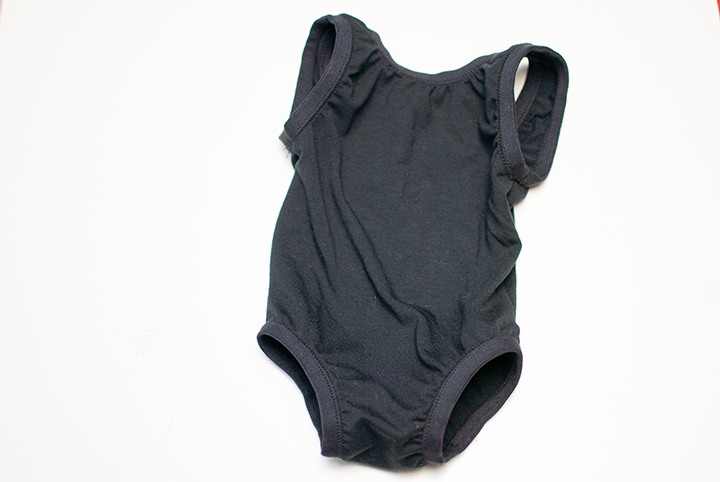
Then you are done with the leotard. Don’t worry about it looking all scrunched, the elastic is sewn in a way that it will stretch and move when worn, but stay tight enough to be a slim fitting leotard.
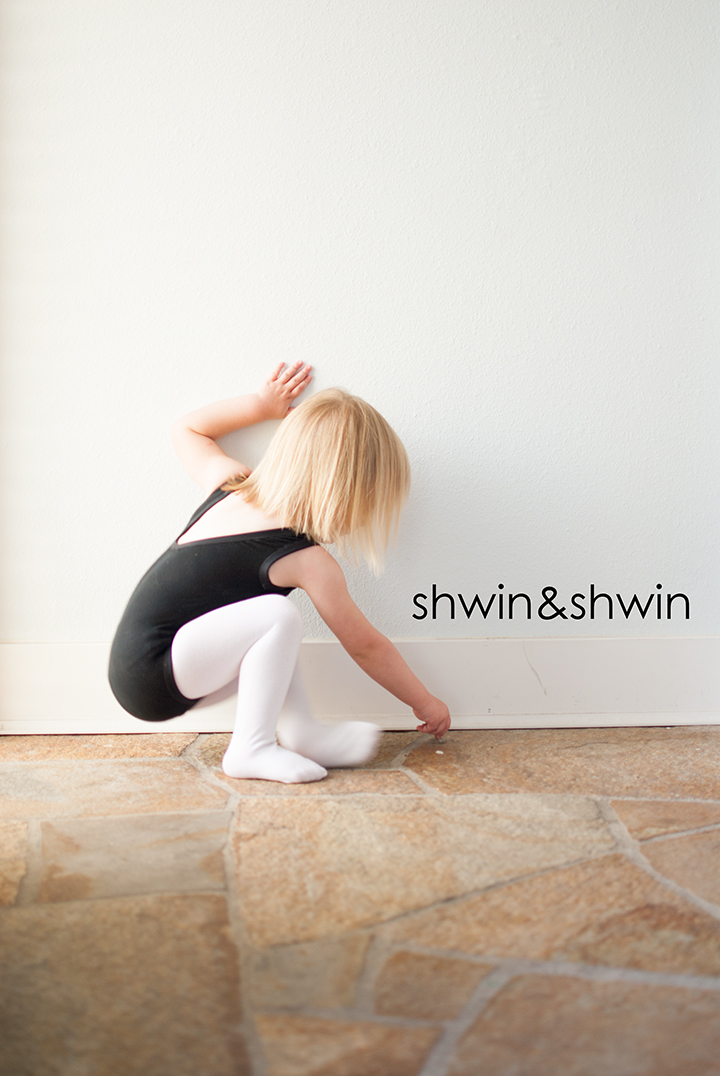
With a cute little dropped back. Pair it with or without tights and with or without a skirt.
Penny is so excited for her dance class to start and now she is ready to go.
Coming up I have a few variations on the pattern as well. I also made a swimsuit and a princess themed leotard for dance.
