| Then in the corner I made a small arc, this will be the opening that goes around the “trunk” of the tree. |
| Then I measured 21 inches (you can go longer or shorter depending on the length of the tree skirt you desire) out from that arc at different points making dots along the way. |
| then I connected the dots and I had my second arc. |
| Then I cut out two of the pieces on the fold. (you end up with two semi circles) |
| Then turn the trim to the front side and sew in place. |
| Then turn over the remaining raw edges of the semi circle. and, I sewed some bias tape around the inner circle and left extra at both ends so it would tie in place. |
| Then I sewed the pieces on to the skirt. I used the machine and sewed by hand. |
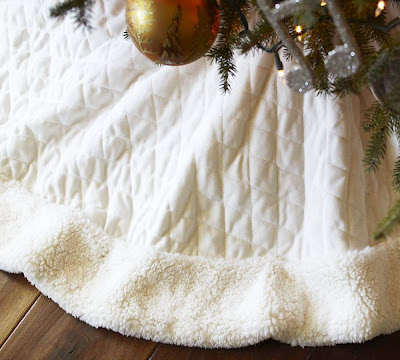
| That’s it then you are done with you new tree skirt. It took me about 2 hours (mainly due to the hand stitching) and cost me $14. Way better than $120. |
| Then put it under your tree and enjoy the season!
Enjoy! |

casserole
So pretty! I love that fur trim around the edge! I linked to your tutorial over at Craft Gossip Sewing:<br />http://sewing.craftgossip.com/tutorial-quilted-christmas-tree-skirt-with-fur-trim/2010/12/04/<br /><br />–Anne
Kris and Chelsey Sorensen
I LOOOVE this! Great job!
Van
Beautiful job!!!<br /><br />lighttriger.blogspot.com
Stephanie
What a great creative way to make your own. It looks beautiful, and I love the embellishments you put on it.
Kristen @ ladybug-blessings.com
this is so pretty!! If you have time make sure to come link up to Handmade Tuesdays @ Ladybug Blessings today. http://www.ladybug-blessings.com
Jana
Turned out great! Come link up at Giggles, Glitz & Glam!<br /><br />http://gigglesglitzandglam.blogspot.com/2010/12/glam-party-5.html
Naturally Carol
That is quite spectacular…well done making your own!