We finally have a crispness in the air (in the mornings) occasional frost on the grass, and I will admit the fireplace has been used twice now. This can really only mean 1 thing. Fall is in full swing and I LOVE it. Oh my I love fall and cozy clothes and layers. So I have made a few fur vests in the past although I am not sure if they have ever been blogged (I couldn’t find any posts at least) I think I make them every year, they are just so quick and easy and instantly pump up the cozy factor of any wardrobe.
So let’s discuss a few things before we get started. First, the fur. Obviously I go with faux fur because it’s for my kids, and really I just like faux fur. Now you can get faux fur online, (I like what I have gotten from MOOD before) or you can often buy it locally I know here in the US Joann fabrics carries it, although I have never really loved the stuff there. But when it comes to faux fur sometimes thinking out side of the box is best.
For this vest I used a faux fur throw blanket from target. It was the size of more than 1 yard and it includes backing fabric that I use for vest lining. 1 blanket is enough to make a vest for Abbey, Penny, and myself if I wanted to, including the lining and it was only 30 bucks. (although I don’t know if we will really all have matching vests so I have a back up plan for the rest of the fur.)
What you are looking for is something soft, and often the back side of faux fur is really stiff and hard and no one wants to wear that.
Be prepared for a mess when you are dealing with faux fur. Your sewing area will look like you skinned a thousand cats, and you will be covered in it as well.
When I cut out the pieces I go around the edge pulling away any loose fur so that at least as I sew it doesn’t shed so much.
If your fur is long you may even want a comb to help control it while you work. I don’t usually work with anything too terribly long or bulky, just so it’s easy on me. Then you can sew with a regular machine and a heavy duty needle (or it may break) Sew slowly pushing the fur out of the way of seams so it all lays flat and smooth.
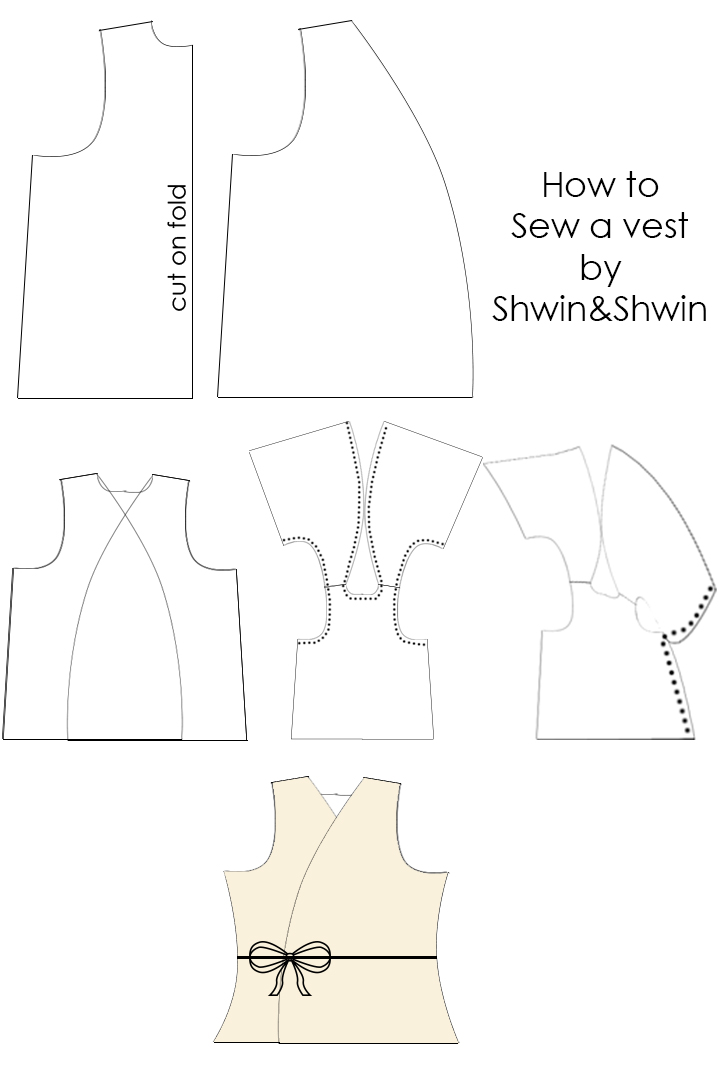
Ok, on to the sewing. I made a quick “reference guide” for how to make a fur vest, if you will, for sewing the vest, because it’s really quite easy and basic. (I don’t even hem the bottom) However if you need a little more detail (or better pictures) check out this post here for how to make a vest
First cut out your pieces. You can use any current fitting top as a guide. You will want a larger and lower arm opening so it’s easy to get the vest on and off, but other wise it’s quite simply. For this vest I made it longer than a standard shirt, but I have made cropped fur vests as well, anything works fine. (above you see the back which is cut on the fold (cut 2 one is lining) and the front not on a fold (cut 4 two are lining)
Then sew the front and back together at the shoulders. Same with the lining.
Next with the lining and fur outer open flat place them right sides together and sew up along the neckline and along the arm curves. Then turn it right side out. Yes this is tricky and takes so work to turn it out through the narrow shoulders, but it’s possible.
Then with right sides together match up the front and back so the outer and lining both match up with each other and sew the side seam.
Add a tie at the waist if you like and you are done. Pretty simple right? If you are using a long fur you can comb the fur near to the seam to be sure it’s laying well.
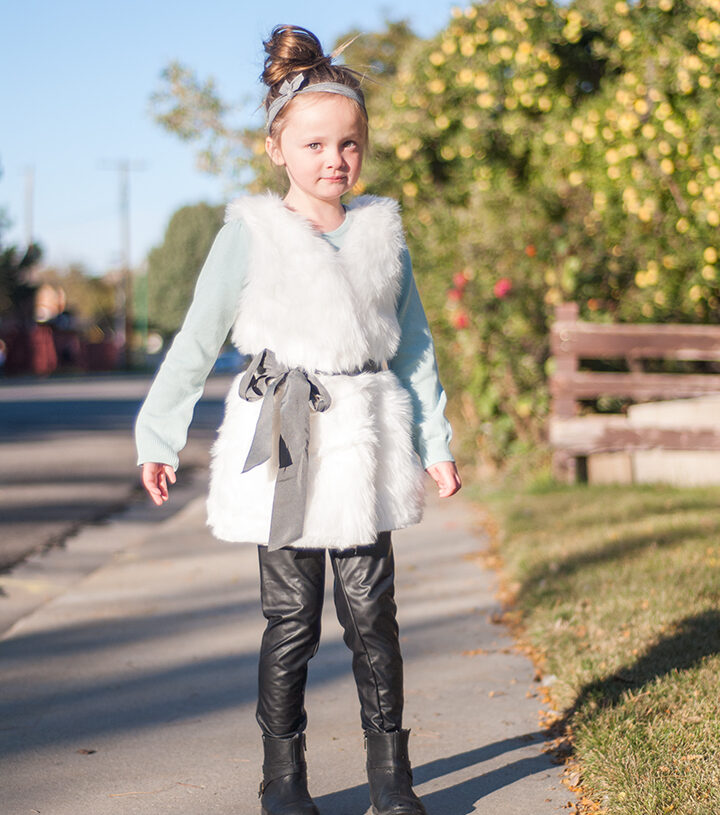
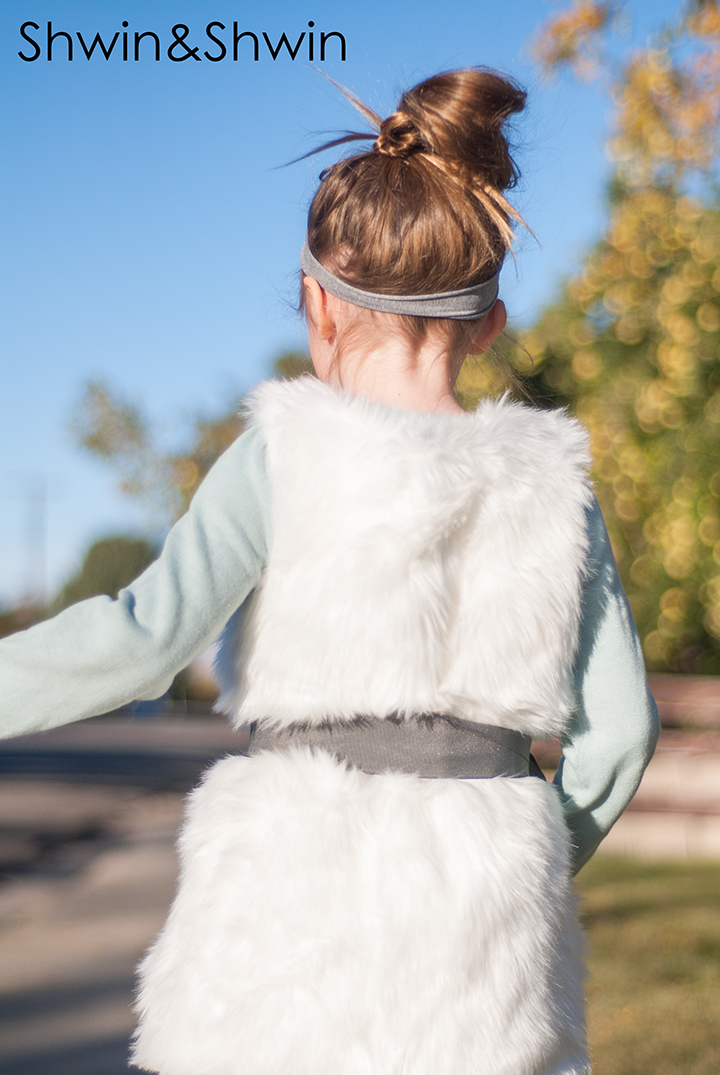
Even though it’s super simple to make it adds such a big impact to any fall outfit.
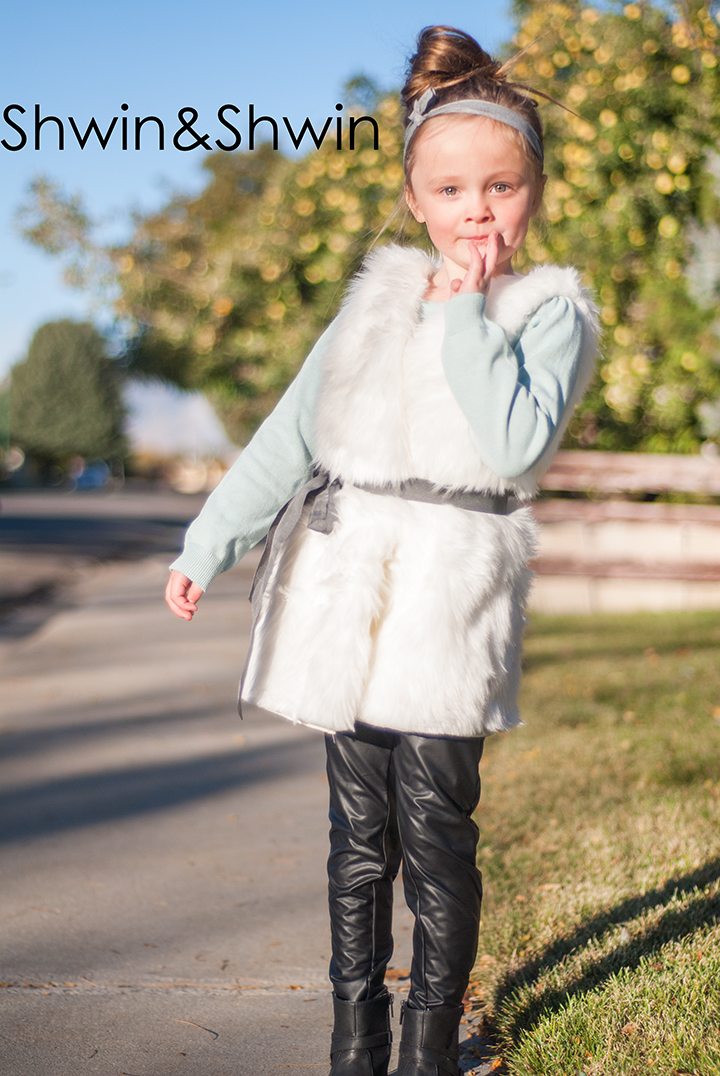
And there is nothing better than snuggling up with some cozy fur.
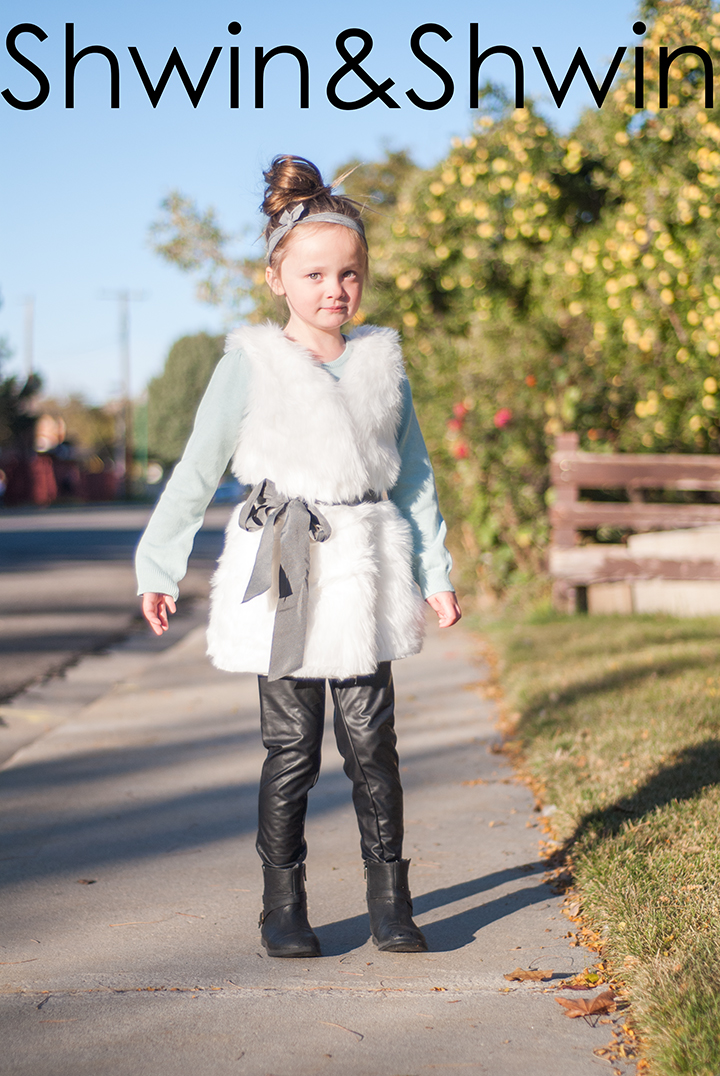
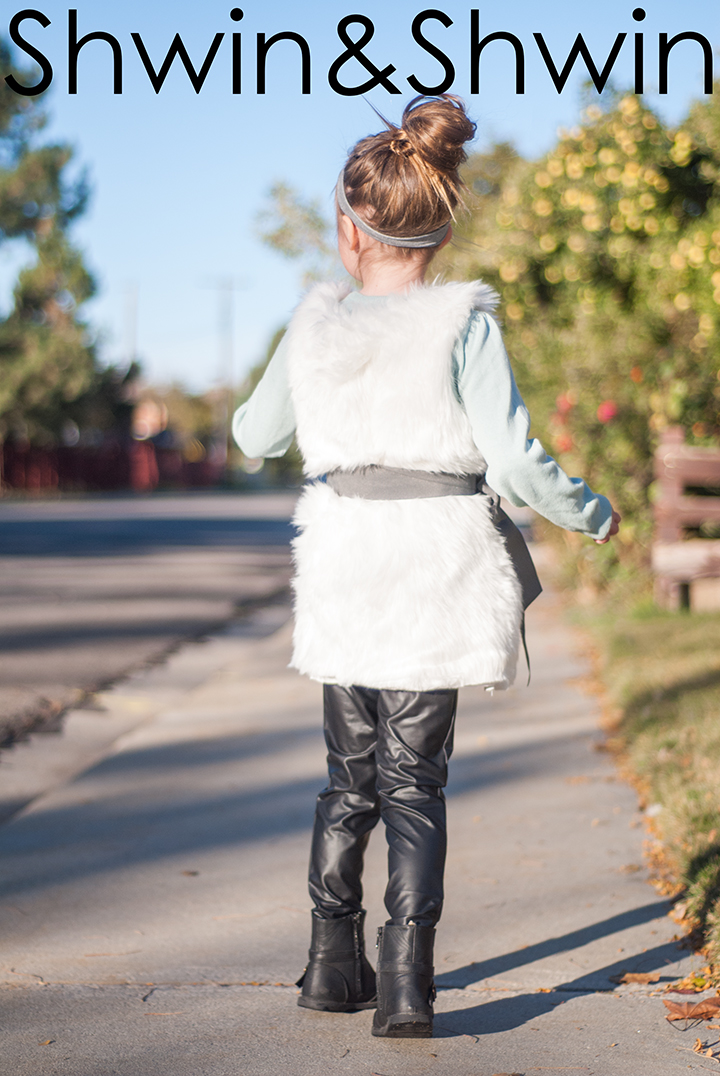
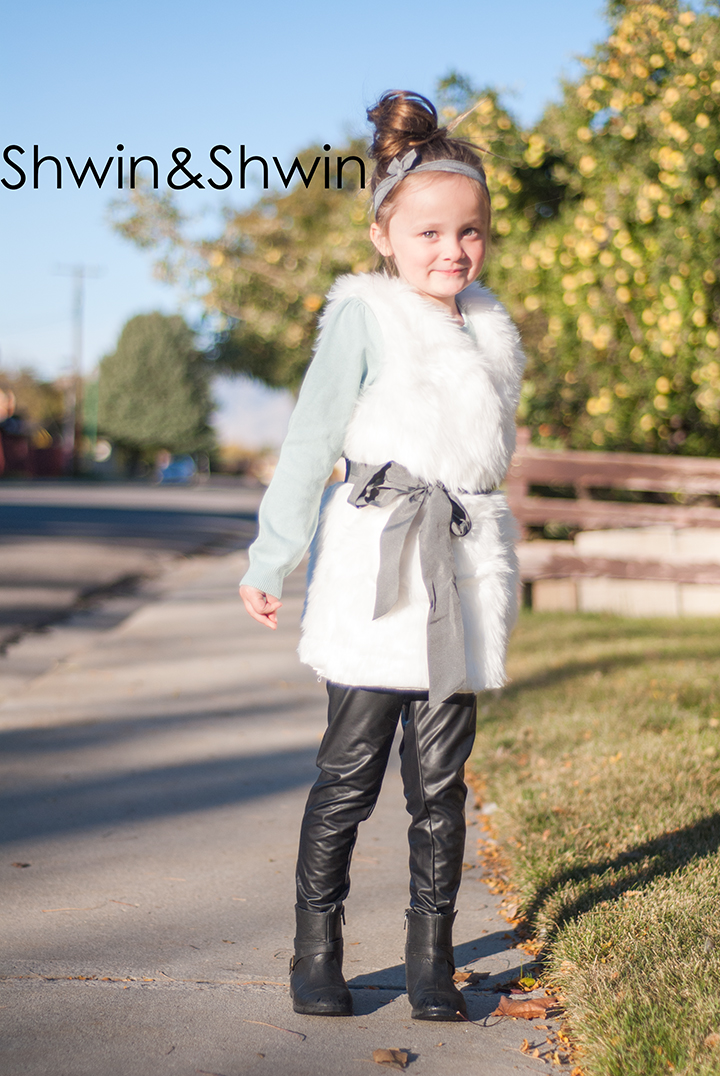
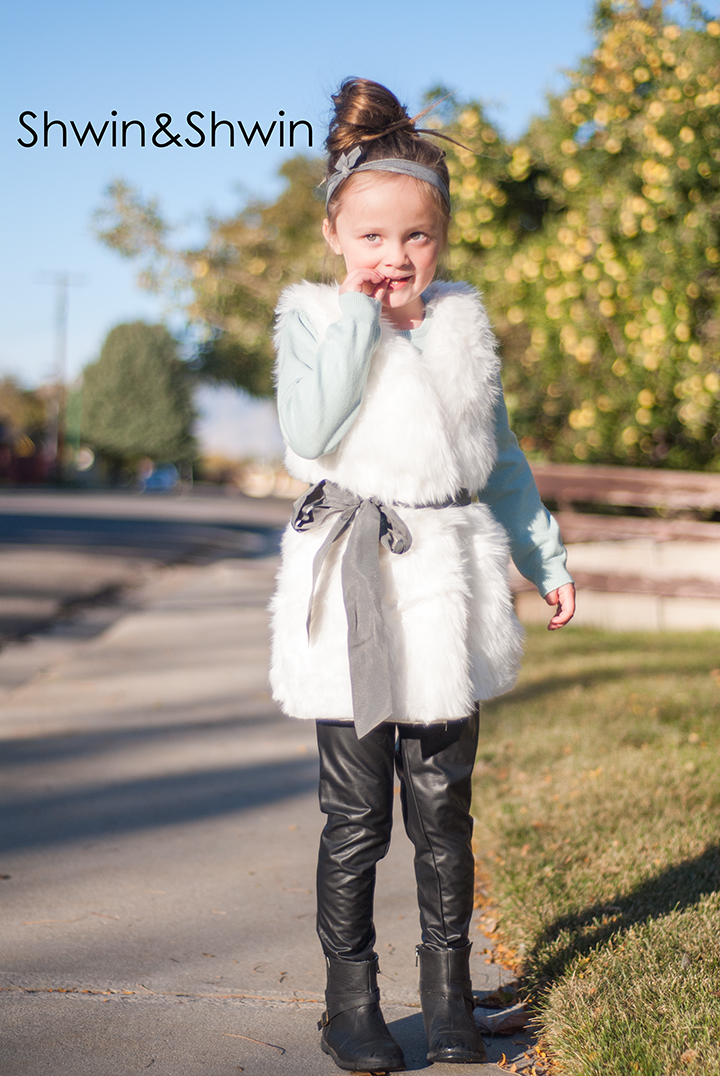
Vest Fur || Target throw blanket (ribbon also from blanket)
Sweater || H&M
Faux Leather Like Pants || Zara
Moto Boots || GAP
Amy
I’m planning a fur vest for one of my boys but have been a little intimidated by the fur! This couldn’t have come at a better time 🙂 Thanks!
Amy
I’m planning a fur vest for one of my boys but I was getting a little intimidated by the fur! This couldn’t have come at a better time 🙂 Thanks!