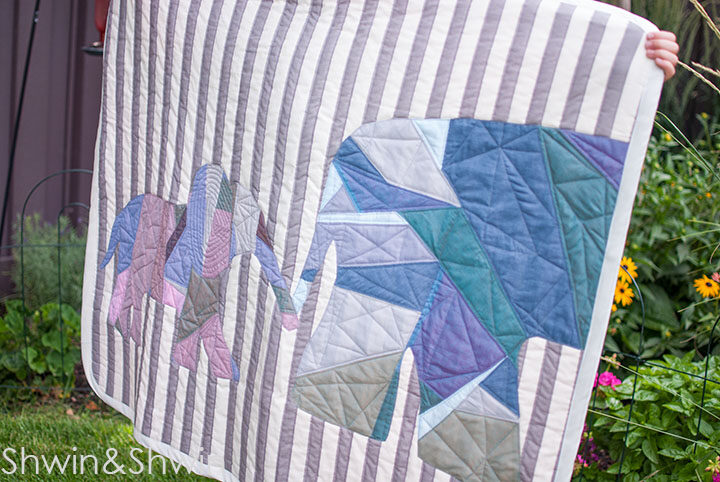
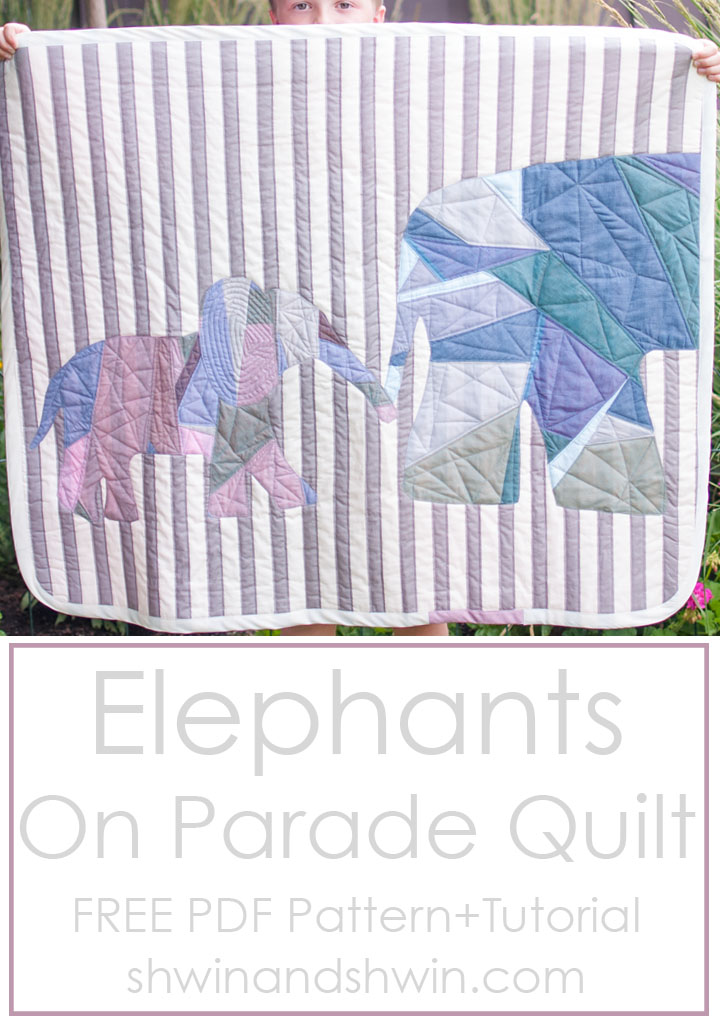
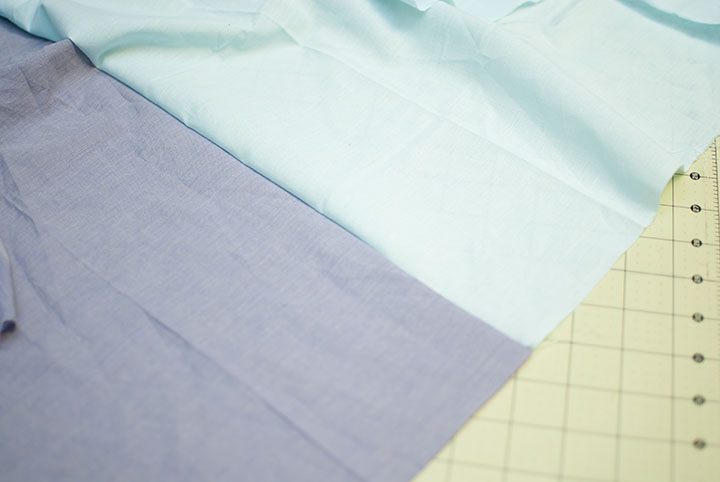
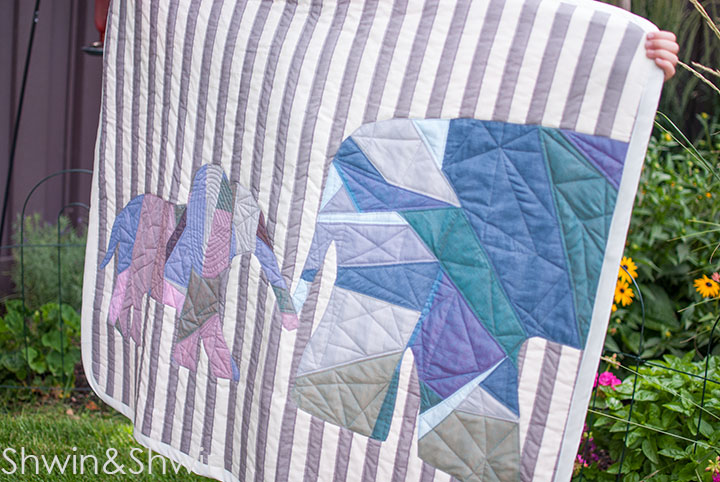
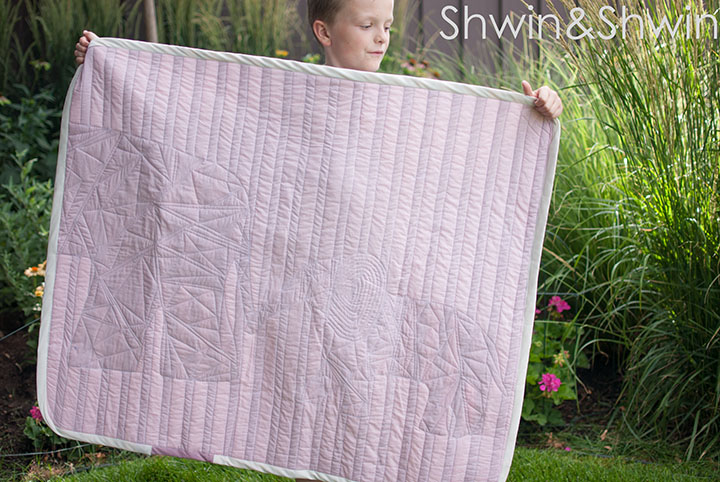
My sister in law is having a baby girl, and so while I was making all of my nieces and nephews quilts (you can see the Babar quilt here and the Transportation quilt here) I thought I would actually complete a quilt BEFORE the baby arrives instead of a year after. (totally on top of things around here) I asked her is she had a theme and all she said was Elephants. I also know she is not a fan of over the top pink things. The nursery is going to be teal and gray. So when I was dreaming up a quilt I looked at my stash and I saw the shot cotton fat quarter stack that has been waiting for the perfect project.
This quilt is the perfect scrap busting quilt, you will use up all shapes and sizes of any scraps you have around or about 5-6 fat quarters for each elephant. Also since I made this for a baby I just used one yard for the front and 1 yard for the back so it’s a small quilt but you could make the backing as large as you want.
You will need:
- Scraps of fabric or about 10 fat quarters.
- 1 yard Fabric for front. (I used Riley Black 1″ Stripes)
- 1 yard Fabric for backing. (I used a dusty rose cotton)
- 1 Crib size quilt batting.
- Rotary blade
- Ruler
- Cutting mat
- Iron
- Freezer Paper
- FREE Elephant template
**Note I highly recommend fusible quilt batting, you simply iron your three layers together before quilting and it keeps everything from shifting all over when you sew. No pinning the layers, no spraying glue, just iron and go.
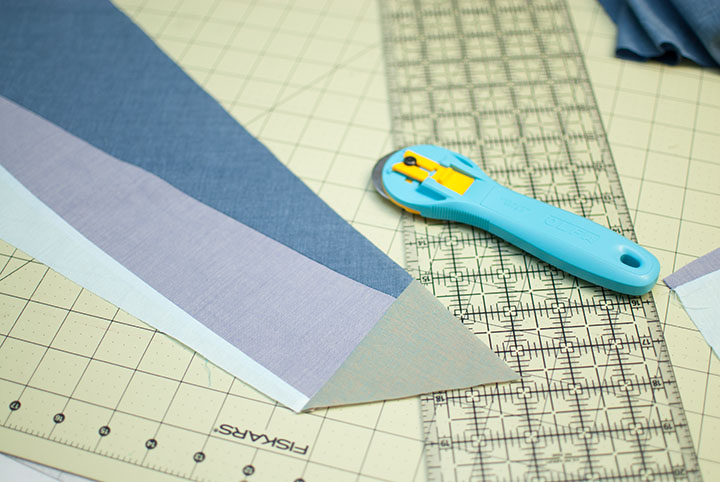
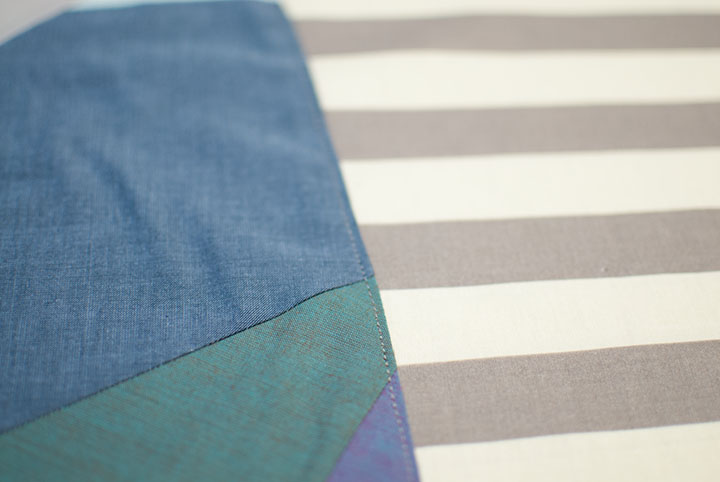
Now to start I wanted the look of foundation pieced elephants without the foundation, because it really didn’t matter what the final design looks like you can just piece together scraps. So I started sewing, I used a small stitch length and a 1/4″ seam allowance just like you would when foundation piecing. After each seam I pressed the seams.
Then I would use my ruler and rotary cutter to simply cut straight lines at different angles, and then sew another piece on, No worries about cutting through your stitch lines, or cutting off something that was already sewn. Save your scraps. Just keep cutting and sewing. Make sure you always cut straight lines and sew straight lines or you will end up with a piece that bubbles.
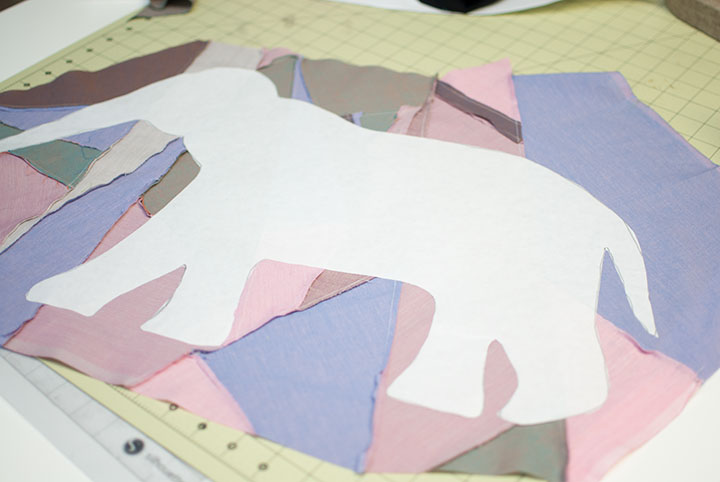
Keep going until the piece you have sewn is large enough to fit the template of the elephant. (trace the template on to freezer paper. Then cut it out) Once it’s large enough, iron the elephant to the back side of the pieced fabric.
Then cut around the template leaving about an inch of fabric around the edges.
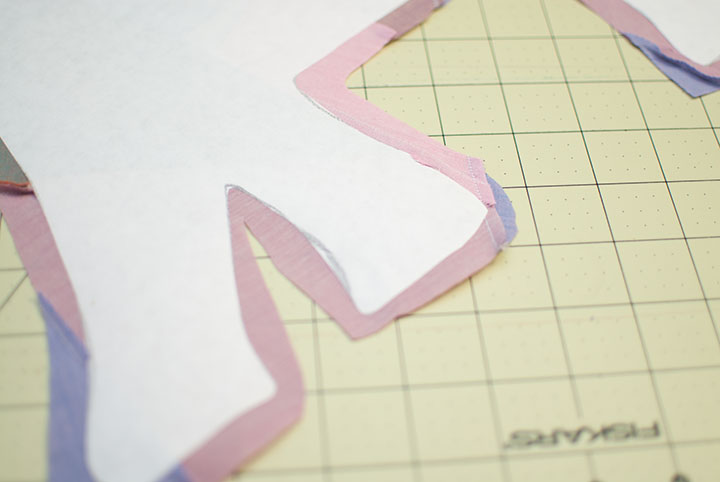
Now using spray starch and an iron, press the fabric around the template so the edges are all folded up. For corners and curves you will need to do some clipping so that the edges can turn over. I didn’t take a lot of detailed photos of this processes but it is the same as I did for THIS QUILT
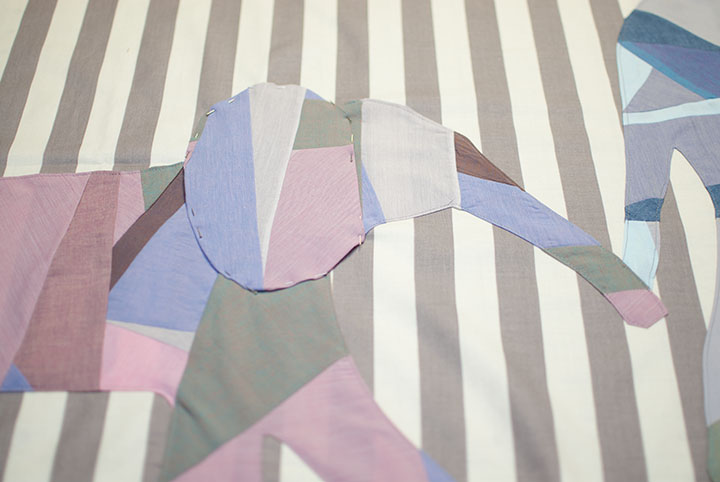
Then place your elephant pieces on the front quilt piece and edge stitch them in place. I also decided to add an ear to the baby elephant at this point. I just free hand cut the ear shape from scraps of the pieced fabric I used. Then fold it under the same way and edge stitch in place.
Once you have the edges of the elephant all stitched down, layer the top, batting, and backing together. Press well if you are using the fusible.
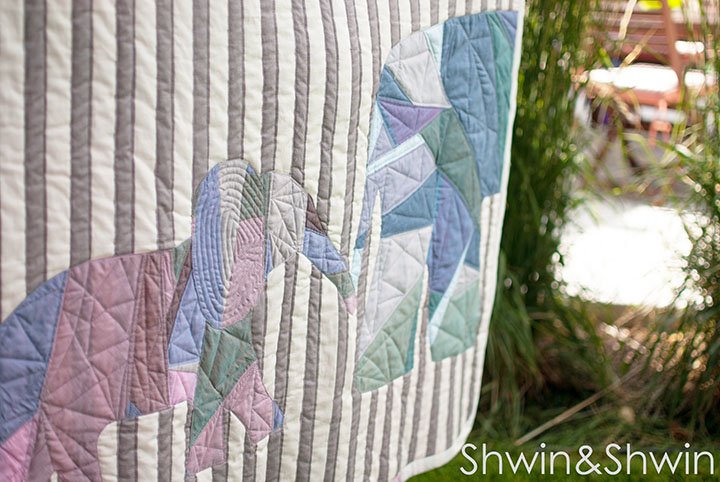
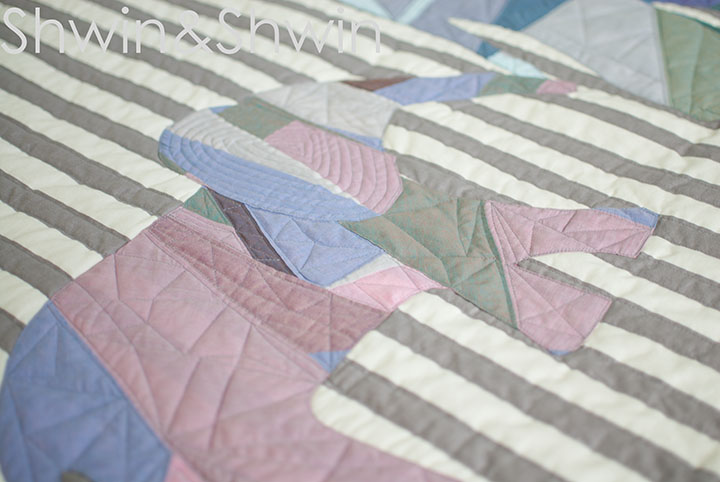
Then add all the quilting. For this I followed the lines in the stripes, and for the elephant I stitched random straight lines through each pieced piece. I did a swirled stitch for the ear.
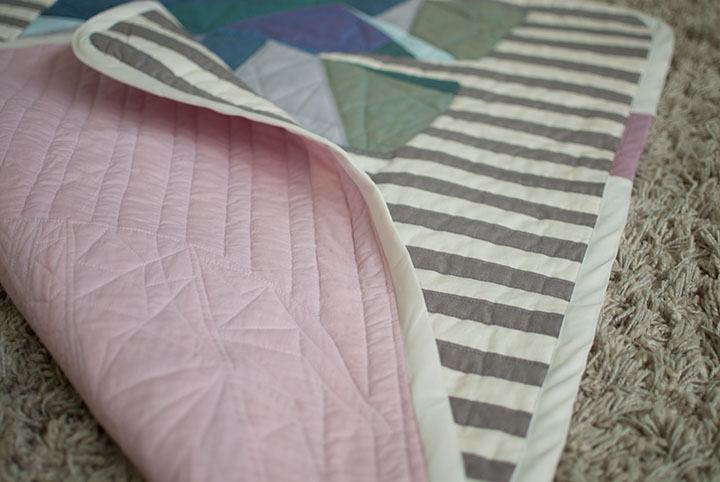
Then trim up the edges and add some binding. If you are like me and you don’t measure correctly, and you end up a few inches short on your binding then you may need to piece it together with a scrap of fabric. Although honestly those are the kinds of mistakes that I love, and I really do love the little pop of color in the binding so much I may start adding it to all of my quilts.
Then you are done with a super cute not overly baby, baby quilt.
In total it took me 12 hours to complete (including designing it, cutting, sewing, quilting, and binding)
Oh and the back looks just as pretty as the front, because fusible batting is the best thing ever.
