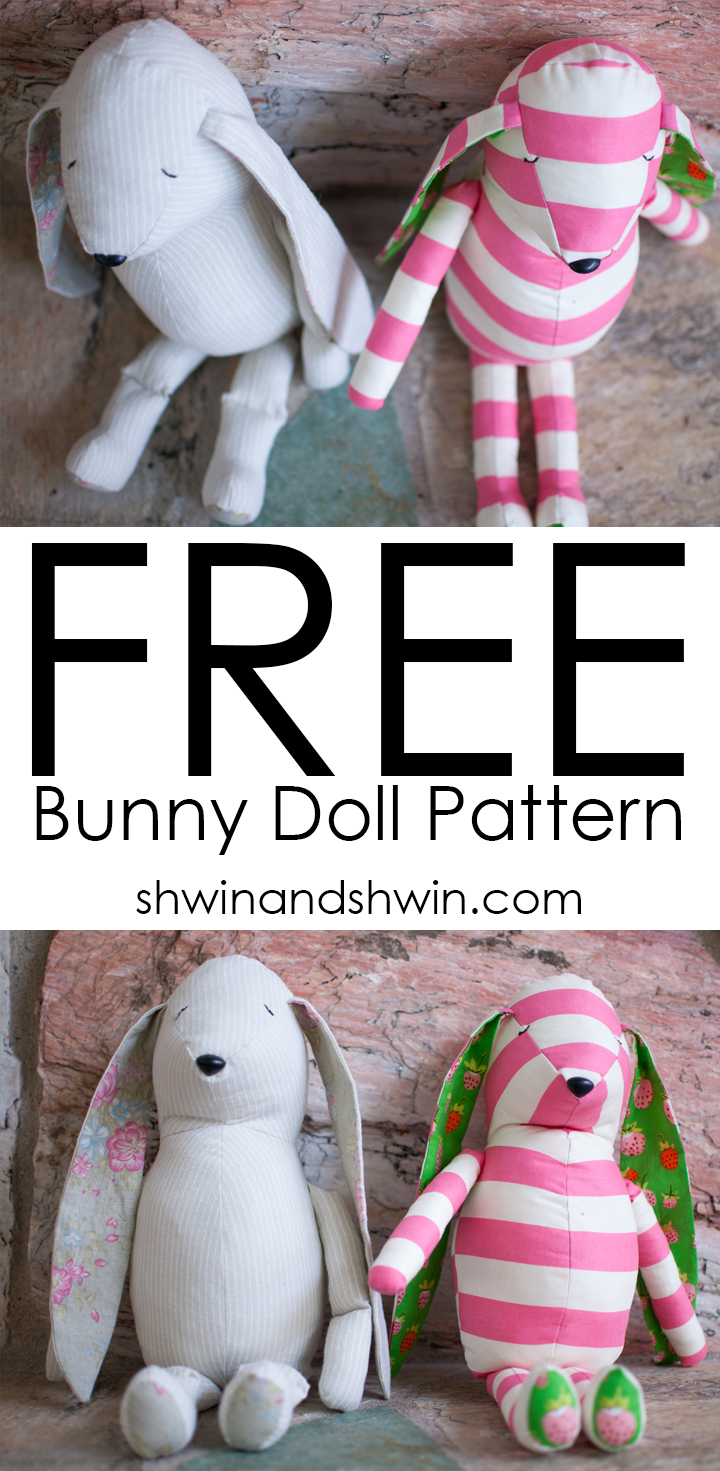
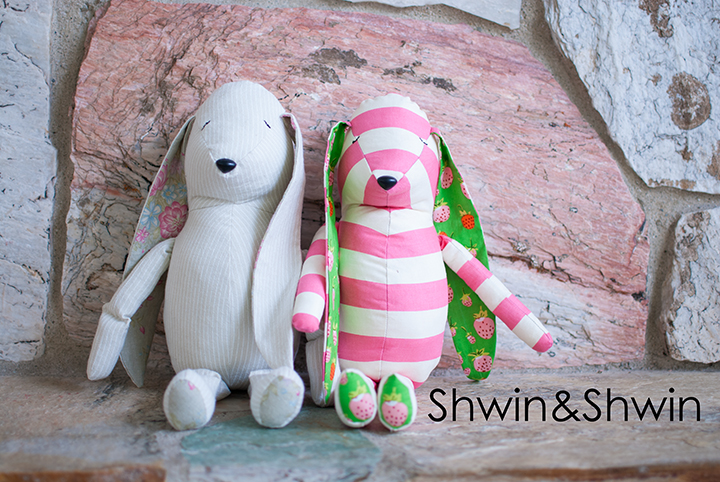
When I was girl my sister and I had these stuffed bunnies with long floppy ears. We LOVED them. We would pretend the ears were hair and we would “style” them into buns and braids. My mom made our bunnies matching outfits for us so we would go to church with our little bunnies matching us. Pretty much the best thing ever. When my sister and I started talking about them I decided I HAD to recreate them for my girlies. I made one from a tan linen just like the bunny I had as a girl and for Abbey I let her pick her own fabrics, she picked some awesome fabric.
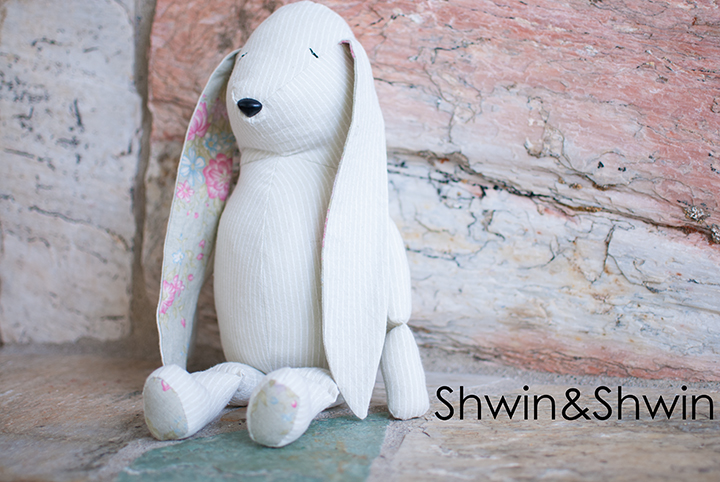
But as much as I love Abbey’s pink striped bunny with strawberry ears I adore the simplicity of the linen bunny with floral ears.
You will need:
FREE Bunny Pattern (sewn with a 1/4″ seam allowance)
1/2 Yard fabric for main
scraps of fabric for ears and feet
32oz bag of fiber fill
Needle and thread
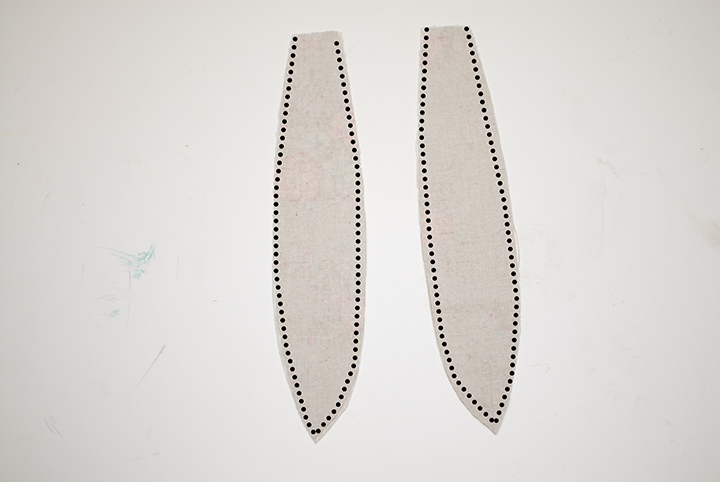
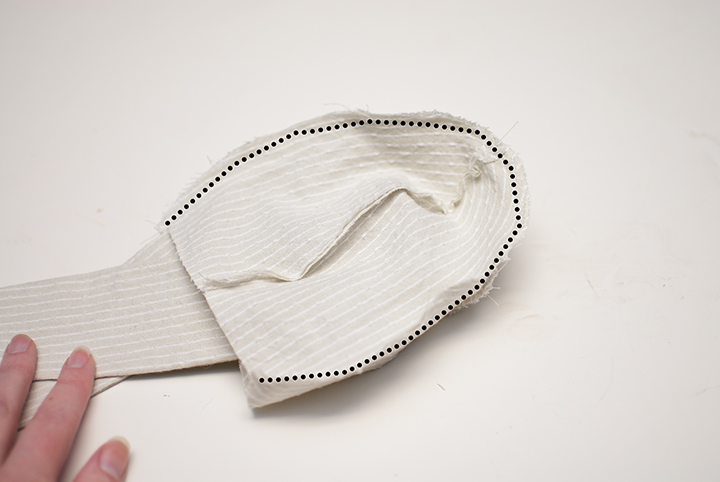
With the ears right sides together sew all along the edges leaving the top open.
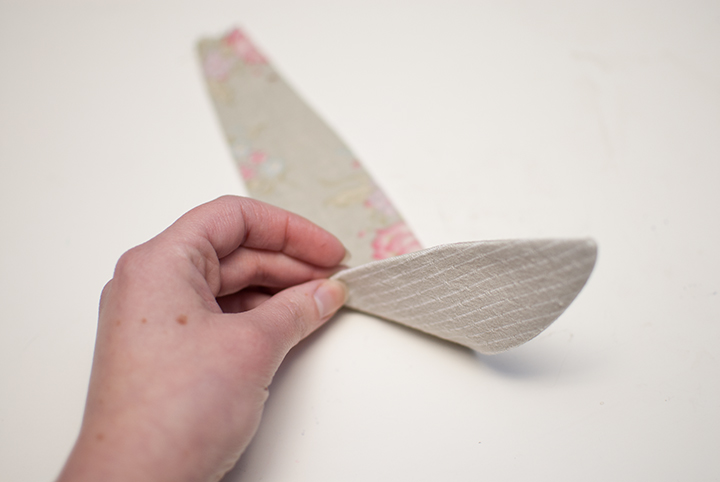
Clip the corners and the curves and then turn the ears right side out and press.
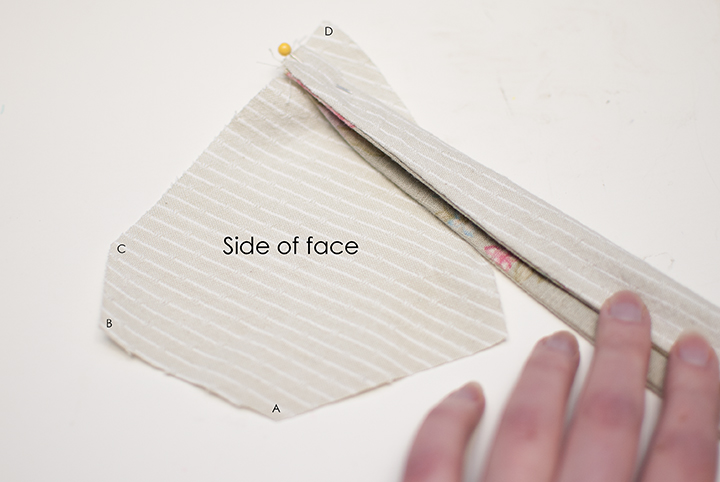
Fold ears in half so the inside of the ears are right sides together. Then place the ear on the side of face piece 1/2″ from point D between point C and D. Sew in place to secure. Repeat with other ear and other side of the face so you have two sides of the face sewn with added ears. (they should mirror image each other)
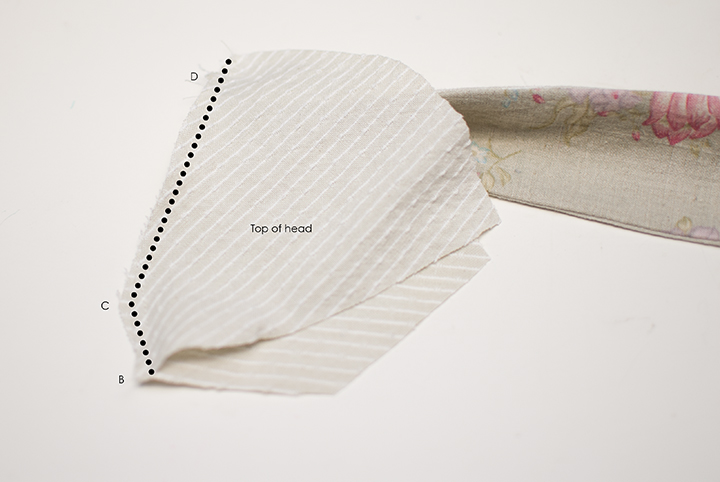
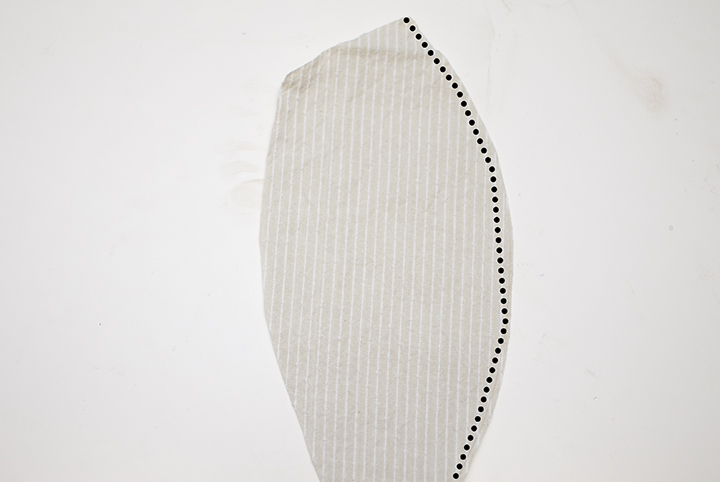
With right sides together sew the top of the head to one side of the face sewing from point B to C to D.
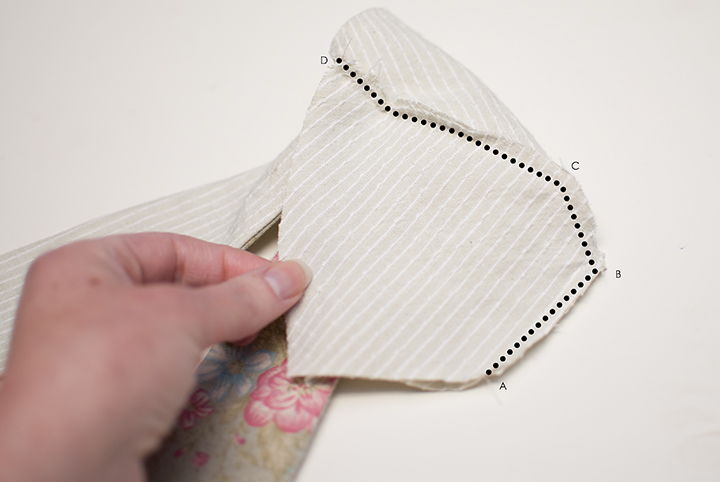
Then sew the other side of the face to the top and side by sewing from point A to B to C to D.
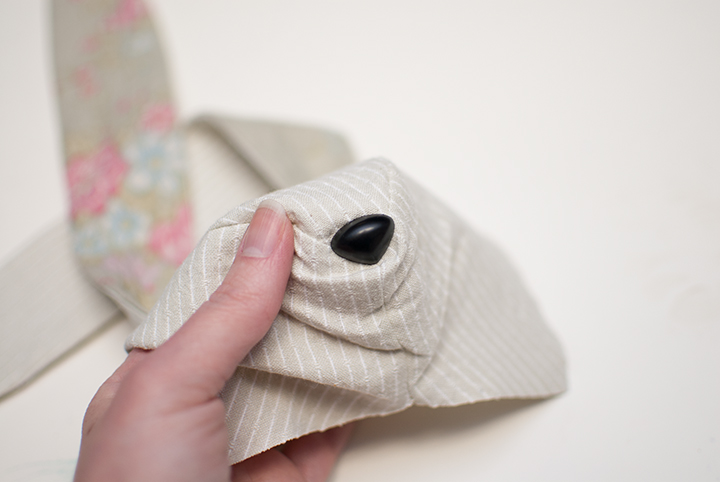
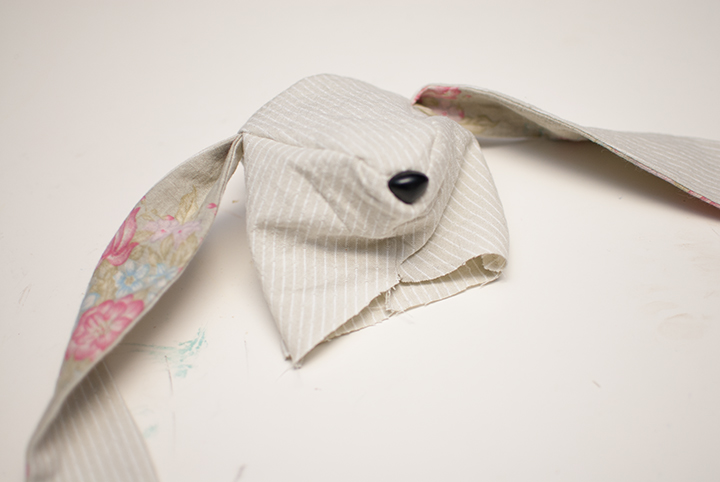
Turn the face right side out and add the nose to the front. You can add a shank nose with washer (like I did here) or stitch a nose in place. Either way it works. For the shank style you will have to cut a small hole in the fabric.

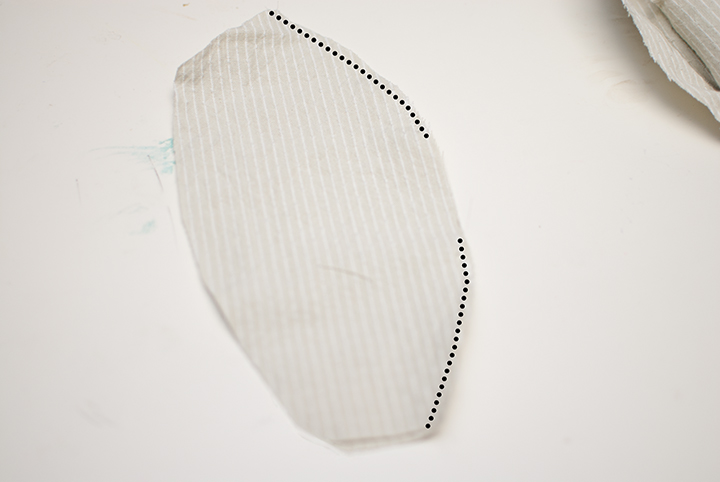
Next for the back of the head, sew right sides together from E to F.
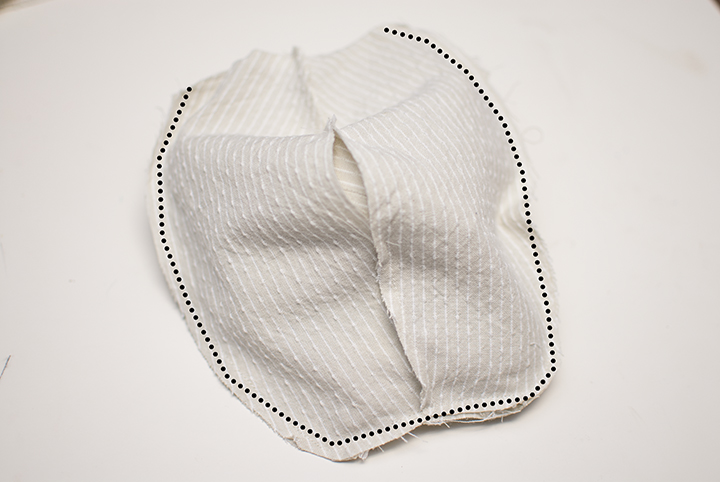
Then with right sides together match up the front and back head pieces. Sew from G to D to E to D to G.
Then turn the bunny head right side out and set aside for a moment.
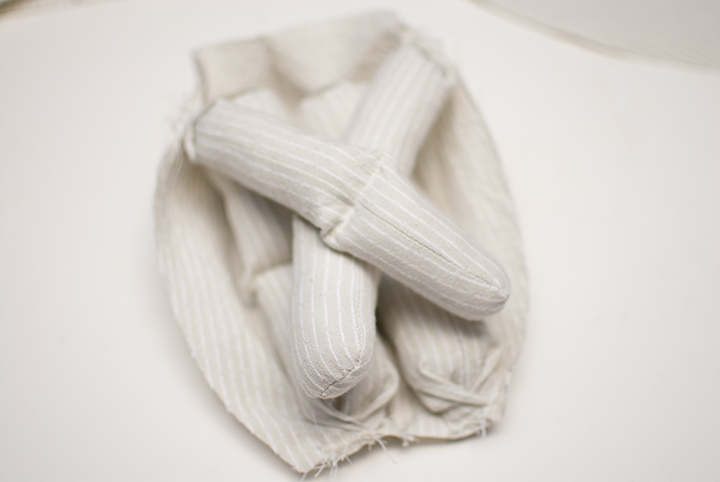
For the arms, take two and sew right sides together along the edges leaving the top open. Repeat with other arm.
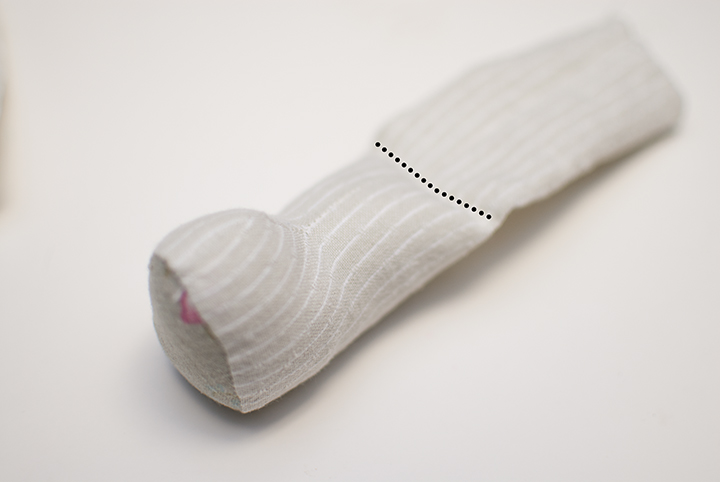
Turn the arm right side out and fill with fiber fill. Optional pack the bottom half of the arm quite full and then stitch across the arm to create a joint. I did this with the tan bunny but not the pink striped bunny and I liked it both ways.
After sewing the joint line I put more stuffing above just not so full.
Repeat with other arm.
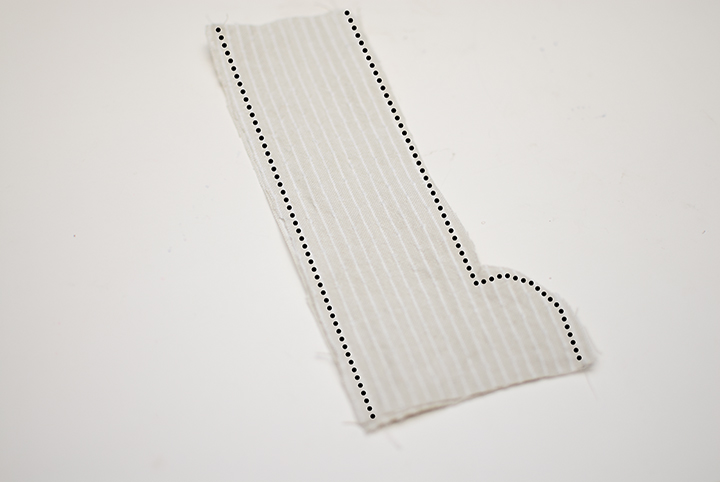
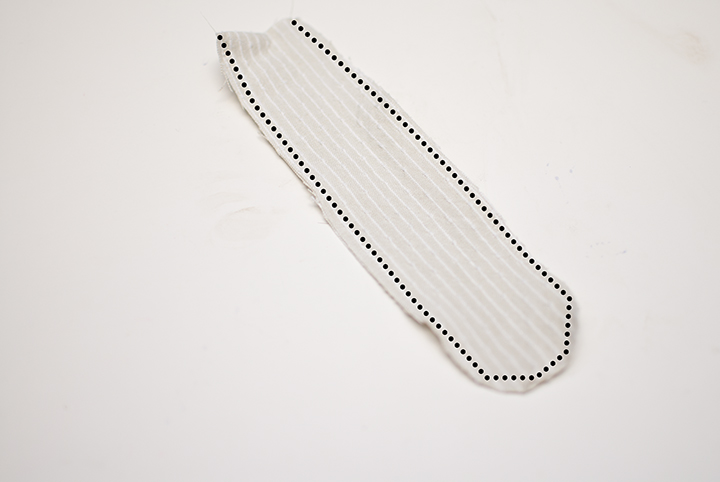
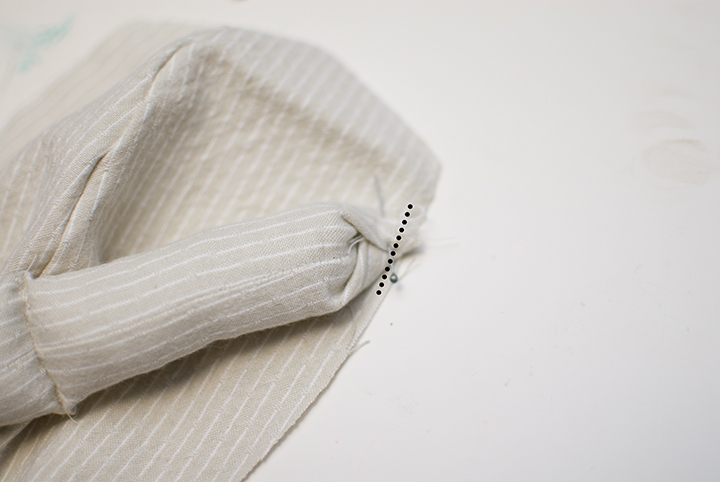
Then for the legs. Sew 2 right sides together all along the edges leaving the top and bottom open.
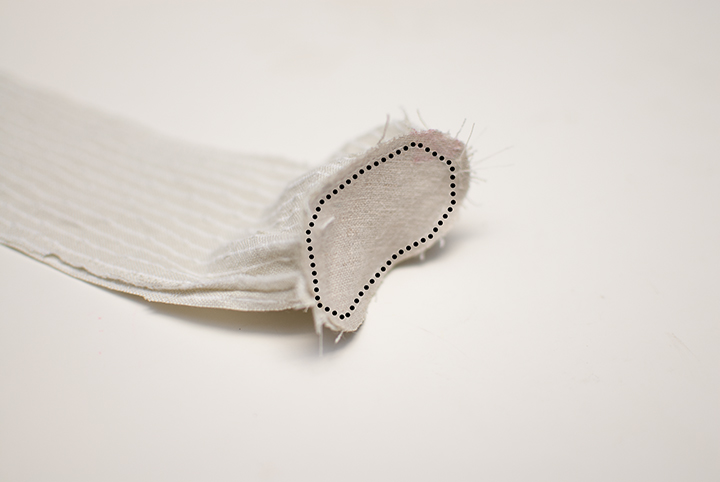
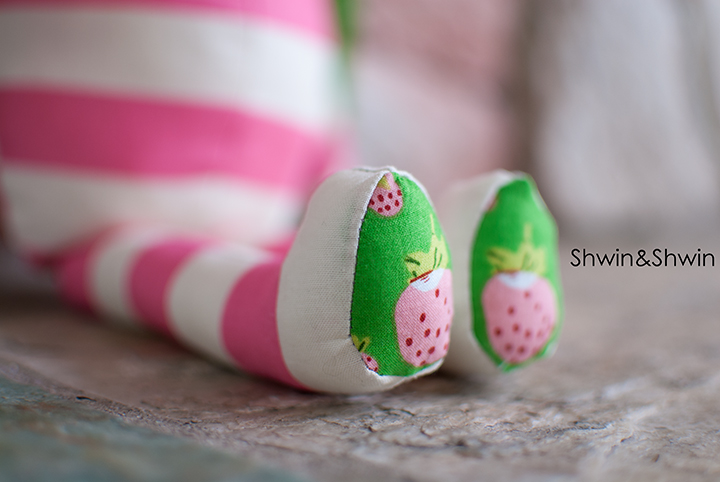
Then with right sides together sew a foot piece to the bottom of each leg.
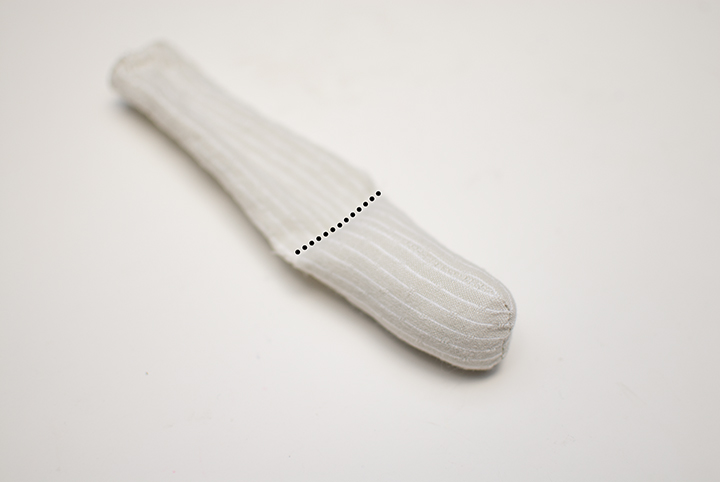
Then turn the legs right side out. Fill with fiber fill. Again optional but I filled the legs half way with a firm pack and then stitched a joint line, then added some fill above the line as well. Repeat with other leg.
Now for the front body. Sew two body pieces right sides together along the center front line.
Then open the front bodice and sew the arms and legs in place along the edges where marked on the pattern.
I folded pleats in the arms only because that’s how my childhood bunny was but you don’t have to.

Sew the legs in place as well.
Then fold the arms and legs into the bodice.
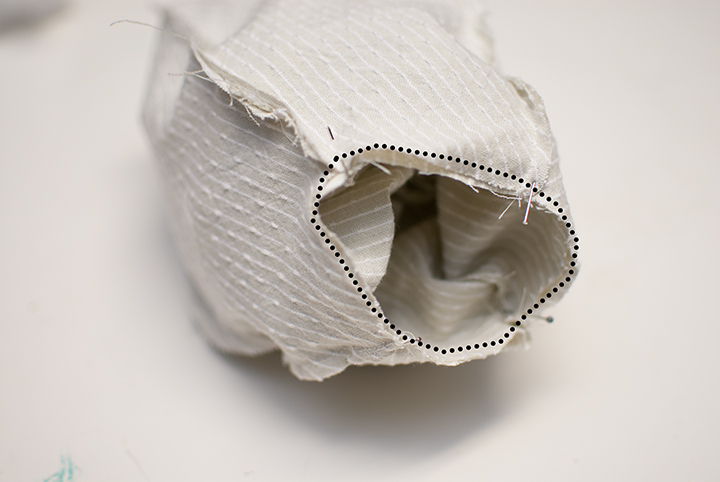
For the back bodice, sew right sides together just like you did for the front only this time leave a 2″ opening along the center back line.
Then with right sides together, sew the front and back bodice together with the arms and legs tucked inside. Leave the neckline open.
Then add the head into the top of the body so you can match the right sides together. Be sure that point A from the head matches with the center front bodice and point F matches center back. The other seams will also match up.
Sew all around the neckline.
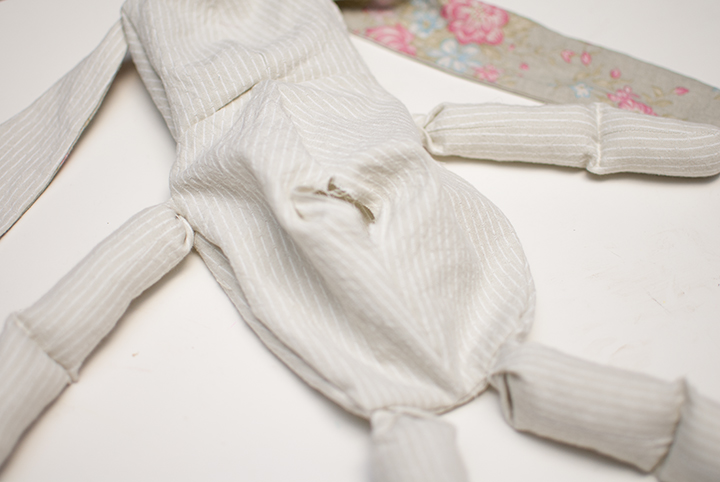
Then using the opening left in center back, pull the arms and legs out through the opening and turn the bunny right side out.
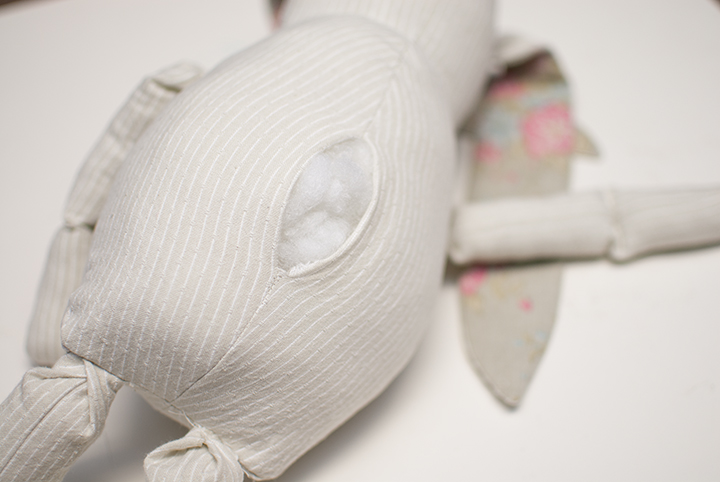
Then fill the bunny with stuffing. Fill the head and body. You want to fill it so it is firm since the fill will settle a bit and become limp if it’s under filled.
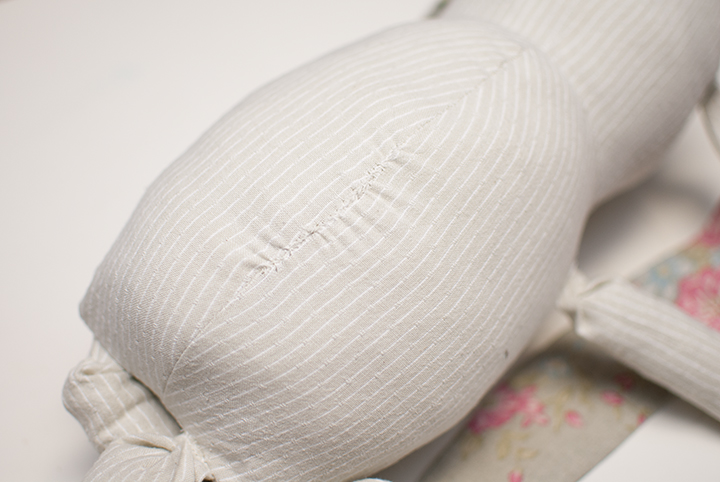
Then us an invisible stitch or slip stitch to close up the back. If you are a master (I am not) then you won’t even see where the opening was when you are done.
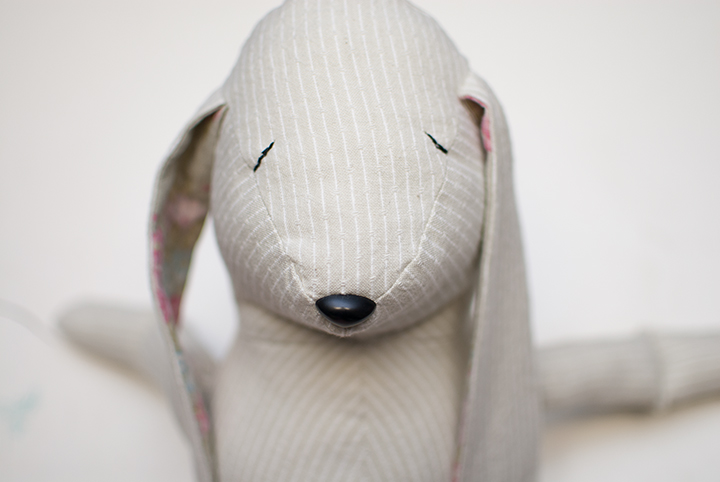
Lastly I added a simple stitched eye to the front. It’s optional.
That’s it, cute simple little bunnies that are so stinking cute and my girls loved picking custom fabric to make them their own. We have to get busy making dress up clothes for them now.
Linen fabrics are from my stash and I don’t know the source anymore sorry.
Pink Stripe is Riley Blake from HERE
Strawberry is Heather Ross Briar Rose I bought locally