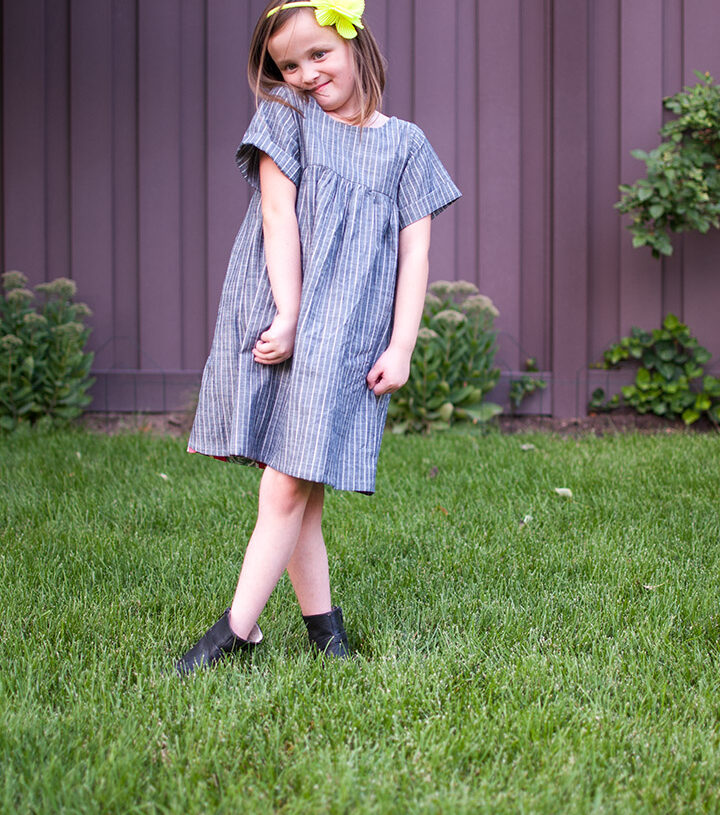
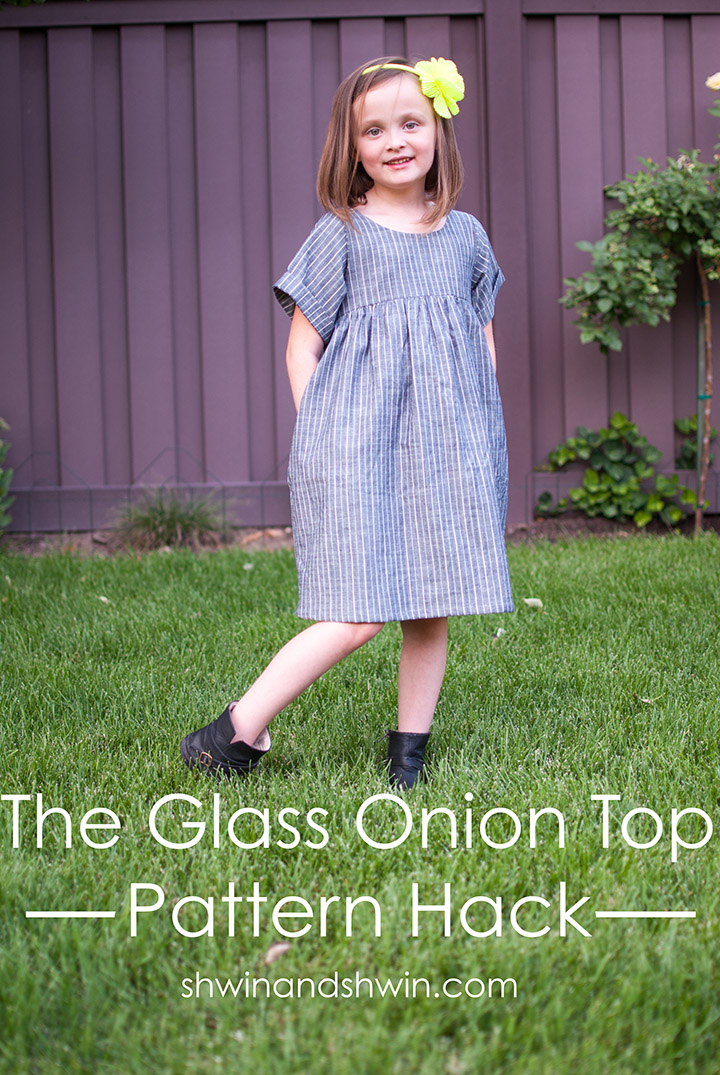
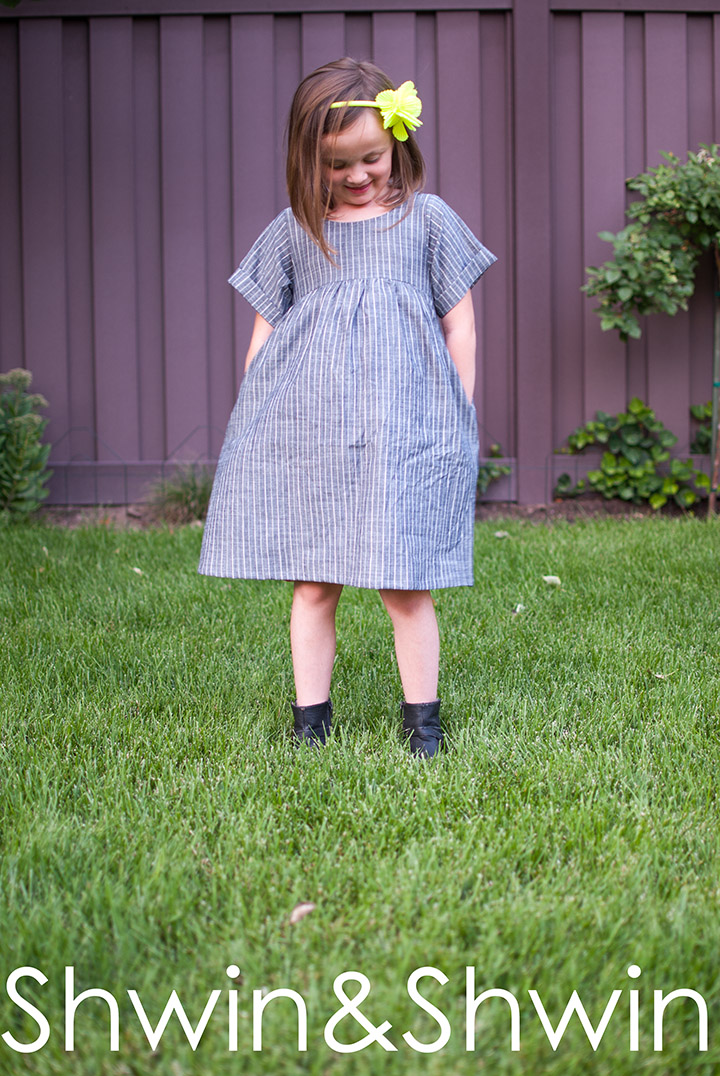
Since I released the Glass Onion Top a year ago it has quickly become one of my favorite patterns. One of the questions I get a lot from other Glass Onion Pattern addicts is “Can I make it a dress?” and “Can I add pockets?” With the design of the top the answer had always been a no from me, the dress would be rather revealing. Pockets could have worked but it usually encourages children to put their hands in the pockets and that would lead to a more revealing back as well. So I was kind of determined to make it possible to make a dress from the pattern and add pockets while taking care of the issues. The good news is that it was easy, and totally possible for a super cute dress with all the elements I already love about the Glass Onion Top, like the perfectly gathered front bodice.
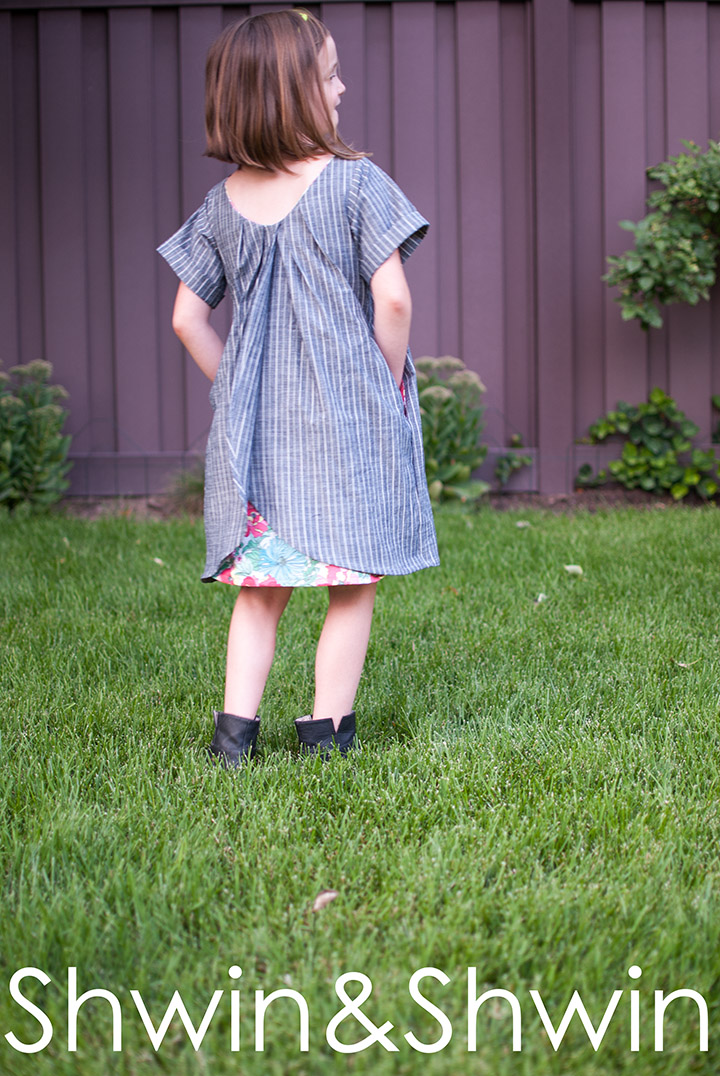
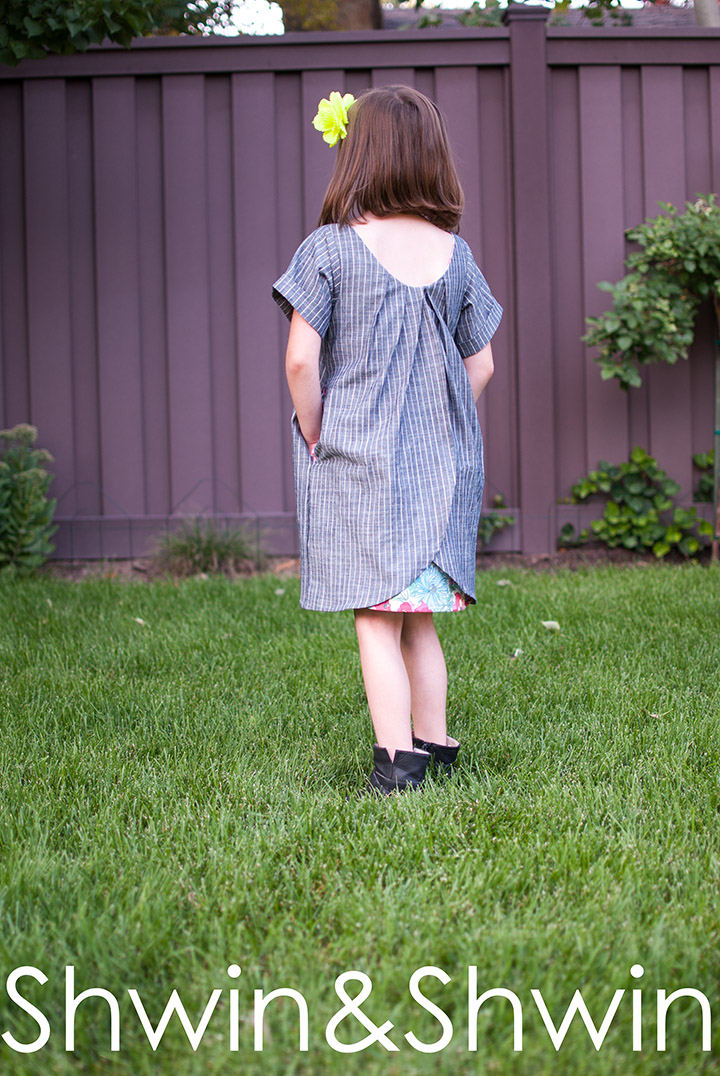
And the pleated scoop neck back with curved overlapping pieces. (or non pleated if you rather)
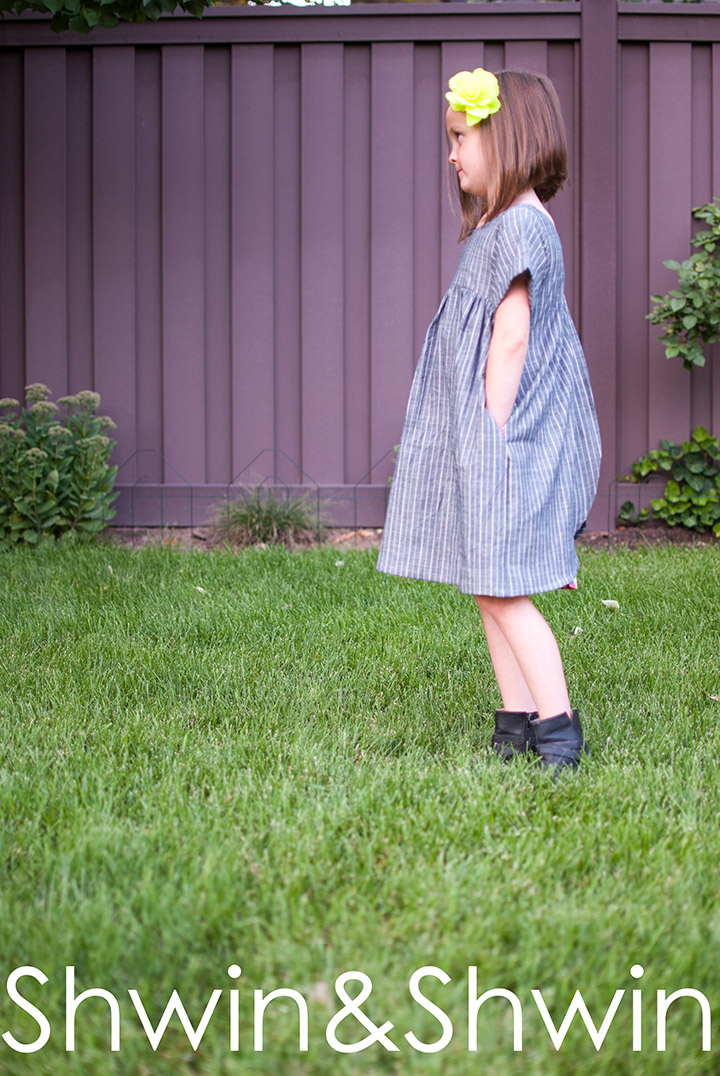
And I added in some in seam pockets which I just love, and Abbey loves.
So to make the Glass Onion a Dress you have to do a few simple alterations and sew things just a little differently but I will show you how to do that.
You will need:
Pattern Paper (or freezer paper as I like to use)
A pencil
A ruler/tape measure
Extra fabric for the back “modesty panel” and for the added length
My daughter is 6 years old has a 25″ Chest and is 49″ tall. I made her the size 6, and although I usually cut a 7 or 8 length for her this time I just added the length I needed to the 6 I ended up adding about 7″ and once hemmed it was the perfect knee length dress. My fabric was extra wide so for the dress with the mid sleeve option I ended up only using the yard and a half, and then I used about 3/4 yard (for length) of another fabric for the modesty panel.
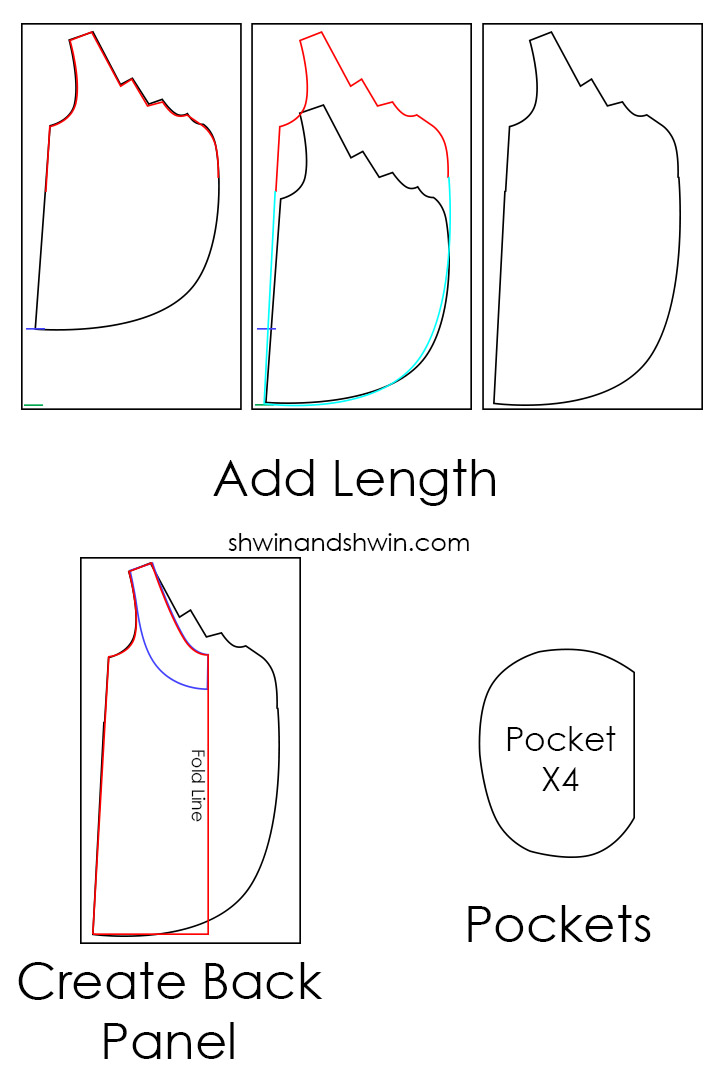
So for a few adjustments you will need to make to the pattern. One adding length. To do this trace the top portion of the pattern piece (red line) . Then draw a line where the bottom of the pattern is (blue line) and then measure down by how much you want to add and draw another line (green line) Then move the pattern down so the bottom of the pattern is at the new line. Then trace the bottom of the pattern while connecting to the top. This may change the curve a little and that’s ok. Then you have your new lengthened piece. Do this for both back pieces and for Front B
Next instead of using the back facing we are going to turn that into a modesty panel. To do this, use the back facing as your “guide” and match it up with the shoulder of one of the back pieces you just made. Then use the fold line from the facing and lengthen it all the way down so it’s the same length of the back piece. Trace the arm curve and side of the back piece. Then you have the back panel pattern piece which will be cut on the fold. (shown in red)
For the pockets, I cut out a pocket shape (as shown above) that was larger than Abbey’s hand so I knew it would fit for her. Cut 4 (reverse 2)
Now on to the sewing.
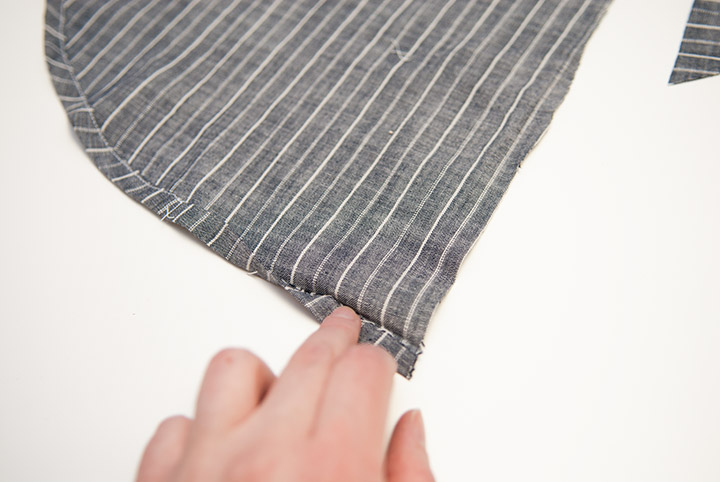
You are going to do things a little differently. Start by hemming the back pieces, hem the back modesty panel by turning the edge under twice and sewing it in place. Then hem the two back pieces along the curved edge, only STOP sewing the fold in place about 2-3″ before you get to the side seam so you can un fold it, for later.
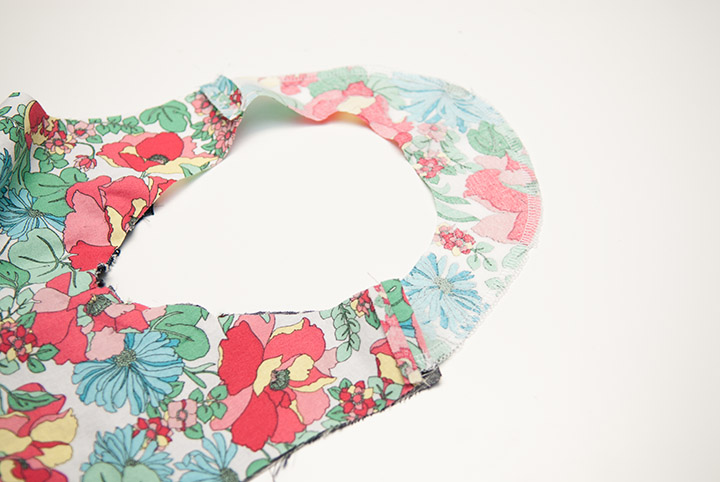
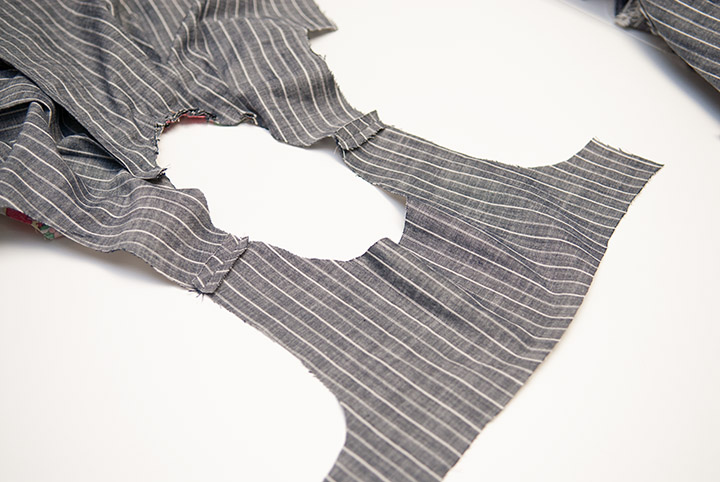
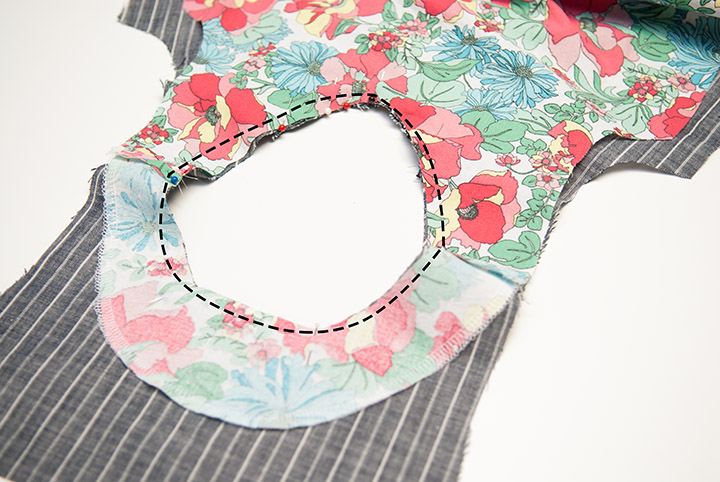
Finish the front facing the same as the pattern instructs, and then sew the front facing to the back modesty panel so that the RIGHT side of the facing is to the WRONG side of the panel. Then press the seam open at the shoulders.
Then with right sides together sew the front and back bodice pieces together at the shoulders and press seams open flat.
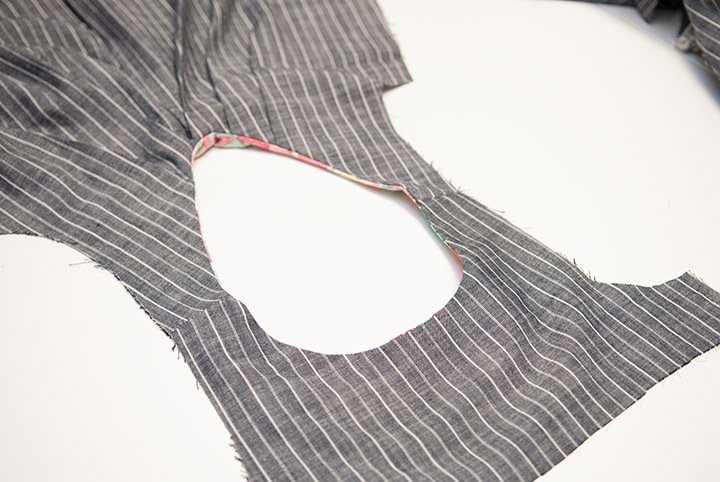
Then with “right” sides together, (which will be the right side of the bodice and the right side of the front facing, and the back with the wrong side of the panel) sew the two pieces together. ** If you are doing the pleated version you will have already wanted to pleat and baste before sewing them together.
Clip the curves and then turn the facing to the inside and press well.
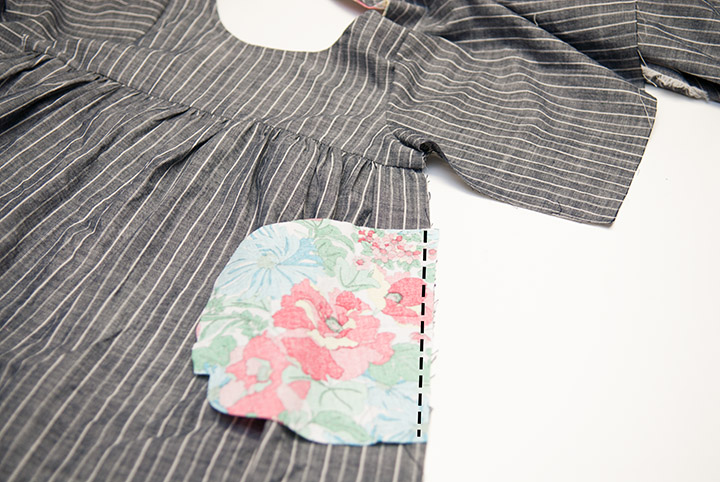
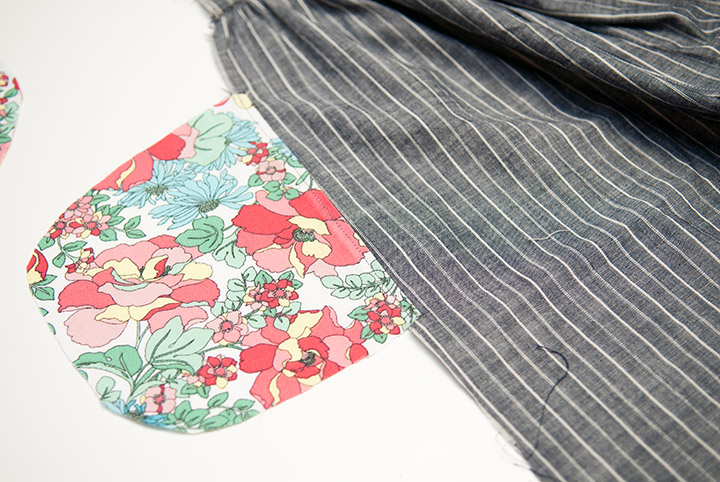
Then you will add the front B and sleeves the same as the pattern instructs. However before sewing the side seam, you will want to add the pockets. Sew one right sides together to the side edge. I placed it about 2″ under the seam where front A and B meet. Sew all 4 pockets in place so they are all at the same place, on the front and back.
Then press the pocket pieces out flat and top stitch the pocket in place down the seam. Now when you sew the sides together, sew from sleeve edge to the armpit, pivot to sew down the side, sew around the pocket edge and back down the side. When you get to the bottom unfold the back edge and sew it to the front. Then re-fold and finish sewing the hem all the way across the front as well. You may catch some of the back panel in the back hem, that’s ok.
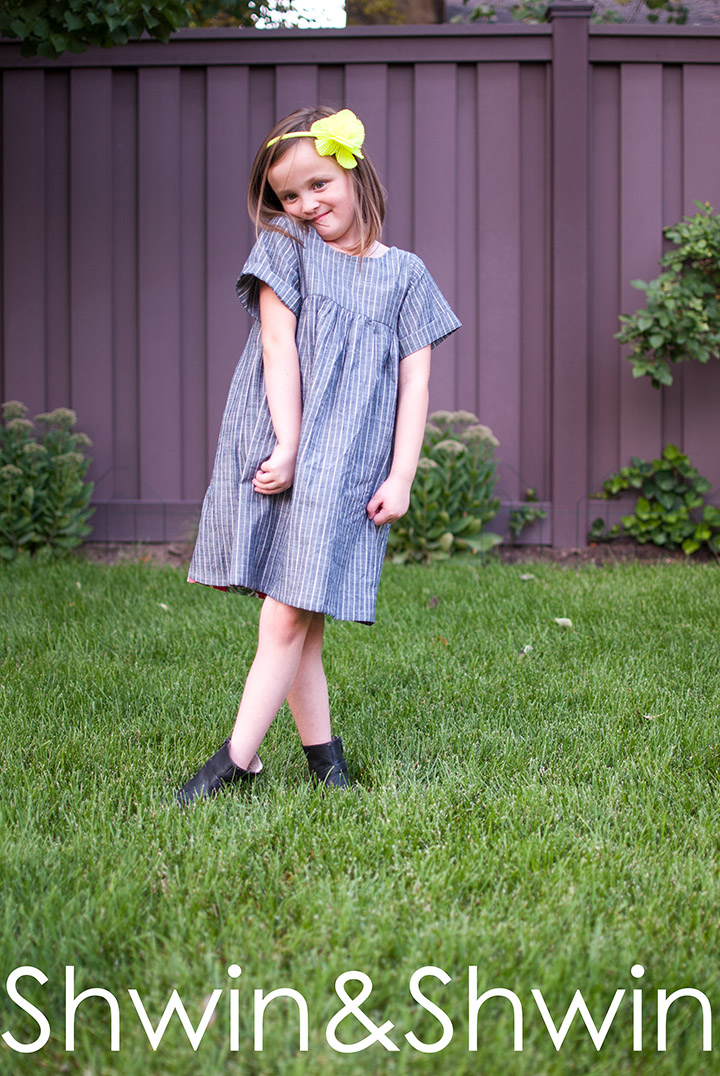
Then you have the perfect little Glass Onion Dress. Which this one with the mid sleeve length option is perfect for the late summer-fall transition.
I still love the back with the scoop back and pleats, and the modesty panel peeking out is just too cute. The modesty panel could easily be added to the top version as well sewn the same way if you wanted extra coverage.
Pattern || Glass Onion Top By Shwin Designs
Fabric is Robert Kaufman Rail Road Denim ( a lovely chambray)
Floral is a scrap of cotton Fabric from Joanns
