I am going to show you how to install an invisible zipper. Which I promise is way easier than it may seem, the only trick is knowing where to sew.
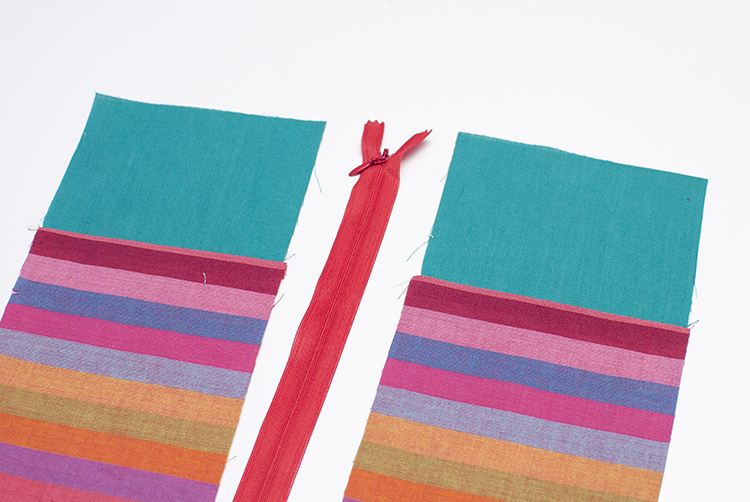
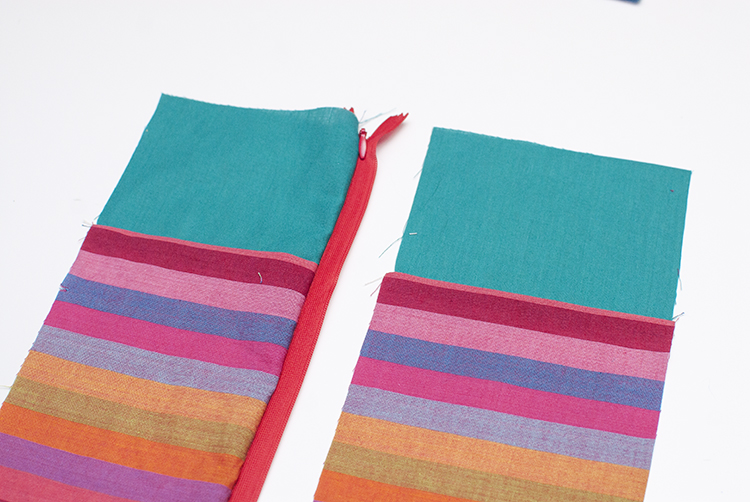
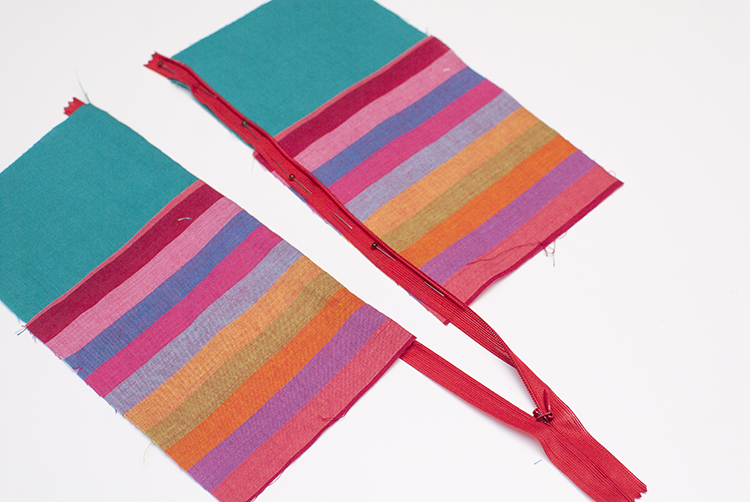
So here we have two pieces of fabric and an invisible zipper. I even grabbed fabric with a seam and with stripes so I can show you how I match seams and prints. (which is important in zipper installing)
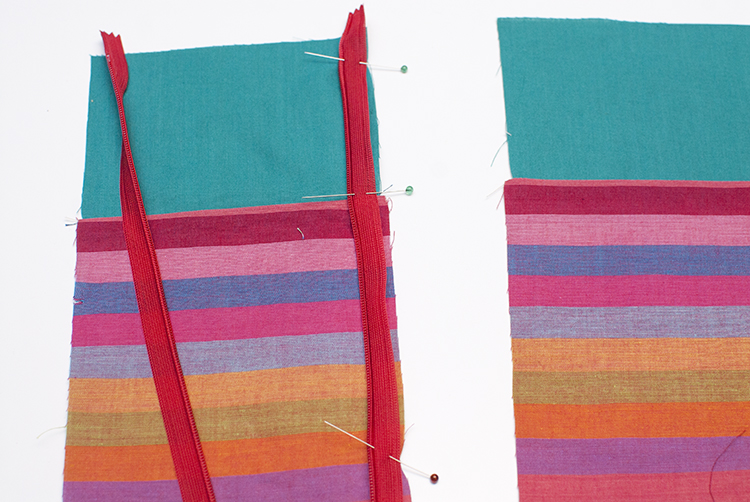
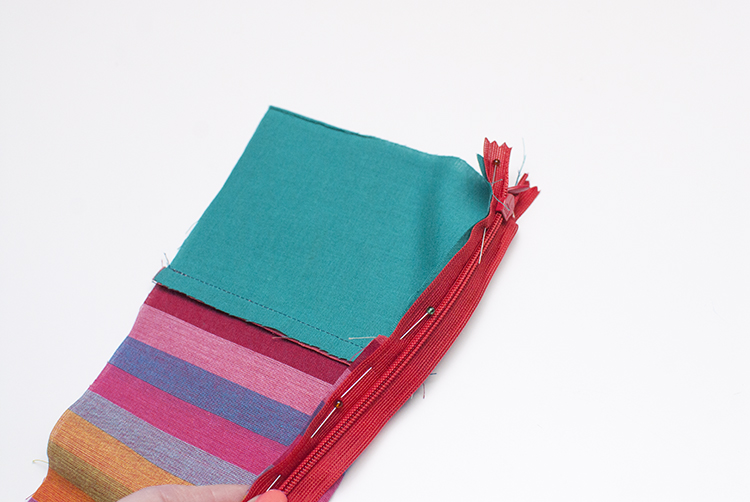
First, unzip the zipper. You want to pin your zipper right sides together with the fabric. This means that the front side of the zipper is going to be face down to the right side of the fabric. The zipper tape will be towards the raw edge of the fabric. If you were sewing the zipper in say the back of a dress, you may need to place the top zipper top so it ends at the seam allowance from the top edge. These would be important things to note before sewing the zipper in place.
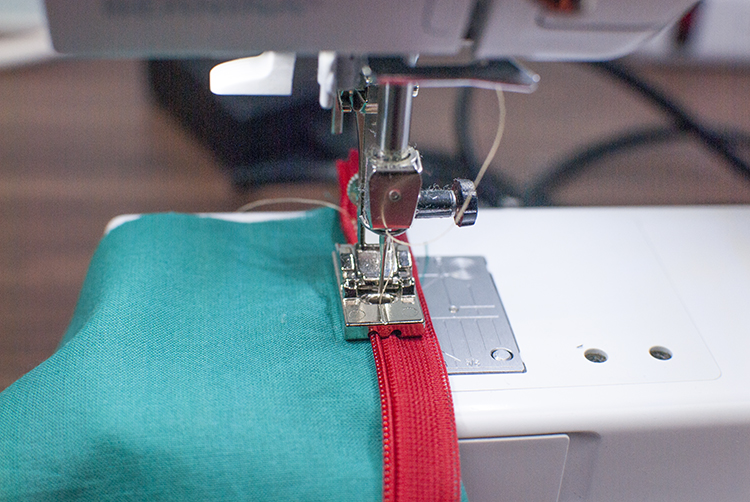
I used the invisible zipper foot to sew this zipper in place. (you may remember from the zipper foot post that a regular zipper foot will also work.) You are sewing right in that divot or ditch, right behind the curled teeth. The invisible zipper foot really makes this part flawless and easy so if it’s in your budget I say get one, it’s a game changer. Sew down the zipper until you get to the zipper pull, or as long as you need the zipper opening since you can easily shorten the zipper opening if needed.
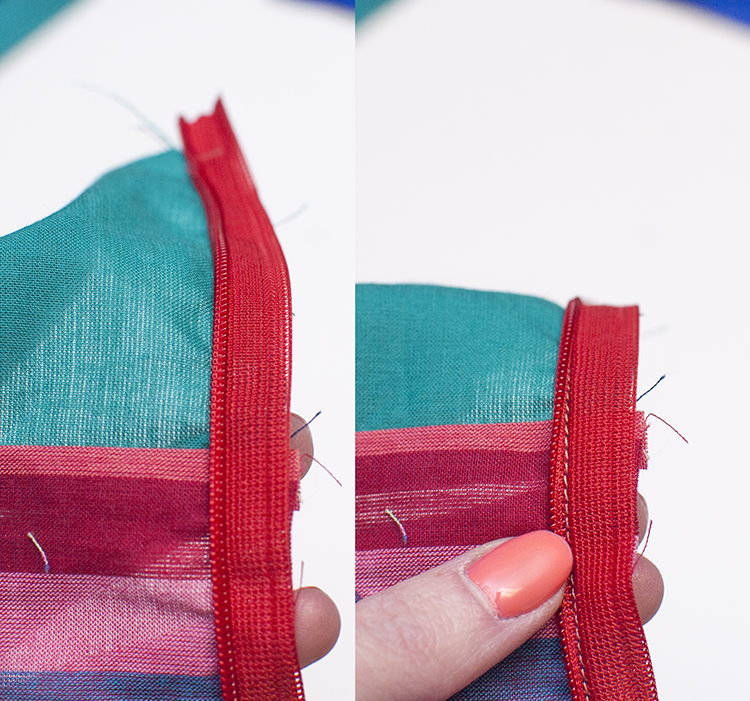
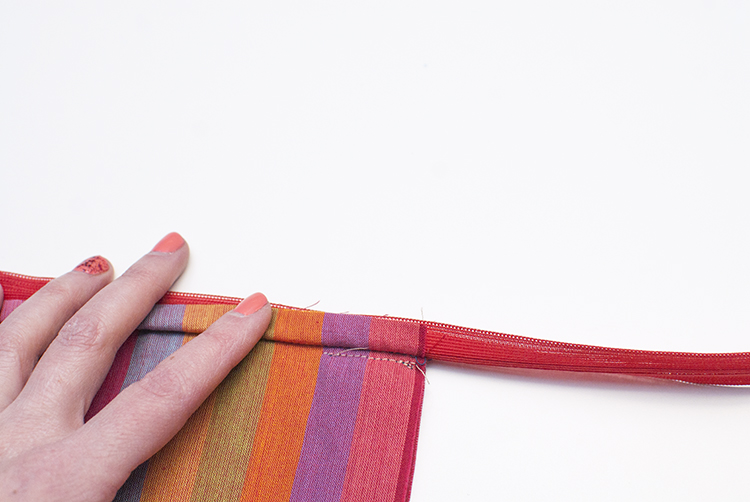
Here I wanted to show you what the zipper looks like when it’s sewn. On the left is the zipper and the teeth have curled back over which covers the stitch line. On the right, I uncurled the teeth to show you the stitch line. You want to make sure your stitches are all the way in that fold or your zipper won’t be invisible and some of the tape will show when it’s zipped up. You can sew again getting even closer if you need.
Then, zip the zipper closed. I do this so I can easily match up my seam and pattern when matching the other side, but also so I make sure I don’t twist the zipper. (yes it happens)
Next you will pin the other piece of fabric right sides together to the other side of the zipper. You can draw markings on the zipper tape to be sure that you match up the seam and print in the right places, I find laying them on top of each other and pinning in place does the trick, but whatever makes it easier for you.
Once it’s all pinned and marked and you have everything lined up properly, unzip the zipper. Now you will sew the other side of the zipper the same way you did the first side. Sew in the ditch again all the way down to the same point that you did on the other side.
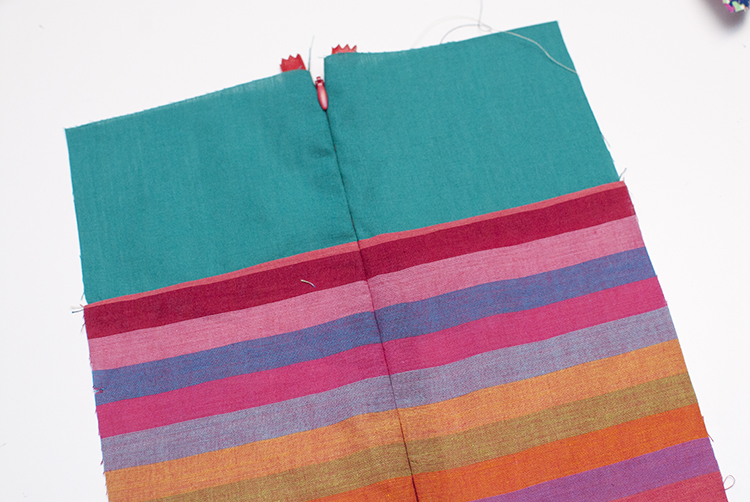
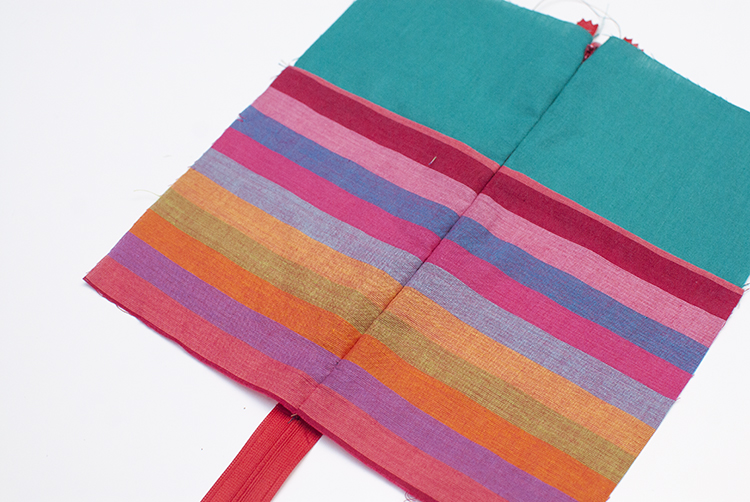
Then zip up your zipper. See how beautifully it just disappears into the seam. No visible stitch lines, zipper tape, nothing but a cute little zipper pull at the top.
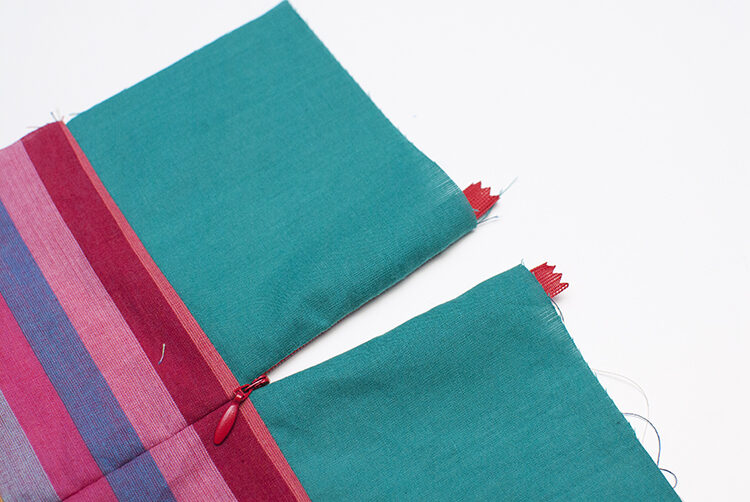
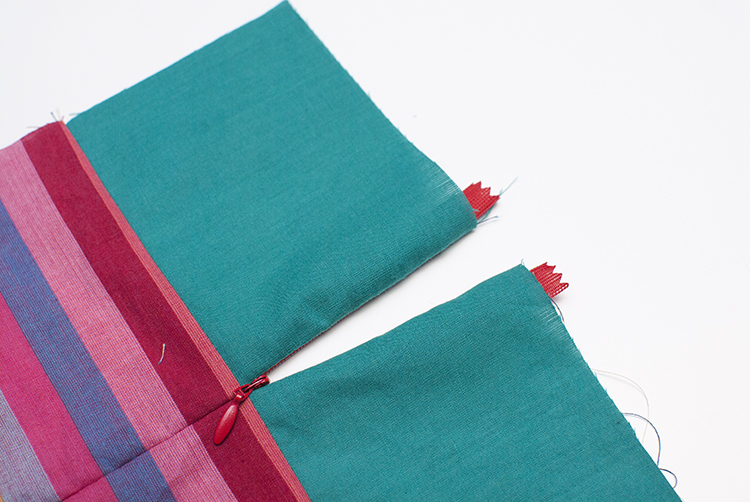
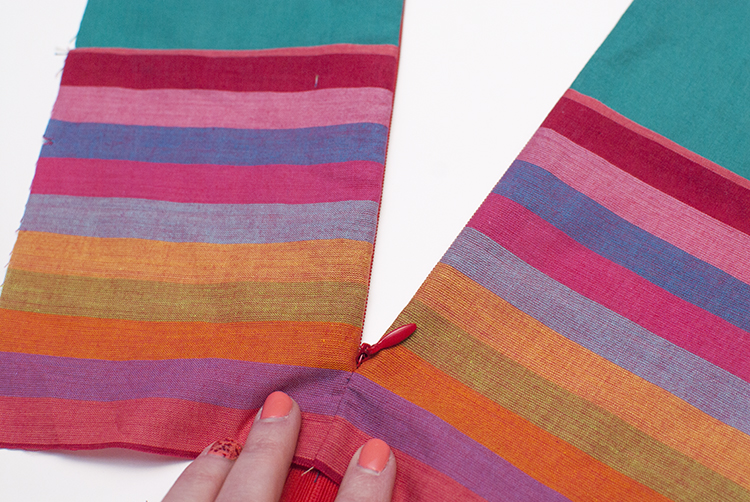
You can see when it’s open a little the trick to the invisible zipper is the curl in the zipper teeth, it causes the fabric to also curl away from the zipper, so it’s two curled hems that meet.
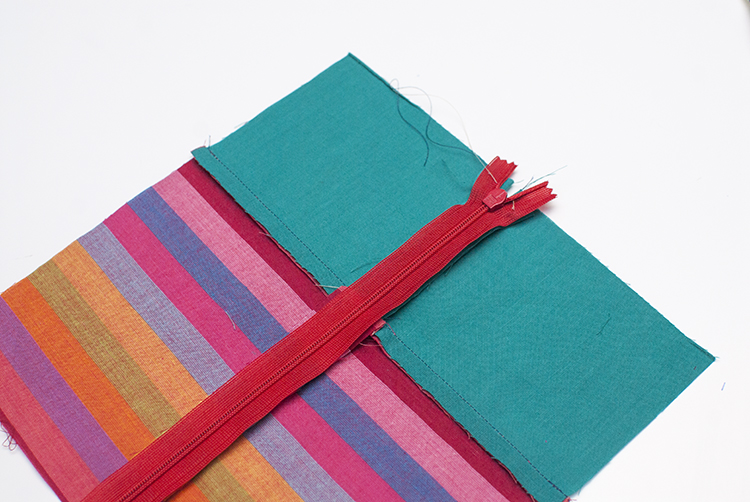
The back has the zipper teeth and tape and you would attach any lining to the zipper tape in back.
If you have a seam that runs down the back continuing under the zipper, then you will sew that seam by sewing as close to the zipper as you can in back, sewing the seam up to the point where the zipper should stop.
Then press the seam open. From the front side you won’t notice where the sewn seam starts and where the zipper seam ends, it will all look like one long seam.
However the stitch seam will act as the zipper stop, since the zipper won’t open past the sewn seam.
That’s how you sew an invisible zipper. Not so scary right? Once you have sewn a few you will really get the hang of it.
