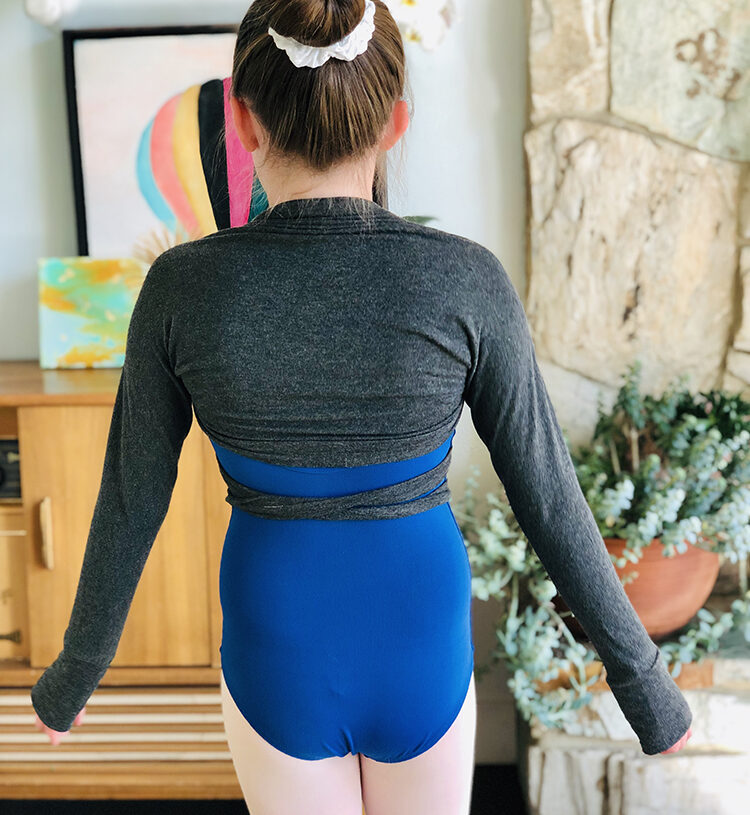
My daughters have been taking ballet for several years now and often I get a request from them for some special ballet clothes, something for warm up or practice, or even just for fun.
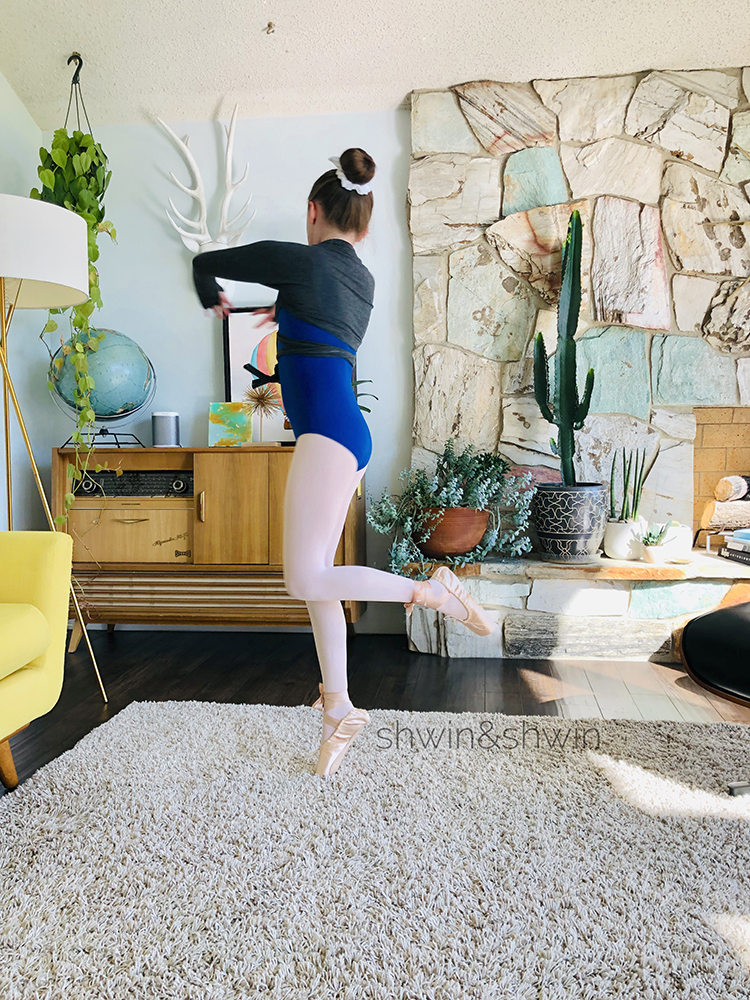
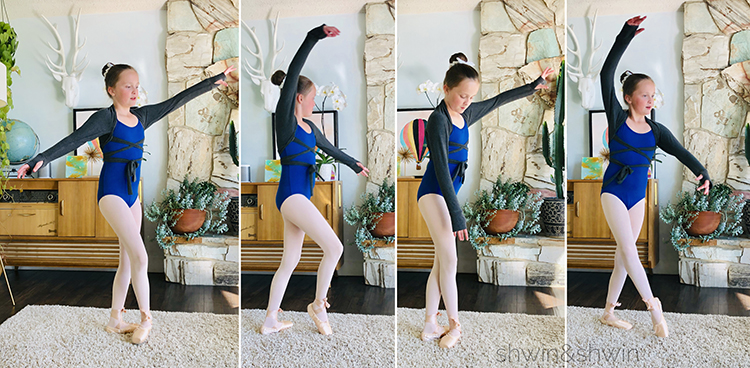
The most recent request from Abbey was for a bolero style sweater. I had fun designing this cute little sweater for her to wear. Something that was easy to wear while moving and stretching but had some ballet inspired style. I did thumbhole cuffs so everything stays put while she moves and stretches. The tie around the waist mimics the ties around the ankles while also keeping the bolero snuggly in place. The end result pleased a certain ballerina and you can make one too with this free pattern. (which is so simple to make smaller or bigger if you need)
You will need:
- Free Ballet Bolero Pattern (size 10/12) Sewn with 3/8″ seam allowance
- 1/2 Yard knit. Preferably something with 4 way stretch
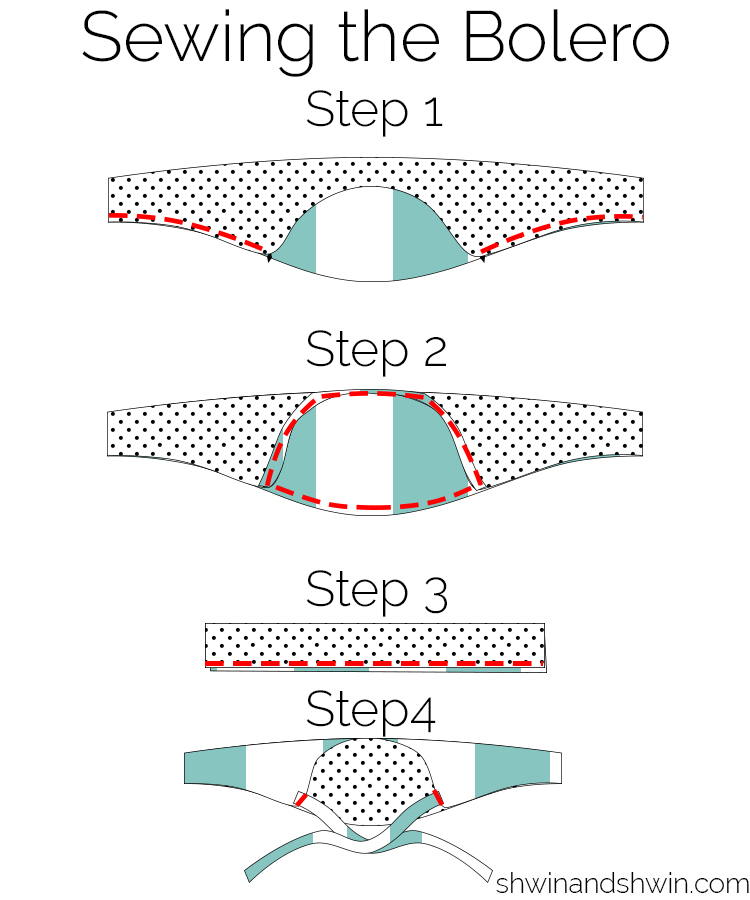
Sewing the Bolero
Step 1: With right sides together, fold the bolero so the sleeves fold and the marks on the top and bottom match up. Then sew from the sleeve edge to the marks on the pattern.
Step 2: Hem the oval shaped opening between the sleeves by turning the edge under by 1/2″ and sewing in place.
Step 3: Fold one tie piece in half height wise so right sides are together. Using a stretch stitch or serger, sew along the long edge to create a long tube. Then turn the tube right side out and press so the seam is in the center back of the strip. Repeat for the second tie
Step 4: Sew a tie to each side of the center opening just below the sleeve seam.
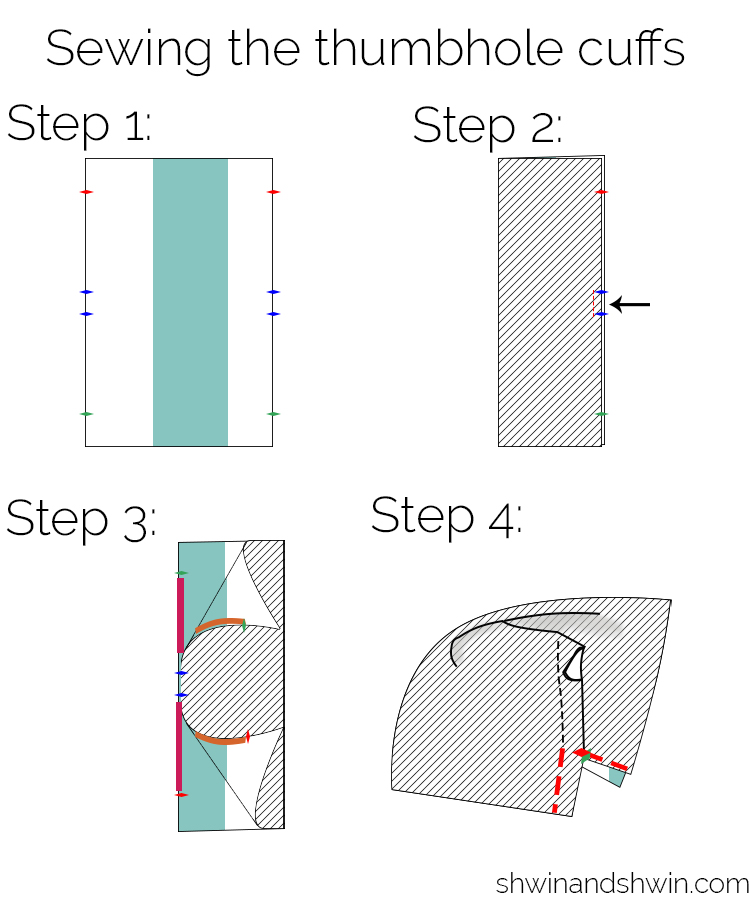
Sewing the thumbhole cuffs
Step 1: Transfer the markings over to the cuff piece. Shown above they are color coordinated to make the instructions more clear.
Step 2: Fold the cuff right sides together in half width wise. Then sew between the center two markings (shown in blue above)
Step 3: Next you will be sewing the areas marked in color above. Sew the pink areas between the two markings, right sides together. Sew from the previous stitch line down to the next point. Then sew the orange areas also right sides together, again starting from the previous stitch line and down to the next point.
Step 4: Lastly you will sew the seam allowance back together under the thumb opening, think of it as a continuation of the first seam from step 2, picking up after the thumb opening. To do this you will again match right sides together, matching up the two red points and sewing down to the edge and then matching the two green points and sewing dow to the edge.
Step 5: Turn the cuff right side out. You should have a nicely finished cuff with a finished opening in the seam for the thumb. Then with right sides together, sew the sleeve cuff to the end of the sleeve, with the seam of the cuff matching the seam of the sleeve. Stretch the cuff slightly as you sew.
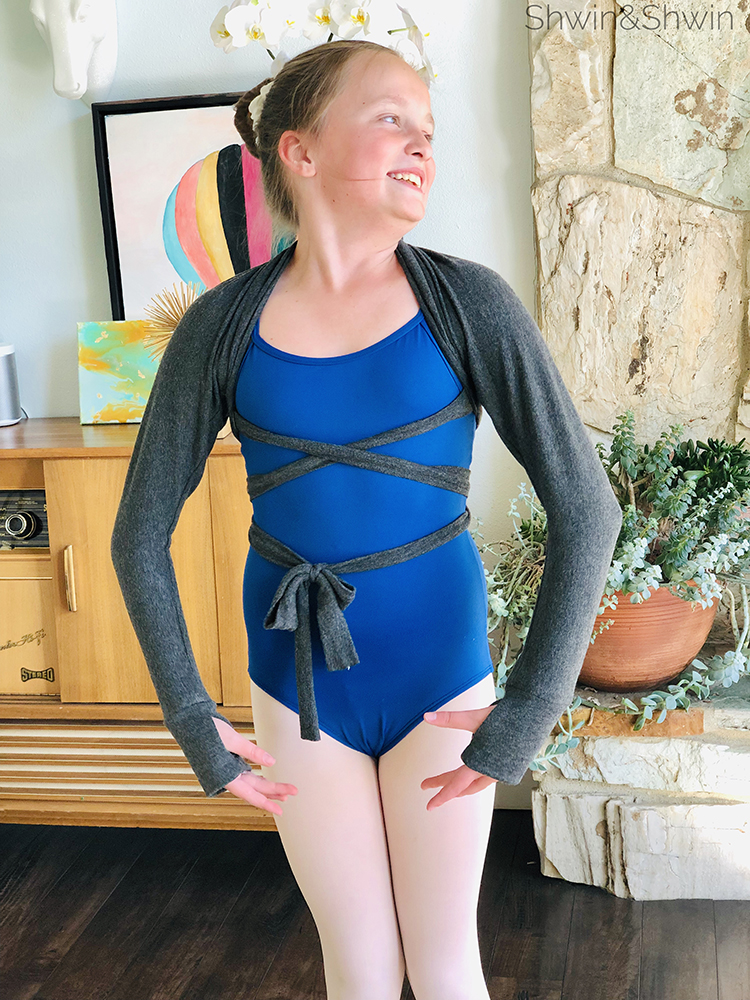
So simple right? The trickiest part is the thumbhole cuffs and once you can wrap your mind around how those work out the whole thing comes together so quickly.
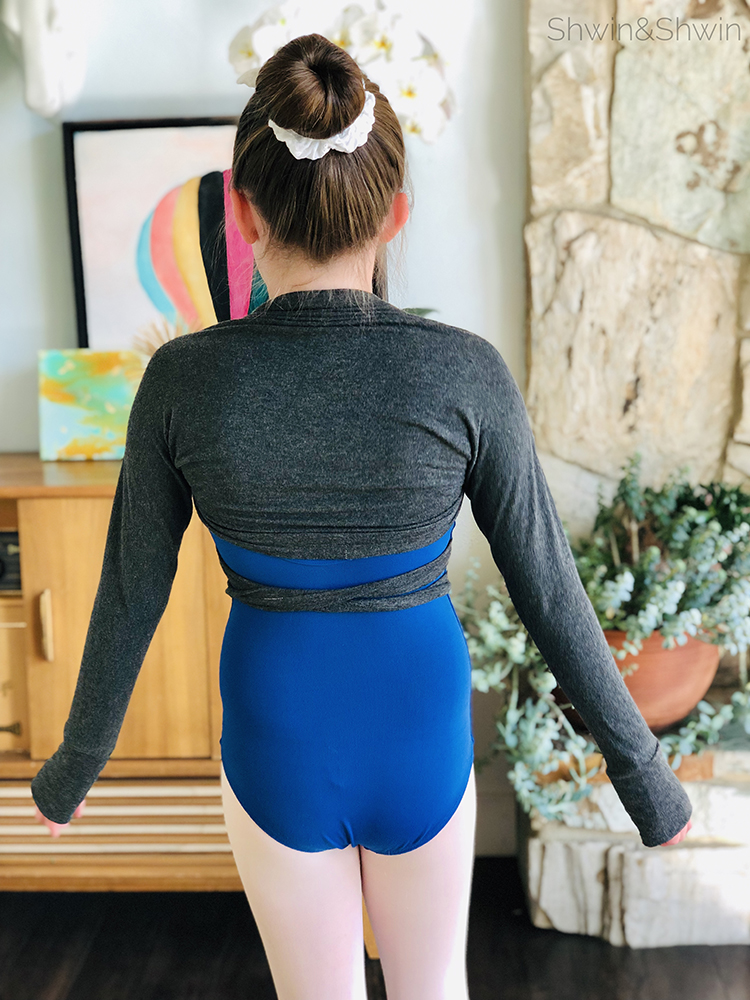
The bolero is perfect for adding a little bit of warmth and style to practice, especially since they keep those studios as cold as ice.
