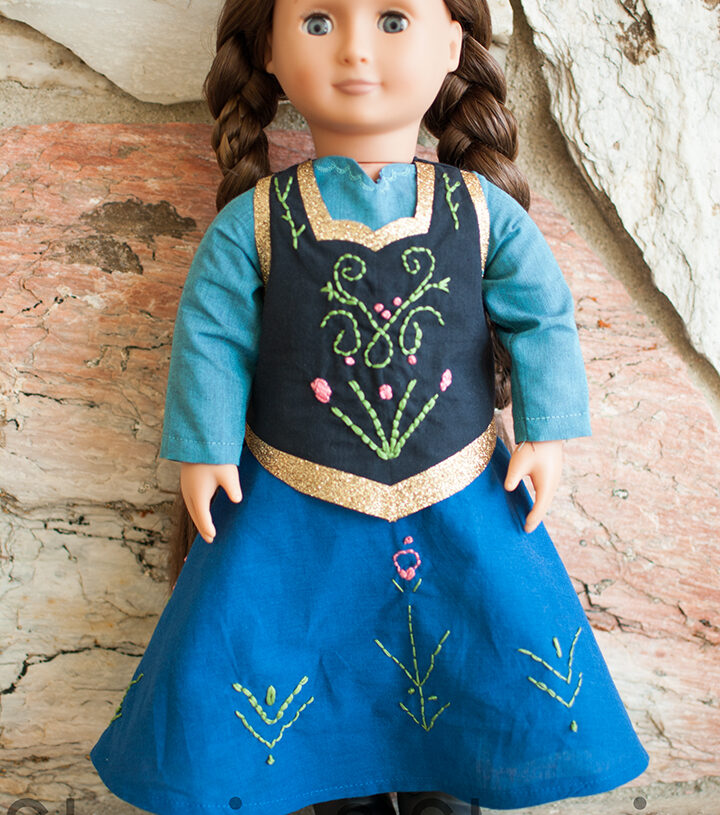
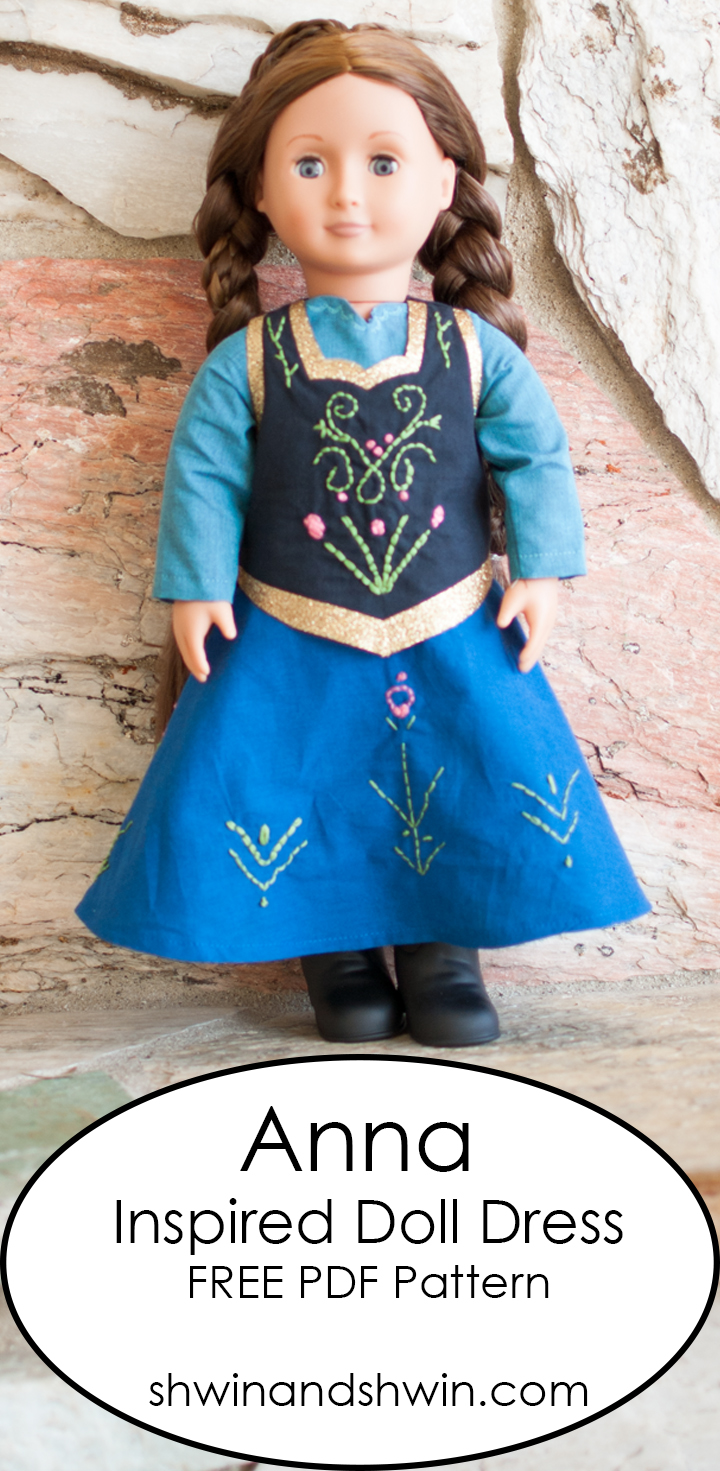
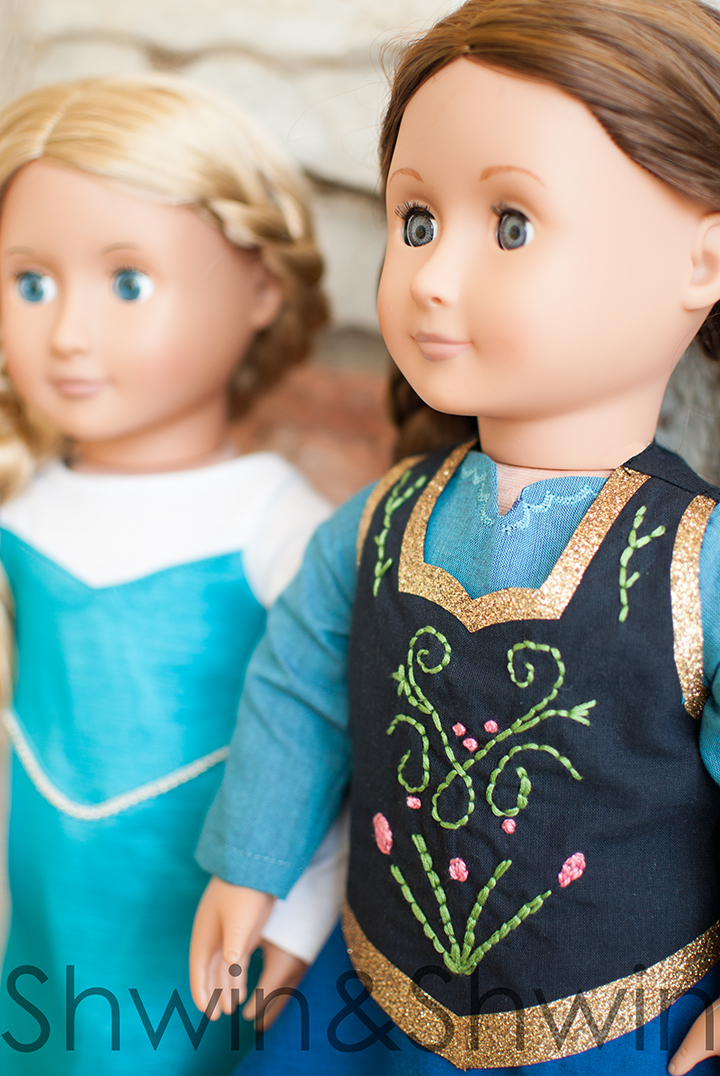
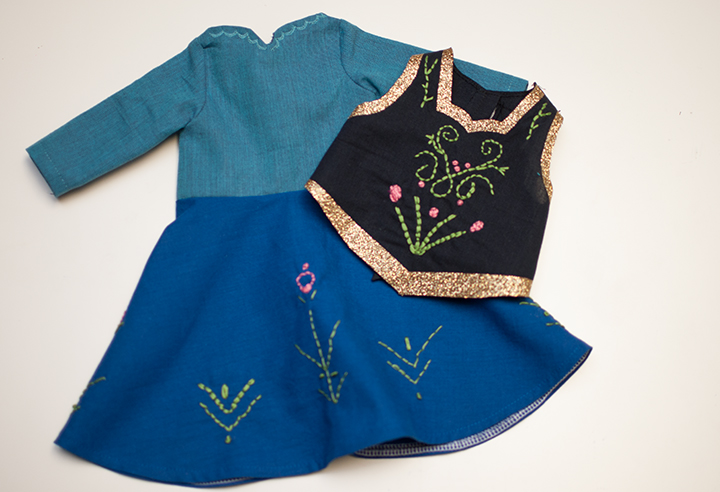
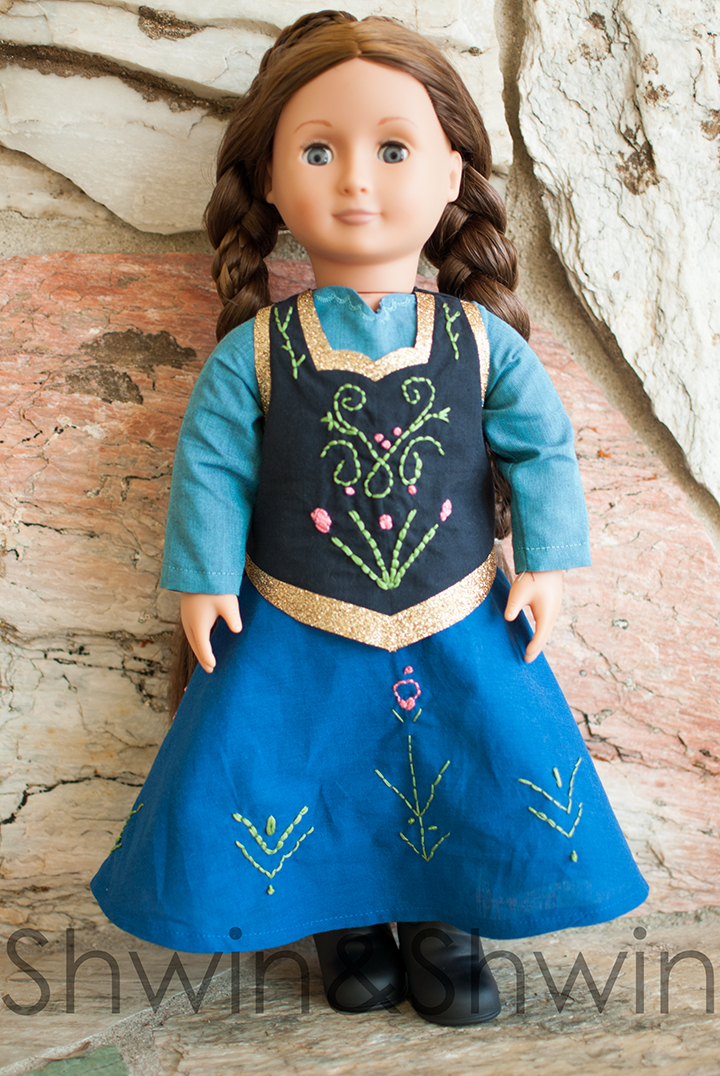
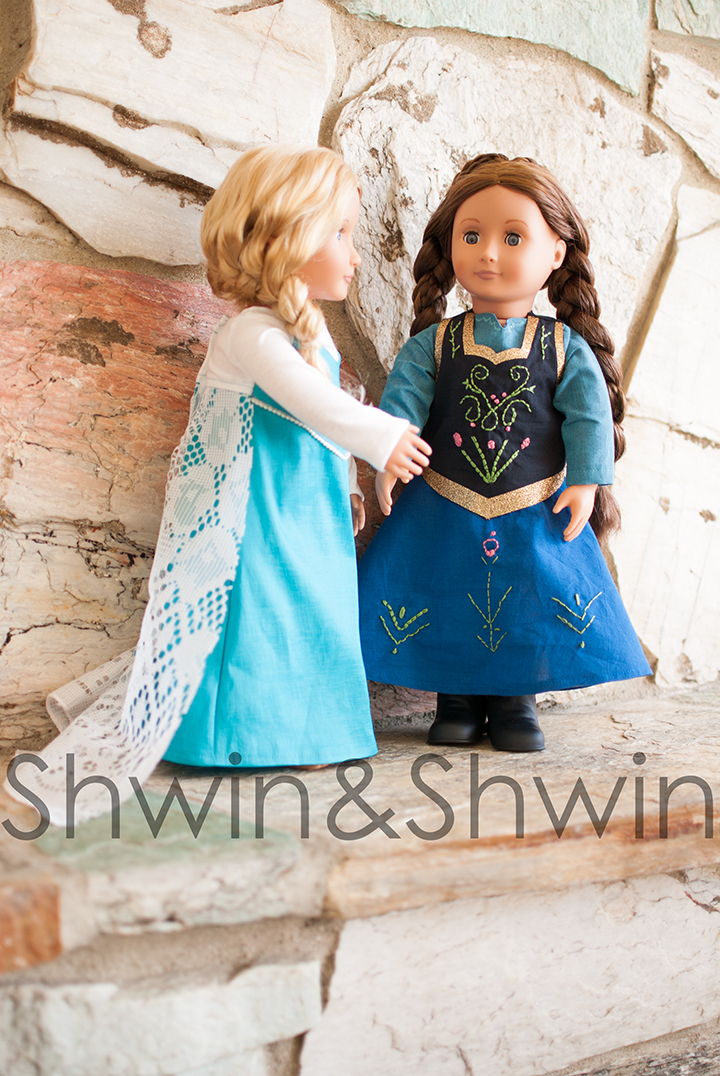
Yesterday I shared a free pattern for an Elsa dress. Today, since naturally I have two girls I had to make Anna for the other one. It’s the only proper thing to do.
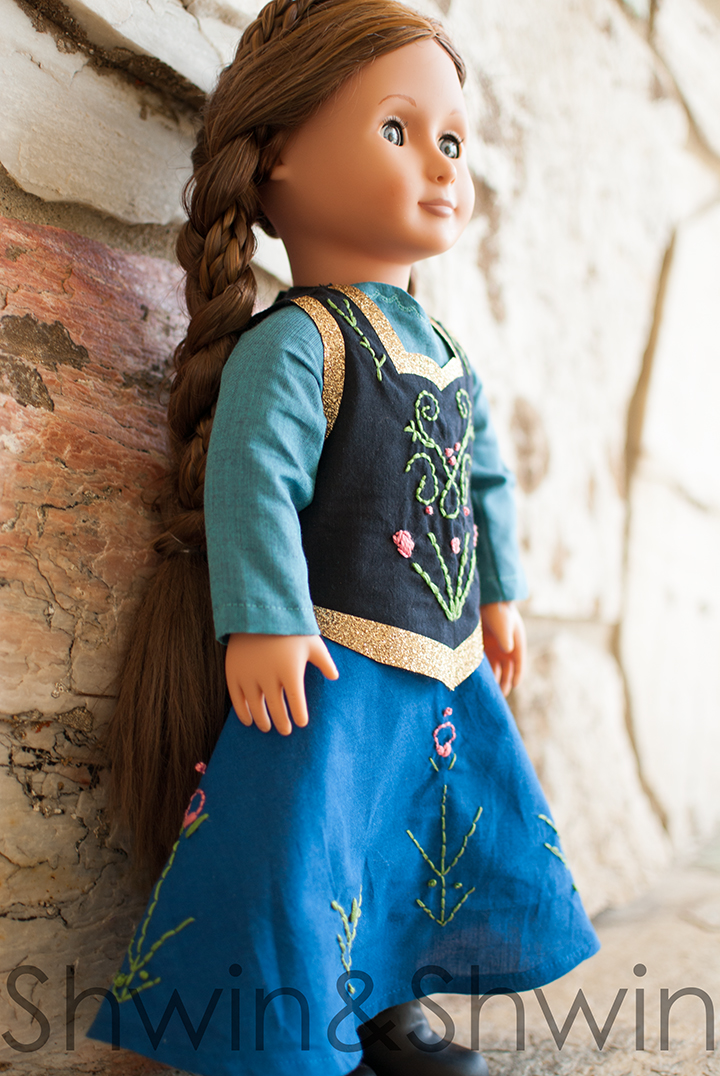
I really love Anna’s dress, the style and the details. It’s just lovely, and it was a lot of fun to make, although more time consuming with the embroidery, (you could also use paint)
For Anna’s look I made a dress and vest. I used:
Fat quarters for vest, skirt and bodice
Embroidery floss for details (green and pink)
Velcro
A few notes about sewing doll clothes.
I use a 1/4″ seam allowance (included in the pattern)
I don’t finish any seams since the clothes are being worn by dolls, and not being washed the garments hold up ok, but you can use fray check on the seams if needed.
The overall construction is about the same as sewing garments for people, except that back closure I try to make easy enough for a kid to get on and off themselves.
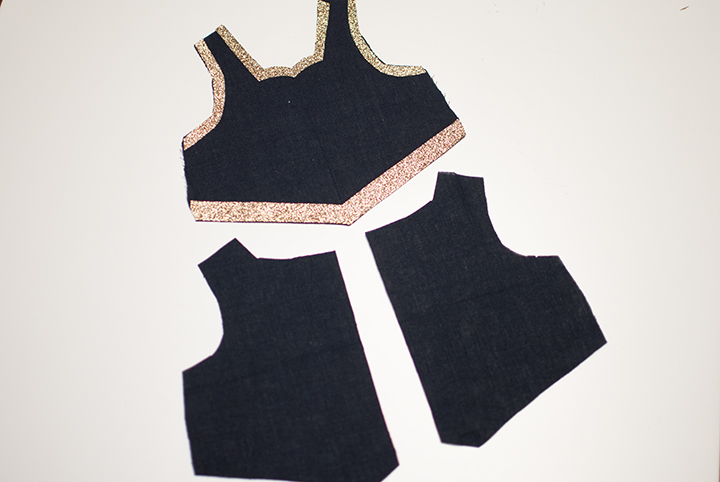
Now for the vest. Cut out the pieces. Then for the front I ironed on the gold trim (it’s marked on the pattern where it goes) You simply iron on and good to go.
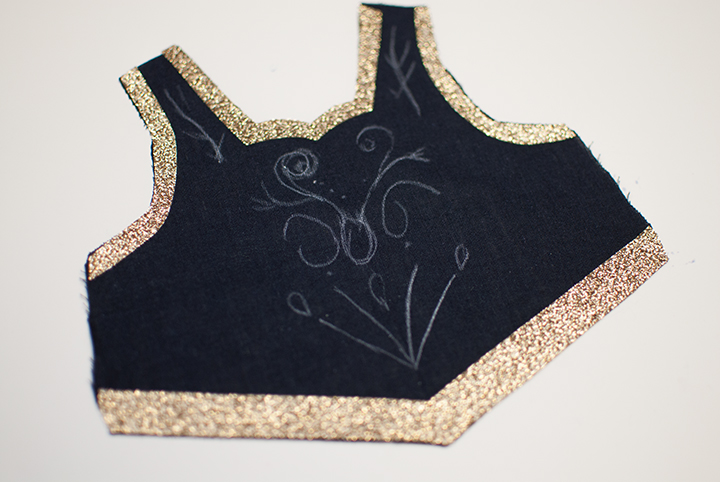
Then for the front I used a white marking pencil to sketch out the design. I just free handed it into some swirls and flowers.
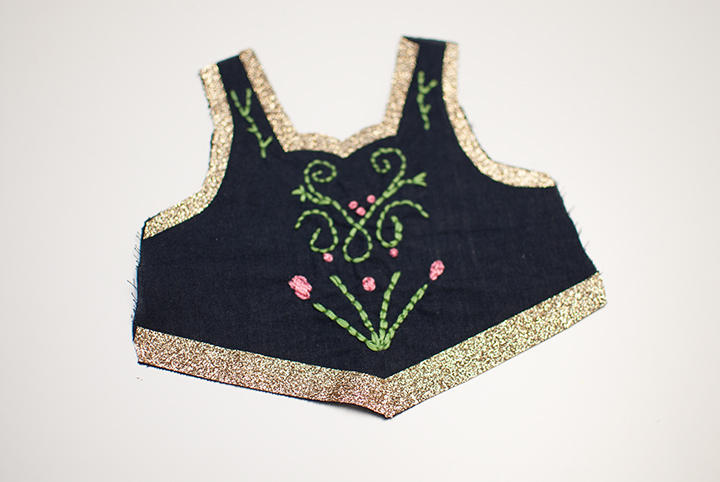
Then I stitched it with a regular back stitch and a few french knots.
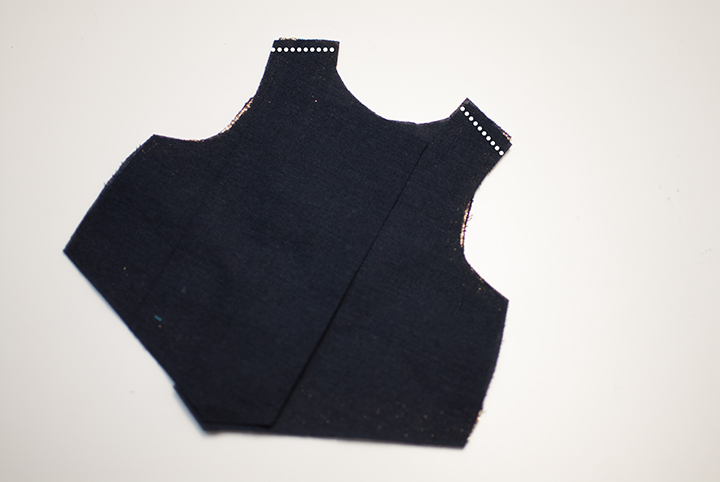
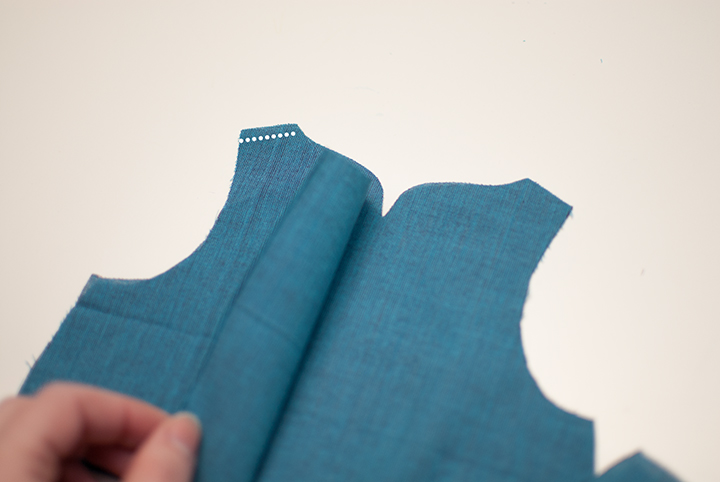
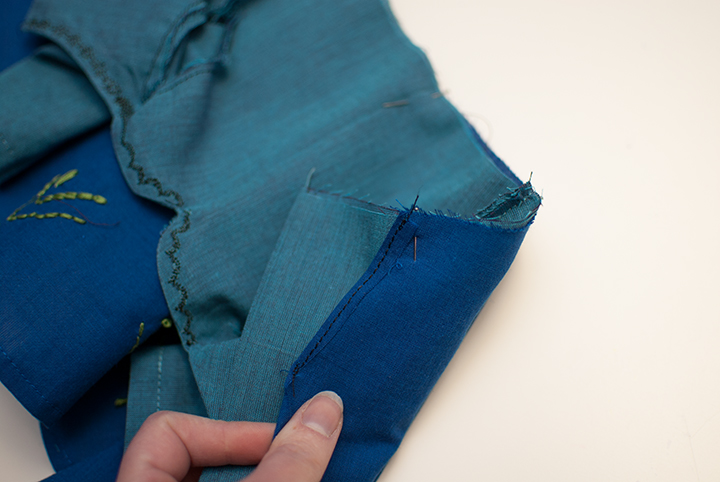
Then with right sides together sew the front and back pieces together at the shoulders.
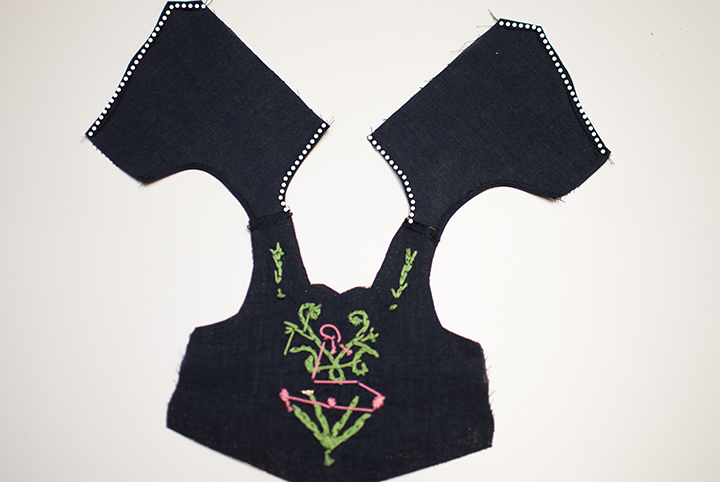
Then turn the curved back arm edge under by 1/8″ and stitch in place. Repeat with other side.
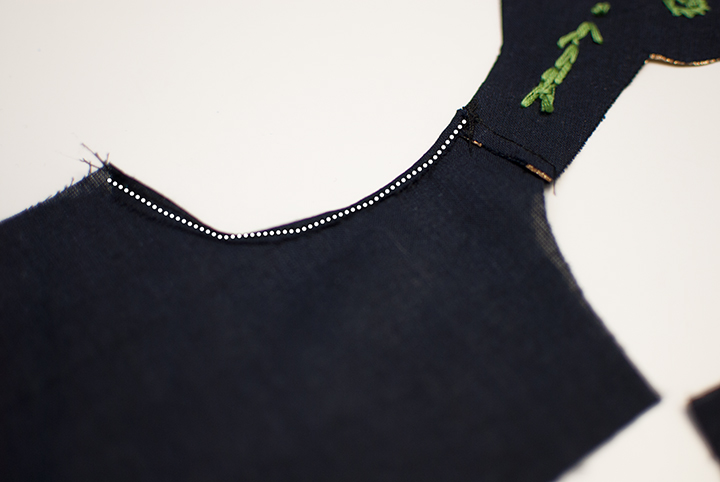
Then do the same for the back neckline and bottom edge. (turning under by 1/8″ and sewing in place)
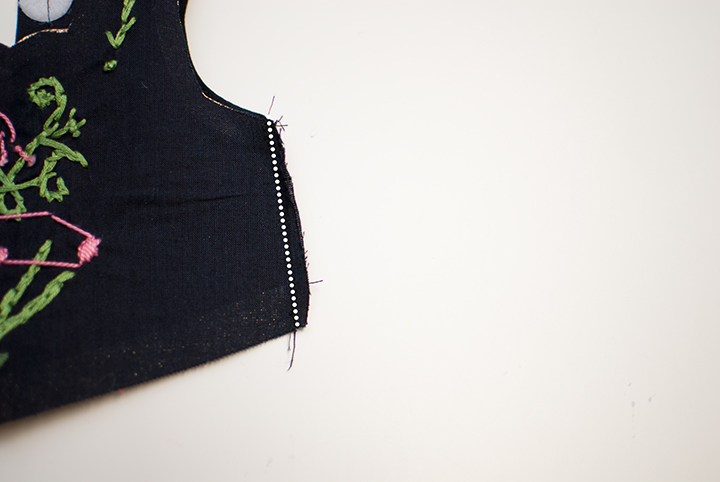
With right sides together sew the vest at the sides.
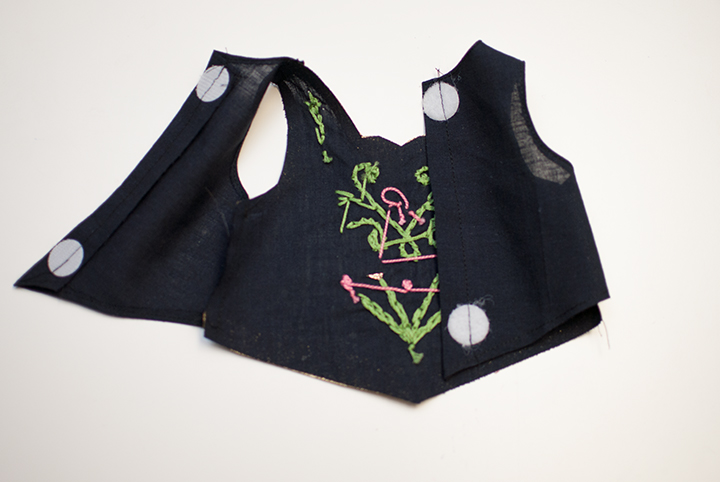
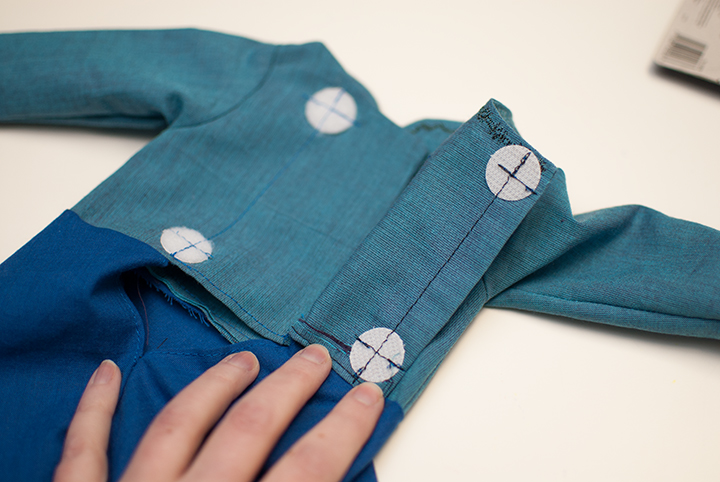
Lastly fold the back edge at the fold line. Add velcro to both sides and the vest is done.
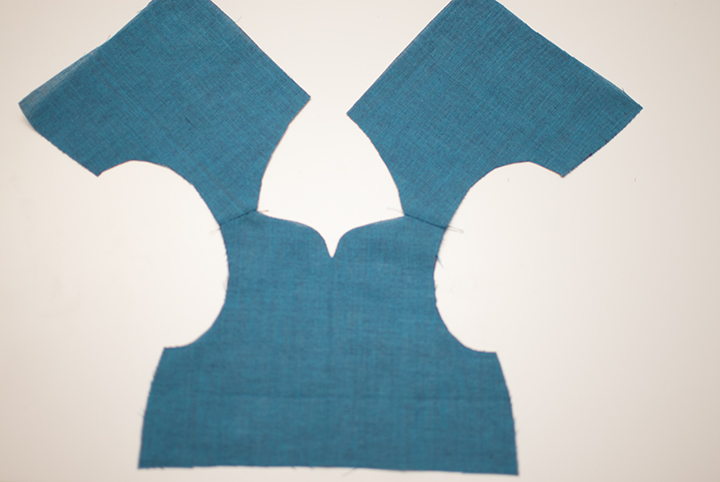
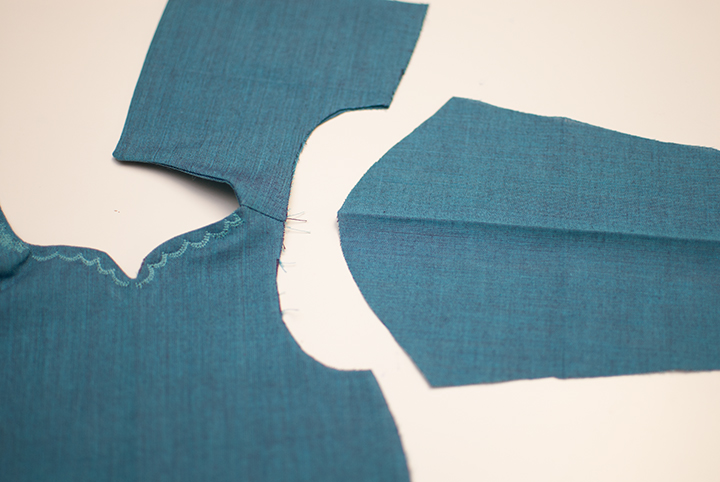
For the dress, sew the front and back bodice pieces together at the shoulders.
Press seams open flat. Then repeat so you have two bodice pieces.
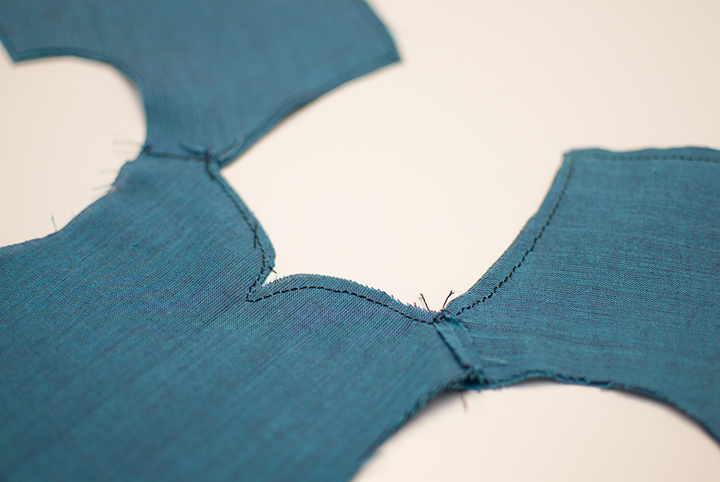
With right sides together sew the two bodice pieces together along the back edge and neckline.
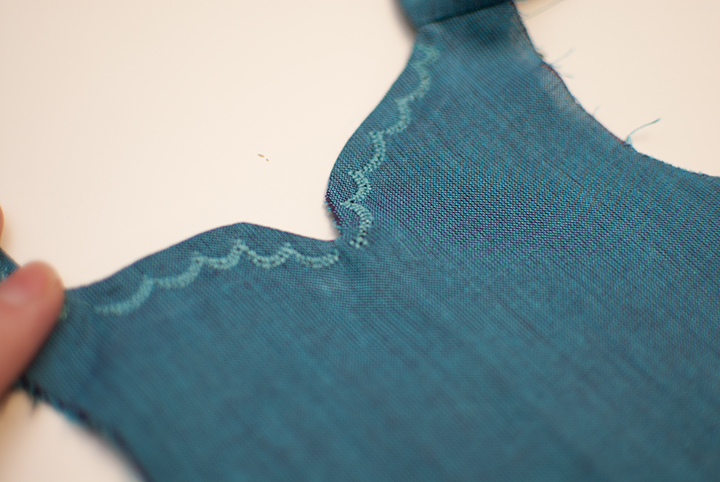
Then turn it right side out. I added a decorative stitch at this point, like Anna has on her dress, since it was simple.
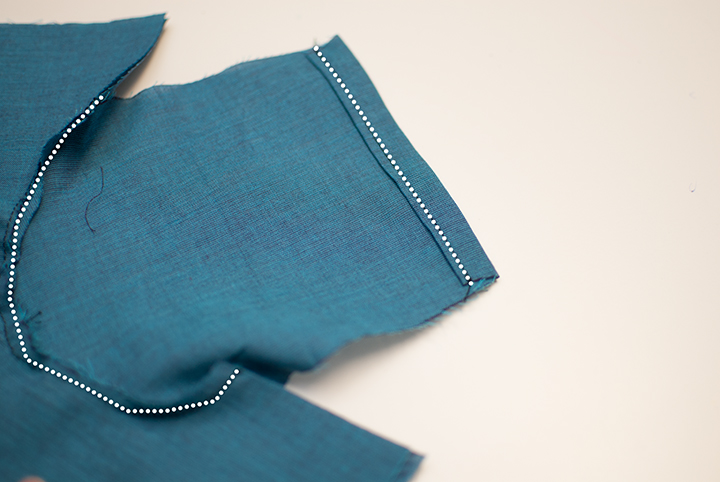
Then we will sew the sleeve into the arm curve.
With right sides together sew the sleeve to the arm curve. Hem the bottom of the sleeve by folding it up by 1/2″ and sewing in place.
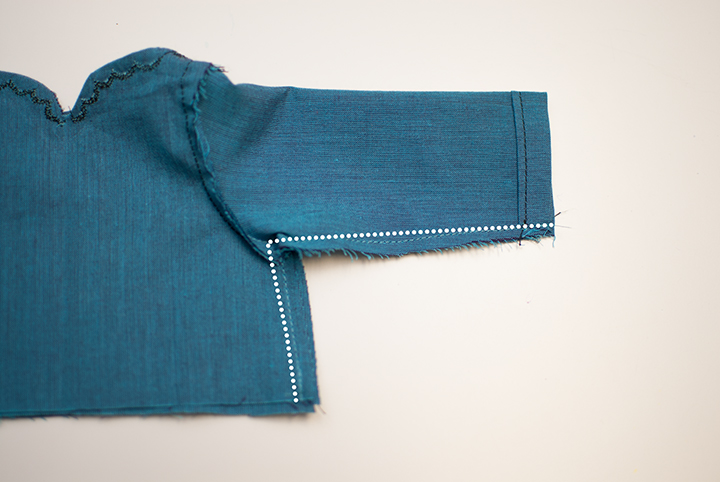
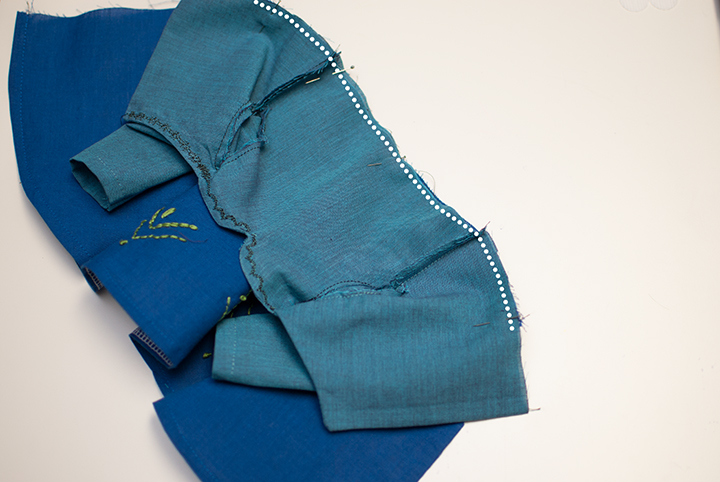
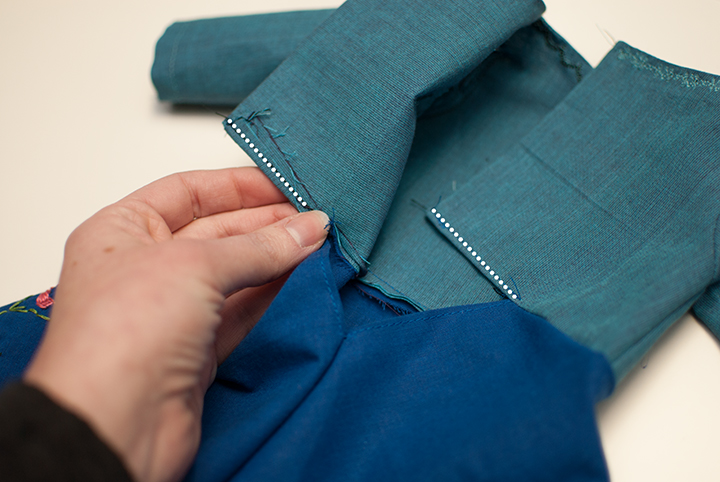
With right sides together, sew from sleeve edge to arm pit and then turn and go down the side.
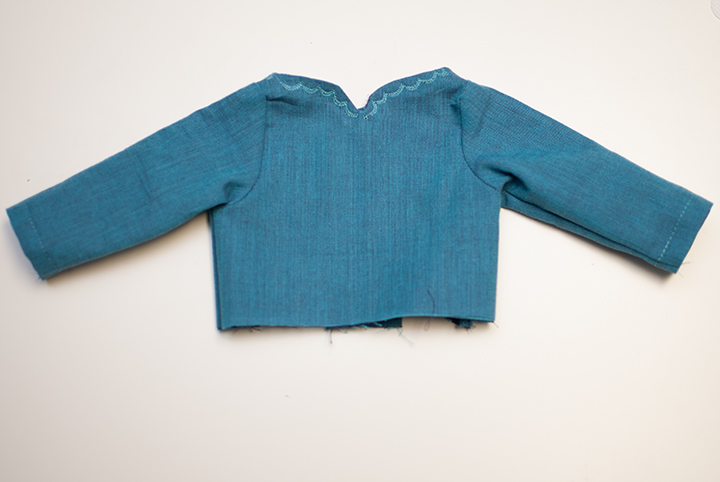
Now the top portion is done for now.
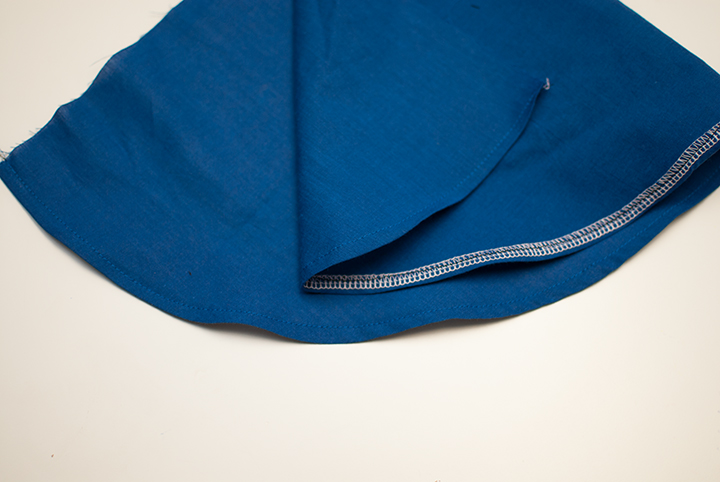
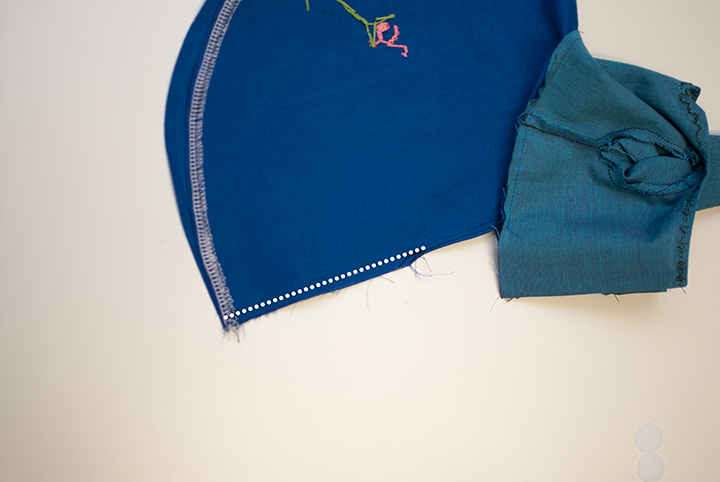
For the skirt, hem the bottom of the skirt by turning it up 1/4″ and sewing in place.
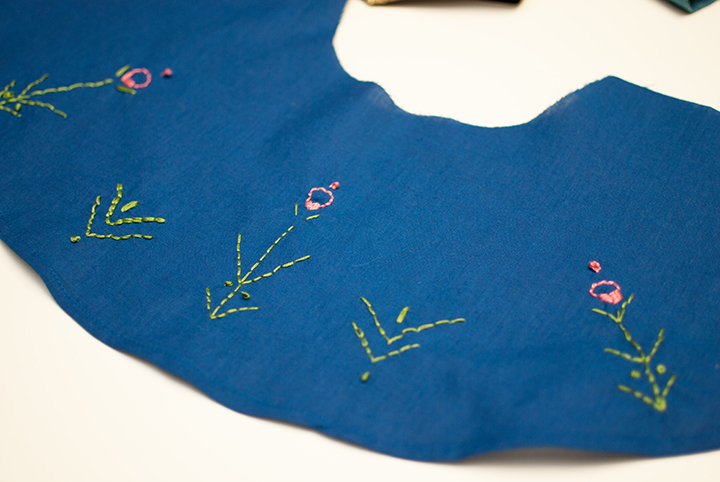
Add embroidered flowers if you desire. I just did some very simple flowers.
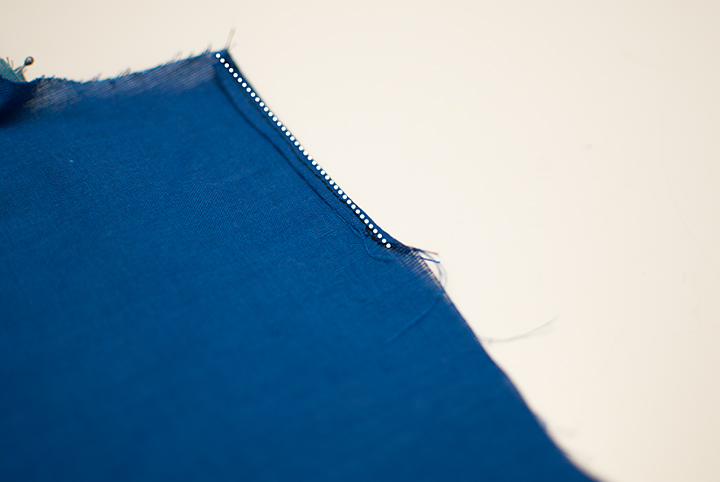
Then turn top of the back center edge under by 1/8″ and sew in place (taper it down off the side about 2″ down) Repeat for other side.
With right sides together sew the bodice and skirt together.
The bodice will over hang the skirt.
Then with right side together sew the skirt from bottom edge up until the fold.
Press the back edge of the bodice that is hanging over up and sew in place.
Then add velcro to the back bodice.
Now you have a dress and vest.
Which turns out pretty cute, and since my girls happened to have riding boots already it completed her outfit perfectly.
Two adorable sister dolls for two adorable sisters. I can’t wait to share the rest of the doll clothes I have been making. My girls are really loving their dolls and I am loving making cute little mini outfits.
