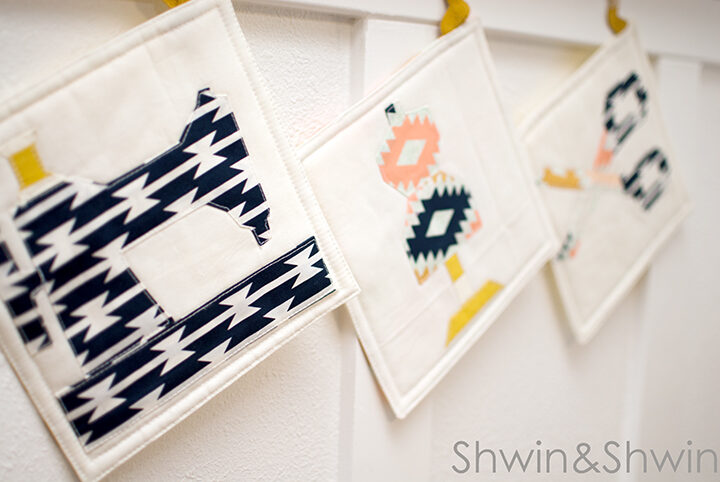
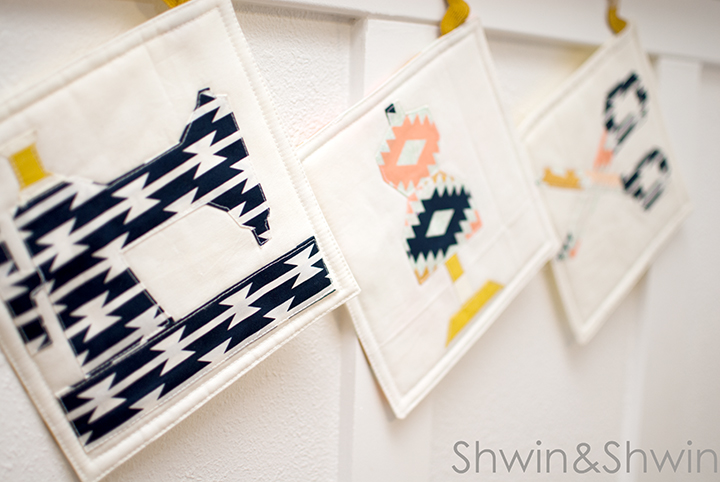
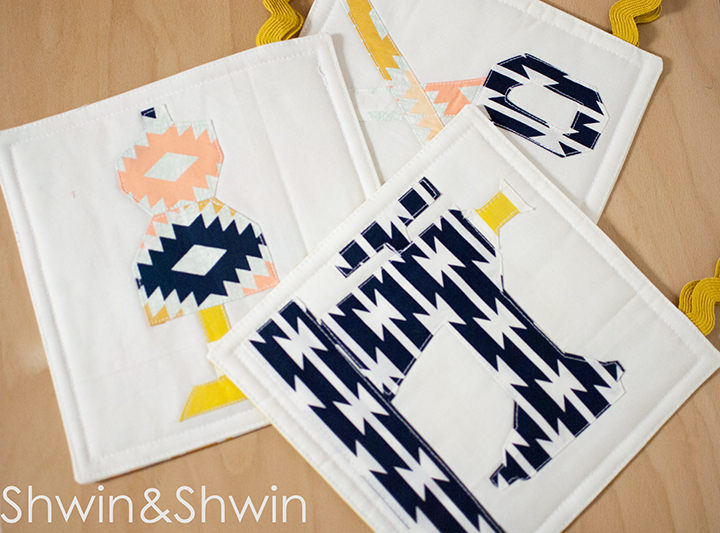
Recently a group of blogging friends and I participated in a handmade gift exchange. It was a lot of fun to dream up a gift for a fellow seamstress. Since I am in a quilt all the things mode lately I decided to make something quilted. While flipping through some of the old books and papers my Grandma gave me about quilting and piecing I saw some darling “sewing” blocks. Although I am very tempted to make a full quilt of sewing machines, these designs are perfect for some hot pads and what seamstress wouldn’t love a little sewing in the kitchen. (except when I actually did sew in my kitchen back in our tiny townhouse)
They use up scraps very well and I love a great scrap project.
To make these Quilted Hot Pads you will need:
-
- Scraps of fabric
-
- 1/4 yard for back ground (makes 3)
-
- 1/4 yard for backing (makes 3)
-
- 1/4 yard fusible batting (makes 3)
-
- Ribbon for loops
-
- Freezer paper
-
- Iron
- Starch
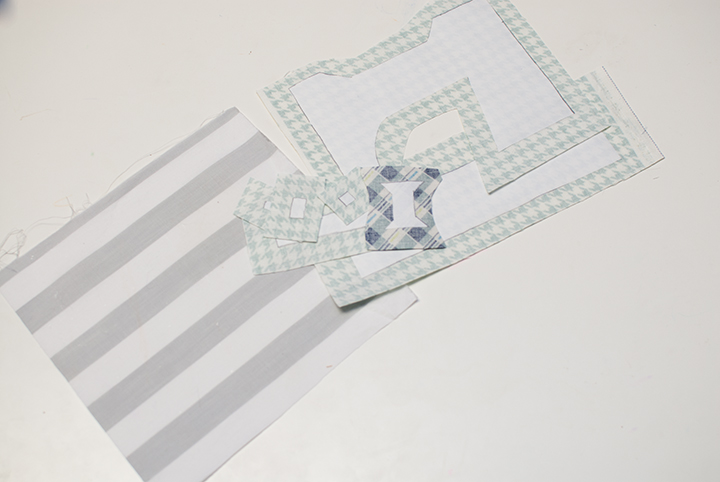
To start trace all the individual pieces from the templates on to freezer paper (draw on dull side) Then iron the pieces on to the wrong side of fabric scraps. Cut around the pattern pieces and leave plenty of extra to fold over. You will also need 3 8″X8″ squares for the backing, and for the background, as well as the batting.
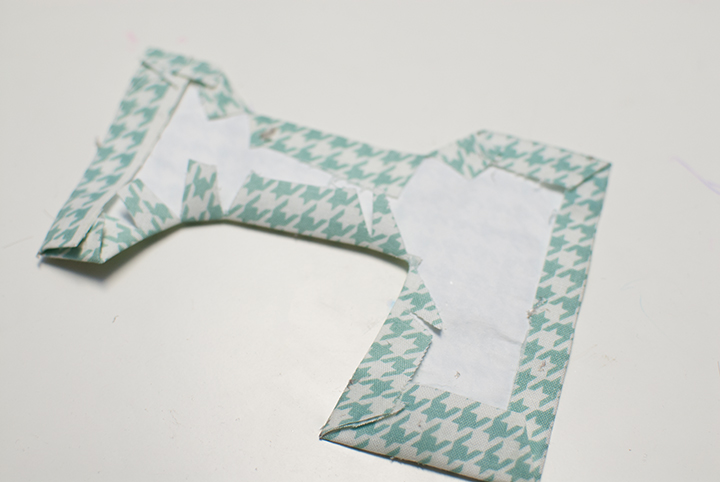
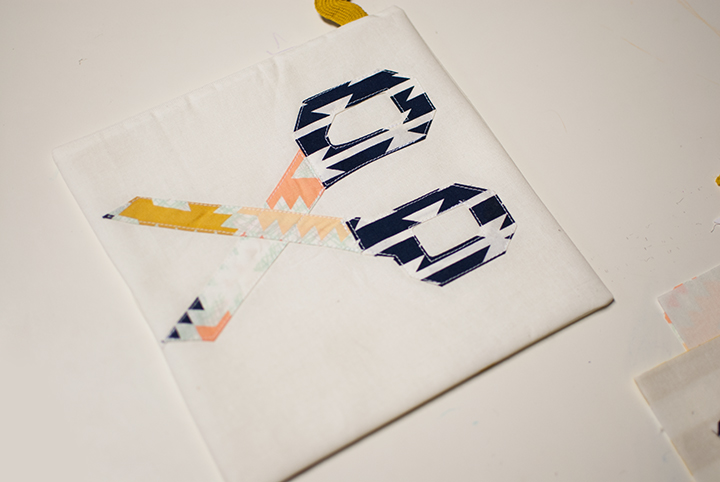
Now clip notches into corners and curves and then fold and press the fabric around the paper piece. Use starch (careful not to soak the paper) Press well so the shape is well formed. Then remove the paper.
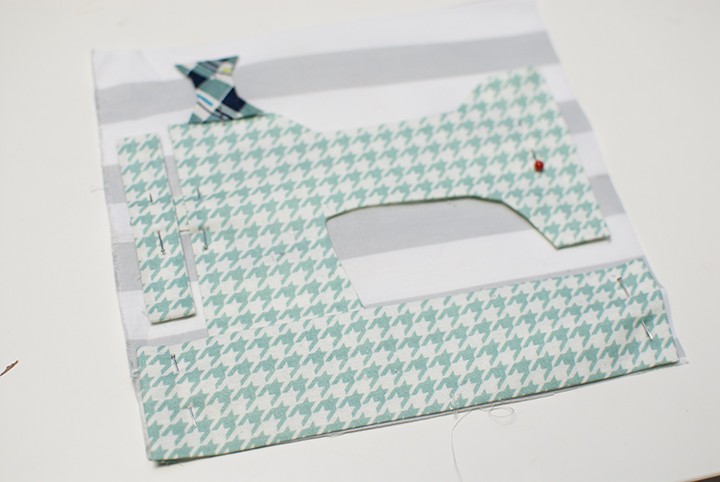
Pin the pieces to the backing.
(This one is showing the sewing machine taking up the whole background, however you don’t actually want that, you need enough room around the edges for seam allowance and a little extra, I actually re-did this but didn’t re-take photos)
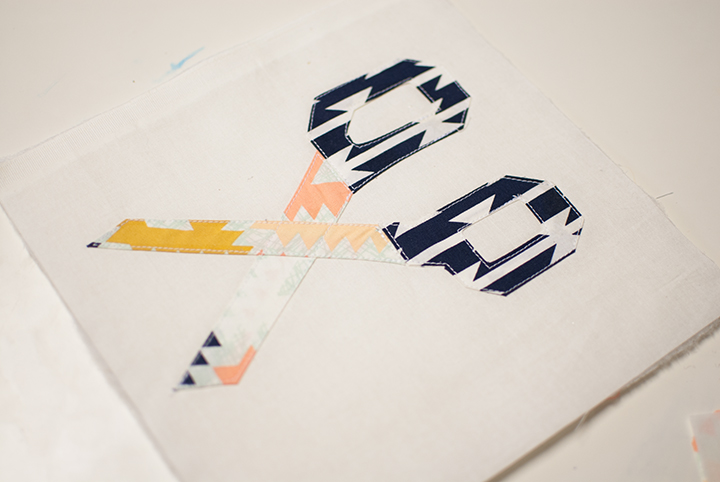
Place the batting with the background and then, edge stitch around the pieces to secure everything in place, while sewing to the batting as well.
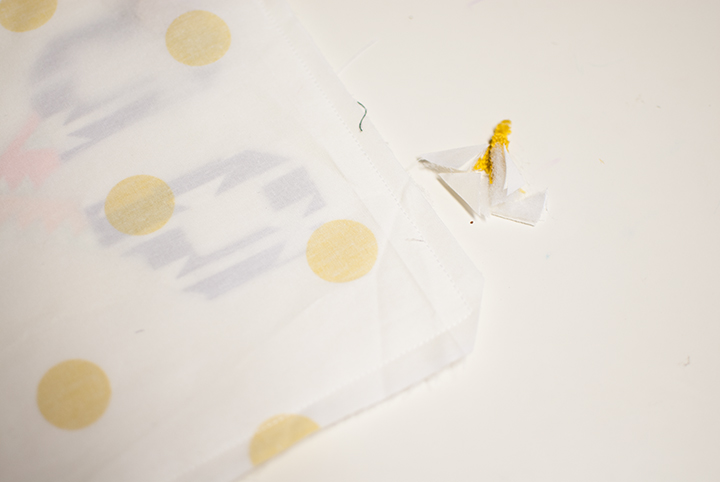
Then with right sides together place the backing and the quilted piece together. Add a small looped ribbon raw edges toward the top, sandwiched between the layers. Sew all around the edges, leave a small 1-2 inch opening for turning it right side out. Clip the corners.
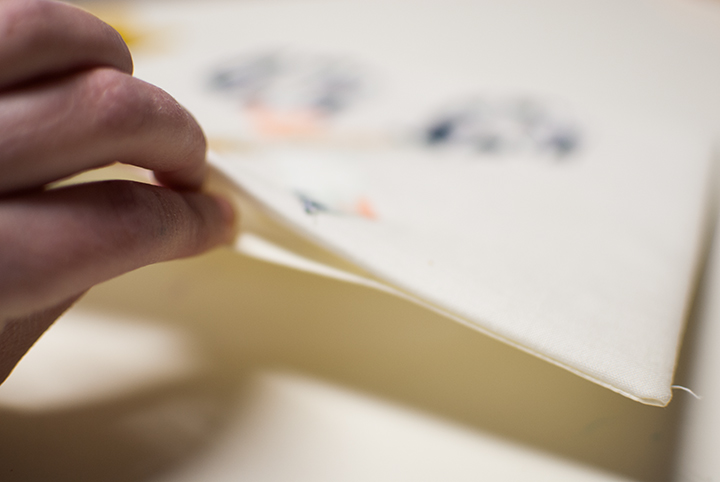
Turn it right sides out and press the edges from the small opening under.
Then sew all around the edges. I did a few where I quilted in a design but for these I liked the simple border.
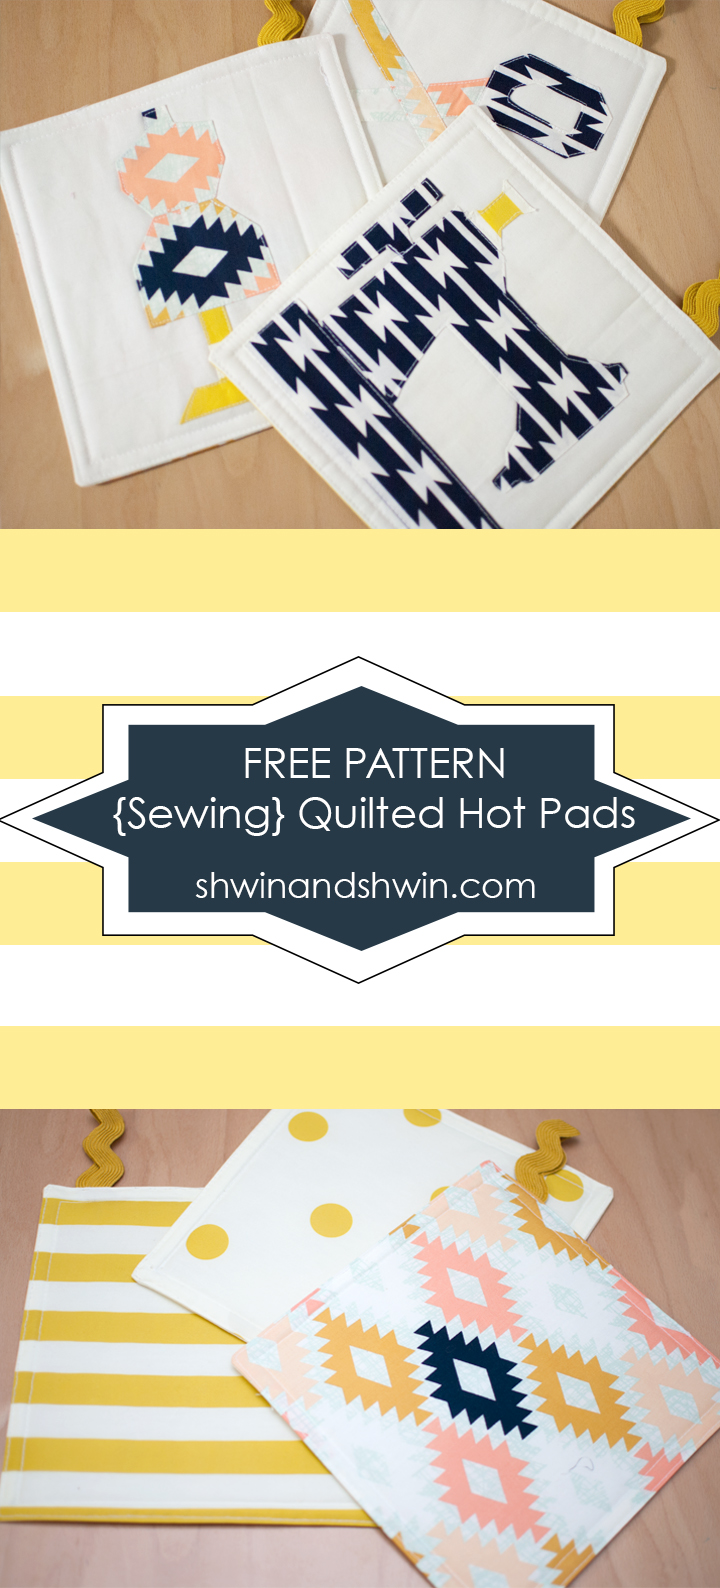
Fabric || Arizona by April Rodes for Art Gallery
Stripes and Polka Dots are scraps from the stash.
Anne
How cute are those hot pads! I’ve got a Craft Gossip post scheduled for later today that links to your tutorial:
http://sewing.craftgossip.com/tutorial-quilted-hot-pads-with-a-sewing-theme/2015/02/03/
–Anne
Elizabeth
Hey! I just stumbled on this tutorial and I’m curious – why freezer paper for the applique?
Could I use something like heat n bond instead? (If not I can go buy freezer paper – but I do have the heat n bond iron on stuff around already!)
Thank you so much, these look beautiful!
Shauna Wightman
Freezer paper is recommended because you can iron it on to the fabric as a template but it is removed before sewing the pieces down. You could sew this without the freezer paper, but it’s there to make it easier. Hope that helps.