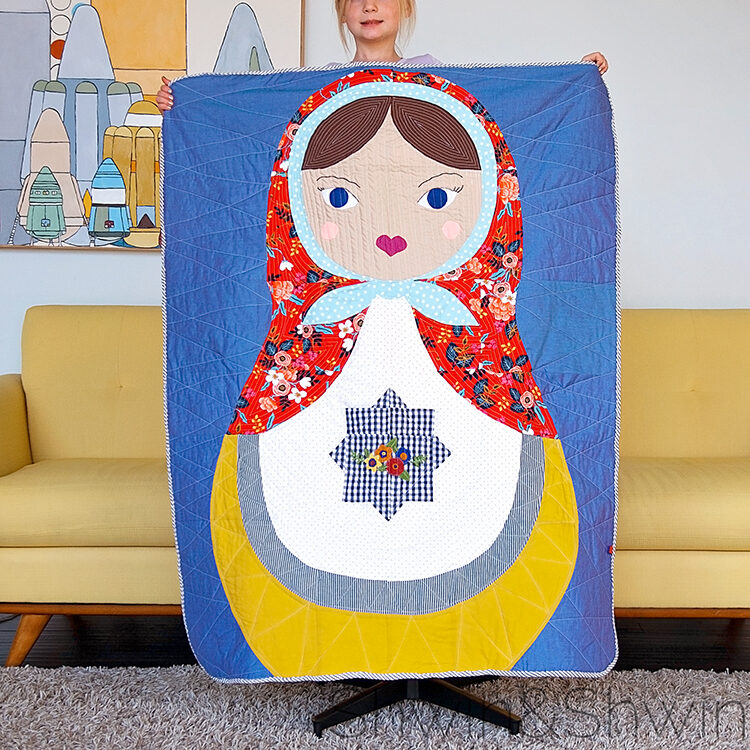
Almost 2 years ago, my mom asked me for a quilt pattern she could make for a friend who was having twin grandchildren. I enjoy any opportunity to make a quilt pattern, (although it’s evident by the 2 year span I am much slower at sharing the pattern) I did however make this little lady before sending the pattern off to my mom. I wanted to make sure it all worked out. Then the top of the quilt sat in the closet with a few other unfinished quilt projects. Finally when a friend announced she was moving I thought it was time to finish this quilt up as a little goodbye gift.
The quilt comes together really quickly. I made the whole top in an afternoon, and about another day spent quilting and binding. It’s another “freezer paper pieced” quilt. Unfamiliar with what this means? Check out my post here that explains all about how I do these. This Stacking Doll Quilt will bring a slightly new challenge since it includes curved lines, but sewing a curve really isn’t hard.
For the Stacking Doll Quilt you will need:
- Stacking Doll Pattern
- Freezer paper (highly recommended)
- 3/4 Yard Cotton for background
- Scraps of fabric for the doll pieces. I used random cut pieces but all were less than 1/2 yard and most more than 1/4 yard. It’s a great scrap busting project for those larger scraps.
- 1 Yard cotton for back
- 1 Yard (or crib size) batting
- Scraps of felt for face details. (white, blue, magenta and rose were used)
- Embroidery floss for eyebrows
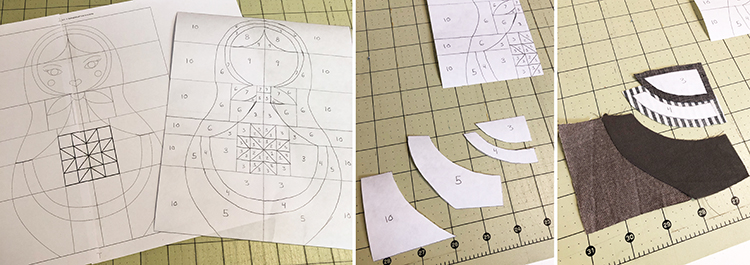
Since this quilt is a little different I thought I would share how you handle the curved pieces. The basics of how to freezer paper piece a quilt are found here. For the curved pieces, you will add seam allowance the same way but they will curve with the piece. Then you will still sew each piece together in the order listed in the pattern, but you will sew the curved pieces together. (this is all shown on a mini size I made to make a quick sample which is why it may look slightly different from the pattern)
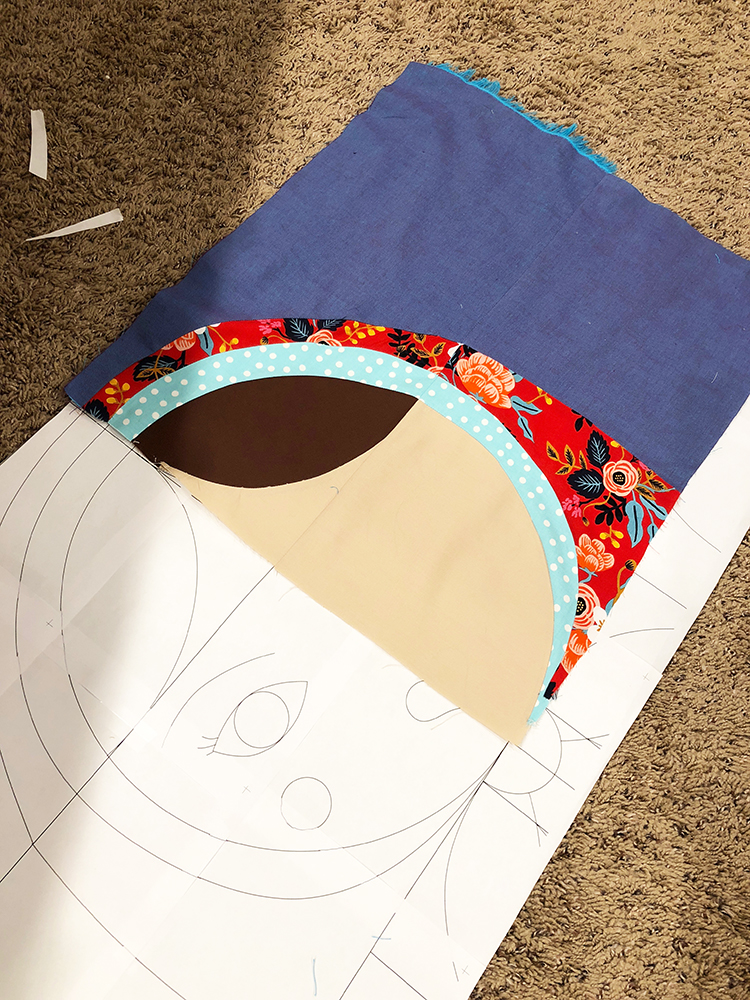
Each color is labeled with a letter on the pattern. So 1 (a) for example would be piece 1 in the color a. It should be pretty easy to tell what piece is what on the pattern but you will need 10 colors/fabrics in total unless you want to double up. Then you will sew the sections together as instructed in the pattern.
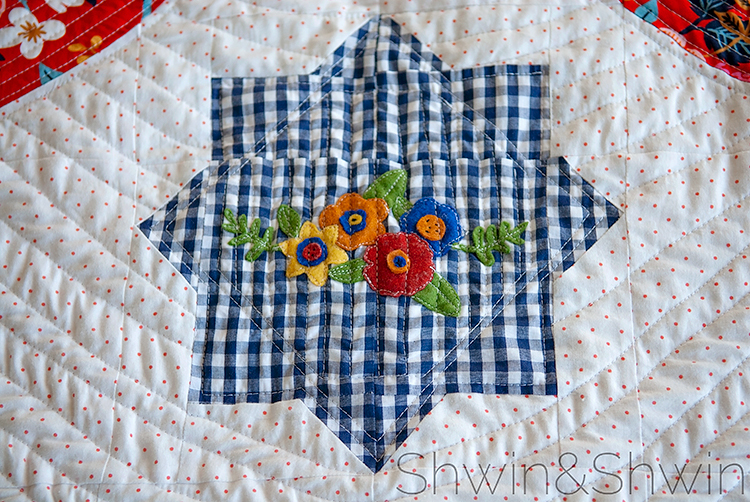
One thing I didn’t include in the pattern but I added only because I didn’t like the way the gingham lined up so I wanted to add some flowers. I cut shapes out of felt, and sewed them on. Keeping it simple.
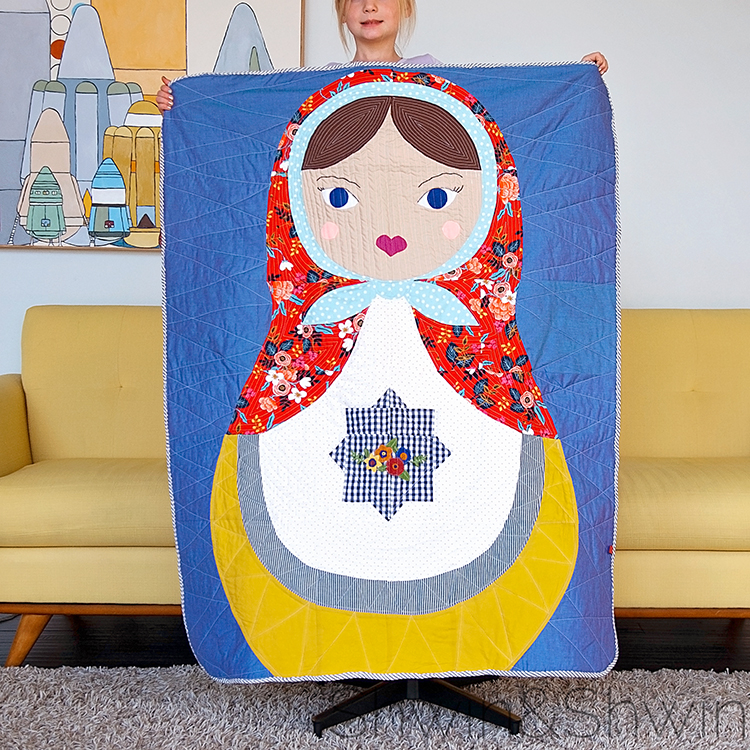
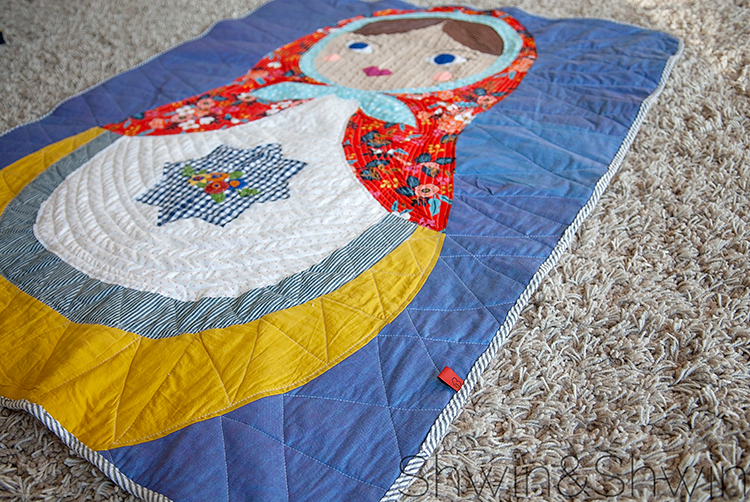
Quilting this was a lot of fun as I changed pattern and quilting size on the different design sections.
