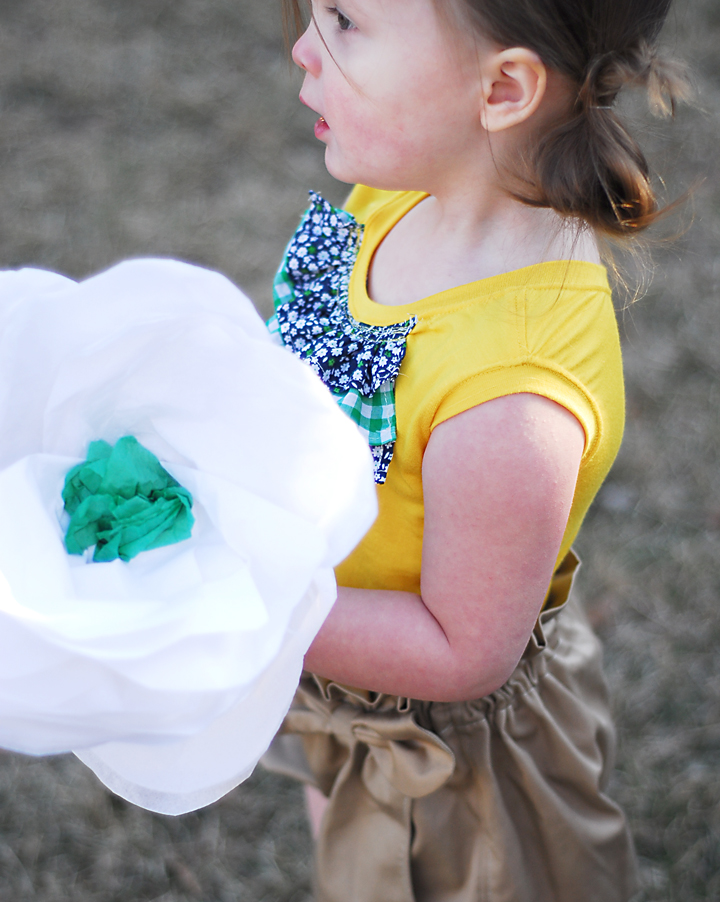
Which by the way they make great and quick little photo props. (since Abbey saw the growing “garden” of paper flowers and just had to have one.) So here is how I made these.
You will need floral tape, tissue paper in whatever colors you like, and floral stems. (I just took the tops off some fake flowers I had lying around)
Then with several layers of the tissue stacked together cut out a petal shape. For the yellow flower I used more pointed petals, but I also made some with very round petals and you can make them in any size.
Also cut one long strip. This will be the center.
Using a hot glue gun I put a dab of glue on the end of the stem. Then wrap the strip around the stem. Twist the strip as you wrap it. (like you are making a fabric rosette)
When you get to the end secure the flap with a dab of glue. See cute little rosebud looking center.
Next take your petals and pinch them in the bottom. Then add a dab of glue.
Stick them to the base of the flower spreading them out as you go.
Continue layering the petals on until they are to the size and fullness you want.
Next wrap the base of the flower and the step with the floral tape. Thats all there is to it.
You can layer the colors and sizes of the petals for different looks.
That way each flower has it’s own unique look. It’s feeling like spring around here with my craft area being overtaken by fluffy tissue paper flowers. I just love it.


Emily
What a great calling for you! 🙂 These flowers are so fun!
Heather Racansky
This comment has been removed by the author.
heatherracansky
So pretty! I'll have to bookmark for when I start putting together my little girl's 1st birthday party decorations.
jjones
I LOVE these! PERFECT for so many reasons and occassions! I want to do some of these tonight for my kitchen! I'll do some too to put in the Easter baskets for my grandchildren … and will make sweet baskets or vases of flowers for my daughters and daughter-in-law for Easter, too! LOVE IT!
JOURNIEBUG
I am going to try these tonight! My niece is having a fairy themed birthday party and these will go great! Thanks for the tutorial!