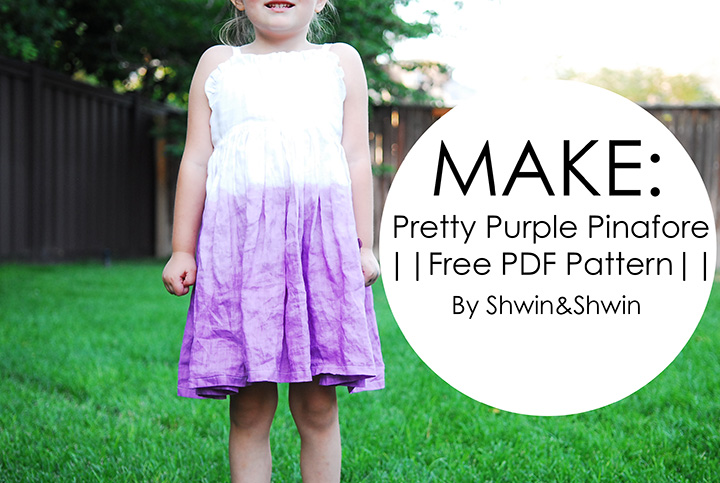
A little while back I participated in Color Your Summer, where I shared this dress and free pattern over at KoJo Designs I thought I would go ahead and re-post it here in case you missed it. I just loved participating in Color your Summer because I LOVE color! Red, Orange, Yellow, Green, Blue and of course Purple too. I love them all I use them often but you know if there was one color that was not my favorite, it’s Purple, eepp… I know I know, I have purple for color my summer. I choose purple because it is my daughters favorite color. She lives for purple. If she could BE purple then she would. So I thought it would be a fun challenge to create something purple that we could both love. I like to sneak purple into a design whenever I can, but a design all about purple?
That’s when I decided I had to make a sundress. Nothing would capture the design better than a dip dyed linen sundress. White and purple are my favorite combination. There is nothing more delicious than some white handkerchief linen, easy and breezy for hot summer days and it takes dye really well.
So I made a simple little sundress and dyed it my daughters favorite shade of purple. I even added some little purple butterflies which she loved more than anything.
So I made the pattern for the dress. It is easily adjustable for different sizes, the dress is made (with lots of overlap) for my daughter who is wearing a 3T/4T but it could fit a chest up to 26 inches. (just add length)
The Pattern Can be Found HERE
**Sew the whole pattern with 3/8″ Seam Allowance
To start fold the ruffle piece in half. Press. Then sew a basting stitch along the raw edge and pull to gather.
Sew the ruffle raw sides together along the top edge of the front tapering off at the sides. Then sew the front and back pieces together at the sides. (not the best photo of that step sorry)
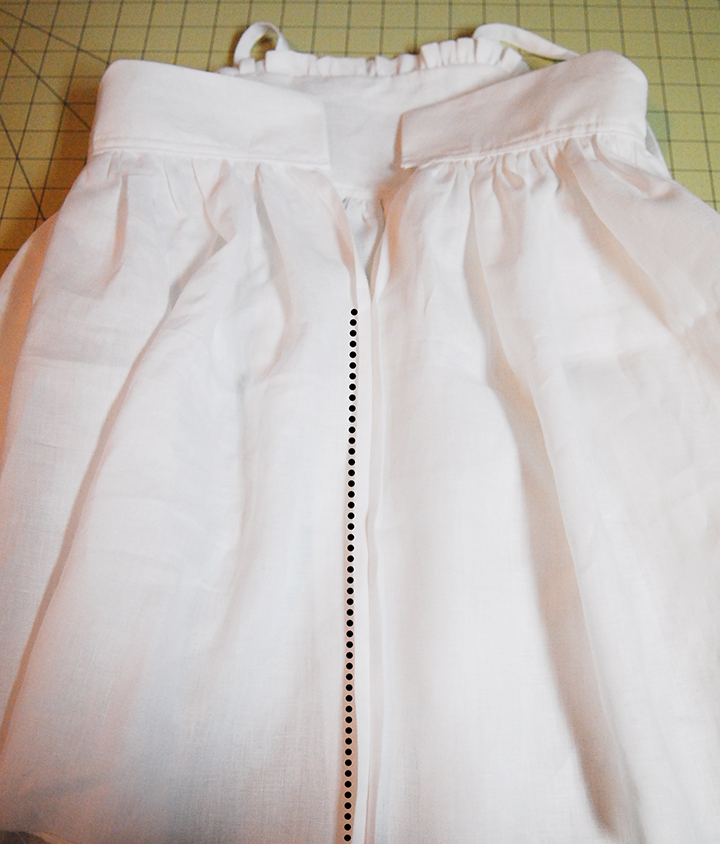
Now sew the front and back skirt pieces together at the sides. Then for the center back skirt pieces fold the edge under twice and stitch in place stopping a few inches down from the top.
Gather along the top edge of the skirt pieces.
Now sew the bodice to the skirt right sides together along the raw edge. Press the bodice and seam upward. **The back bodice should hang over the skirt piece by 3/8″
For the straps fold the pieces in half and press then fold the raw edges in toward the center fold and press. Sew along both edges to finish the strap.
Now place your straps 1″ in from either edge. Place the straps facing downward raw edge sticking up.
Now for the lining, sew the bodice pieces the same way at the side seam like you did for outer pieces. Then press the bottom edge up by 3/8″
Then place the lining along the bodice so right sides are together. Sew along the center back across the back and up across the front down to the other center back. Clip corners and curves.
Now turn the lining around to the back and top stitch along the folded line.
Now you can leave the back as is and simply sew the rest of the center back finished like you did the top, or you can sew the two back pieces together from the finished line down. Then hem the bottom of the skirt piece. Lastly add buttons to the back adjusting the back to fit how you want.
Now for the fun part. Dye Time! I grabbed my trusty Rit Dye, in purple. I do all of my dyeing in a large bowl in my kitchen sink. I turn my tap water to as hot as it gets and then I add water and salt to the bucket. Then I mix in the dye and I am ready to go.
To dip dye, I add the dress up to the point I want the color to start. I make sure the whole thing got soaked through then I lift the dress from the dye bath slowly. Once the end has been in long enough I rinse and wash the whole dress careful not to splatter on the white part.
Then after the dress is dry it is ready to be worn. It has such a nice gather its full and fun to twirl.
Sweet little button back. It’s the perfect little purple pinafore.
The linen used to make this dress can be found HERE at a great price


Jenni
Very cute! I love the button closure in that back.
Megan
I know this is an old post but is there any chance you could explain quickly how you did the butterflies on this dress? That’s the best part and I would love to replicate that part! Thank you!