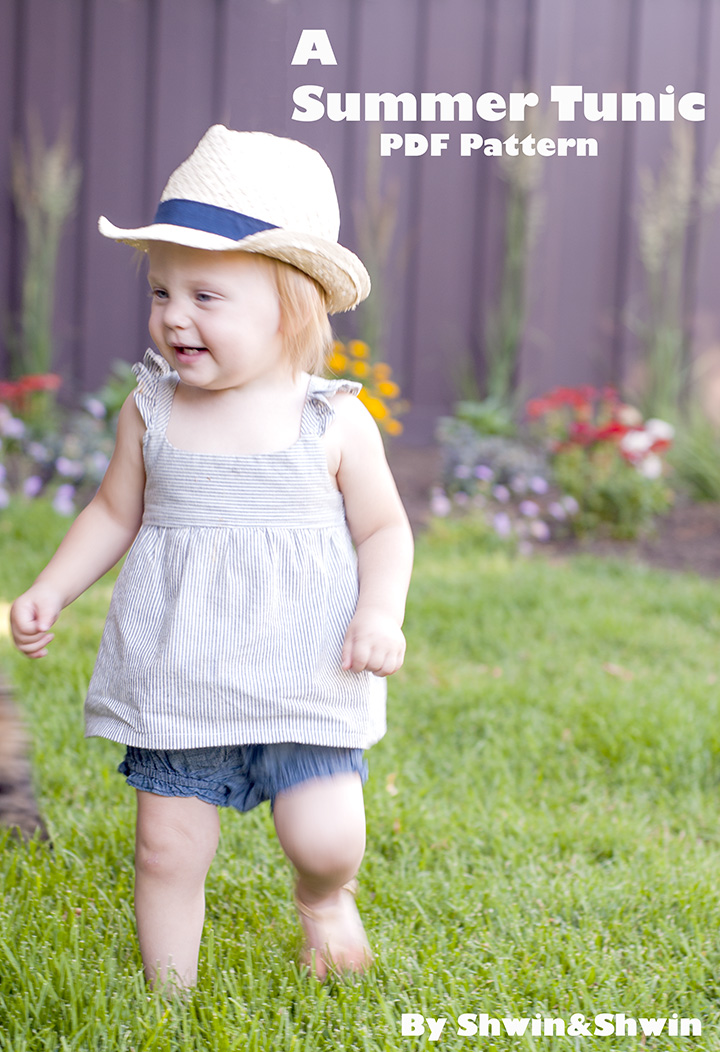
I recently purchased a cute little summer tunic for Penny, and I loved it so much that I decided I had to make a few more. The top was super simple, cute little bodice, ruffle straps, and elastic back.
Thrown on with some little shorts and it was good to go. I love any piece that is a quick throw on summer top.
Today I am sharing the pattern for the top as well. It’s about a 12-18m size, you could get away with it being for a 2T since it’s a touch big on Penny like many 2T things are, and if you wanted it to go smaller I would just make the bodice a little narrower and the straps a little shorter.
You can get the Free Pattern HERE
You will also need:
1/2 yard of fabric.
8″ of 3/4″ Elastic.
Cut the pieces as instructed on the pattern. The straps may be cut on the bias if you like, but depending on the fabric this may make the straps stretch out longer so be warned.
Sew with 3/8″ seam allowance.
To start take the outside curved edge of the ruffle pieces and turn the edge under twice by 1/4″ and then sew along the edge to secure.
Then run a basting stitch along the edge of the ruffle piece and pull to gather. Spread the gather out evenly and pin the ruffle right sides together to the strap piece. When adding the ruffle the to strap be sure to stop 3/8″ from the bottom (in the picture it goes all the way to the bottom I wasn’t thinking when I sewed it the first time, so learn from my error and stop 3/8″ from the bottom and top edge.) Sew the ruffle to the strap.
Press the strap piece flat so the seam from the ruffle is towards the strap. Then fold the strap in half so the raw edge meets the seam from the ruffle. Press well.
Then fold the strap piece again so the folded edge covers the seam and sew along the folded edge to secure.
Pin the straps right sides together to the the bodice at the strap markings. The ruffle should be facing towards the outside. Then pin the ruffle out of place so you don’t snag it while you sew the bodice.
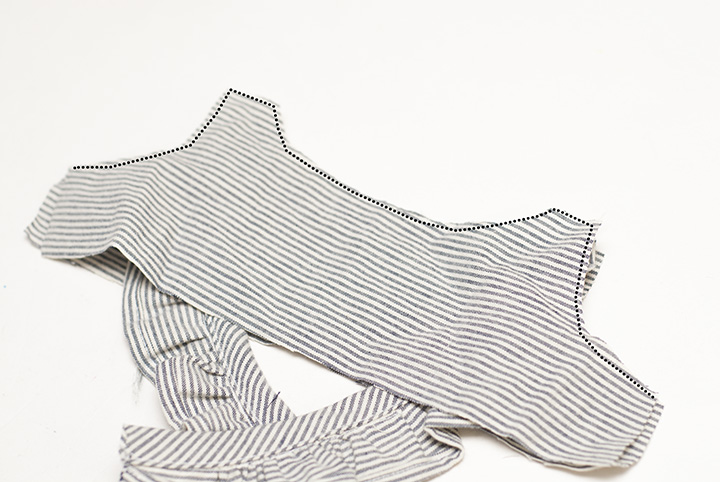
With the bodice and lining right sides together sew along the underarm, up over the straps and neckline and to the other underarm. Clip the curves and the corners.
Turn right side out and press well.
Take the front skirt piece run a basting stitch along the top and pull to gather (lightly) Then with right sides together sew the skirt piece to the front bodice the outside only not the lining.
Then fold the lining of the bodice under by 3/8″ and sew along the folded edge to secure the lining in place.
For the back. Place the straps right sides together placing the ends at the center point of the back piece. Then place the elastic casing piece over the top. Sew along the top edge.
Then press the casing to the back and fold the bottom edge under by 1/4″ and sew along the folded edge. This will create an opening for the elastic. Slide the elastic in the opening. Then sew it to secure on both sides.
With right sides together sew the front and back together at the sides. Match up the seams under the arm so the front and back match.
Then hem the bottom and you are done.
That’s all there is to it for a cute easy summer tunic.
Which just happens to be so easy to make I made a few.


Timemimi 當代迷你倉
<a href="http://21561988.com" rel="nofollow">價錢表</a><a href="http://kwuntongstore.com" rel="nofollow">觀塘</a><a href="http://hkmini.com" rel="nofollow">倉</a><a href="http://ministoragehongkong.com" rel="nofollow">家居</a><a href="http://hongkongmini.com" rel="nofollow">當代</a><a href="http://21561988.com" rel="nofollow">商務中心</a><a href="http://newsbook.hk" rel="nofollow">網頁</a><a href="http://
Mareike
How cool is that??? Amazing top! Thanks for sharing 🙂
ELISABETH.M
Many thanks ! it's a beautiful pattern with a lot of helping fotos !!! ….and "Penny est très jolie !!!!"<br />Best regards from France !<br />Elisabeth
Anne Weaver
Cute!! I've got a Craft Gossip post scheduled for tomorrow afternoon that links to your pattern:<br />http://sewing.craftgossip.com/free-pattern-toddlers-ruffle-strap-summer-tunic-top/2014/07/08/<br />–Anne
Bridgegirl
So adorable
Emily Thompson
So cute!! thanks for the free pattern.. pinned!!! Emily
Heidi G
This turned out so cute… thanks for the free pattern and tutorial! I just wanted to note that – for the back – the elastic casing fabric must be sewn very close to the top edge (1/4" or less) in order to accommodate the 3/4" elastic. I'm new to sewing and this wasn't immediately obvious to me. 🙂 I plan to make this in larger sizes as my daughter grows!
miranda Carrie cunningham
Heidi, did you make this in bigger sizes? how did you upsize it? Would you please share?
Kelly
My girl is just in this size, so I had to make it!! I'm an intermediate sewer, but the directions were pretty clear and I accomplished everything but the hem in a couple hours. The casing got me, too. Next time I would cut the piece wider to work. I ended up folding it smaller and using 3/8 elastic because there was no way the other kind was fitting, even with tight seam allowance. It turned
Rosie
This tunic is so adorable! As well as the model.
I had a question before starting this project. When cutting out the pieces, do you add 3/8″ for seam allowance? Or should I just cut out the fabric exactly in the size of the pattern?
Please help, I don’t want to mess up!
Thanks för sharing!
Shauna
Seam allowances are included.
KCW Day One: Sophisticated Cat Romper (and bonnet!) | Pen, Seb & Rox
[…] the bodice I used Shwin’s FREE A Summer Tunic pattern. The pattern comes in one size, 12-18 months, but should be easy enough to scale for other sizes. […]
Emma
Just wanted to stop by and say thanks for the great free pattern – I’ve made 3 of them so far!
https://teamassin.wordpress.com/2015/08/19/the-sweetest-free-pattern-on-the-web/
Do you think it would size up easily by simply increasing the size of the pattern pieces? I’d love to make more of these for next summer… and beyond! I love it so much!
FREE baby clothes patterns (Sewing) | MumsMakeLists
[…] Summer tunic free downloadable sewing pattern by Shwin. Age: 12-18 months […]