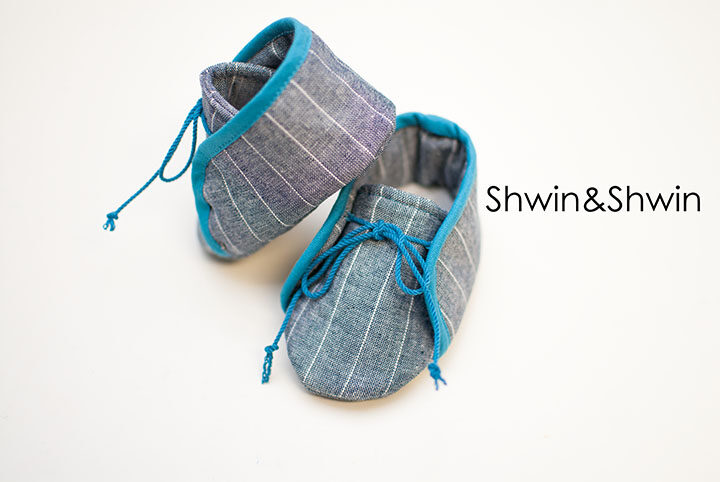
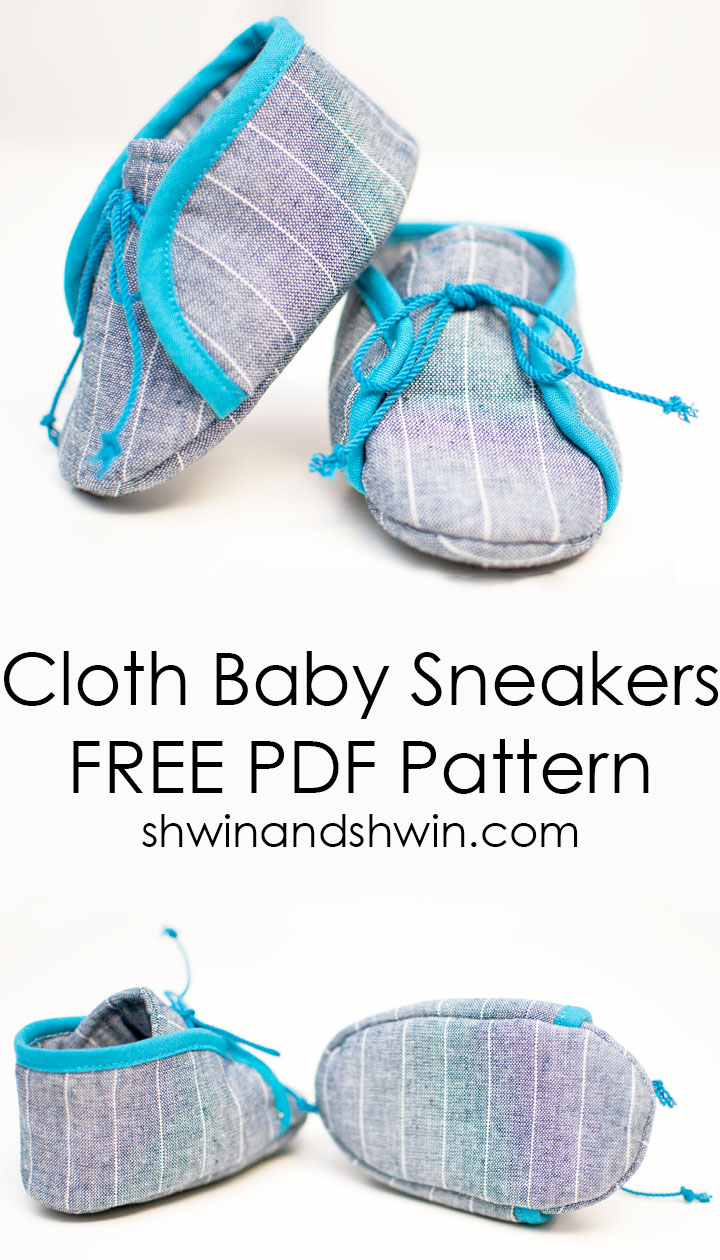
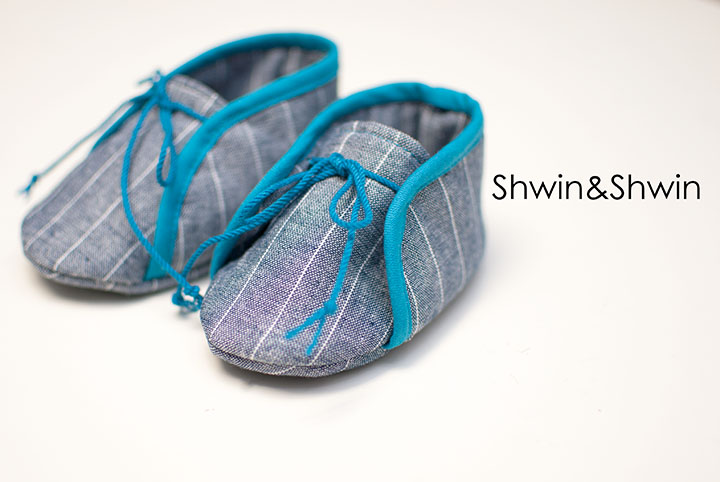
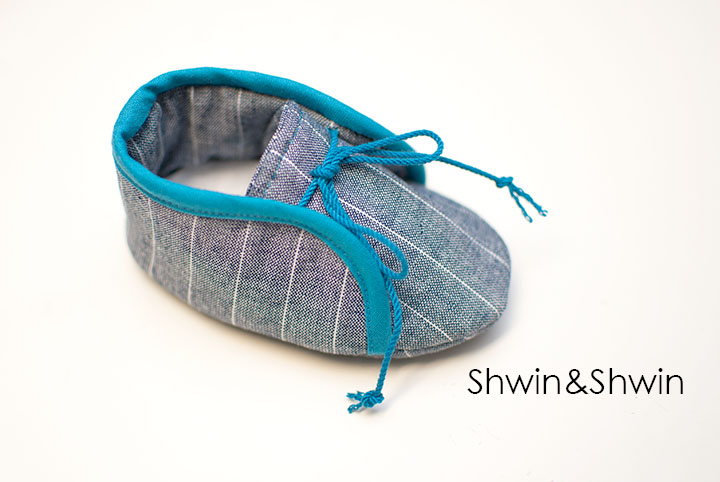
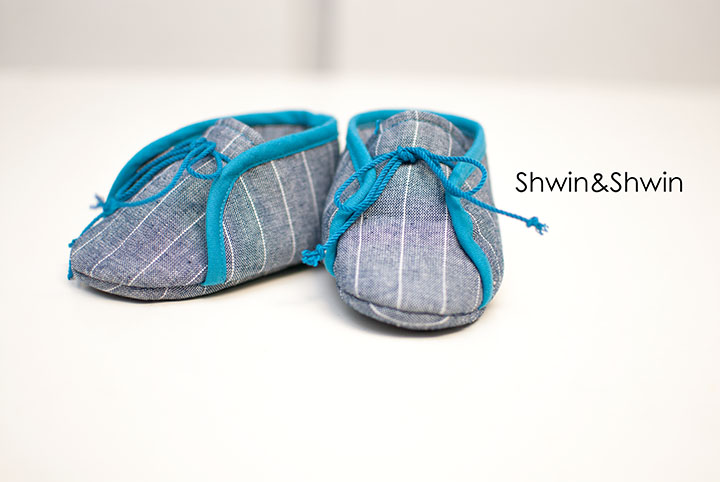
A sweet little Nephew recently joined our family. And although I have already made him 2 other baby shoes, I warned my sister in law that it was just the beginning because I seriously LOVE making baby shoes. They are just too stinking cute, and cheap to make. I loved having a shoe to match every outfit when my kiddos were small enough to wear cloth shoes.
These little cloth sneakers were inspired by these sweet baby shoes. 30 bucks is not even crazy compared to some baby shoes out there, but still when it comes to a cloth shoe I would rather make it. So I started messing around with shapes, until I got a pattern that I loved. (I have a girly version coming soon, but these do work for a girl or boy)
You will need:
FREE Cloth Baby Sneakers Pattern
Scraps of Fabric (about 1/4 yard)
Fleece ( I used fusible fleece, this just keeps the pieces from being floppy, it can be skipped)
Bias tape (I made my own using a 1″ wide bias you want small bias tape)
String (or ribbon, or twill tape)
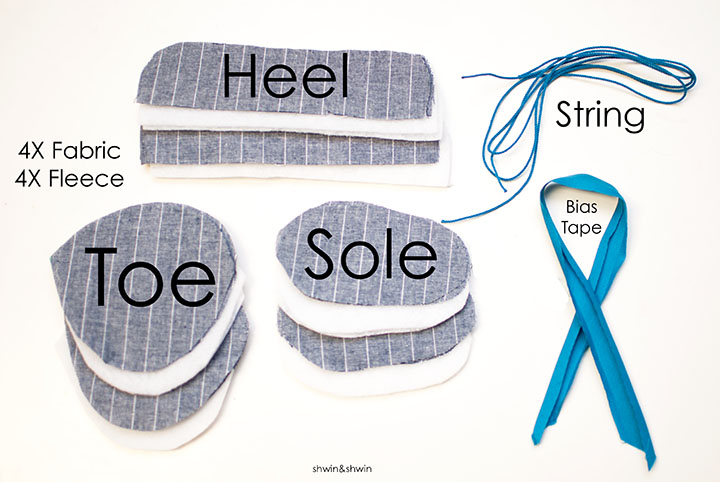
When you cut out all of your pieces it will be something like this. To prep. Press the fusible fleece to the wrong side of each fabric piece.
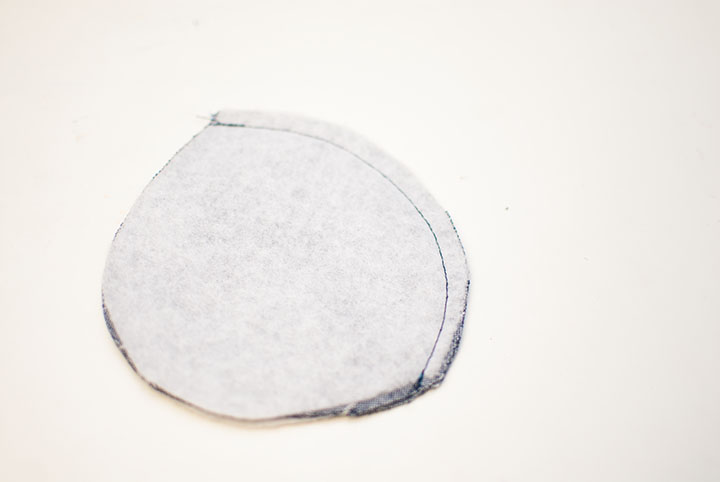
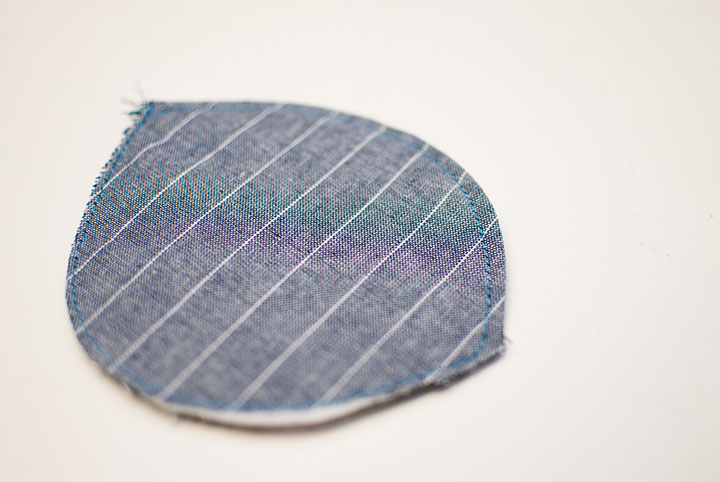
Then sew two sole pieces wrong sides together along the edge to secure them in place. Repeat with other sole pieces so you have two soles. This makes sewing the shoe together much easier.
**Note we are working with just one shoe for this tutorial you will repeat all the steps for the second shoe
Now for sewing the shoe. With right sides together and fleece side up. Sew the two toe pieces together along the top edge.
Now turn the toe piece so it is right sides out. (fleece will be in the middle now) Top stitch along the entire edge to keep all of the layers in place.
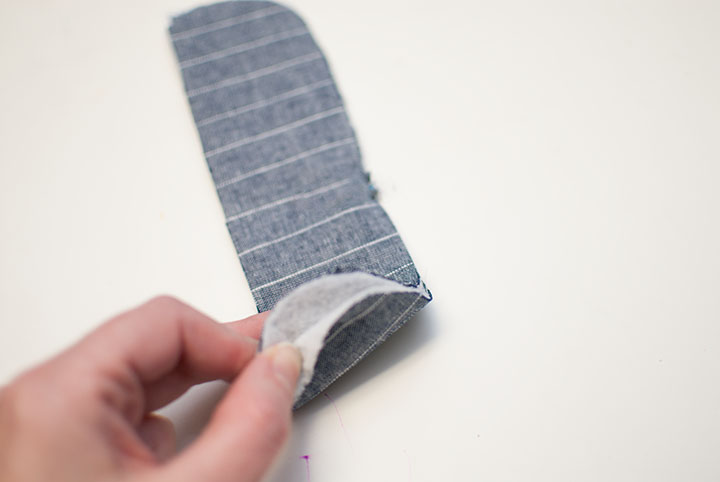
Now for the heel. Place two heel pieces wrong sides together (so fleece together)
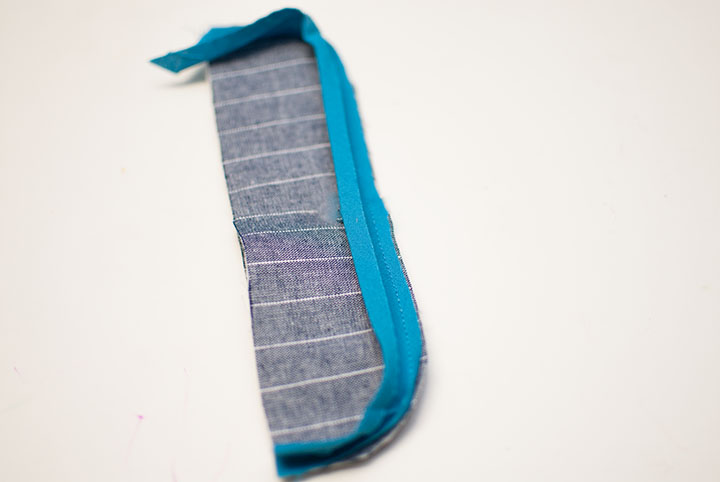
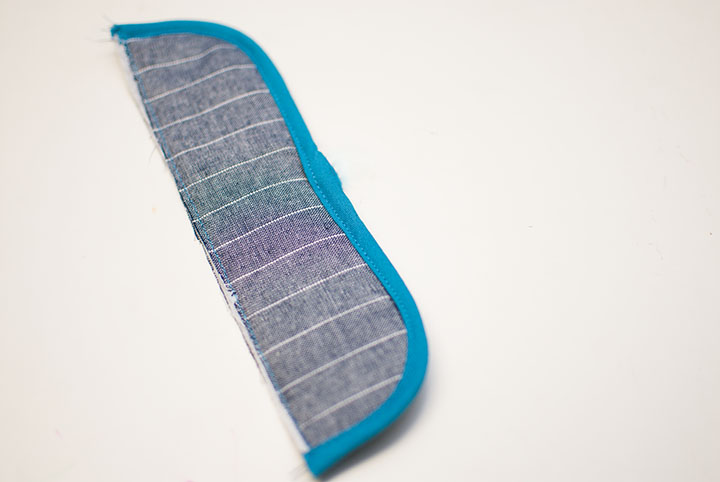
Then sew the bias trim along the side and top edge. Sewing through all the layers.
Fold the bias tape in half and then fold it so the folded edge covers the raw edge and the stitch line. Then sew along the folded edge to secure in place. Also sew along the bottom edge.
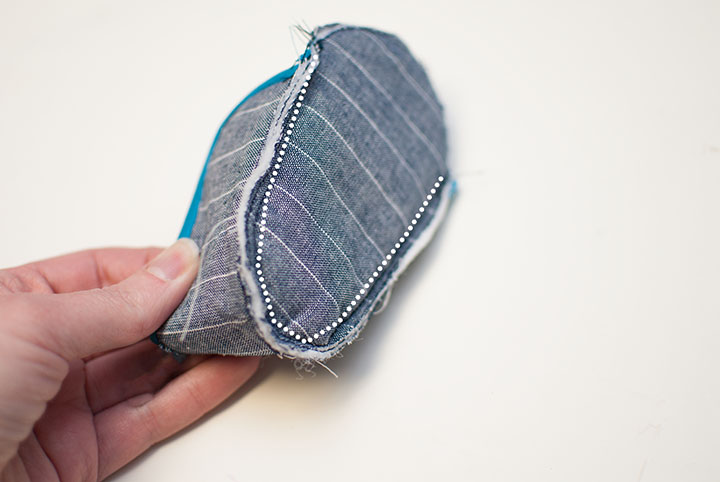
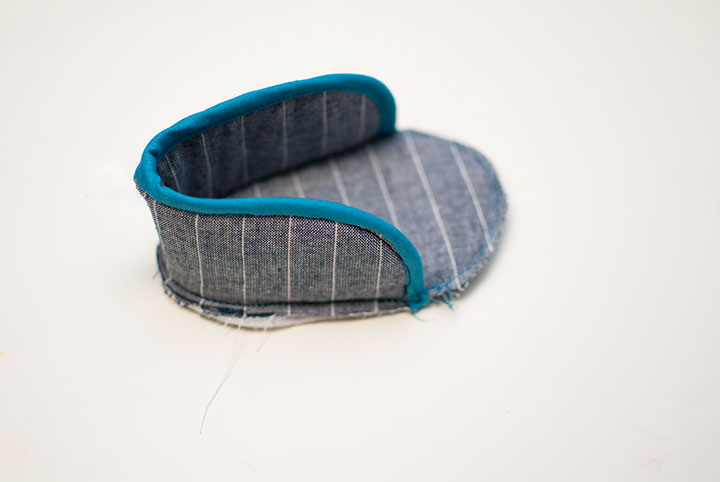
Now fold the heel and sole in half to find the center points. Match the center of the heel up with the center of the heel end of the sole. Then sew the heel to the sole (use 1/4″ seam allowance)
It will look like so.
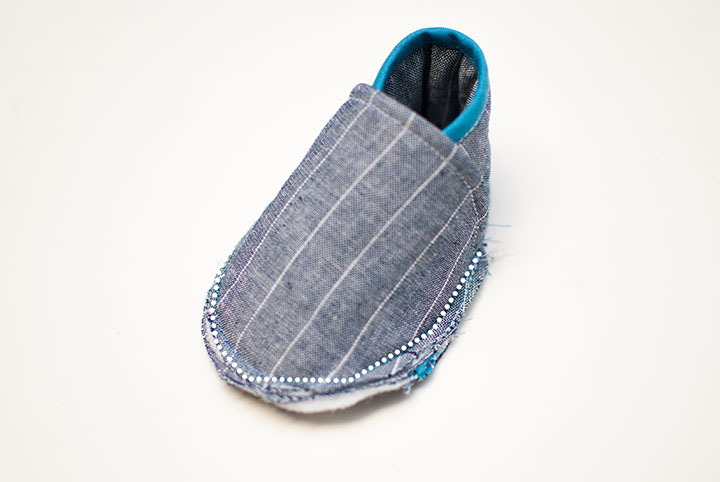
Then do the same with the toe matching up center toe with center sole. Then sew it in place. It will over lap the heel piece.
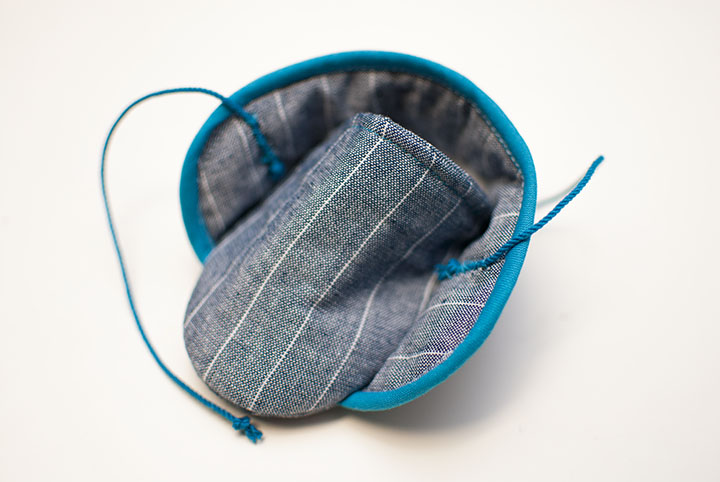
Now turn the shoe right side out and roll the seam between your fingers to smooth out. Add the string but hand stitching it in place to the inside lining. I was sure to secure the string well since these will be worn by a baby but I would also advice that anytime there is string, not to let the baby sleep unsupervised while wearing the shoes.
Then tie the shoe and cut the ends of the string to desired length.
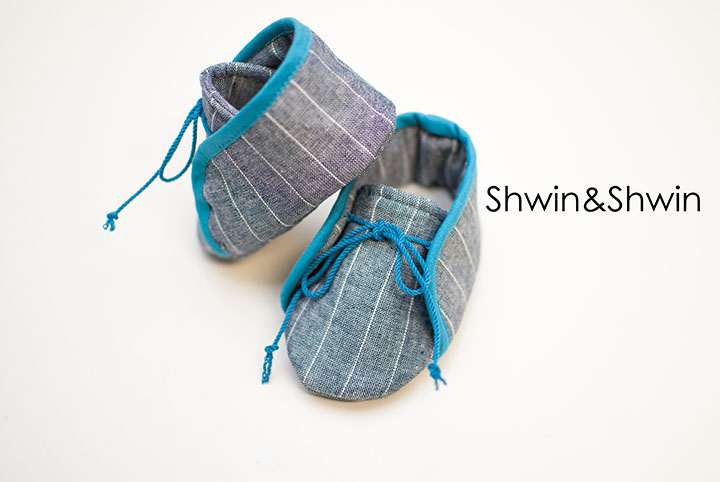
Repeat the steps with shoe number two and you are good to go.
I love these little sneakers.
