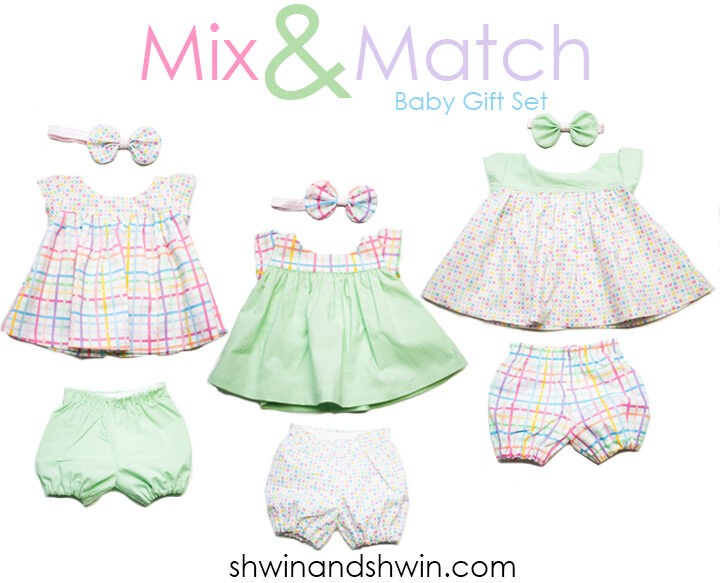
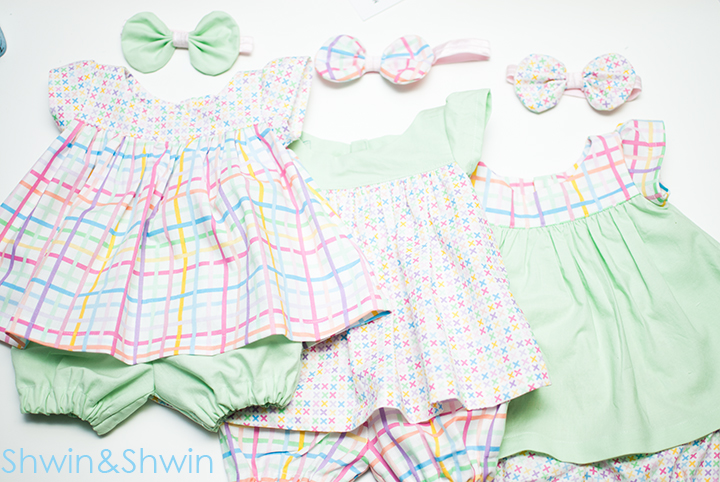
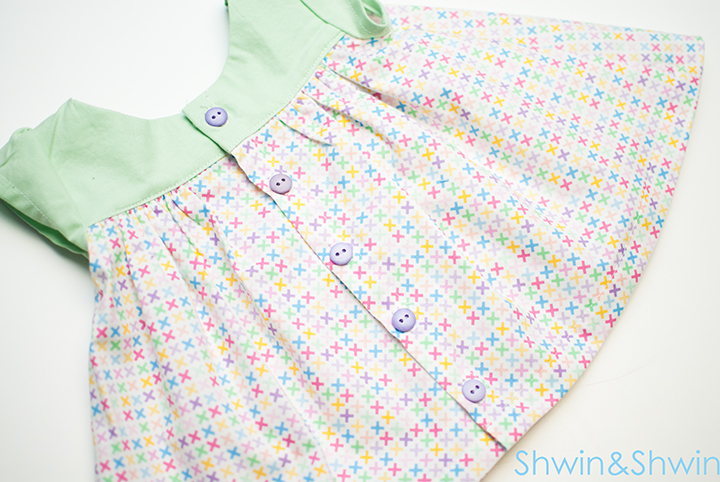
Years ago when I had first started this blog I shared my go to baby girl gift, the Abbey Dress. It was something I made Abbey a ton of when she was a baby and I just never really stopped, chances are if you know me and had a baby girl you have gotten one. However when I first shared it I shared how I made the pattern but not the pattern itself, I have also started doing it a little differently, and for the most recent set I decide to add sleeves. This set I made for my SIL who just had a sweet baby girl. The fabric is from Ann Kelle’s rainbow remix line. She sent it to me forever ago and I just fell in love with the sweet colors and prints and how they played so well with each other. That’s when I decided it would be fun to make a whole set that mixes and matches the fabric so you can have different outfits but the pieces can be worn in a number of different ways.
To go with these I also made some diaper covers from my Baby Basics pattern.
To make The Abbey Dress
You will need:
- Free Pattern For Dress HERE
- 1/2 Yard fabric
- Buttons for back
- Fold over elastic for bow (optional with instructions below)
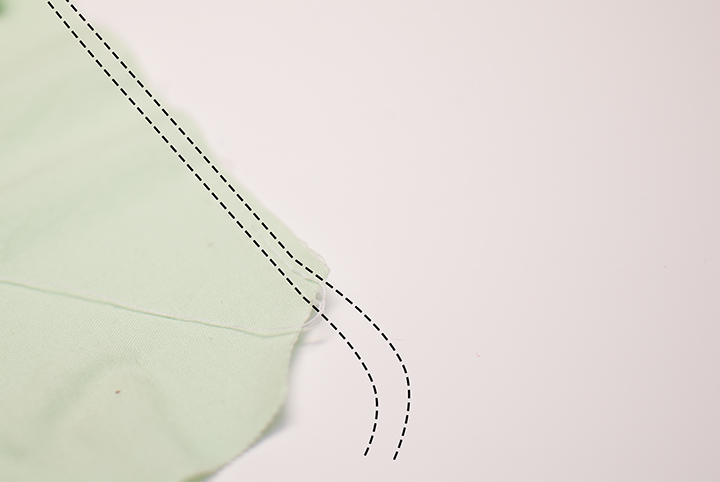
To start. Sew two rows of basting stitches along the top edge of the front skirt. For the back sew 2 rows of basting stitches along the top only start at the marking on the pattern and then sew along the rest of the top so the first inch isn’t gathered.
Then with right sides together sew the front bodice and back bodice pieces together at the shoulders. (I don’t have a picture for that step, but you can see above they have been sewn and pressed open)
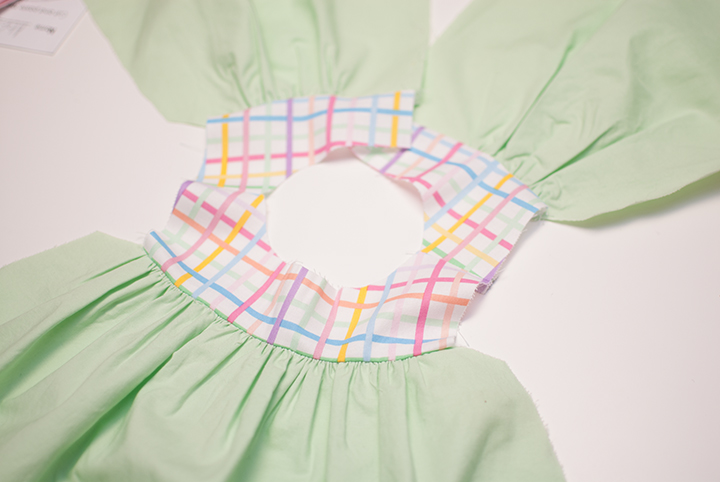
With right sides together, match the bodice and the skirt together. Pull the skirt to gather so it fits the bodice. Then sew the bodice and skirt together. Repeat for the back.
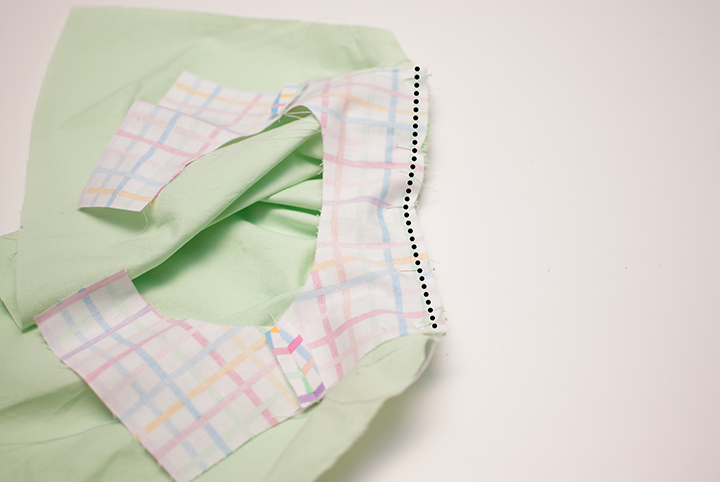
Press seams up towards the bodice. Then for the bodice lining, sew the front and back right sides together at the shoulders. (again no photo of that part so hopefully you get the idea)
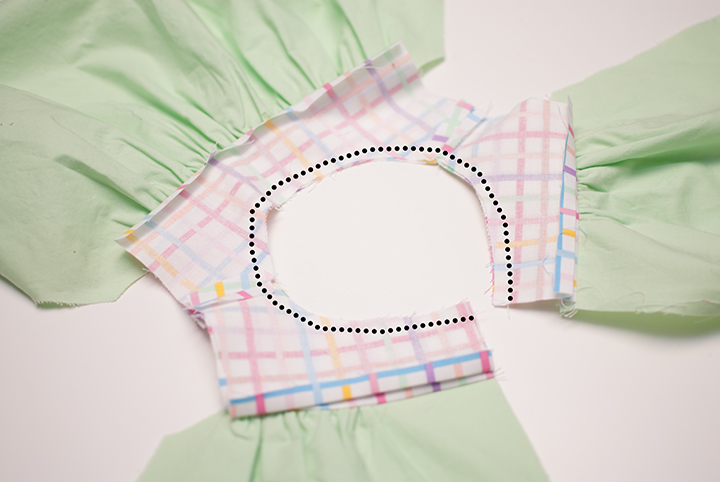
Then with right sides together, sew the bodice lining, to the bodice along the neckline. Clip the curves. Then press the bottom edges of the lining front and back up by 3/8″.
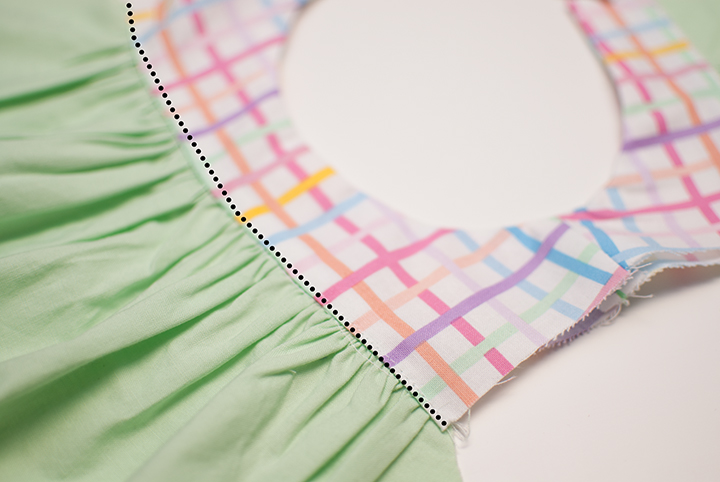
Turn the lining around to the inside. Press well. Sew the lining in place to the main bodice by sewing along the folded bodice edge.
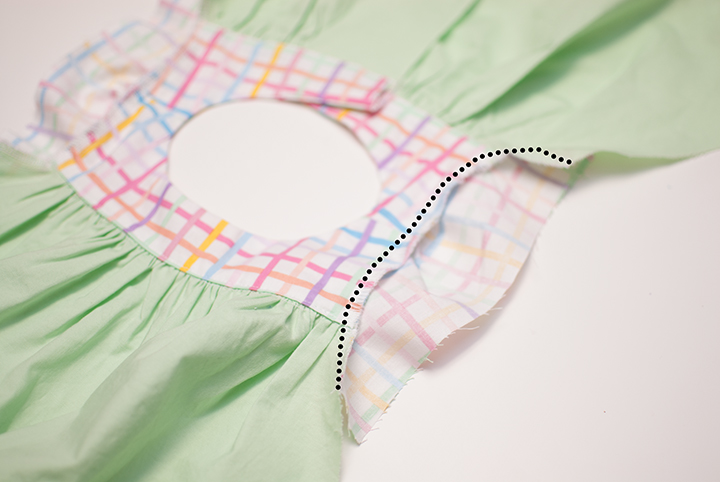
Sew a basting stitch between the dot markings on the sleeve. Then with right sides together sew the sleeve to the arm curve and pull to gather the sleeve in place. Finish seam as desired. Repeat with other sleeve.
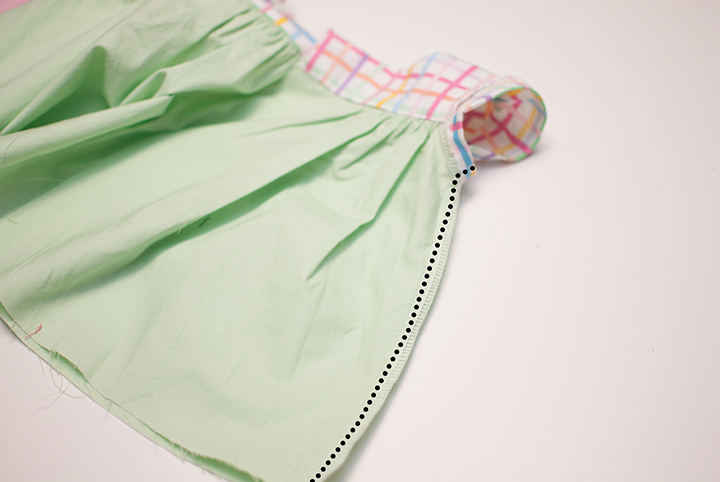
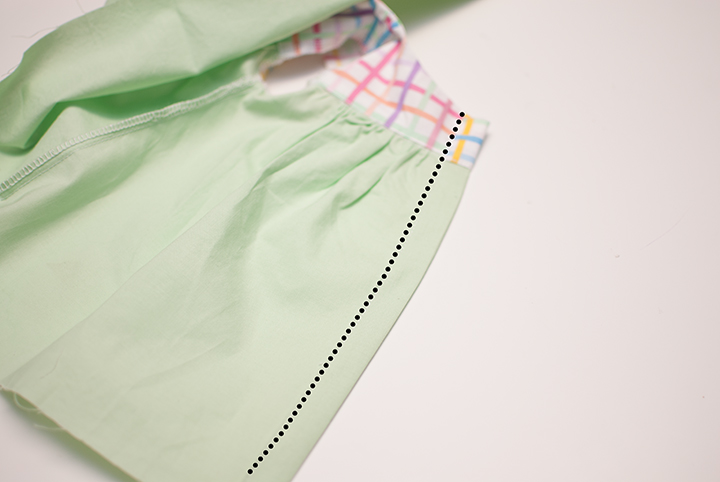
Then with right sides together, match up the front and back and sew from the sleeve edge down the side. Finish seam as desired, repeat with other side.
Then for the back, fold the center back edge by 1/2″ and then again by 1/2″ and sew along the folded edge to secure.
Repeat with the other side.
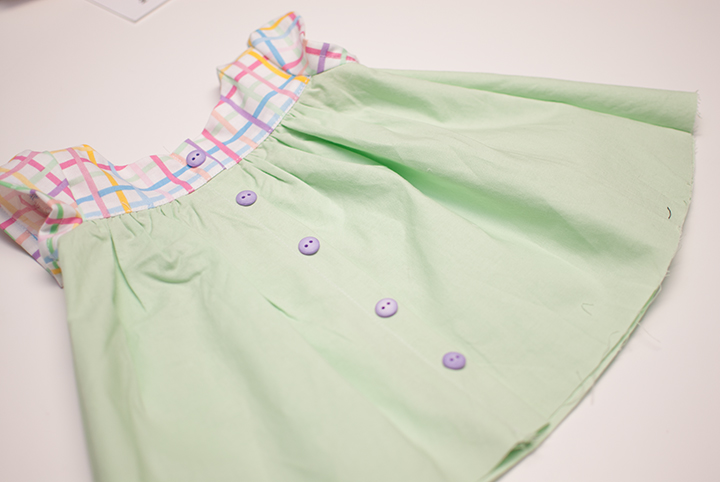
Then we will add buttons down the back. You can add functional buttons all the way down the back or you can sew the bottom half in place and just have functional buttons for the top. It’s up to you and the ease of dressing. Add button holes and buttons as you desire.
Lastly, hem the sleeves and the bottom of the skirt.
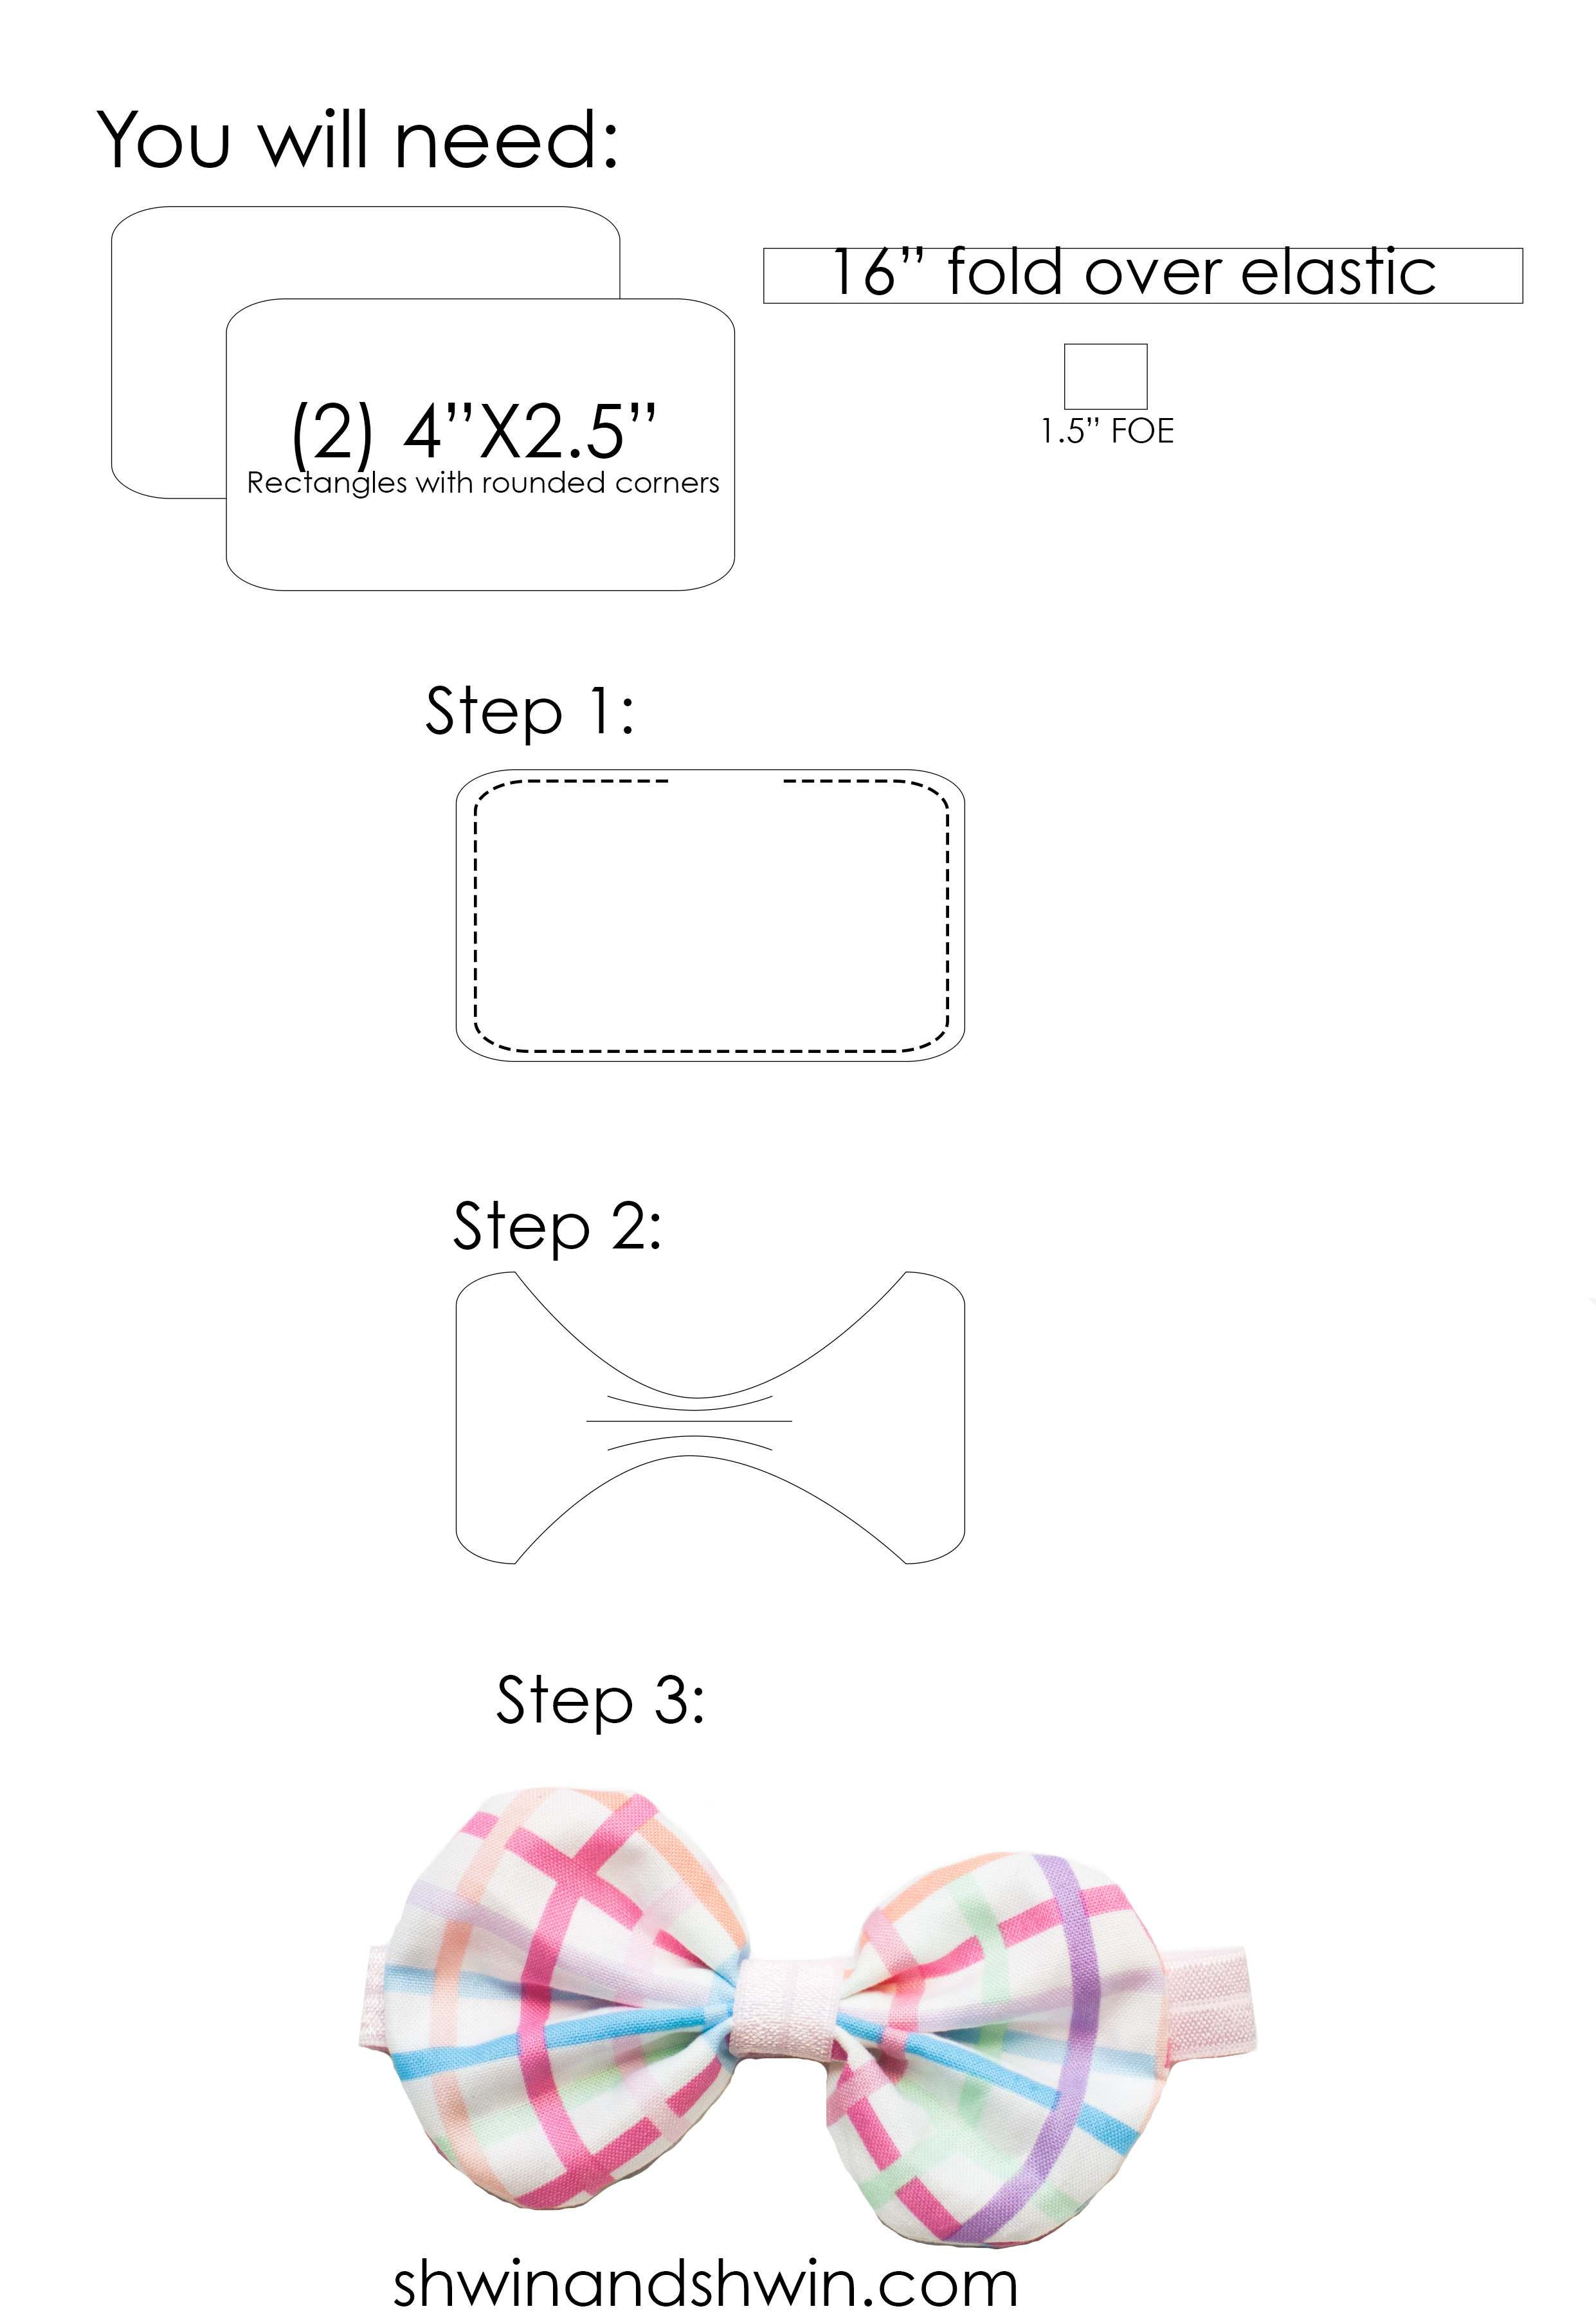
For the bow.
Cut the rounded rectangles, then sew them right sides together leaving an opening in the center to turn it right side out. Turn it right side out, pinch the middle and wrap the small piece of FOE around the middle while sewing it to the longer band. Done and done.
Then you have a sweet little gift set all ready to go.
Fabric:
Pattern:
