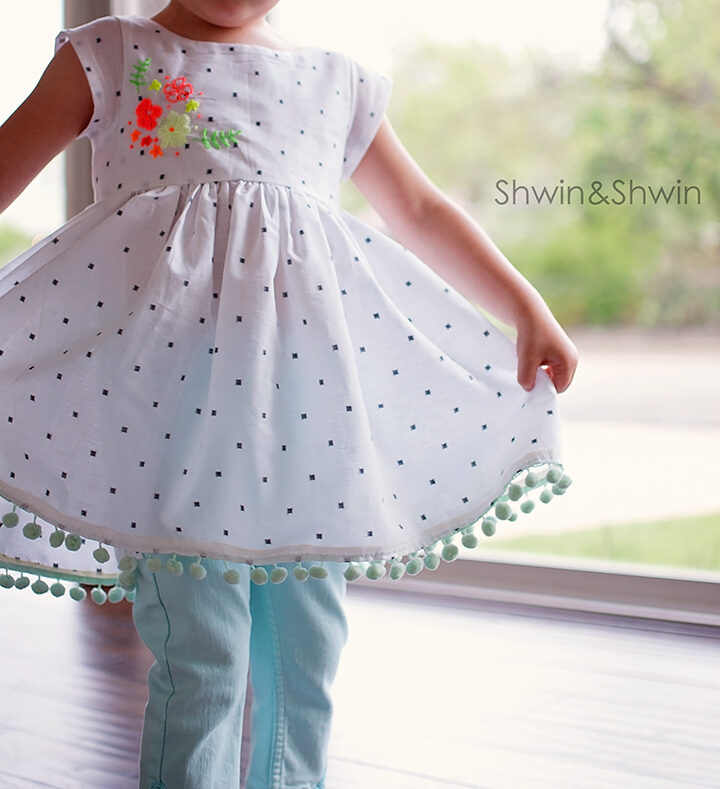
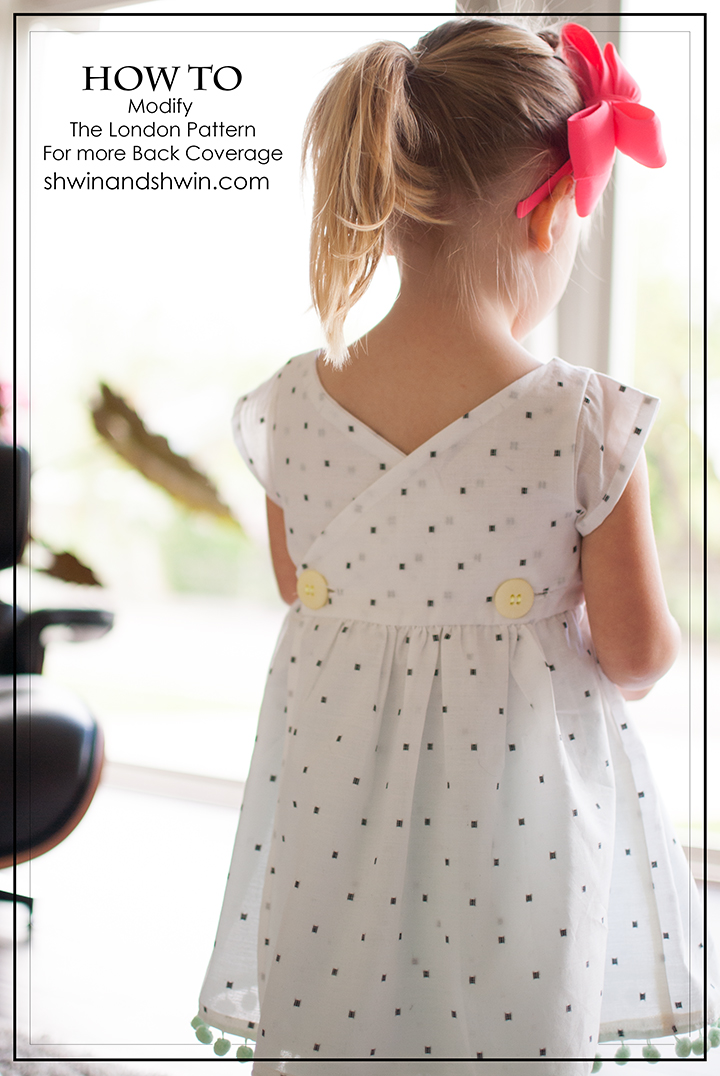
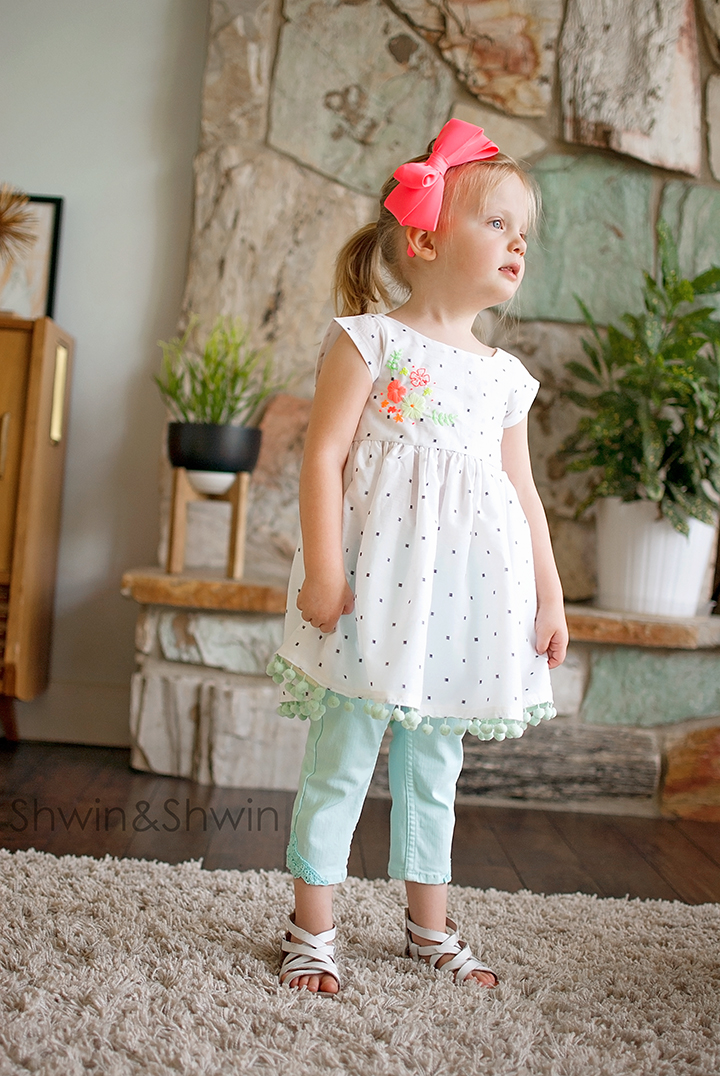
The London Pattern is one of the new patterns from the newly released City Girl Collection in my shop. It’s quickly become one of my favorites and although I adore the circle cutout in the back, some people like a little more coverage for their little ones and some other people (like me) just like having even more options to work with one pattern. So I thought I would share a really quick and easy modification (no hard pattern drafting required) so you can get a different look from the London Pattern, which this darling cross back which offers more coverage.
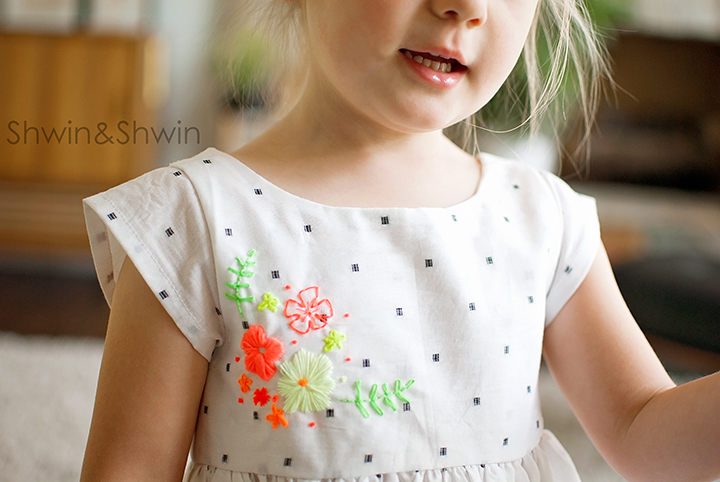
This particular top which I ran into a million issues while making, ended up being my most favorite one since I added this sweet embroidery to the front. I recently took a class from the AMAZINGLY talented Bev at Flamingo Toes so I could brush up on my embroidery skills. I hadn’t taken an embroidery class since Jr. High so it was nice to have a refresher and learn a few new tricks. Then I came home and grabbed a free pattern off her blog and started adding embroidery to everything.
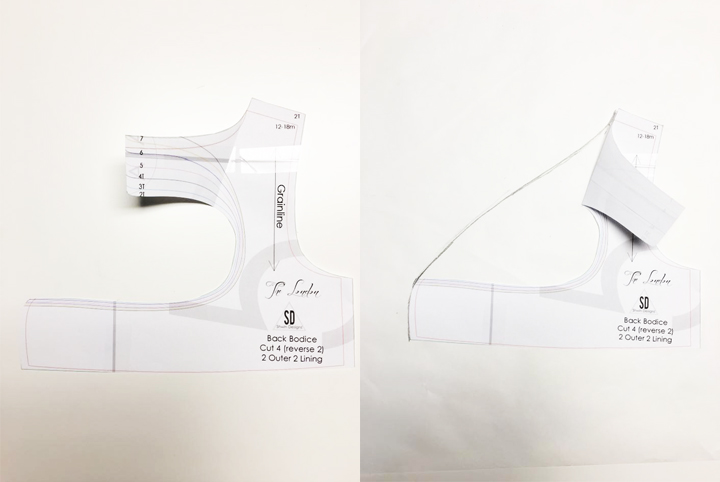
So let’s make a new back piece. Fold the top part of the back bodice out of the way.
Then trace around the bodice piece but draw a new line connecting the bottom of the back to the shoulder/neckline.
The more that line curves out the more back coverage you will have, the more is scoops in the less you will have.
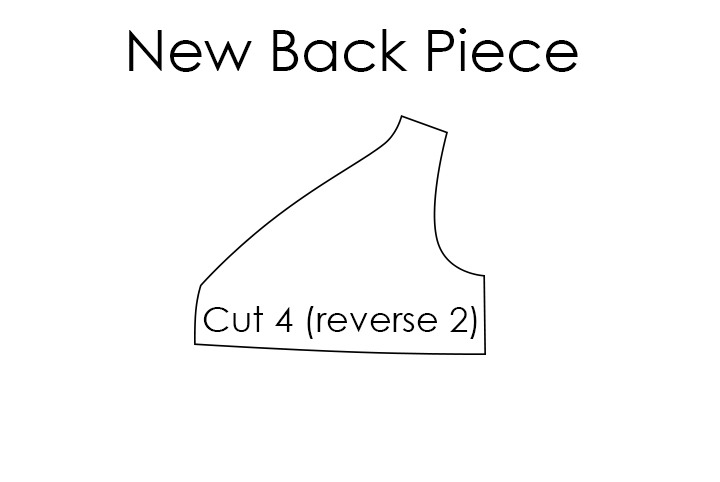
Once you are done your new piece will look about like this. Make sure and transfer markings like the grain line and cutting instructions. The new back will be sewn the same as the pattern instructs you will just have less curves to sew around.
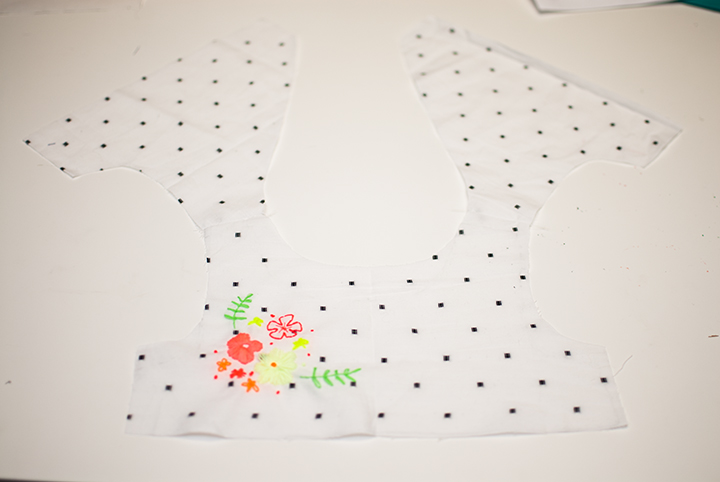
So once the front and back is sewn together and presses at the shoulders it should look like so. And you are good to go, the dress will still button in back.
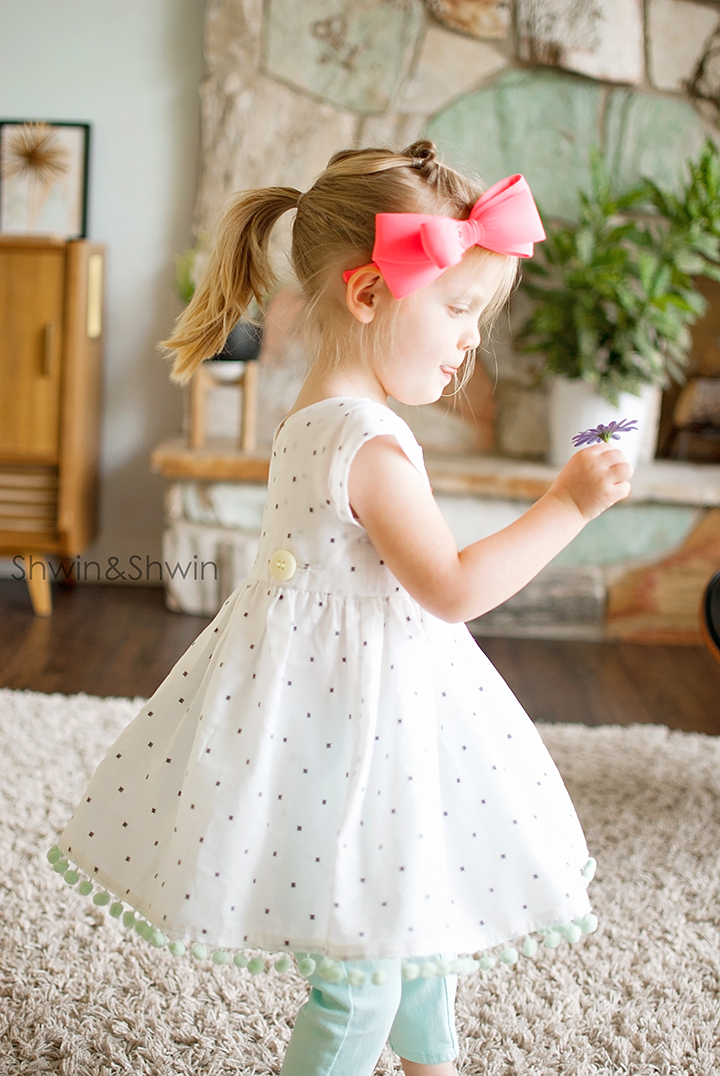
So back to this top, which I wanted to make a maxi, only I was just short on the amount of fabric I would need, I figured it would be fine I would make it less full and it would all work out. The fabric which is nearly sheer would be lined anyway. SO I cut the skirt out gathered it (ever so slightly) and made it. It looked awful and had very little movement so I took the skirt off, working with what I had already cut I didn’t have enough length for the knee length dress but it was just a tad longer than the top would be. It seemed a shame to waste a few inches of fabric so I decided to just make it a tad longer top. Which still looks adorable but it is at a slightly awkward length until she grows.
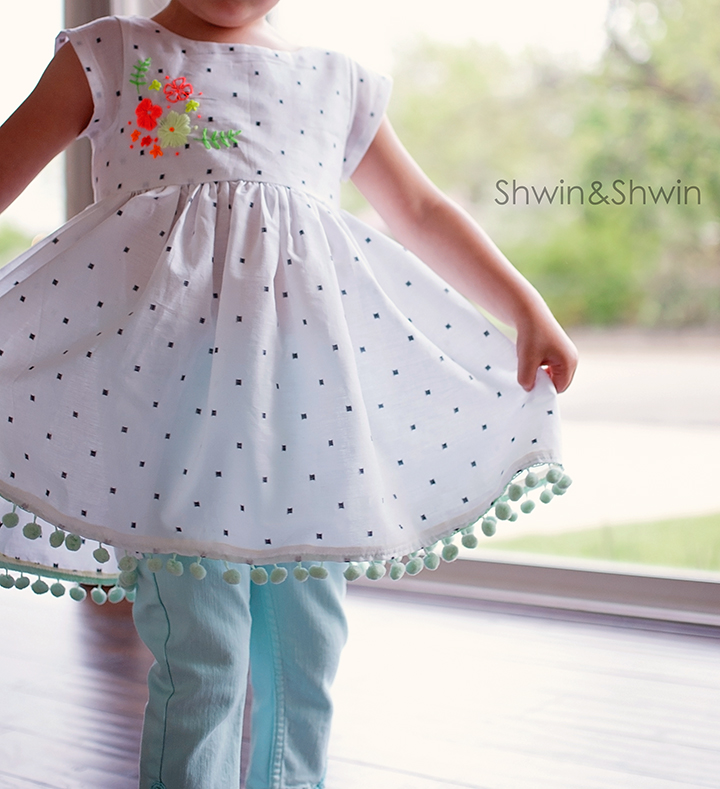
So the top has the embroidery that I love and I thought why not throw some pom-pom trim on that hem. Pom-pom trim makes everything better.
Seriously it’s my new favorite and Penny absolutely adores it and how fun and swingy it is. Also neon and neutral has my heart so neon embroidery floss for the win.
Fabric is a cotton Voile I have had in my stash for years and finally used.
Pom Pom trim from a local shop
