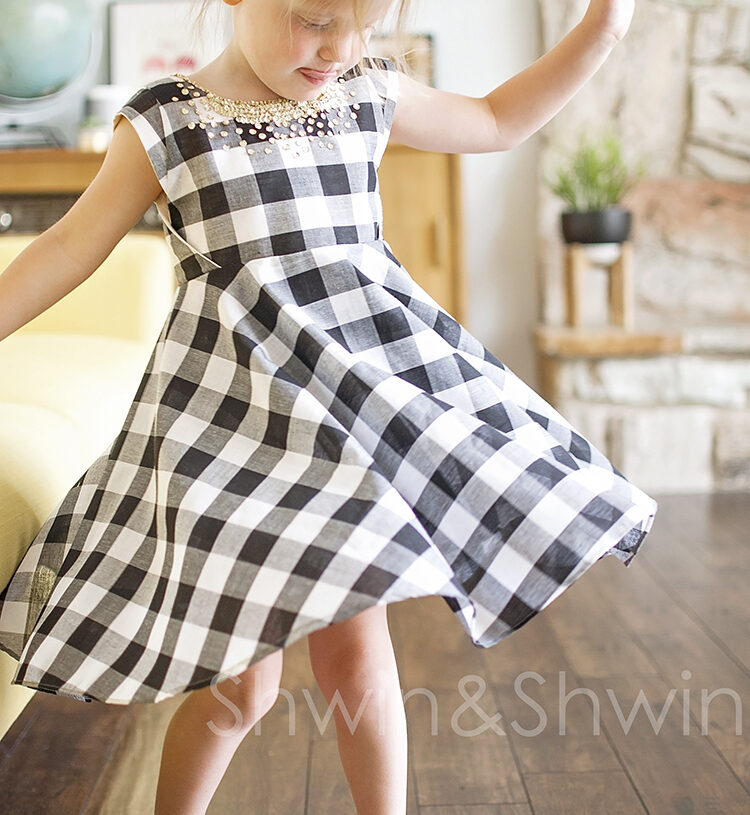
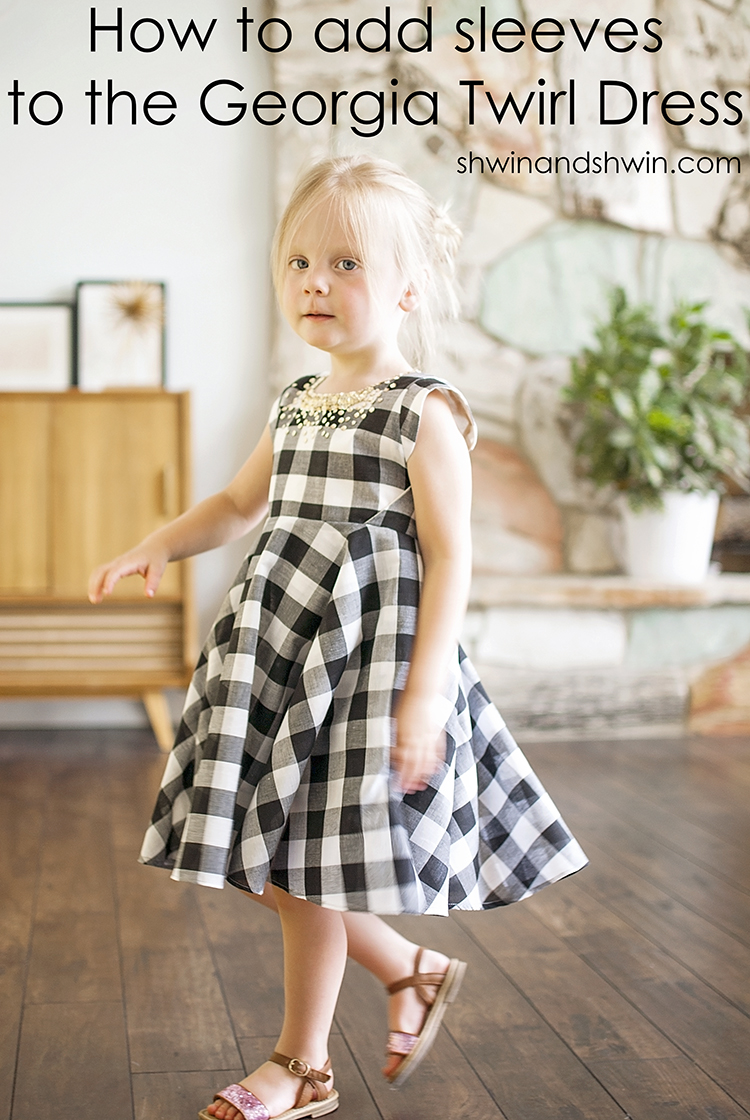
The Georgia Twirl Pattern is easily one of my favorites. It’s one of the patterns I go back to time and time again since I first designed it nearly 3 years ago now. The flounce of the circle skirt and unique wrap of the bodice just always call out to me. One question I get asked a lot is if it’s possible to add sleeves to the dress. The pattern is a sleeveless bodice and do to the wrap design it really can’t have a traditional sleeve. My short answer was always no, not really. Then I started thinking about the wrap and how a cap sleeve would work out well.
So I gave it a try and sure enough it works perfectly and I love that it gives another way to wear the Georgia Twirl, without ruining any of the design elements I love about it.
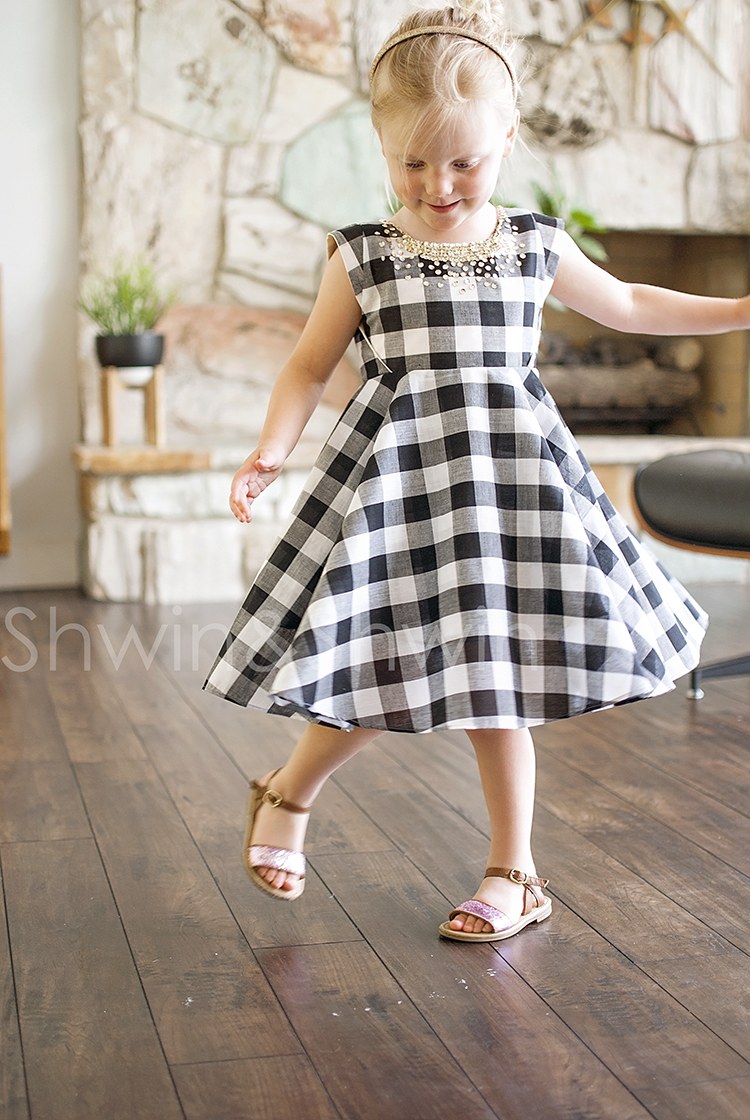
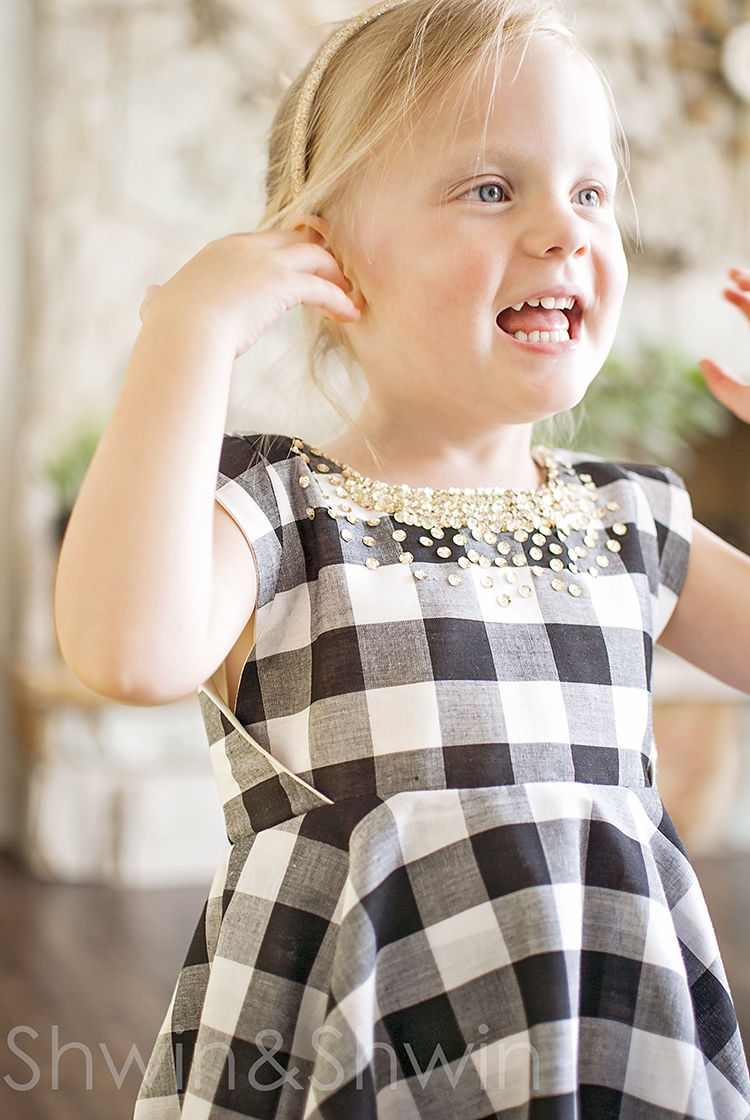
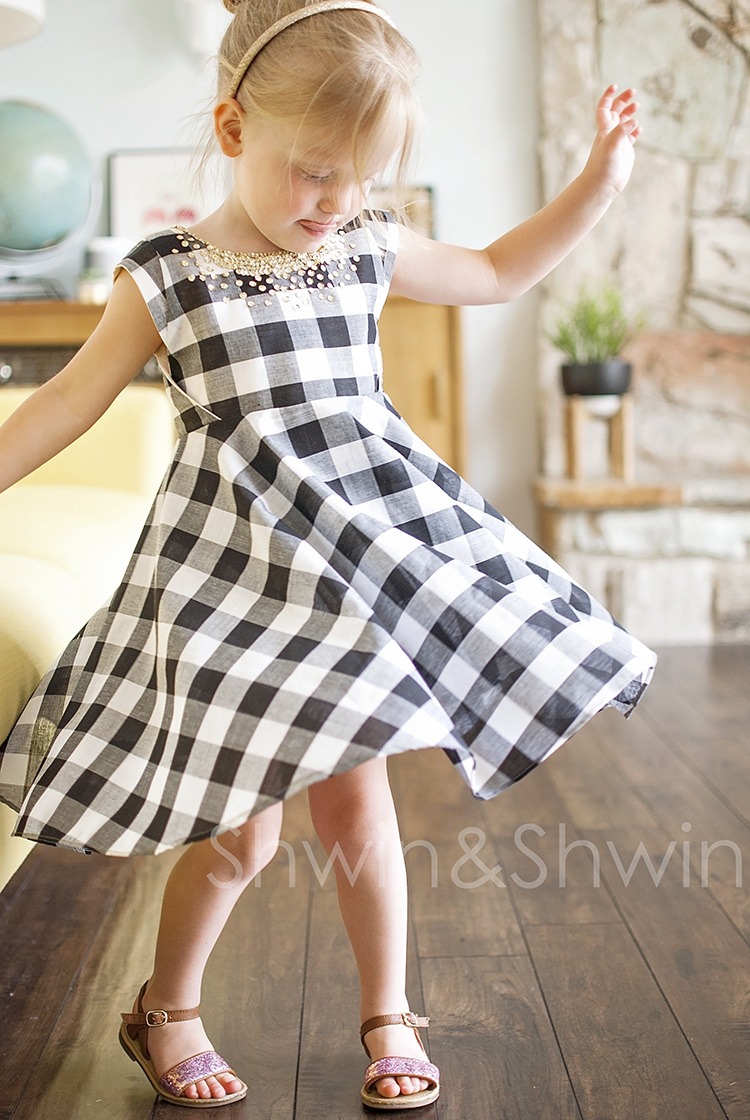
For this particular dress I used a buffalo check gingham from Joann Fabric and Crafts. I wanted to make it a little dressy and I love the contrast of check and bling so I added sequins along the neckline hand sewing each one on with a small clear bead to hold them in place. The sequins and beads were also purchased from Joann Fabric and Crafts. I lined the bodice and sleeves with cream kona cotton, and for the skirt since the fabric is a little sheer, I did the double layer skirt from the pattern but I used the gingham for both layers so it was still very light weight but not as sheer.
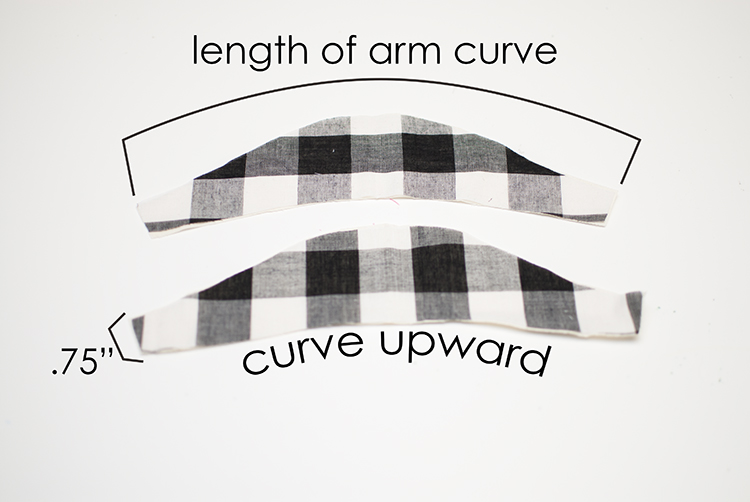
To add the sleeves, measure the arm curve. **Note I also trimmed the edge of the shoulder/arm curve of the pattern since the pattern sits a little wide on the shoulders as is and when I added the sleeve I wanted to sleeve to sit on the shoulder not beyond the shoulder.
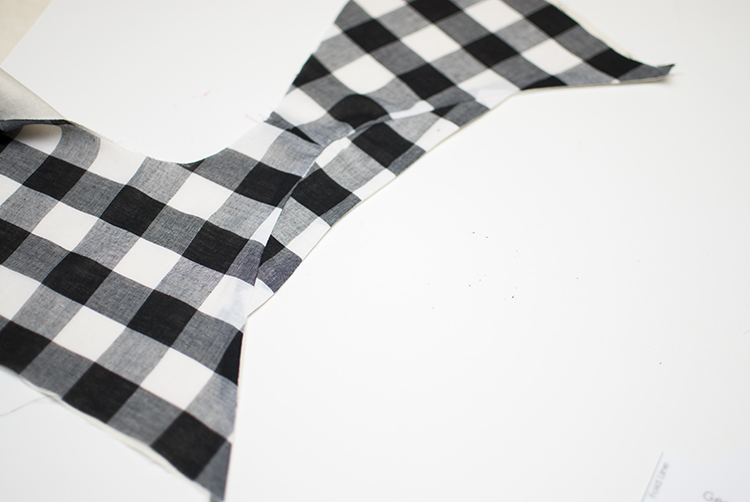
The top curved edge of the sleeve should be the same measurement of the arm curve. Just know the sleeve should only come about half way down on the under arm curve of the bodice or it will interfere with the wrapped side. (more on that in the next photo)
Then making the sleeve .75″ long (so the end of the sleeve will go into the seam when it’s all sewn)
Be sure the sleeve curves upward a little so that the sleeve has shape to it and doesn’t stick out when worn.
So the sleeve will have kind of an arched shape to it in general.
Cut 2 from the main fabric and 2 for lining. (this may also be to match in the inside if you are making a reversible dress it can still be reversible with the sleeves)
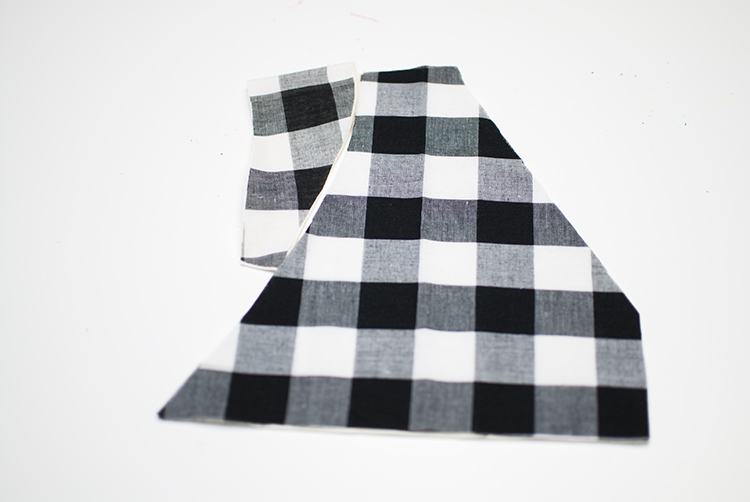
So here we have the sleeve (folded in half ) against the bodice. You can see that it doesn’t go all the way down the side because the bodice overlaps. I went from the overlap making and drew an imaginary line straight up to find the point on the arm curve that the sleeve should come to.
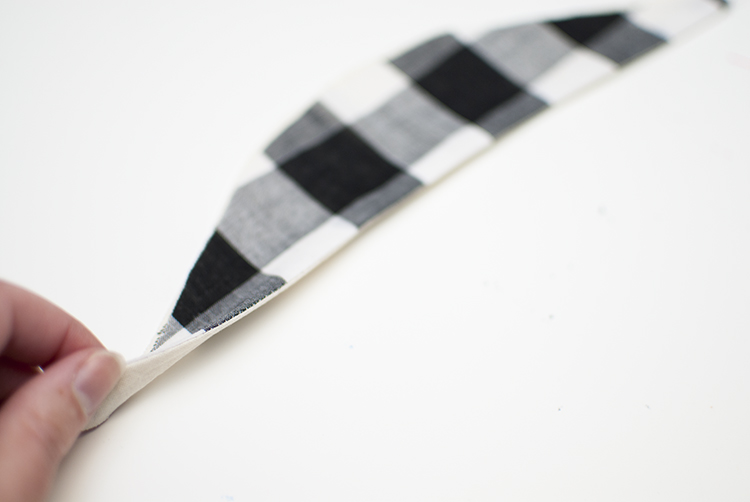
Then to sew the sleeve. Sew the two sleeve pieces (outer and lining) right sides together along the bottom curved edge. Then turn it right side out and press well.
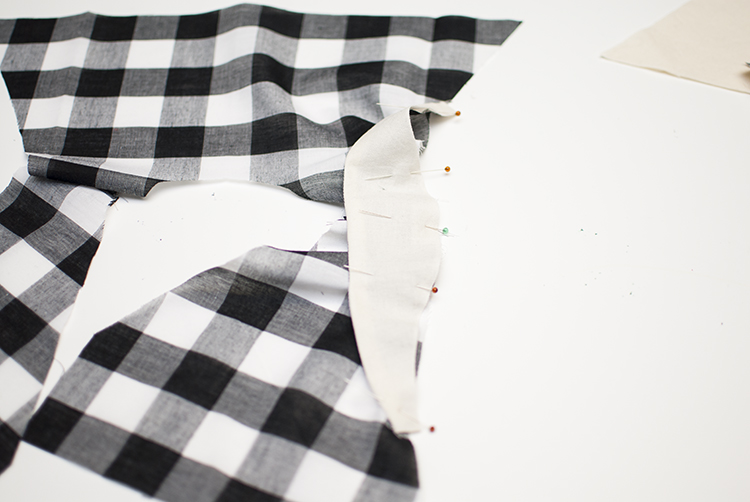
Then with the bodice front and back already sewn together, before you sew the outer and lining bodice pieces together, add the sleeve right sides together at the arm curve. Match the center of the sleeve with the shoulder seam. Then place the lining right sides together with the main bodice and sew them just as the pattern instructs with the sleeve sandwiched between them.
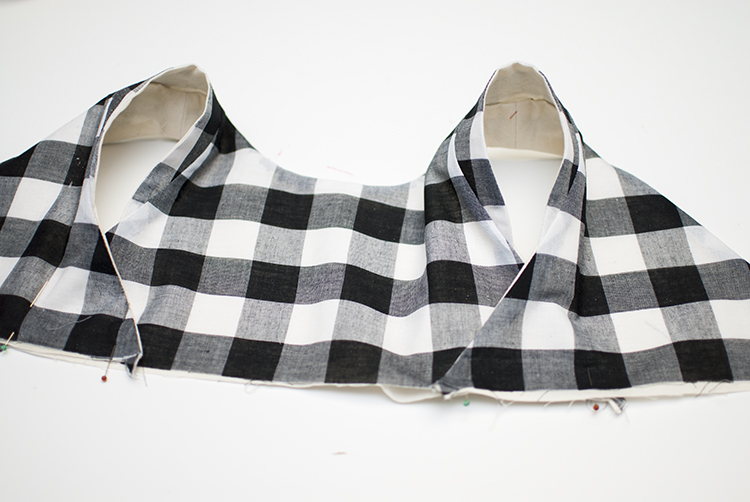
Then when you turn the bodice right side out, you will have a cute little cap sleeve neatly sewn between the two layers, and all seams neatly enclosed.
Finish the pattern as instructed. When you overlap the bodice you will see that the sleeve meet right at the overlap.
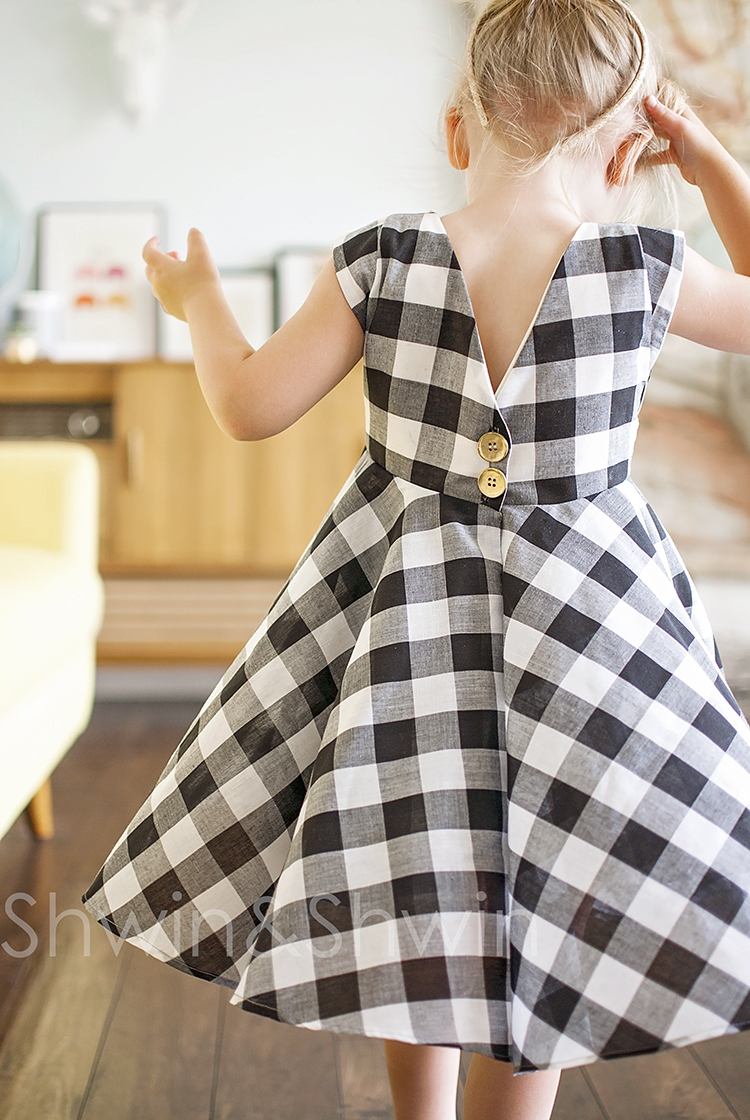
*The only other change I made to the pattern is that instead of having the back split I did the back placket, like I did here. (note there are also instructions for hemming with bias binding on that post, although I used my rolled hem foot to hem this one)
I still love that sweet V neck back neckline.
And the flounce in that skirt. The touch of bling around the neckline was just perfect for this girlie girl.
Although the twirl is all she really needs.
Notes on the size used:
My daughter is 3. Her chest measures 20.5″, waist 19″ Height 40″
I made her a 2T bodice dropping the neckline a touch for her added length, and used the 4T dress length cut line for the skirt. Not adding the 4T length in the full bodice made the bodice sit a little high on her but she is mostly legs so I decided not to length, I did still have to use the shoulder and neckline lines for the size 4T or it would have been too short through the neckline.
