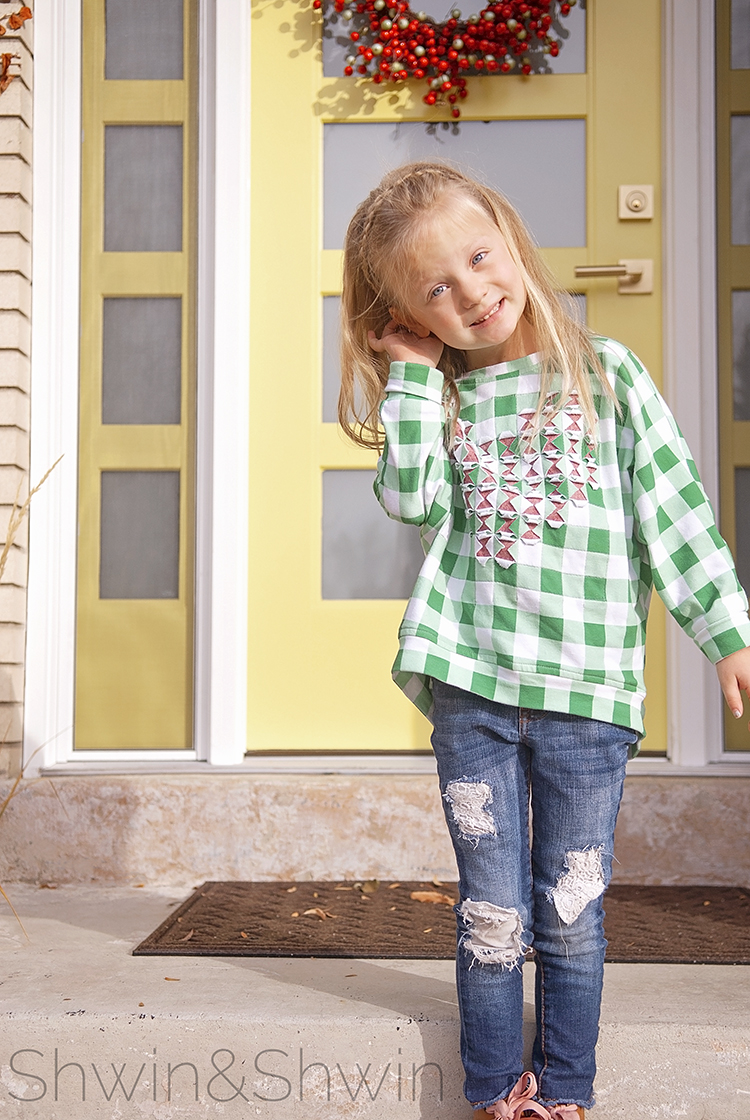
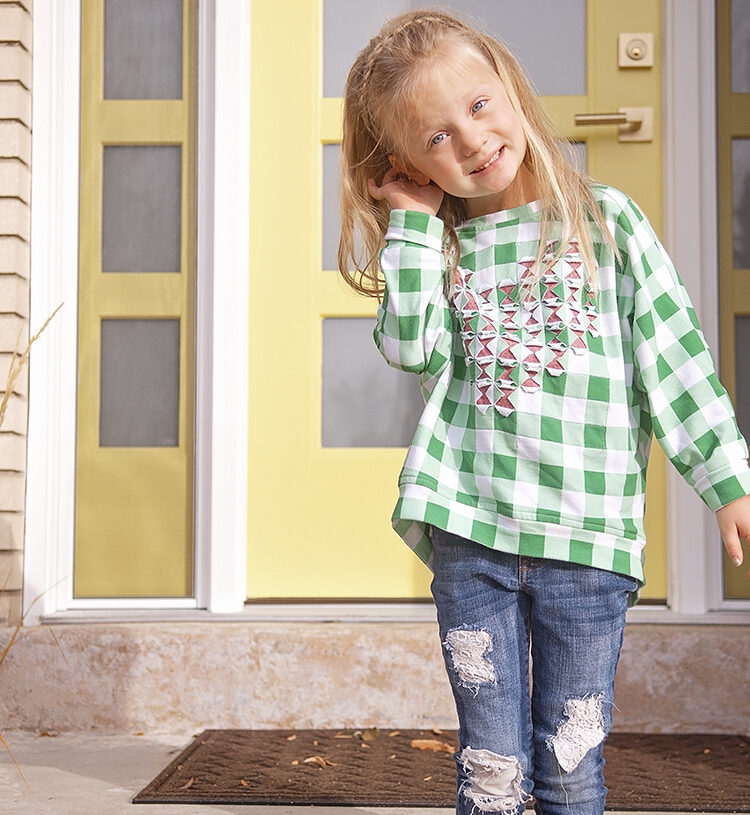
 When I was a little girl my Grandma and Mom made for my sister and me these sweatshirts for Christmas that where X’s cut out in a pattern to look like Christmas presents. As my sister and I were reminiscing about them the other day about them and I thought, why not make them for my girls? A lot of trends from my childhood are making their way back now a days, but I like making them fresh.
 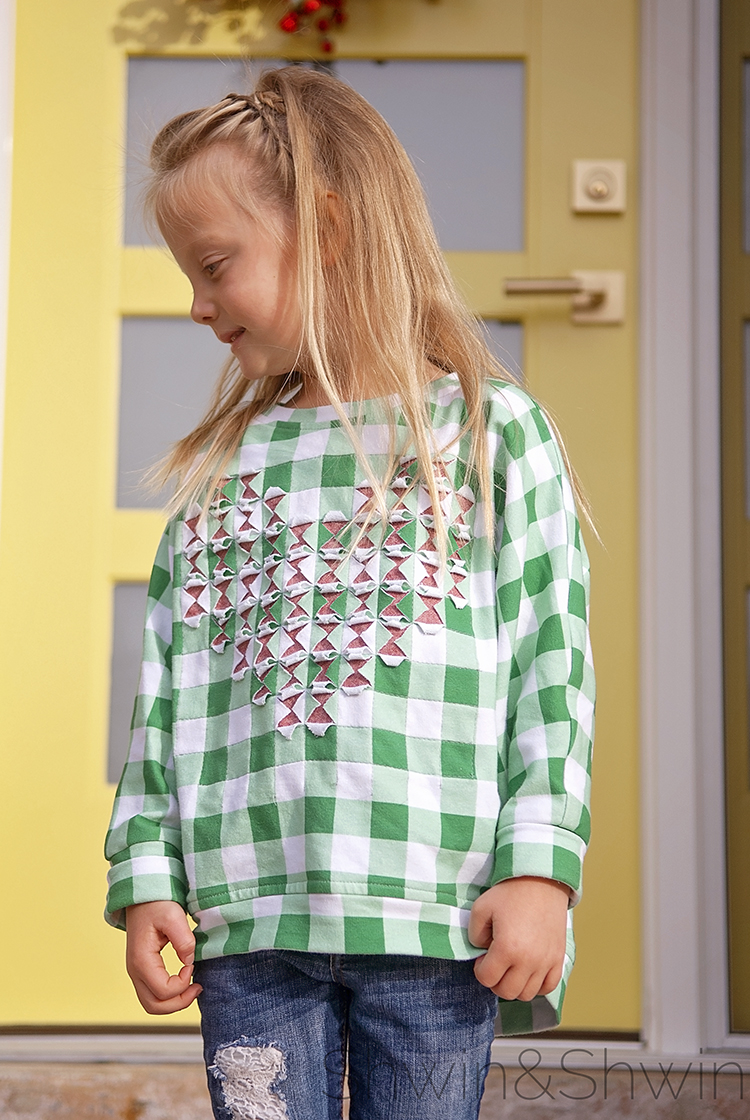 So I used the Apple Lounge wear top to make a new modern fitting sweatshirt. I used this amazing 1″ gingham french terry from Raspberry Creek Fabrics, because it was SO easy to sew 1″ squares when the print already has them outlined.
 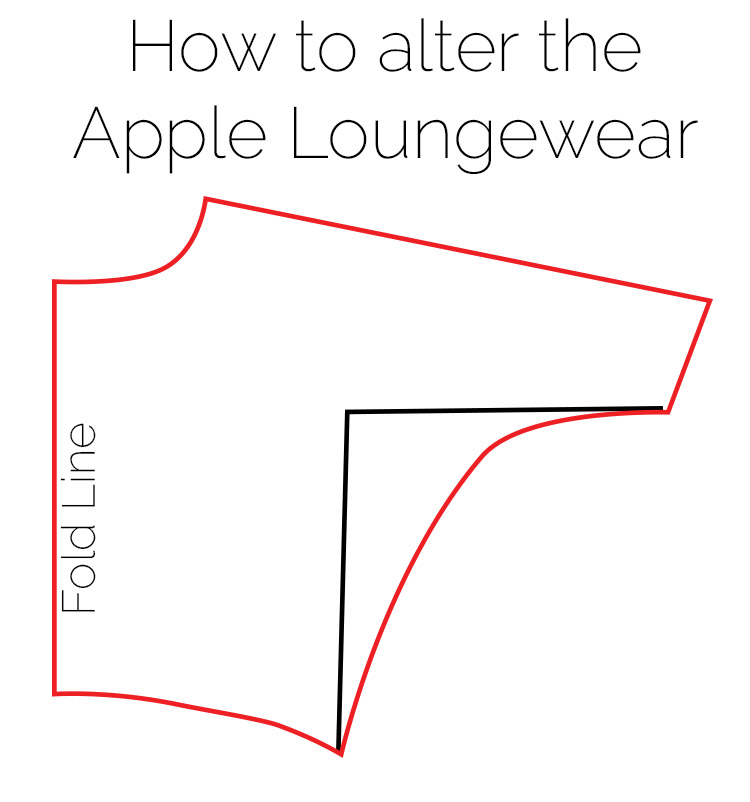 To start, I used the Apple Lounge wear pattern, but since ever since I saw an adorable batwing sweater at a local boutique I couldn’t get the shape out of my head and I knew I could quickly alter the apple lounge wear pattern to get the look I wanted. I used the Hi-Low hem line, and instead of following the side seam up of the pattern I curved towards the sleeve. I still wanted the end of the sleeve fitted around the arm but I wanted the bodice to be nice and wide. I repeated the same lines for back.
It is sewn together the same way as the original pattern. You can do this same alteration for the women’s day tripper pattern for a batwing look.
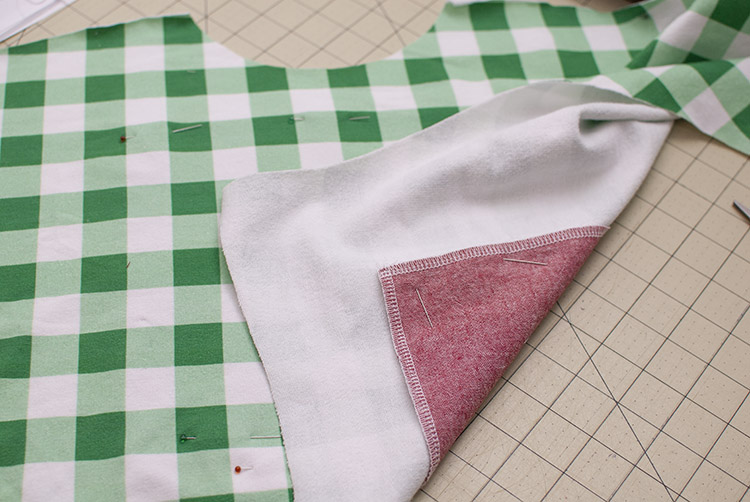 Then for the reverse appliqué. Cut out a piece of fabric (that will show towards the front when cut away) that is larger than the end design. Finish all the edges of the fabric (especially if using a fabric that frays) I serged the edges of the chambray I used.
The pin it in place so the right side of the fabric is towards the back side of the bodice piece.
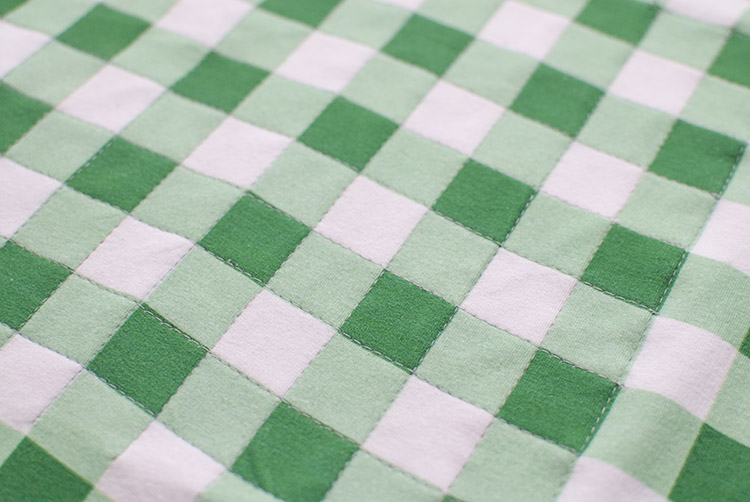 Then stitch a square grid, again how many squares you sew depends on how large you want your design to be. I made all my squares 1″X1″ following the gingham print. I did 10X10 squares.
If you were doing this on a solid fabric or a print that doesn’t have an easy to follow grid you can use a seam allowance guide to sew 1″ squares or you can draw them on using an erasable tracing pen. I like the pens that disappear with heat.
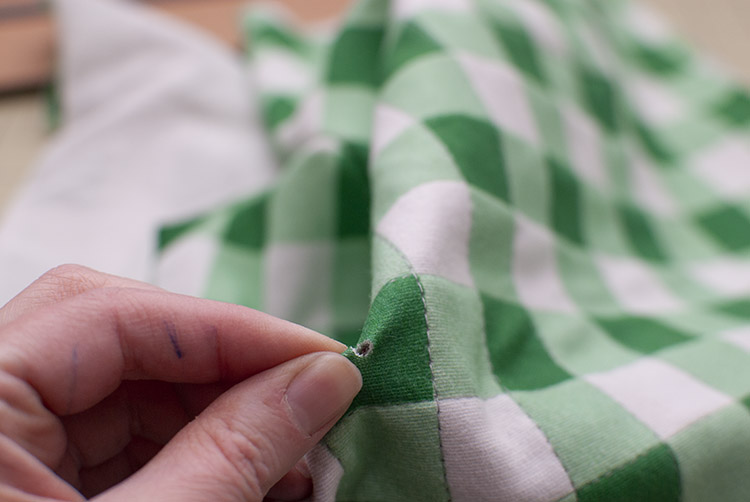 Once all the squares are sewn, decide on your design. Any pixel like design will work, I decided to just do a heart. The red and the green of the fabrics I picked work for Christmas but with it being a heart design it will work beyond Christmas as well. To cut the design, separate the front and back fabrics and place a small snip in the front fabric only. Be careful NOT to cut through the back fabric.
 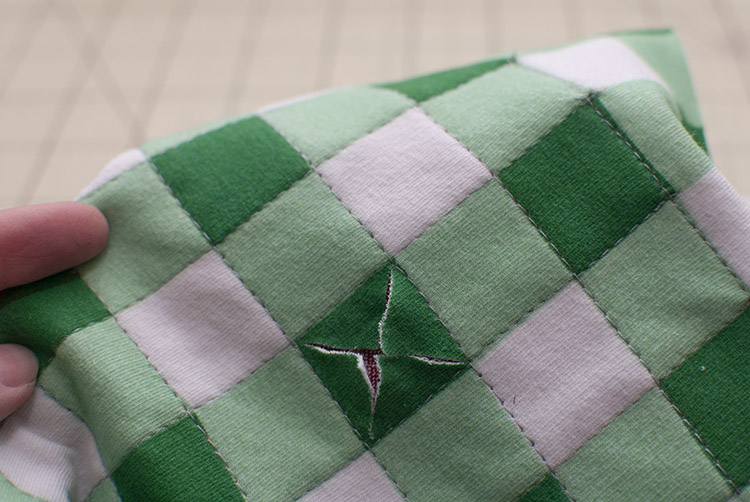 Then in the small snip cut an X that goes from corner to corner through the box. Don’t cut through the stitch lines but cut to them.
 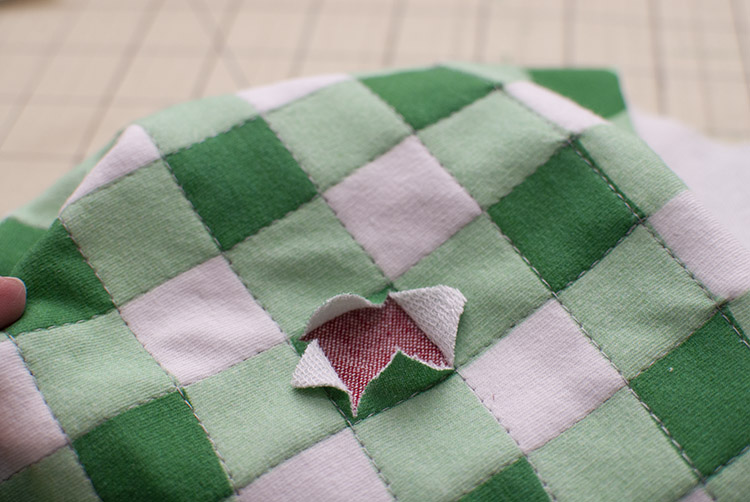 Then the cut will spread open and you will see the back fabric.
 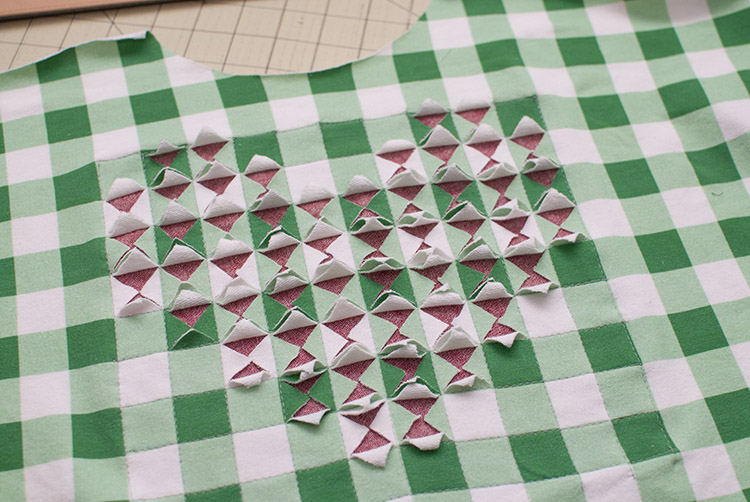 Finish cutting open the boxes you want. Tip, when they are all cut open brush your hand over them to “rough” them up just a bit, this will help show the design.
 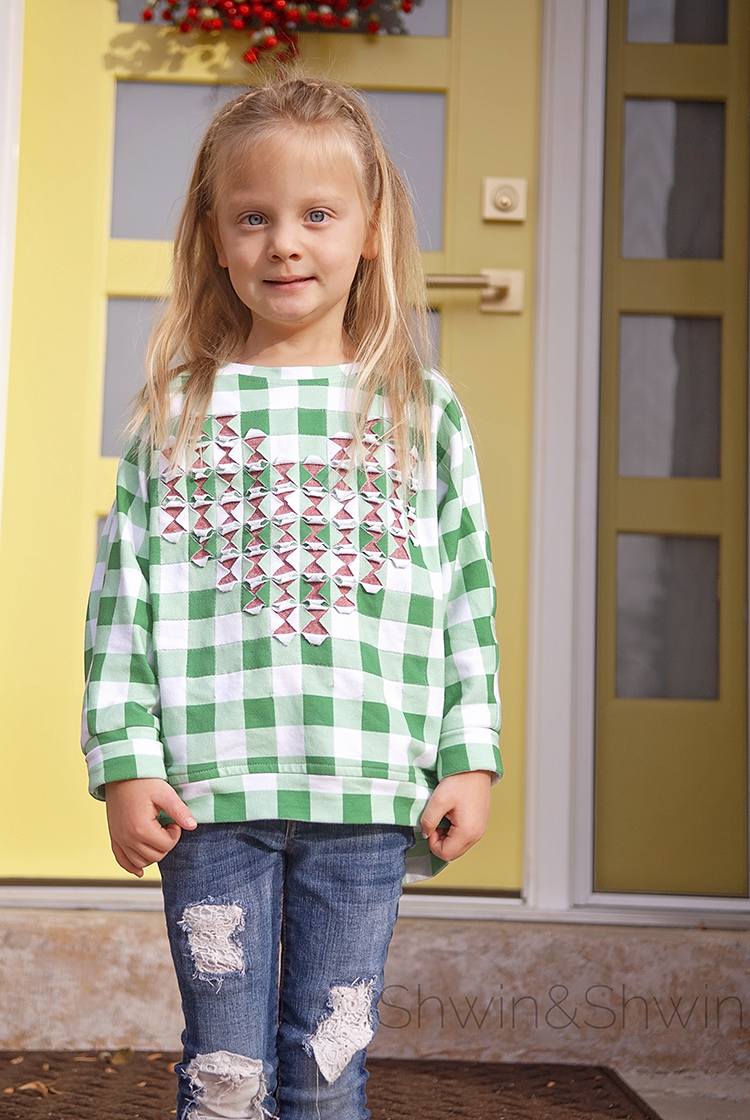 Then you have a cute graphic. There are so many fun different designs you can try.
 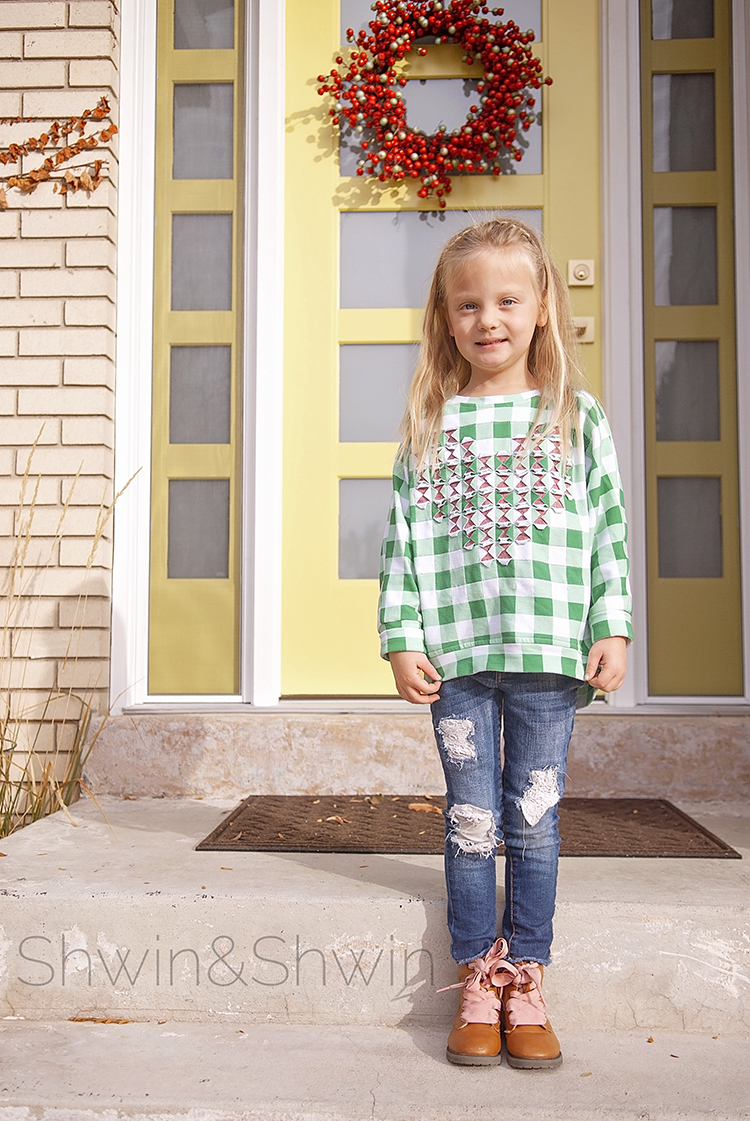 I just love seeing the glimpse back to my childhood every time I see it.