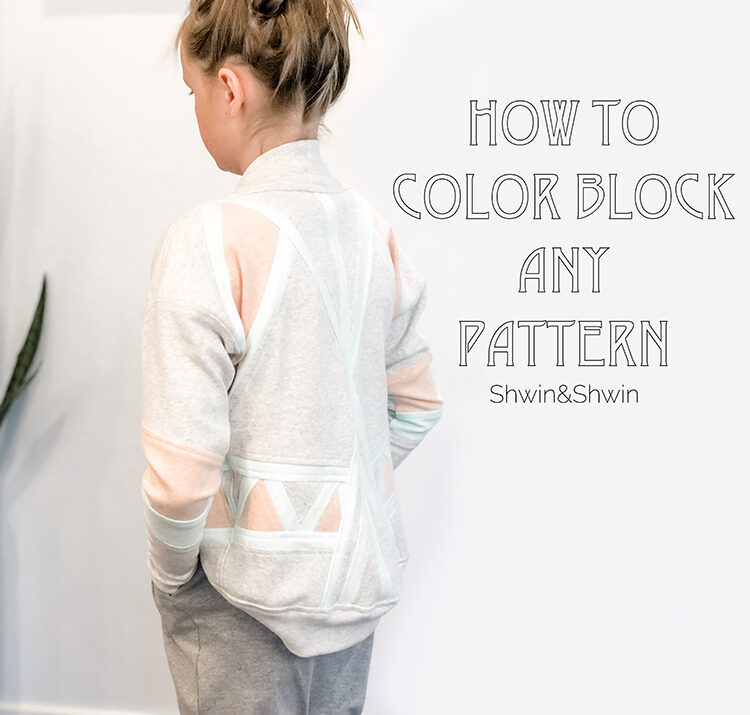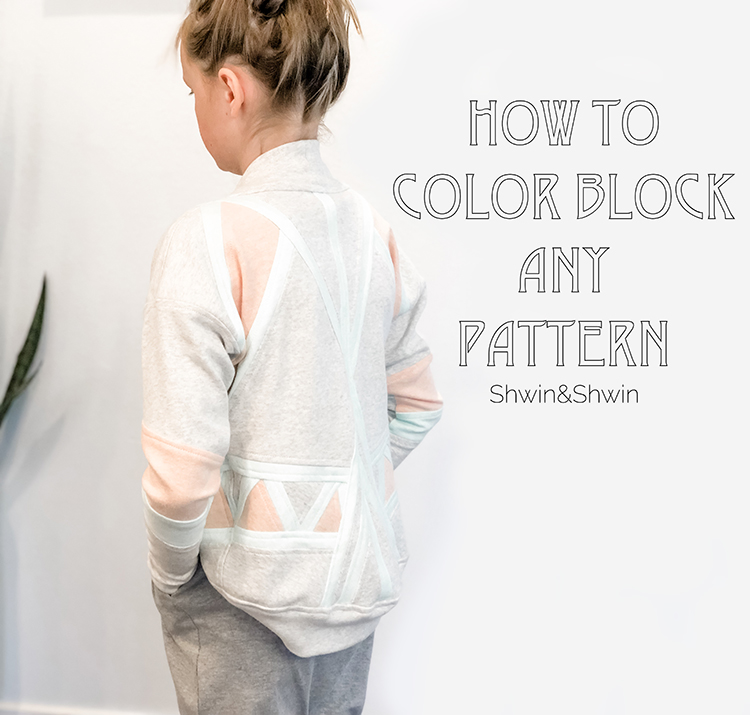
If you know me you know I love to color block. I mean if you are going to be cutting up fabric and sewing it back together you might as well cut up the pattern too right? There are a couple ways you can do this. You can cut up the pattern, and then add seam allowances to the cut edges and then sew it back together. So simple and easy and it’s a way I do a lot of color blocking. This time I wanted to do things a little differently, so I made my seam allowances an added color.
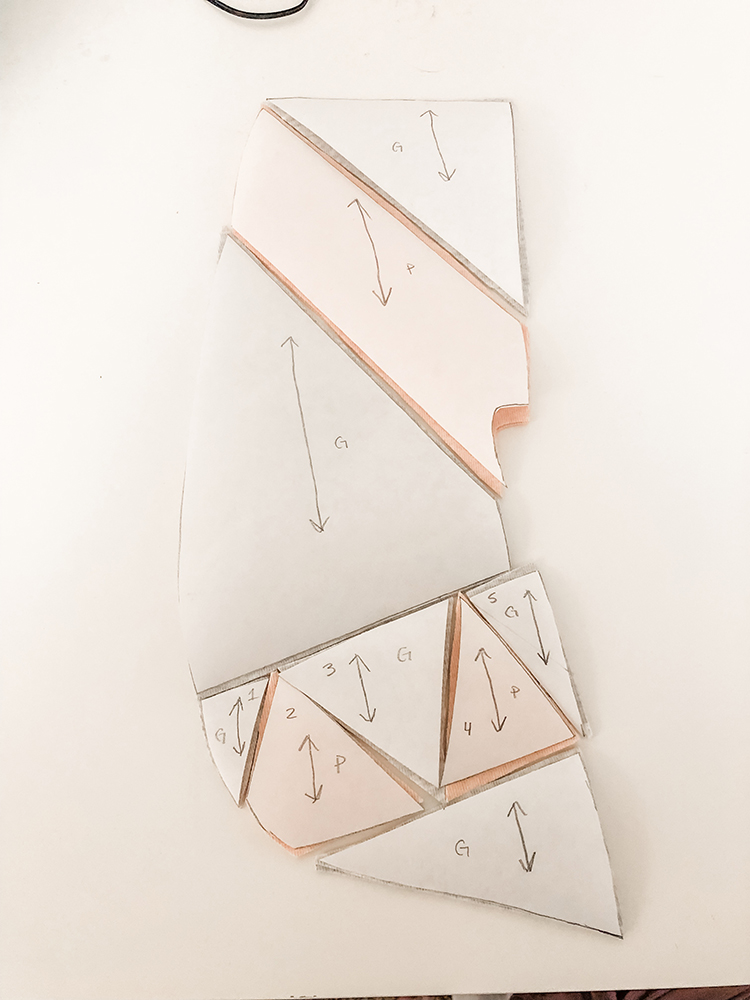
So here I have a pattern. (which is a hack I made of the apple loungewear pattern making it an open cardigan style top but you can use any pattern) First I drew the design lines out on the pattern. A couple things to keep in mind when doing this.
- If your pattern is cut on the fold make sure you mark the fold lines. I decided to cut the back not on the fold and added a center seam instead so I wouldn’t have to deal with points from the fold.
- Straight lines are easier to work than curved lines but the process is the same so if you are up for the challenge go curved, if you are just trying it out maybe stick to straight lines.
- Make sure you trace grainline markings onto each piece so you cut them out right. Cutting on any old grain line will result in a wonky pattern.
- I also mark the colors I plan on using so I can keep my pieces straight, and sometimes I add numbers or other markings so I can remember how they will all go back together. Taking a photo of your pattern before you cut it up is also sometimes helpful so you remember how it goes together.
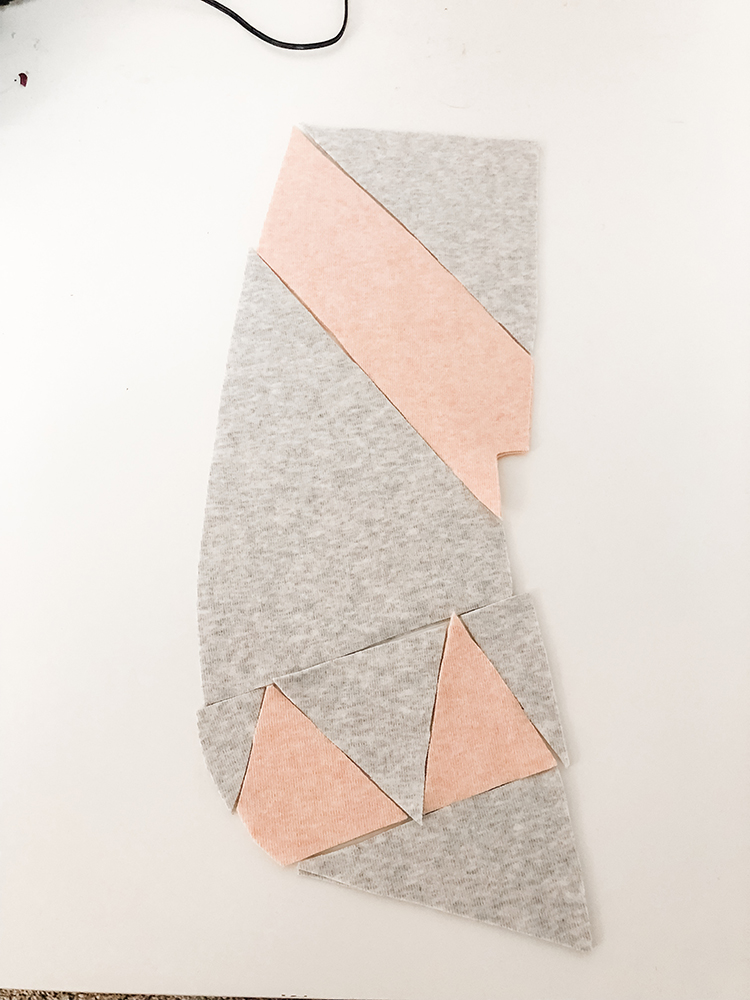
So here I have the front pieces all cut out. You will notice I did not add any seam allowance to the pieces as I cut them out. I could have, and then I would just sew them back together and call it good, but I really wanted to introduce a third color, and another detail, so I decided I would add the seam allowance separately.
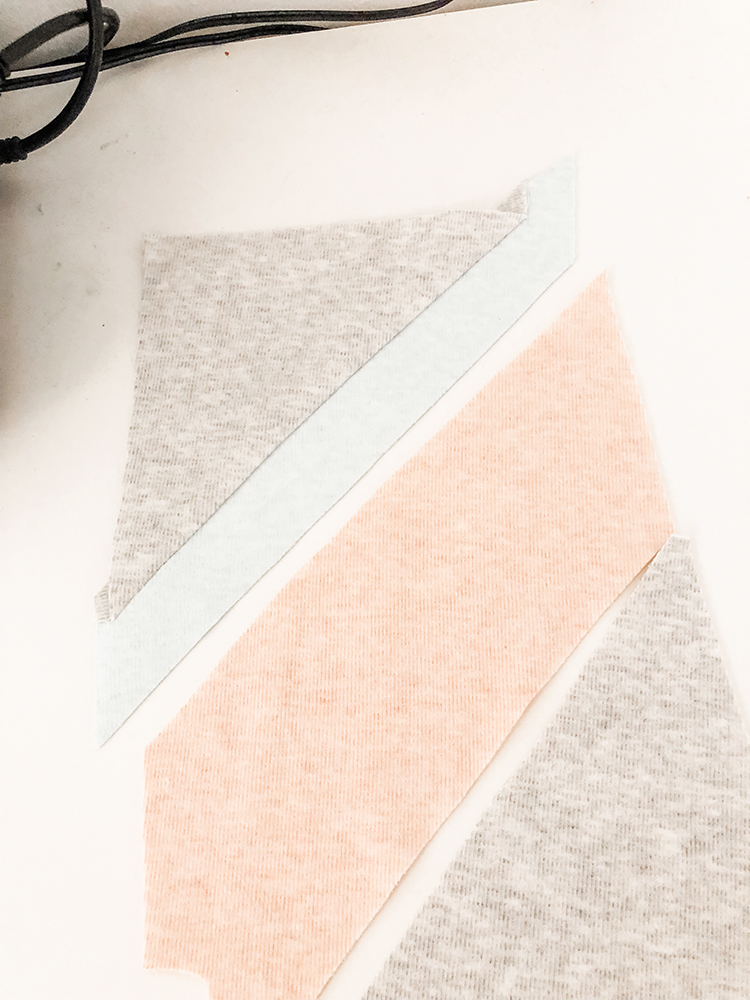
To add in the seam allowance, I cut strips about 1.5″ wide, and I made sure they were following the same grain line, or you could cut them on the bias and not worry about grain line. Then using a 3/8″ seam allowance I sewed a strip along on of the pieces. Then I press the seam allowance towards the gray.
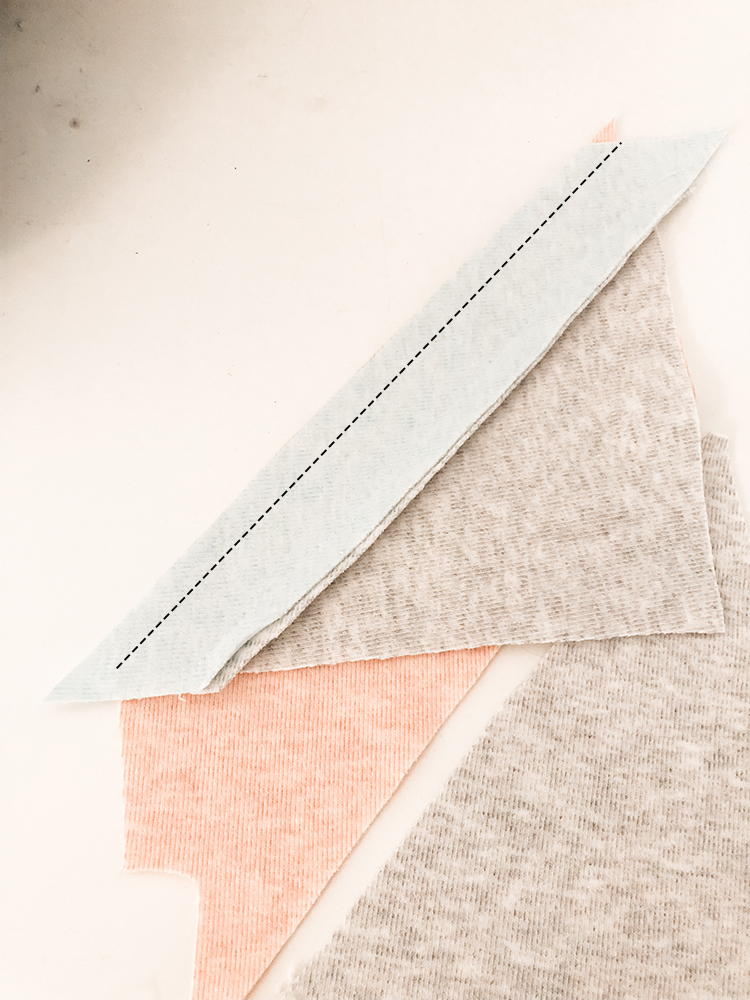
Next, with right sides together, you will sew the trim piece to the next bodice piece, again using a 3/8″ seam allowance.
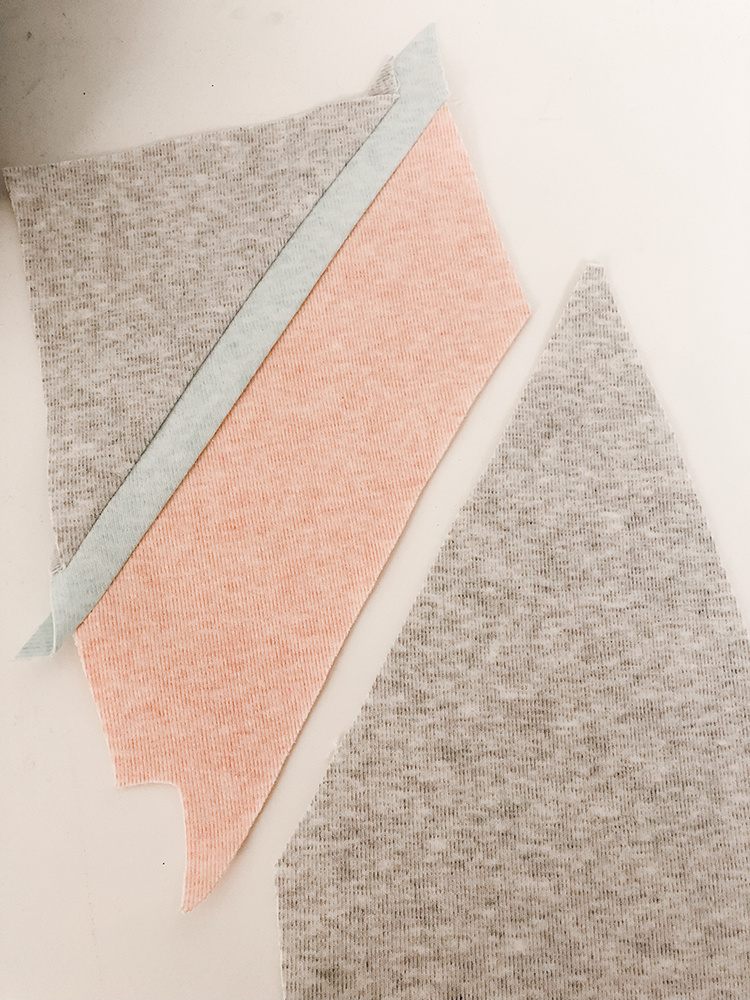
Then press that seam allowance towards the mint. Your project will turn out better if all seam allowance is pressed in the same direction (like I pressed all of mine up) You can trim off any remaining trim that is hanging off the sides. The trim piece in between should measure .75″ which is the amount that was “lost” in the seam allowance so magically it’s all back to regular size. You can stop and check here by laying the original pattern over the sewn together pieces to make sure you aren’t loosing space.
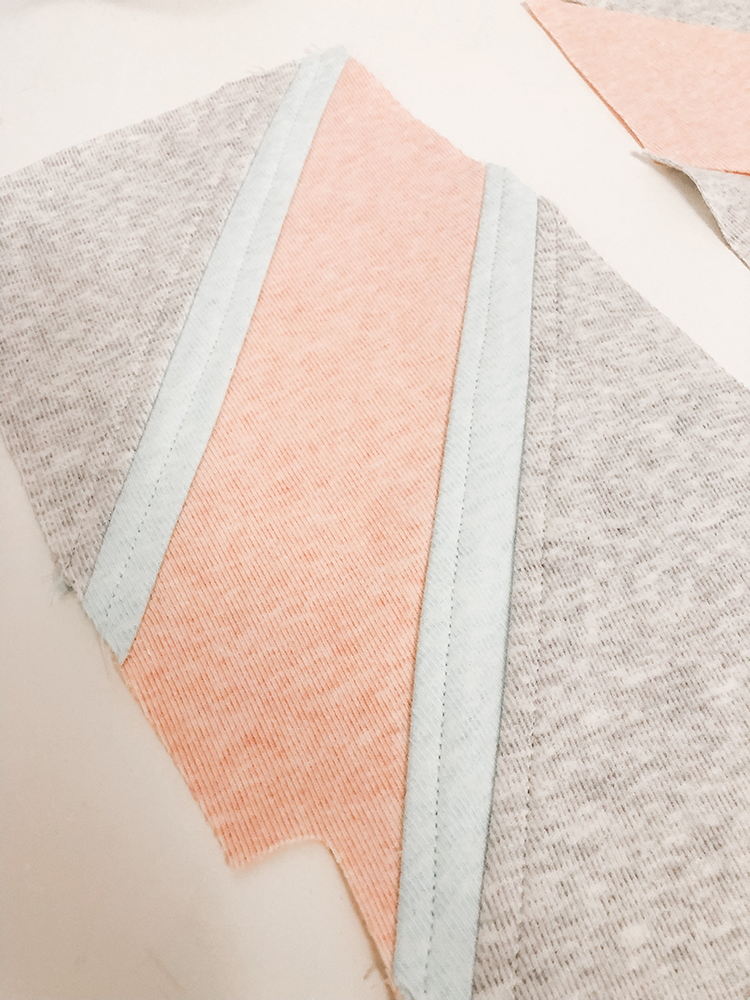
Next, I top stitched the seam allowance down. Since I was using a knit that would fray, I just top stitched the seam allowance so I didn’t have a bunch of loose flaps on the inside. If you are using a woven you will want to serge or finish the seams before you top stitch or fully line your garment so the seam allowances are all enclosed. You don’t HAVE to top stitch and some of mine got a little wonky as the knit stretched a bit, but I liked it all being secured and I liked the “quilted” look it gave the finished garment.

Continue with this process until you have your pattern pieces sewn all back together again, (here you can see how instead of cutting the back on the fold I added the same style seam line down the back.) Once all your pieces are together you will sew the pattern together as you normally would.
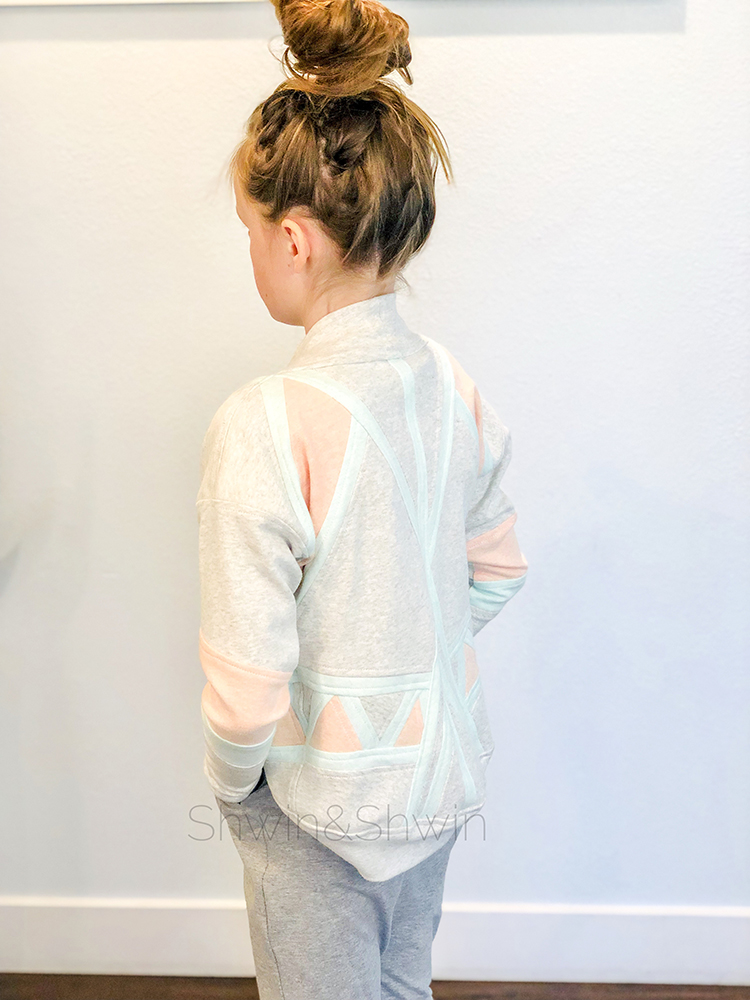
Now you may want to go about and color block all the the patterns, but I think that’s ok.
