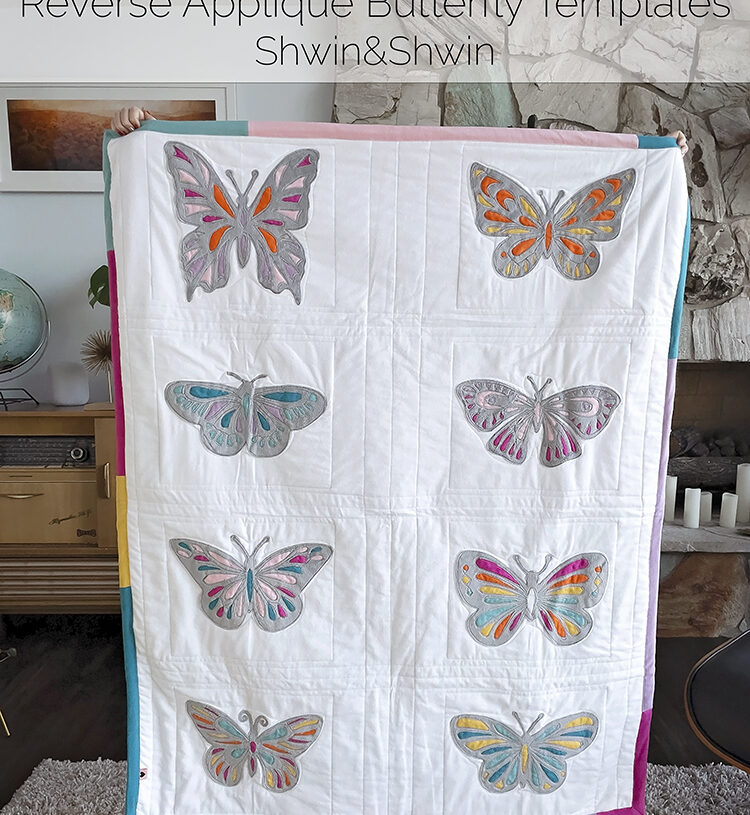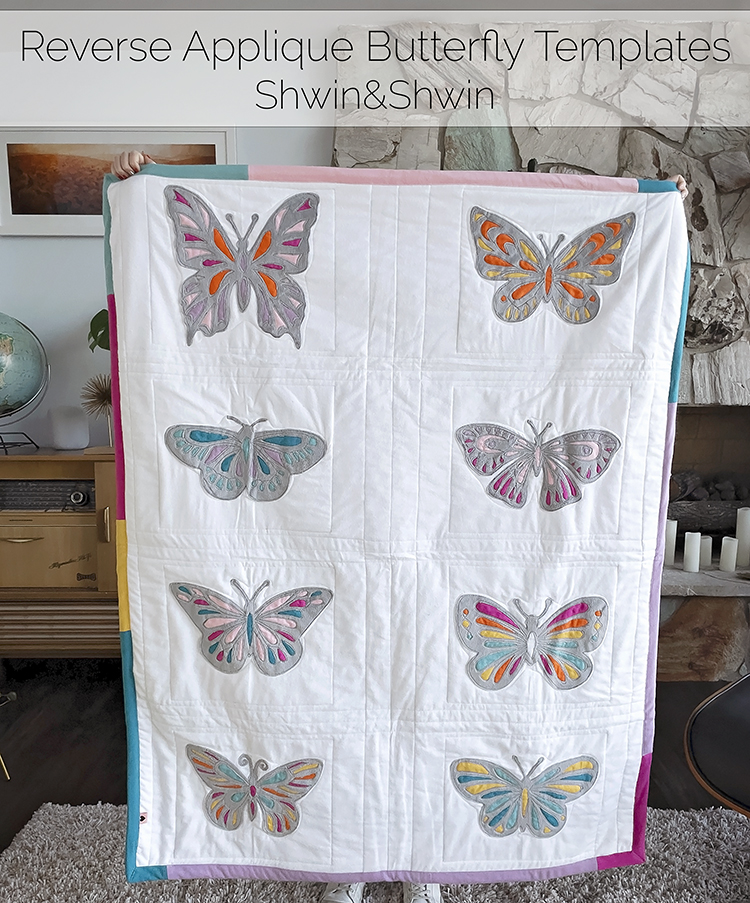
Free Reverse Applique Butterfly Template
For my latest quilt I decided to do some reverse applique, (and regular applique)
For this pattern you will need:
- 1/4 Yard fabric that won’t fray. I used a minky fabric. Knits, felt or other such fabrics would work as well.
- 1/8 Yard of chosen colors for the butterflies. ( I used 7 different colors of flannel)
- 1/4 Yard of wonder under
- Sharp Scissors
- Iron
- Free Butterfly Template
Curious about my sewing room must haves? Check out my Amazon Shop
How to make the reverse appliques
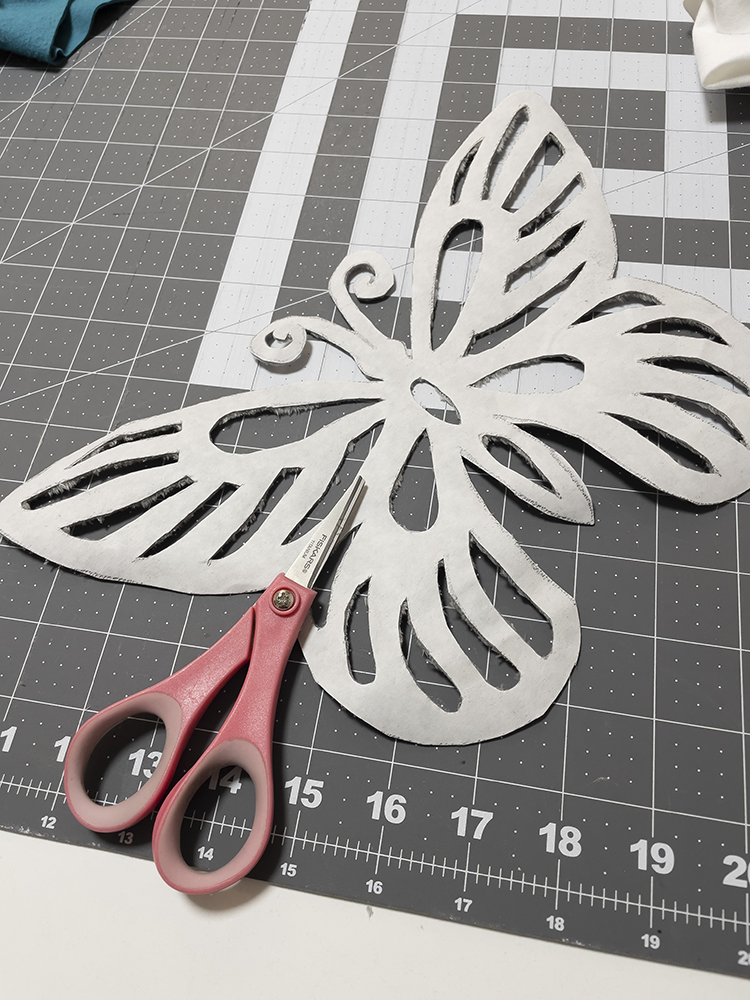
First Step: Trace all the butterflies on to the paper side of the wonder under. Then iron the traced design on to the back side of the main applique fabric. (something that won’t fray is best) Next cut out all the inside shapes of each butterfly.
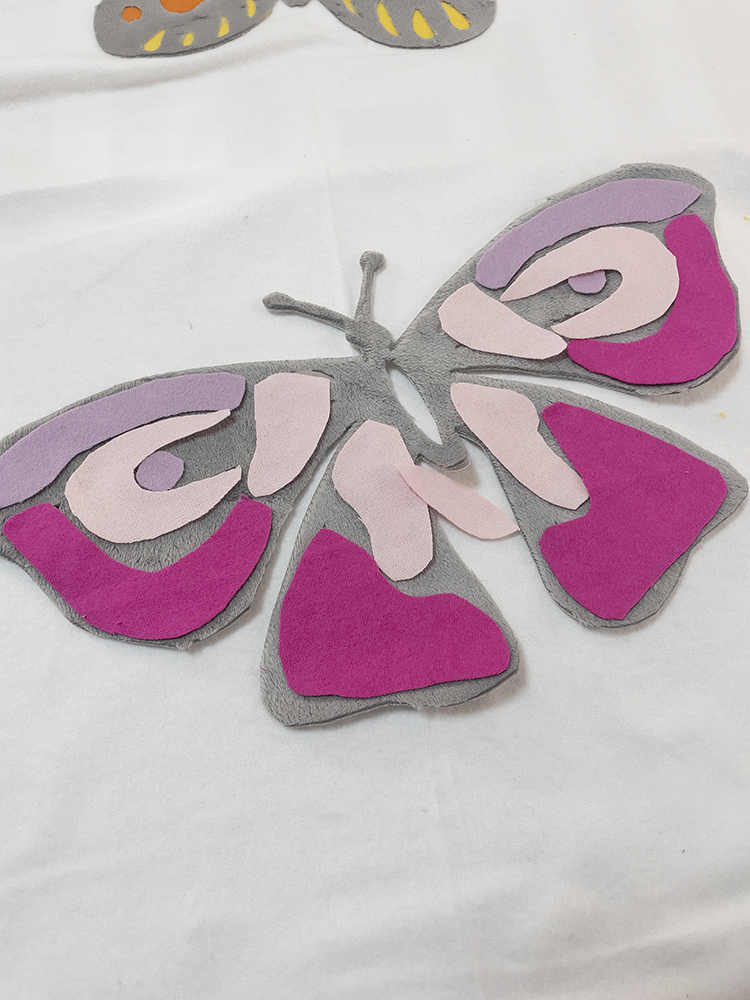
Second Step: Cut out small pieces of fabric, large enough to cover the cut out space but small enough it stays behind the butterfly. I cut some pieces large enough to cover a few openings.
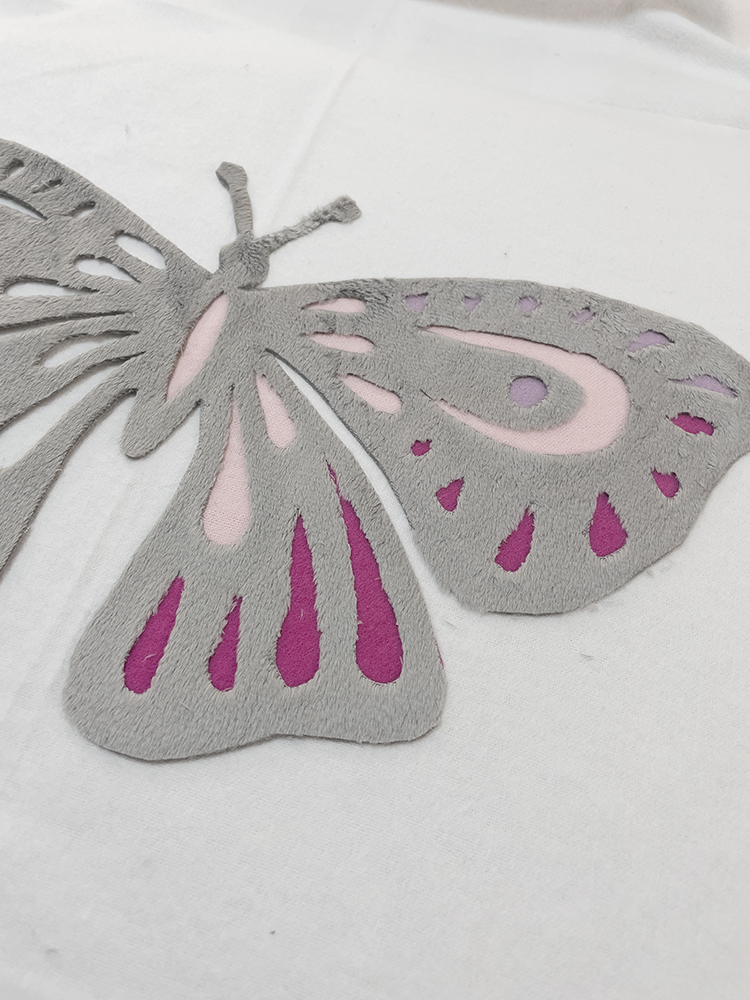
Third Step: Carefully place all the fabric scrapes behind the applique. Make sure all the edges are secured under the applique. Once everything is placed, and it’s on the surface you want the butterfly to be. In my case it was a quilt. Iron the applique down in place. The wonder under will help to secure everything in place.
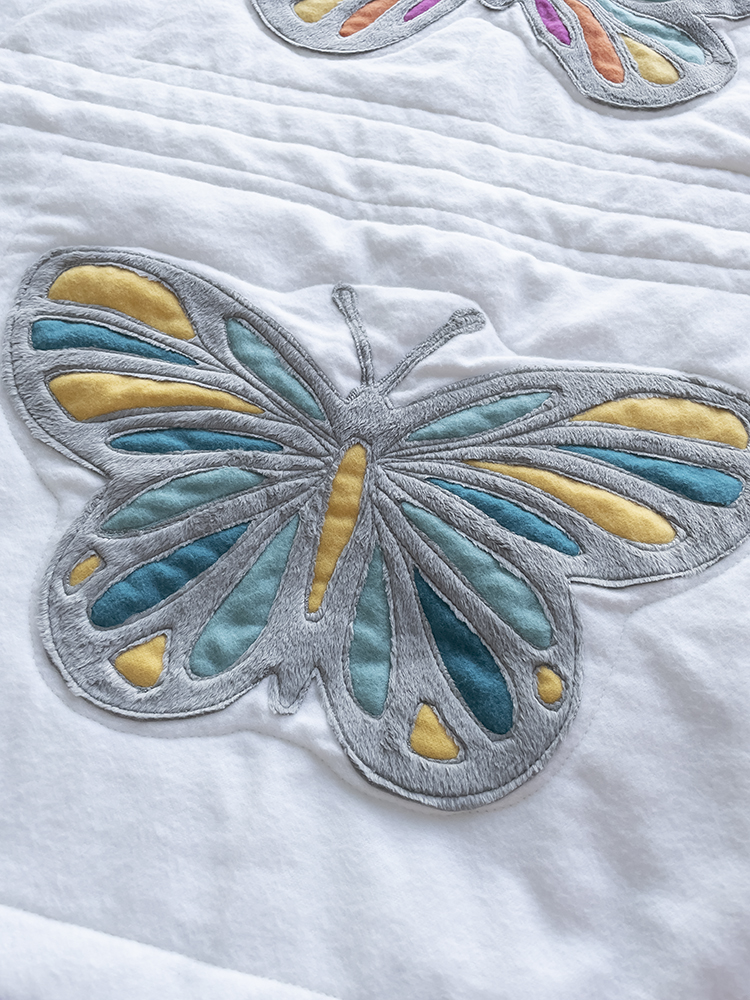
Fourth Step: For the final step I stitched around all the edges. I know wonder under should be a permanent and washable hold, but I don’t trust it. I wanted the quilt to be very durable so I also stitched around all the edges. This also added additional details to the butterfly.
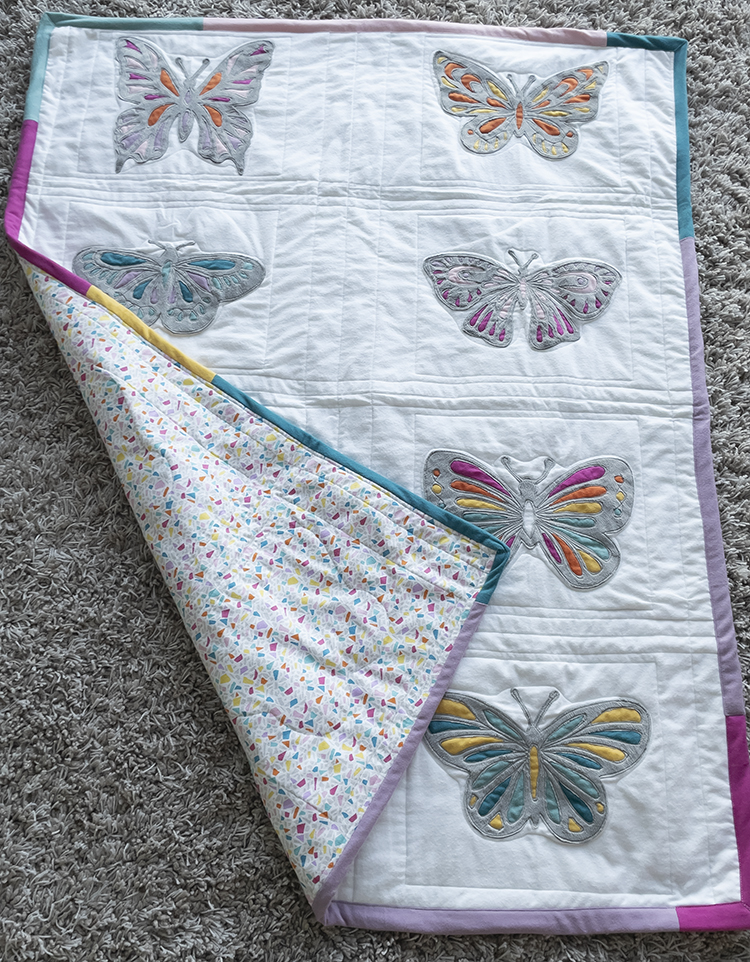
You can easily put these appliques on any textile you would like. Make a pillow, or sweatshirt, framed art, or a quilt. Each butterfly fits within about a 12″X12″ square.
