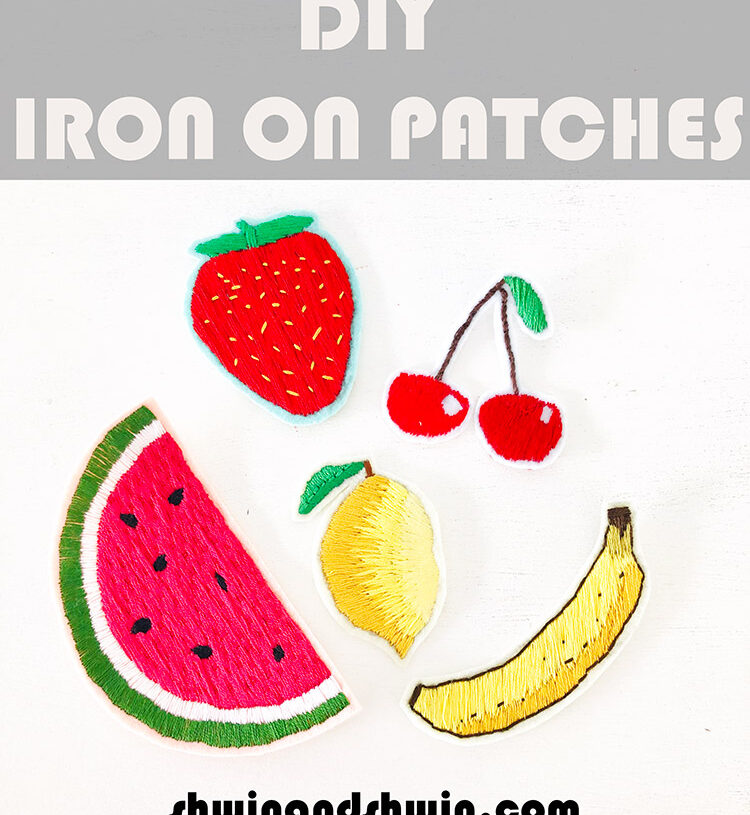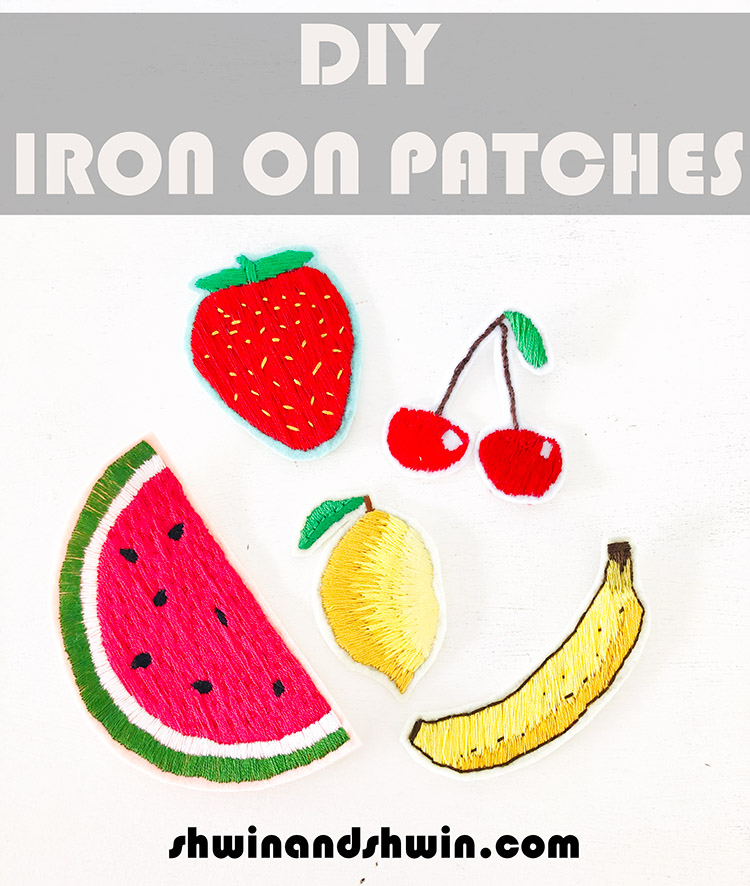
Recently I picked up an old hobby and started doing some embroidery again. It’s been a something fun to work on when I can’t always run away to my sewing room. I had been making mostly wall hangings and display pieces and then one night I got a note slid under my bedroom door. It was from my youngest daughter. It was a drawing of an outfit she designed with a nice little note asking if I could make it. It was a shirt with fruit on it. While I thought through all the ways I could make this a reality for her I settled on making patches. Patches have been becoming more popular again lately and it’s so fun that you can easily make your own.
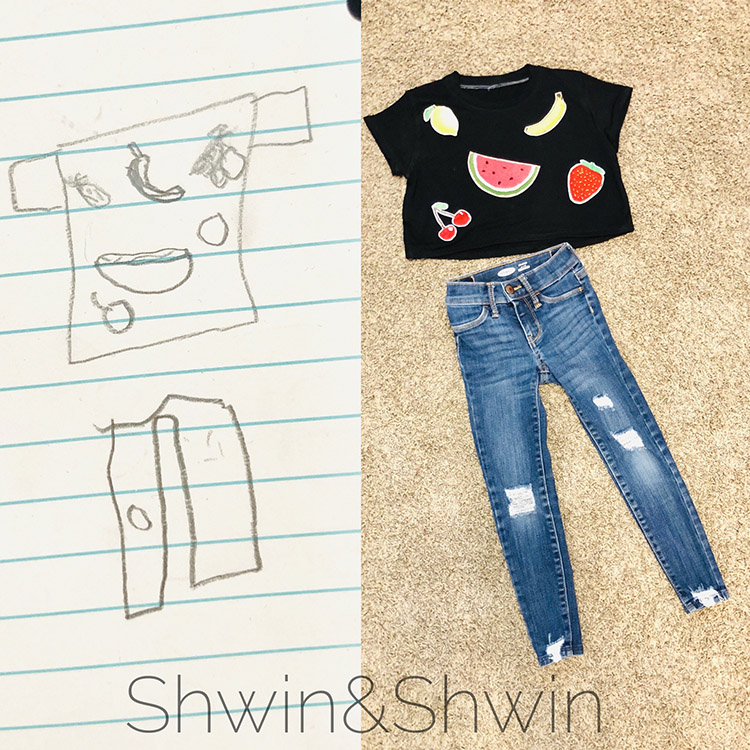
The patches are nice and bold, and worked perfectly to make her design come to life.
To make a patch you will need:
- Felt (the thin stiff kind works best, but I did use a soft felt as well and it worked just a little tricker)
- Embroidery floss (just the regular 6 strand stuff)
- A pencil or pen for marking your design
- Optional a light board for tracing your design (a window can also work)
- Optional Heat N’ Bond (or other fusible web product to make the patch an iron on patch, you could skip this and just sew the patch on, I do both)
- Sewing needle
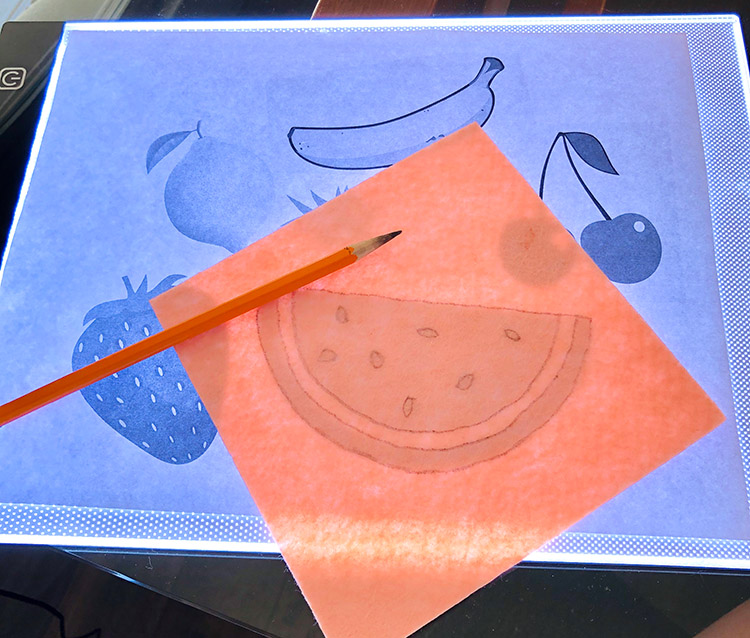
To start, you will need to draw or trace your design on to the felt. I don’t fancy myself as much of a freehand artist so I usually trace. You can totally use a window for this, however I recently got a light board and it made this so much easier. I use it for tracing all of my embroidery patterns. So in this case I printed off some pictures of fruit to use for my patches. Then I traced them on to the felt using a regular pencil.
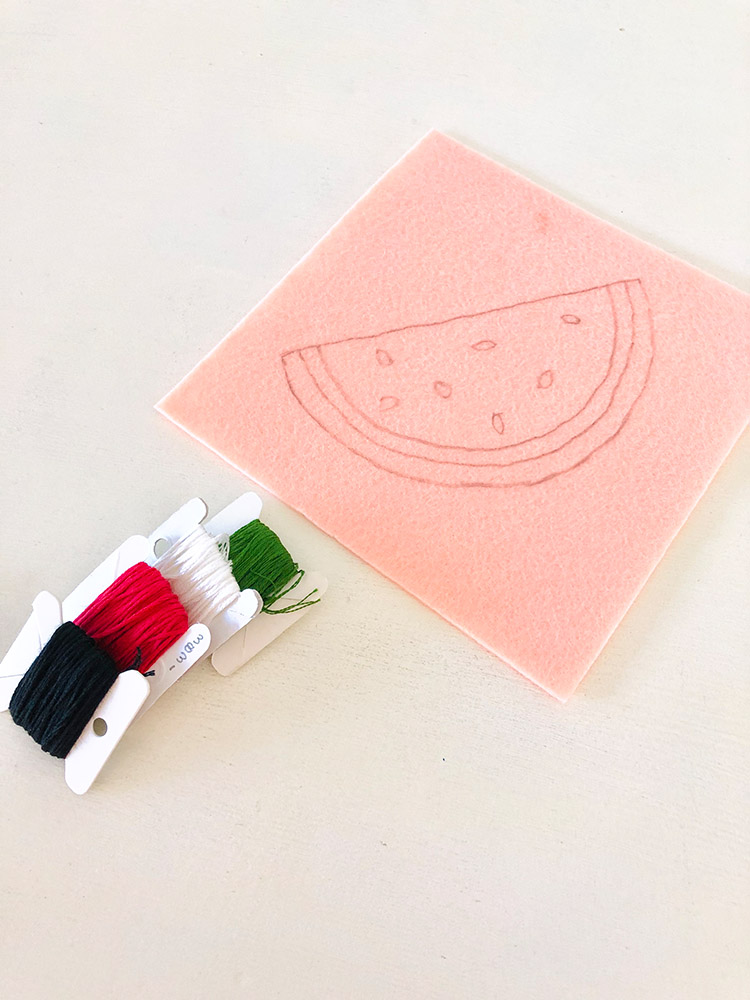
Once its all traced you just need to pick out your floss colors. Since I used the stiff felt there was no need to use an embroidery hoop or anything for this. You do need to be a little careful not to pull the stitches too tightly or you can warp and curl the felt.
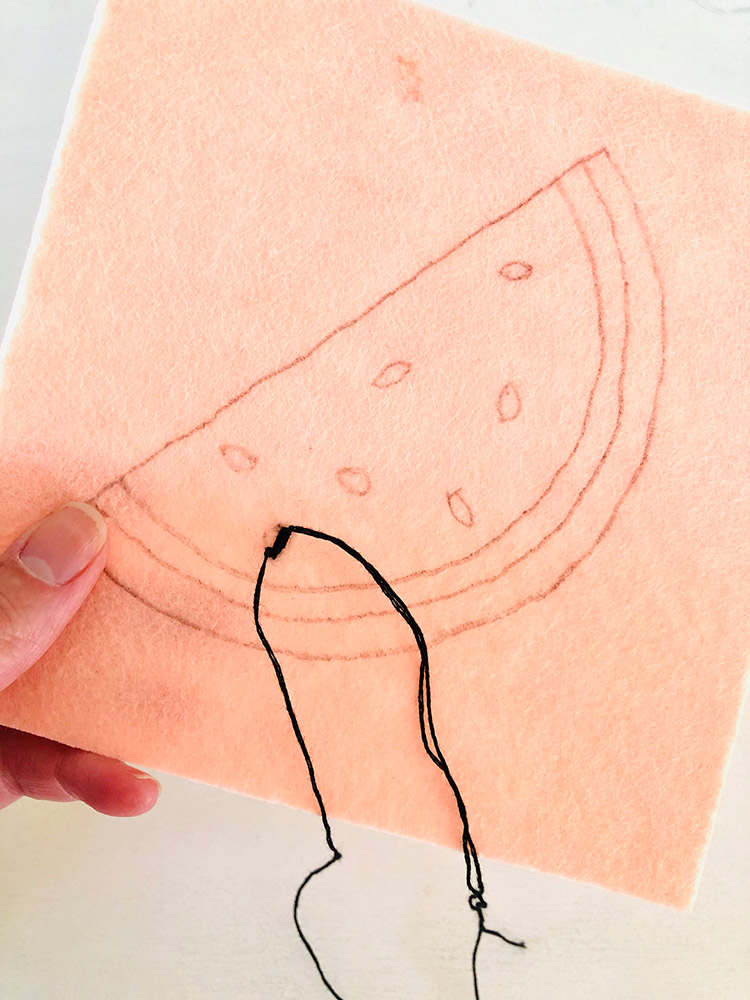
For most of my embroidery projects I will use 2 strands (of the 6) however for these patches I used mostly 3 strands for a little thicker look. I stitch the whole design using a satin stitch. To do this you come up through the bottom, go across the area you are filling in (in the photo above it’s the seed) Then the needle will go down to the back. When you are coming back up to the front side you will come up right next to where you went down. You want the stitches to be very close together. I didn’t end up doing a video for this but if you need more of a visual you can search “satin stitch” on youtube and there are tons of great videos.
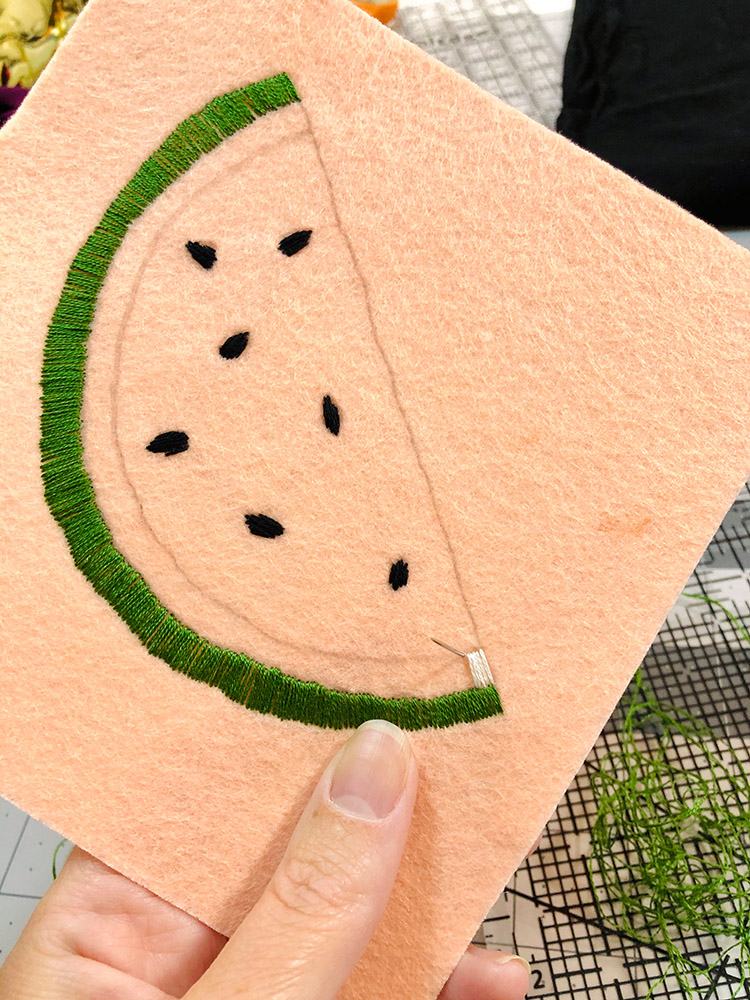
You will continue making satin stitches to fill in all the areas and colors. You will notice that there are tiny little gaps in the green above. Sometimes it happens, once the patch is all done you won’t even notice so I don’t worry about it, if you notice stitches not as close together as you like you can always go back and fill in any gaps. They are just more noticeable in a close up high contrast bright photo than they are in real life. 🙂
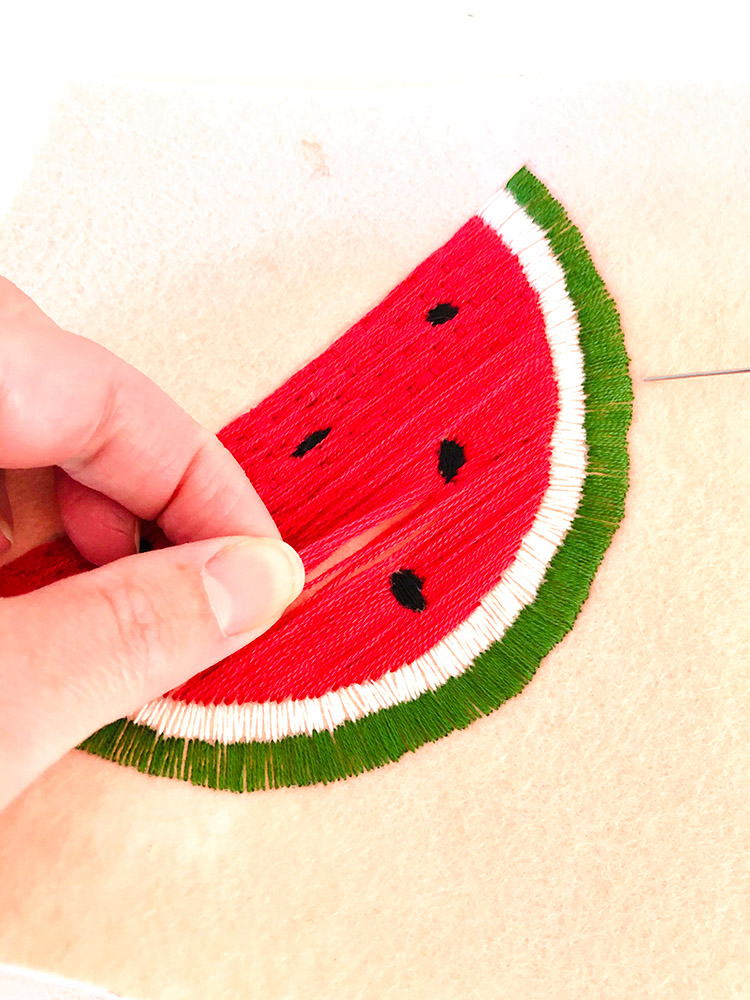
For the main part of the watermelon the stitches start to get quite long. Normally this is no issue for say a wall hanging, however since this will be worn and bend and move with the clothing you will notice the stitches are loose and easy to snag. You can avoid this problem in a couple of ways. You can make shorter stitches across to fill in the area and then they will stay tight. Or you can secure the stitches down, which is what I prefer to do myself, it adds a little texture to the patch, that from far is hardly noticeable anyway and I find it’s the fastest and easiest.
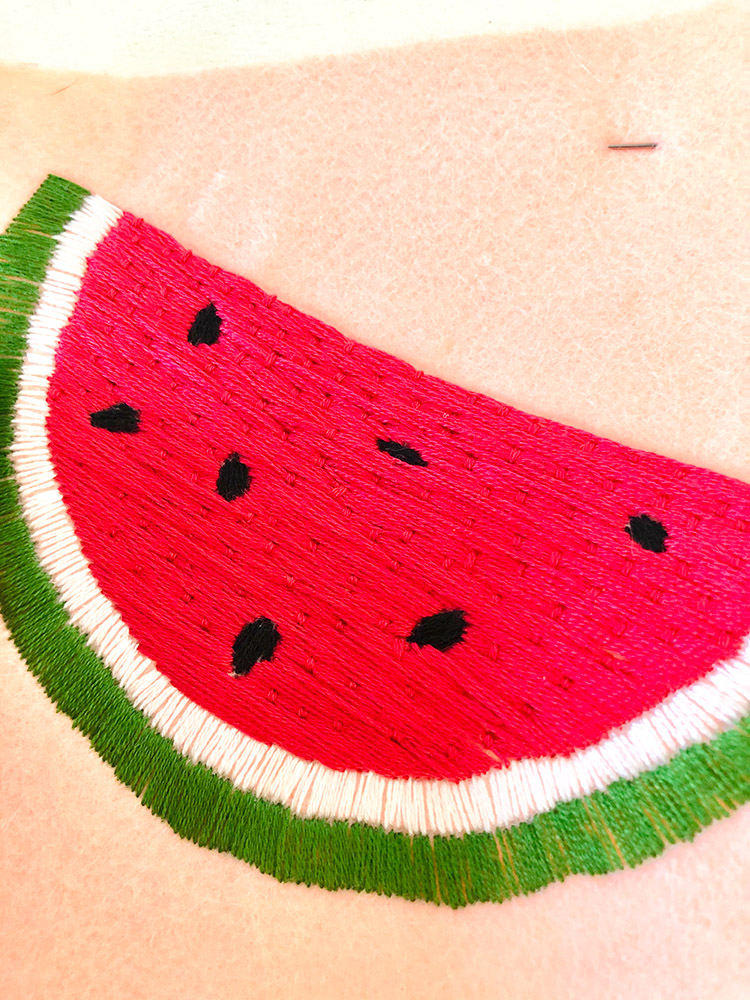
To do that, you will add little stitches in the opposite direction over the long stitches. Scatter those stitches around.
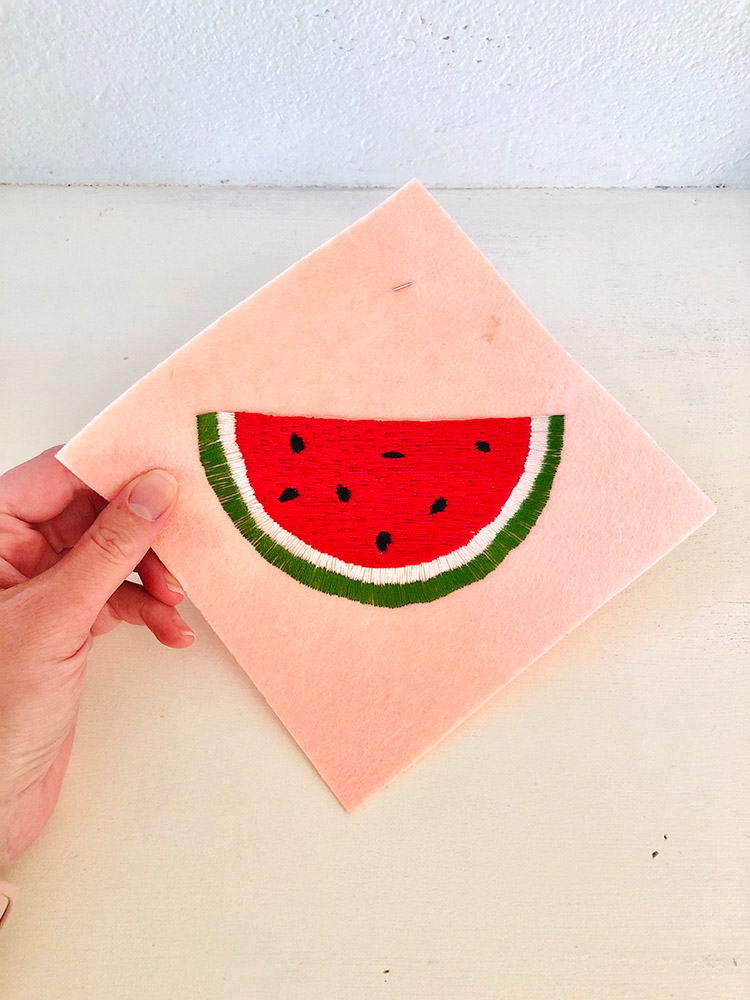
Then you are done with your stitching. Next you will trim around the patch leaving a 1/8″ or so border around the stitching.
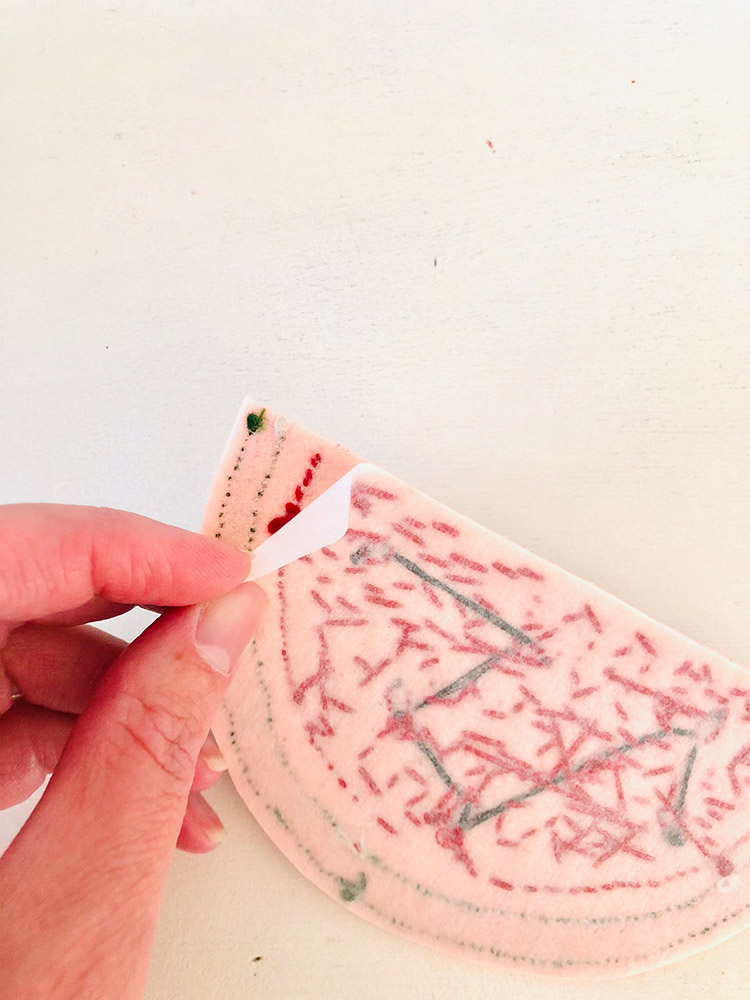
This next part is optional, but it is what makes the patch an iron-on patch. Press heatnbond to the back of the patch. This helps secure all stitches on the back of the patch (knots and all) as well as making it able to be ironed on to a piece of clothing, or bag, or any fabric surface. I ALWAYS sew around my patches to secure them even after ironing them in place. The iron-on claims it will hold but I never trust it. However being ironed on helps hold it securely in place while I sew it.
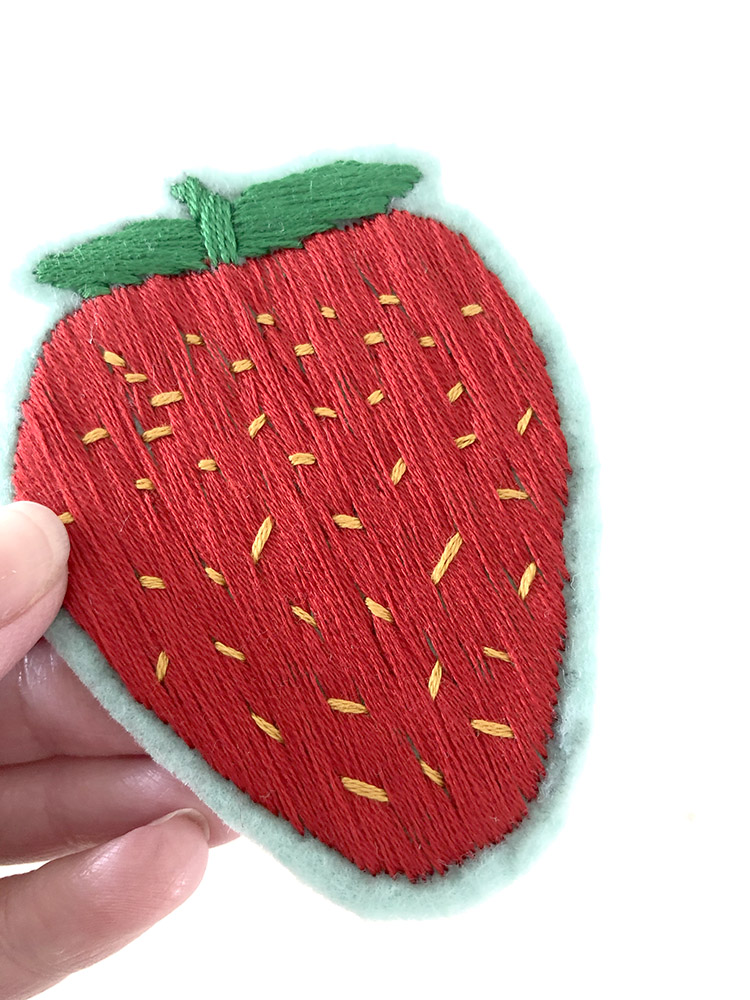
I thought I would show with the strawberry I used the “seeds” as the stitches to secure the main part of the strawberry which worked out nicely.
The felt around the edge is great for sewing the patch down but you can trim that as close to the stitches as you want, or stitch around the edge to cover it completely it’s up to you.
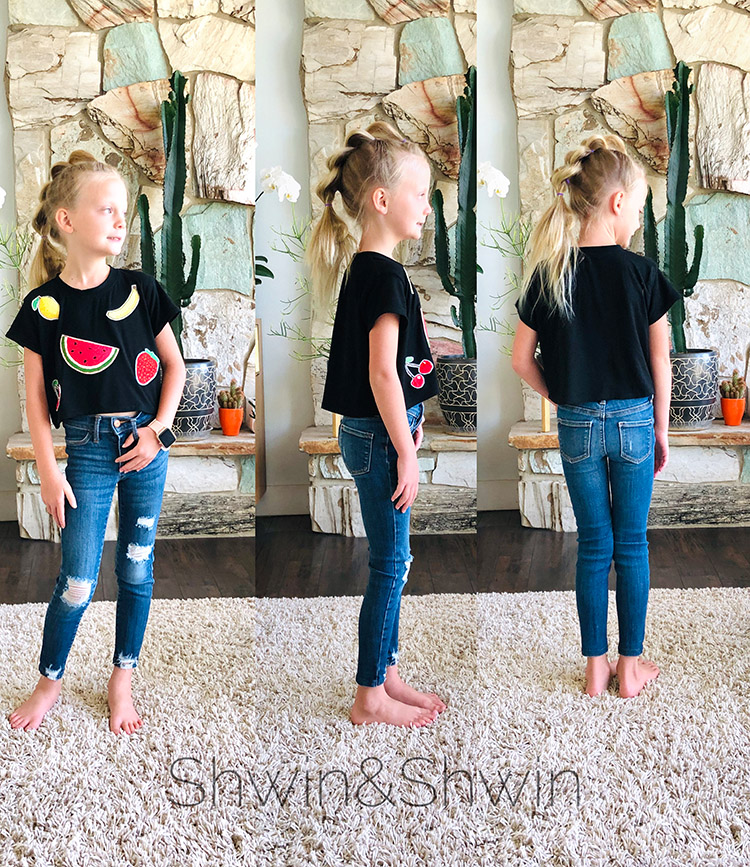
I used the Block Top Pattern to make a quick tee to put the patches on. Since the patches would be busy enough, I taped the pattern together overlapping the seam allowances so it was a solid top and sleeve instead of color blocked. Then I cut the sleeves short, (about 2″ past the under arm) and used the cropped length skipping the band and hemmed the bottom of the tee. I love the wide cropped fit with the slight hi-low hemline.
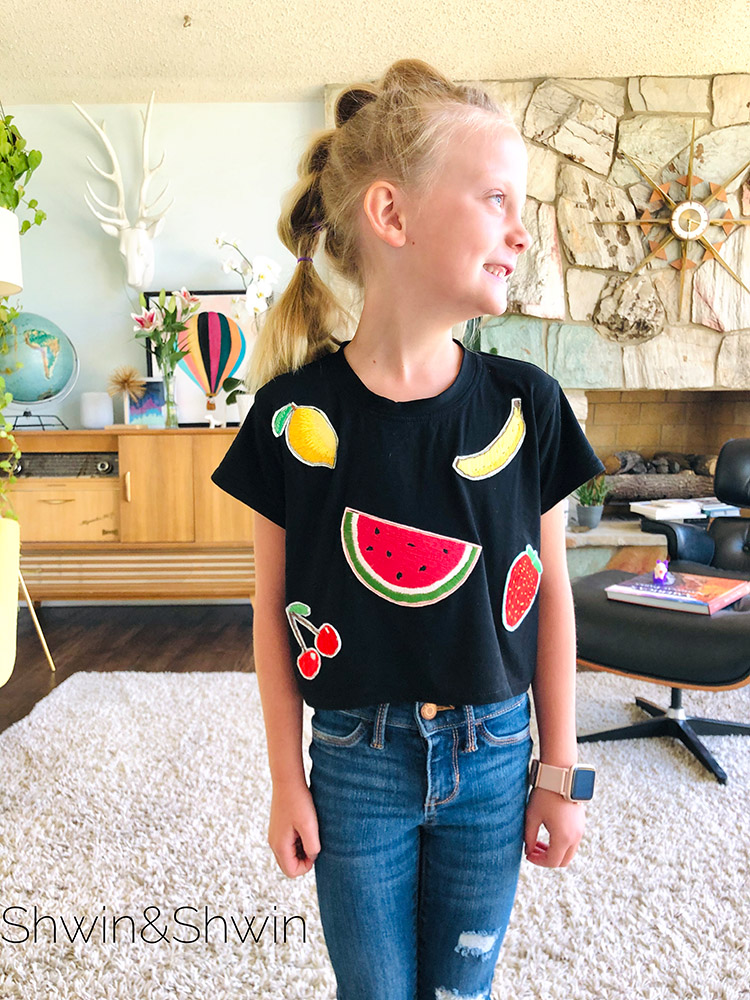
This girl is all smiles and giddy that a shirt she designed became real.
