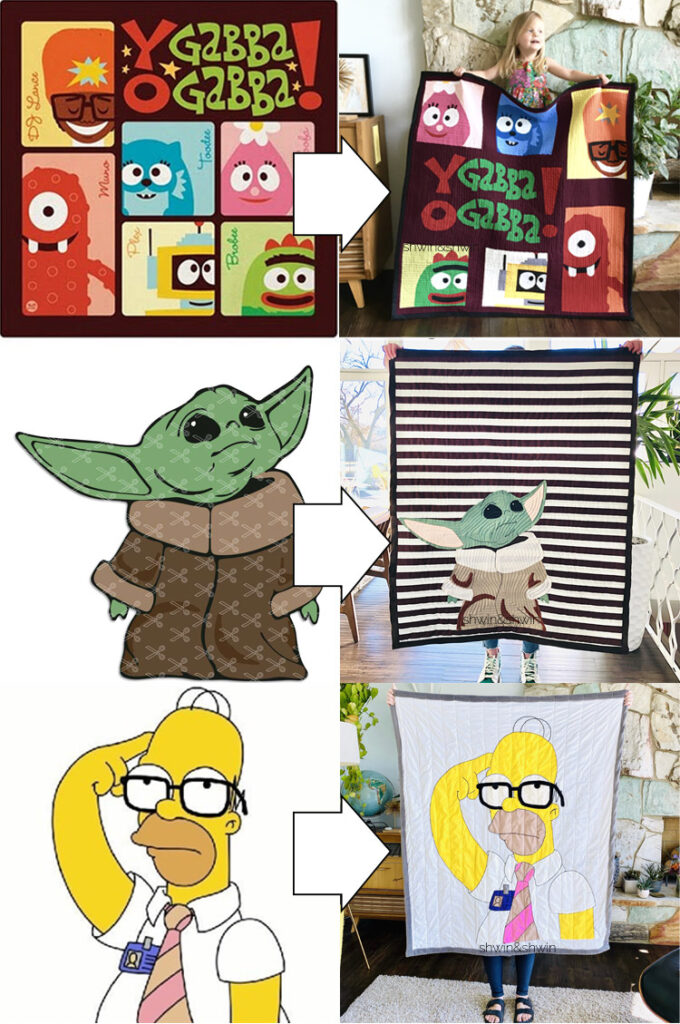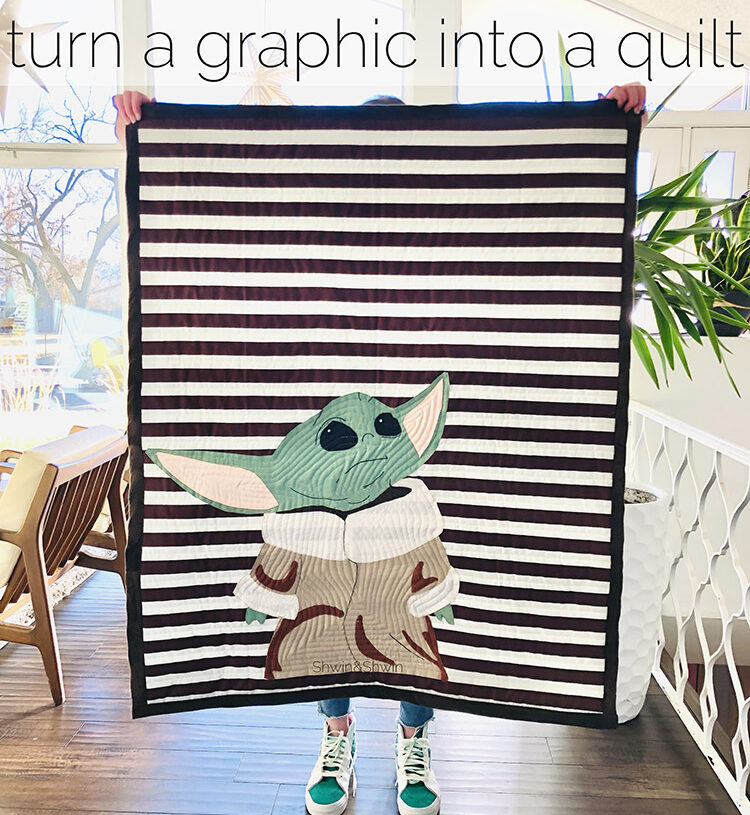
As you may know for the past few years I have really gotten into quilting. Not so much traditional quilting but making fun graphic quilts. Most of the time I draw, and create my own pattern design for the quilts (even if they are inspired by art, plates, or other fun things) Sometimes however my kids (or friends) request very particular characters so using the same technique I turn the graphic into a quilt. Since I don’t make patterns for those I thought I would share I how to turn a graphic into a quilt so you can do it too.

Here are a few quilts I have done over the past few years, all using the same technique. I made a video of the basic process and I have a link to other posts that help give more detail as well.
A Few Tips
- If your graphic has words make sure you mirror flip the image before printing since everything will be flipped when you trace it
- Use freezer paper since when ironed in place it sticks to the fabric which makes it FAR easier to use
- Choose graphics with clear details like cartoons or clip art real life images can be a lot more complicated.
You Will Need
- Adobe Acrobat (or another print program that allows for poster print)
- Freezer Paper
- Fabric
- Felt (optional) I really like to use felt for small shapes that might be hard to applique with fabric. (like eyes)
- Embroidery floss (also optional) is a great way to add in details.
