Catching up? Check out these posts:
Today we will be tackling the sewing of the outer layer (minus the pockets) then we will sew the lining as well. And we will talk fitting. I know it seems like a lot but this part goes pretty quickly. So let’s dive right in.
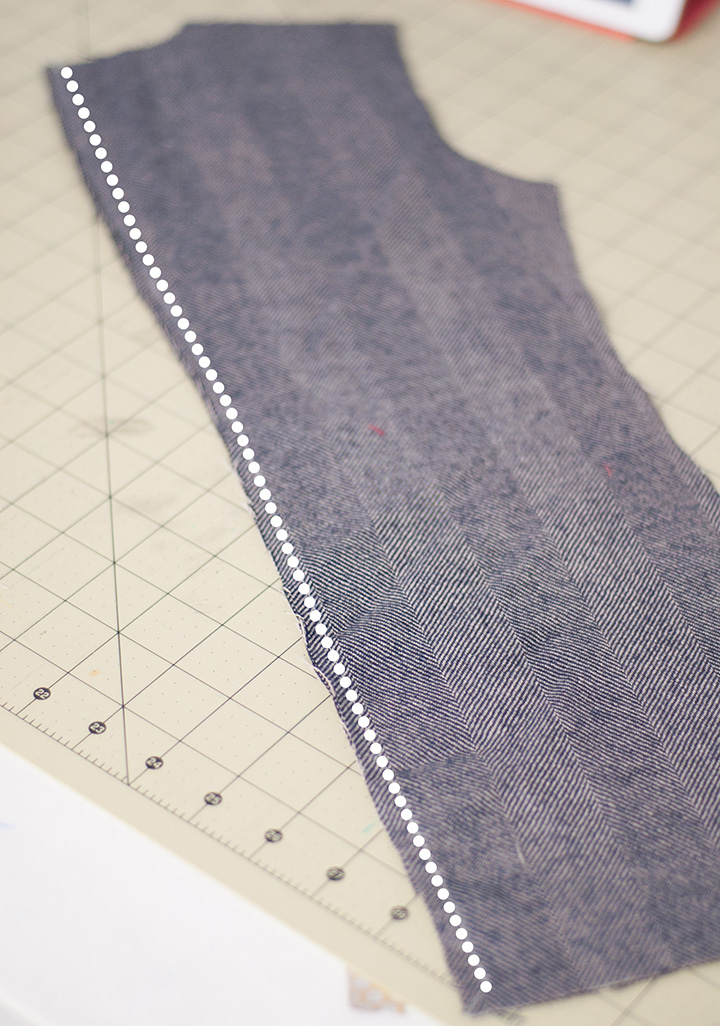
With right sides together sew the two back pieces together along the back seam. (from the neckline down)
Then press the seam open flat. Press well.
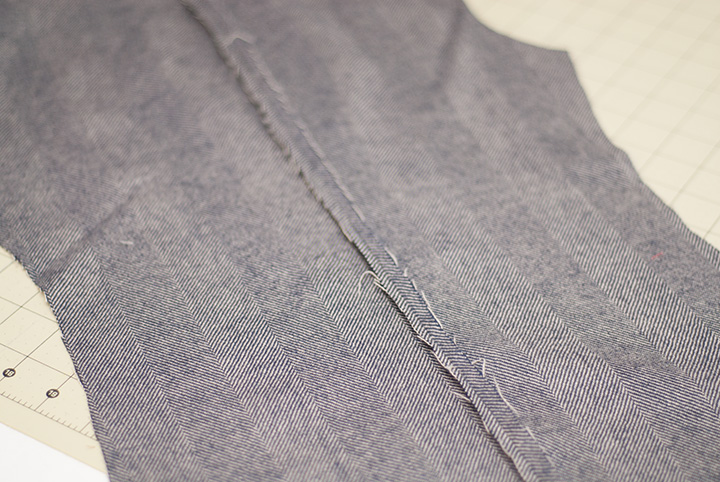
Next with right sides together sew the center pieces to the back.
Again press the seam open flat, press well.
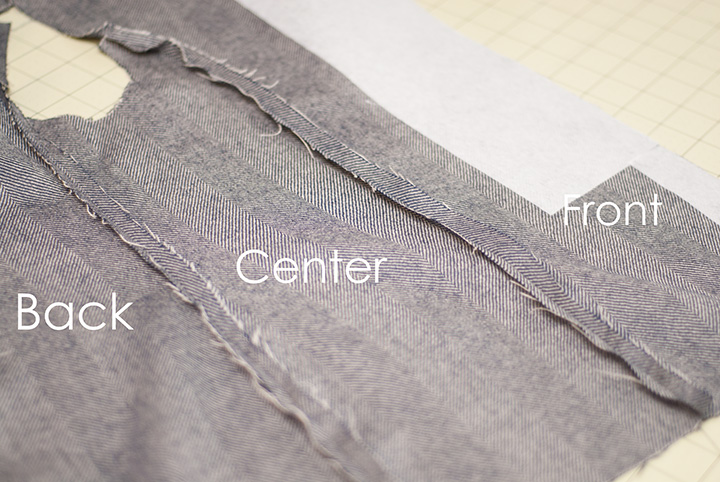
Then with right sides together sew one front piece to each center piece. Press the seam open flat and press well. Check point, your outer layer open flat should have a front, center, back, back, center and then a front again. Now I realized at this point that I am missing a photo for the next step so I apologize.
You will want to sew the front and back shoulders right sides together. Press the seams open flat. Now you have a front blazer that will look a lot like a vest.
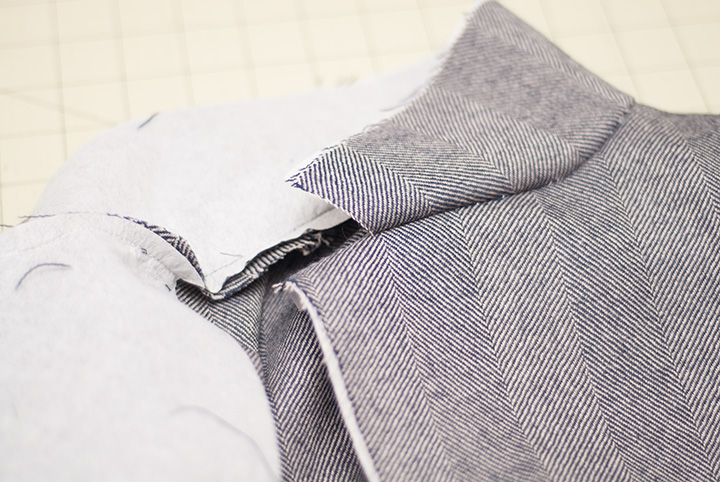
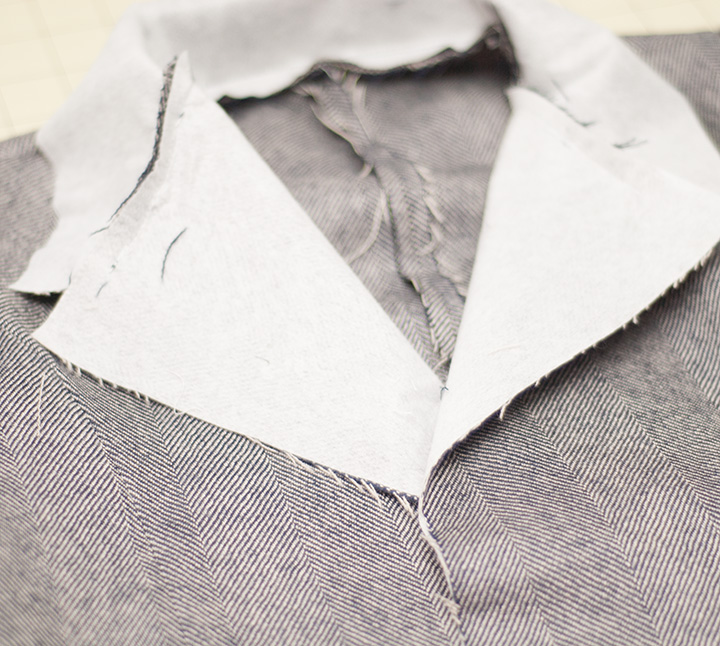
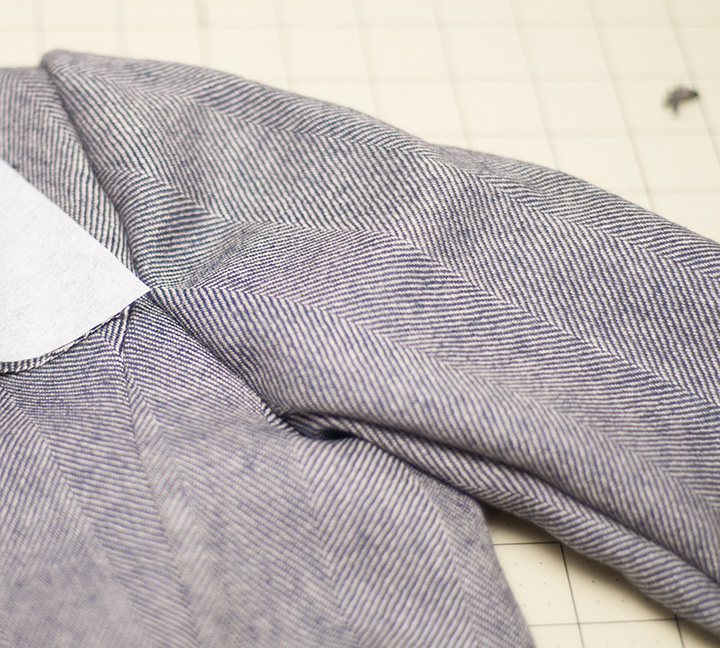
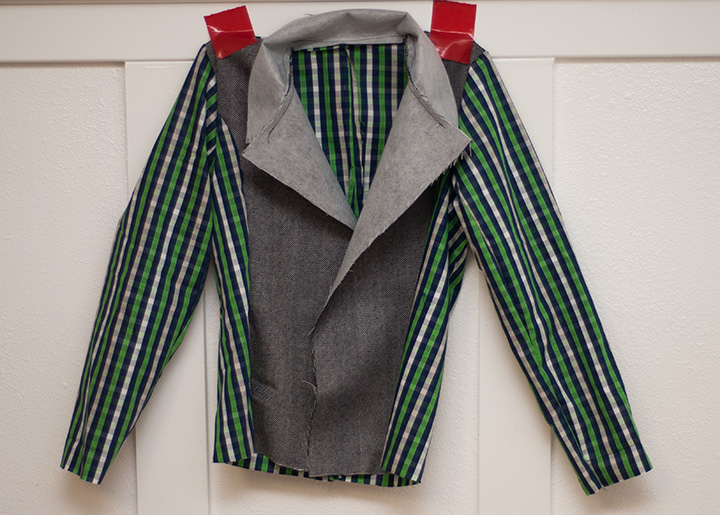
Next up let’s add the collar. With right sides together match up the center of the collar to the center seam in the back. Then without stretching the neckline of the blazer match up the collar along the neckline, so the marking on the collar pattern matches the marking on the front neckline. Then sew the collar to the neckline.
Again you will press however this time you will press the seam upward. Press well.
Now you have a nice collar.
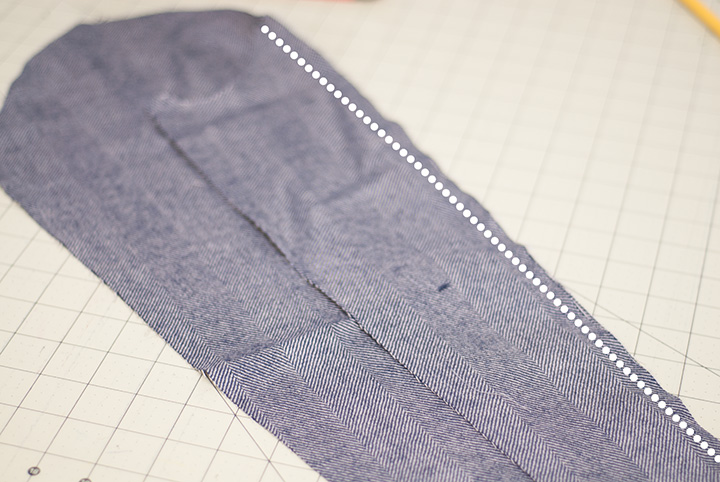
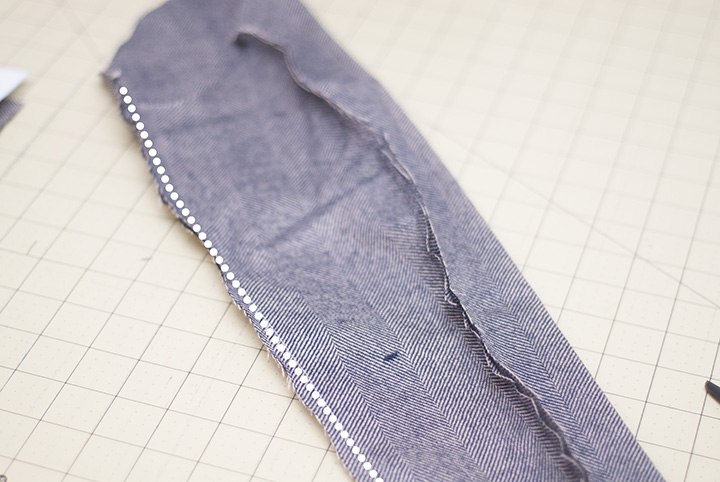
Moving on to the sleeves. With right sides together sew the under sleeve to the upper sleeve. Match up the markings so you know which side to sew to which.
Then with right sides together sew the other side of the sleeve under to the other side of the upper sleeve.
Now press the seams open flat. Turn the sleeve right side out.
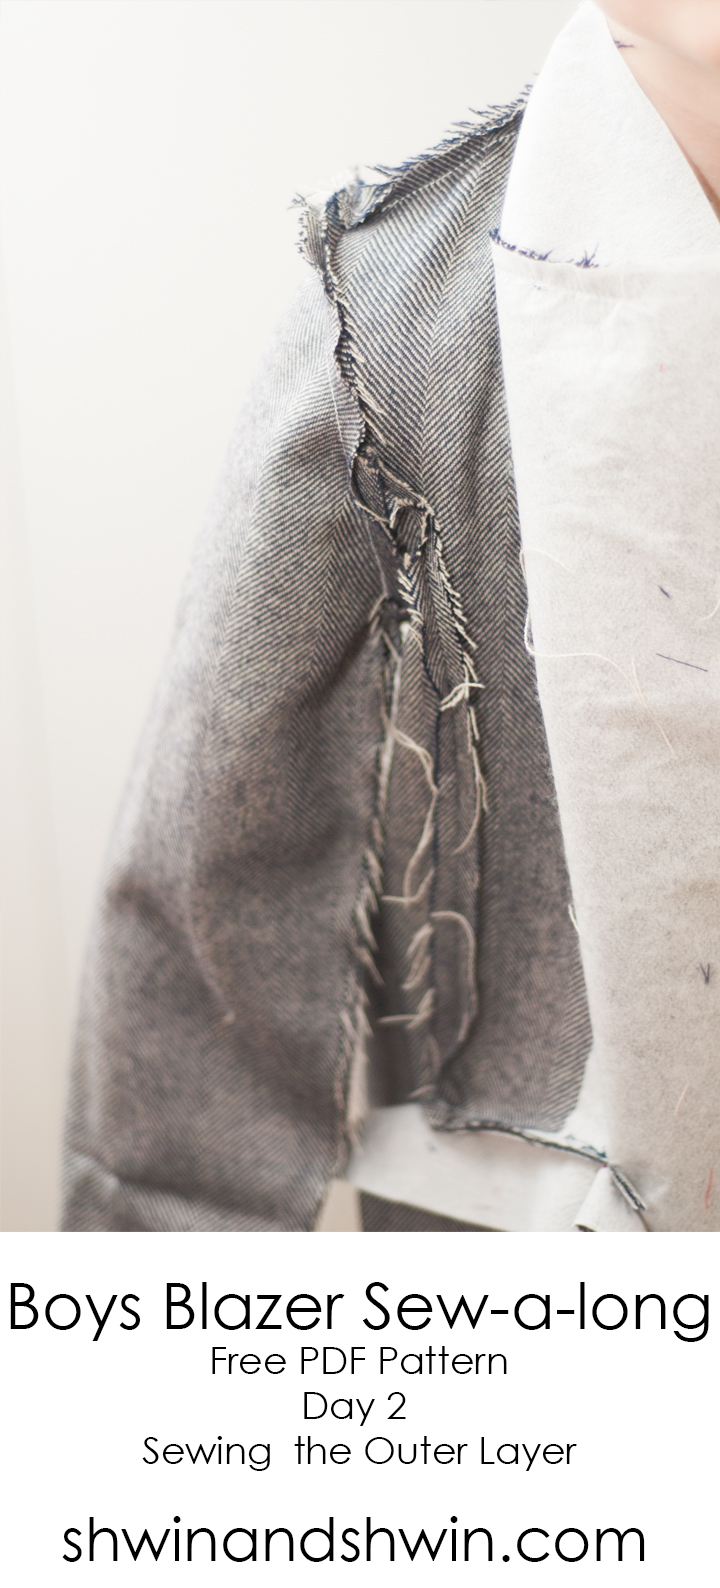
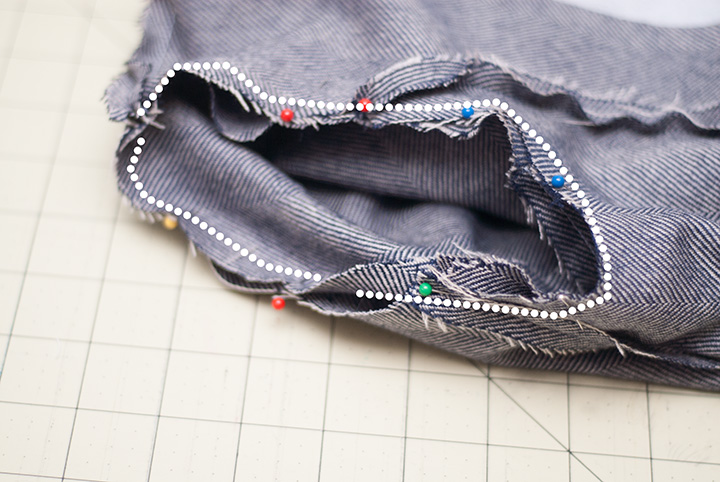
Now with right sides together place the sleeve into the sleeve opening. Match up the center of the sleeve with the shoulder seam, and the markings from the sleeve and sleeve opening together. Ease the sleeve into place. The sleeve may seem a bit too large for the space but you simply want to stretch the sleeve opening a bit to fit the two together. Then sew the sleeve in place.
Once you are done with one sleeve repeat the same steps with the other sleeve.
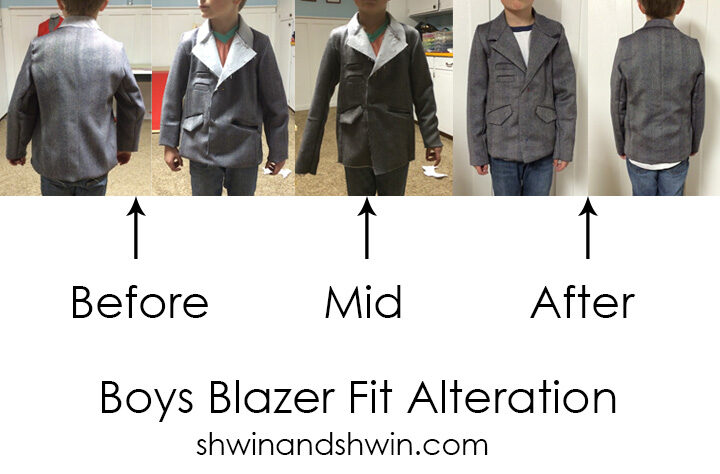
Ok. Let’s pause and talk fit. If you remember the blazer is a size 8 and is drafted off my standard size 8 block. So I knew I would need to make some alterations for this to fit Jude. He needs an 8 for many aspects but his chest and waist and arms are quite slim. So try the outer blazer on. How does it look?
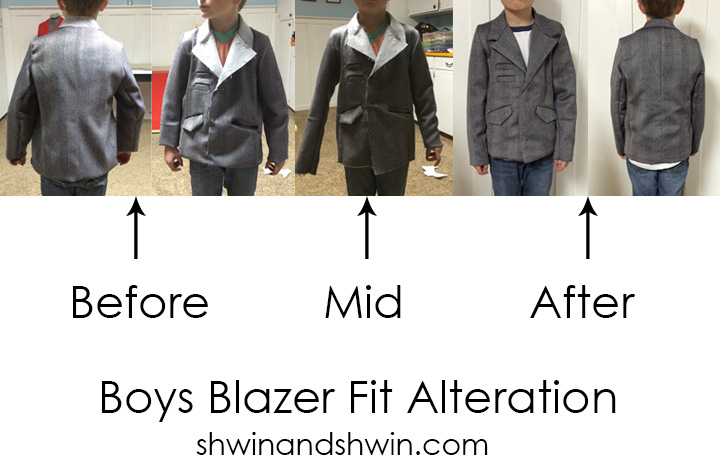
You can see here (above) the fit when I first tired the outer layer on. (ignore the pockets I should have waited to add them until after the fitting which is why I am having you do the fitting now) As you can see the fit is a bit sloppy through the chest and sleeves. He looks like he is wearing a hand me down blazer and not a tailored jacket. However the shoulders, neck, and length was all great. (just a note the sleeves and the bottom hem will be 2″ longer than the finished length so don’t freak out)
The mid version is where I took in one side of the bodice and sleeve. (the left is taken in the right is the before)
And after you can see that the fit is much better, very tailored to him. (although not pressed yet) So HOW do you alter the fit??
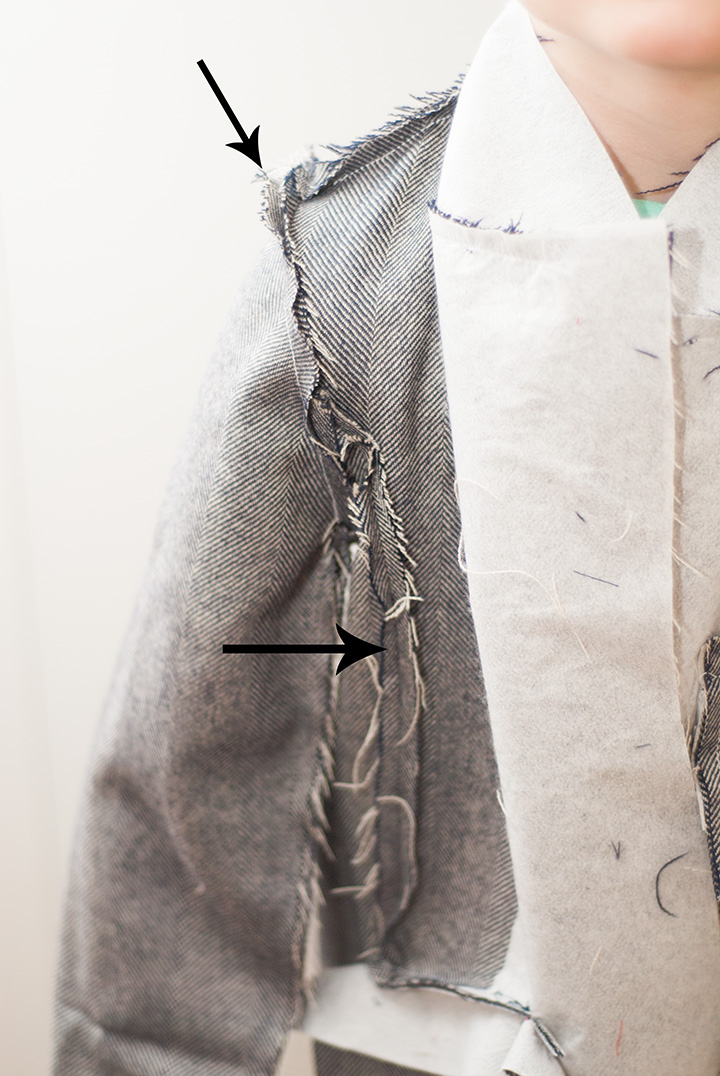
Put the blazer on inside out. Overlap the front and pin in place as if it were buttoned. Then pinch the seams that need to be taken in and pin as needed. You are essentially creating a larger seam allowance on some seams to take it in and get a more desired fit. You don’t want it to be tight but it should be fitted. For Jude I took in the back side seams, I blended into the original seam up near the sleeve opening so I wouldn’t have to take in the sleeve opening. Then from the same seam following along the sleeve I blended from the original sleeve and took it in down the arm. Over all I took in the back by 3″ total and the sleeves 1″
Be sure that you take in both sides of the blazer the same amount on each side to keep balanced.
Then beside the take in the lining the same amount as well.
Lastly for the day. Let’s sew the lining. It is put together the same way as the outer layer. If you want to check length try on the lining. The overall blazer will only be slightly longer in the bodice and sleeve (about 1″ or less)
Tomorrow we will add pockets!
vanessa
I am so confused with the collar, at what point and how did you fuse both pieces that we cut and also at what point did you get the extra fabric for the fold over of the blazer where it meets the collar ..
Shannon
I just had pretty much the exact same question! Did you figure it out?
trista
Is it possible that one of the sleeve pattern pieces is backwards? I feel like I followed it to a tea, but really having a hard time fitting it together?
jeremyandshelly
OK, I have questions about the collar and lapel also. Anyone figure this out? HELP!
jeremyandshelly
I just wanted to update that I figured out the collar/lapel situation. When you cut out the lining, be sure and cut the front lining in the same as the main fabric. Also, the collar is added to the lining so that is when it’s fused. Hope that makes sense to anyone who is wondering! Thanks for sharing this awesome pattern… just have two more days . 😉