 |
| Are you ever searching the fabric store for a specific print only to come up empty handed? For me it is always stripes. I LOVE stripes and it seems like fabric stores never carry a stripe I want. Especially an extra wide stripe. So I solved that problem and learned how to make my own. Not using any fabric paint since that can leave the fabric stiff, or rough feeling, I wanted the stripes dyed onto the fabric just like it would be if I bought it, crisp lines included. |
 |
| I played around with a few other designs, but today we will do stripes. |
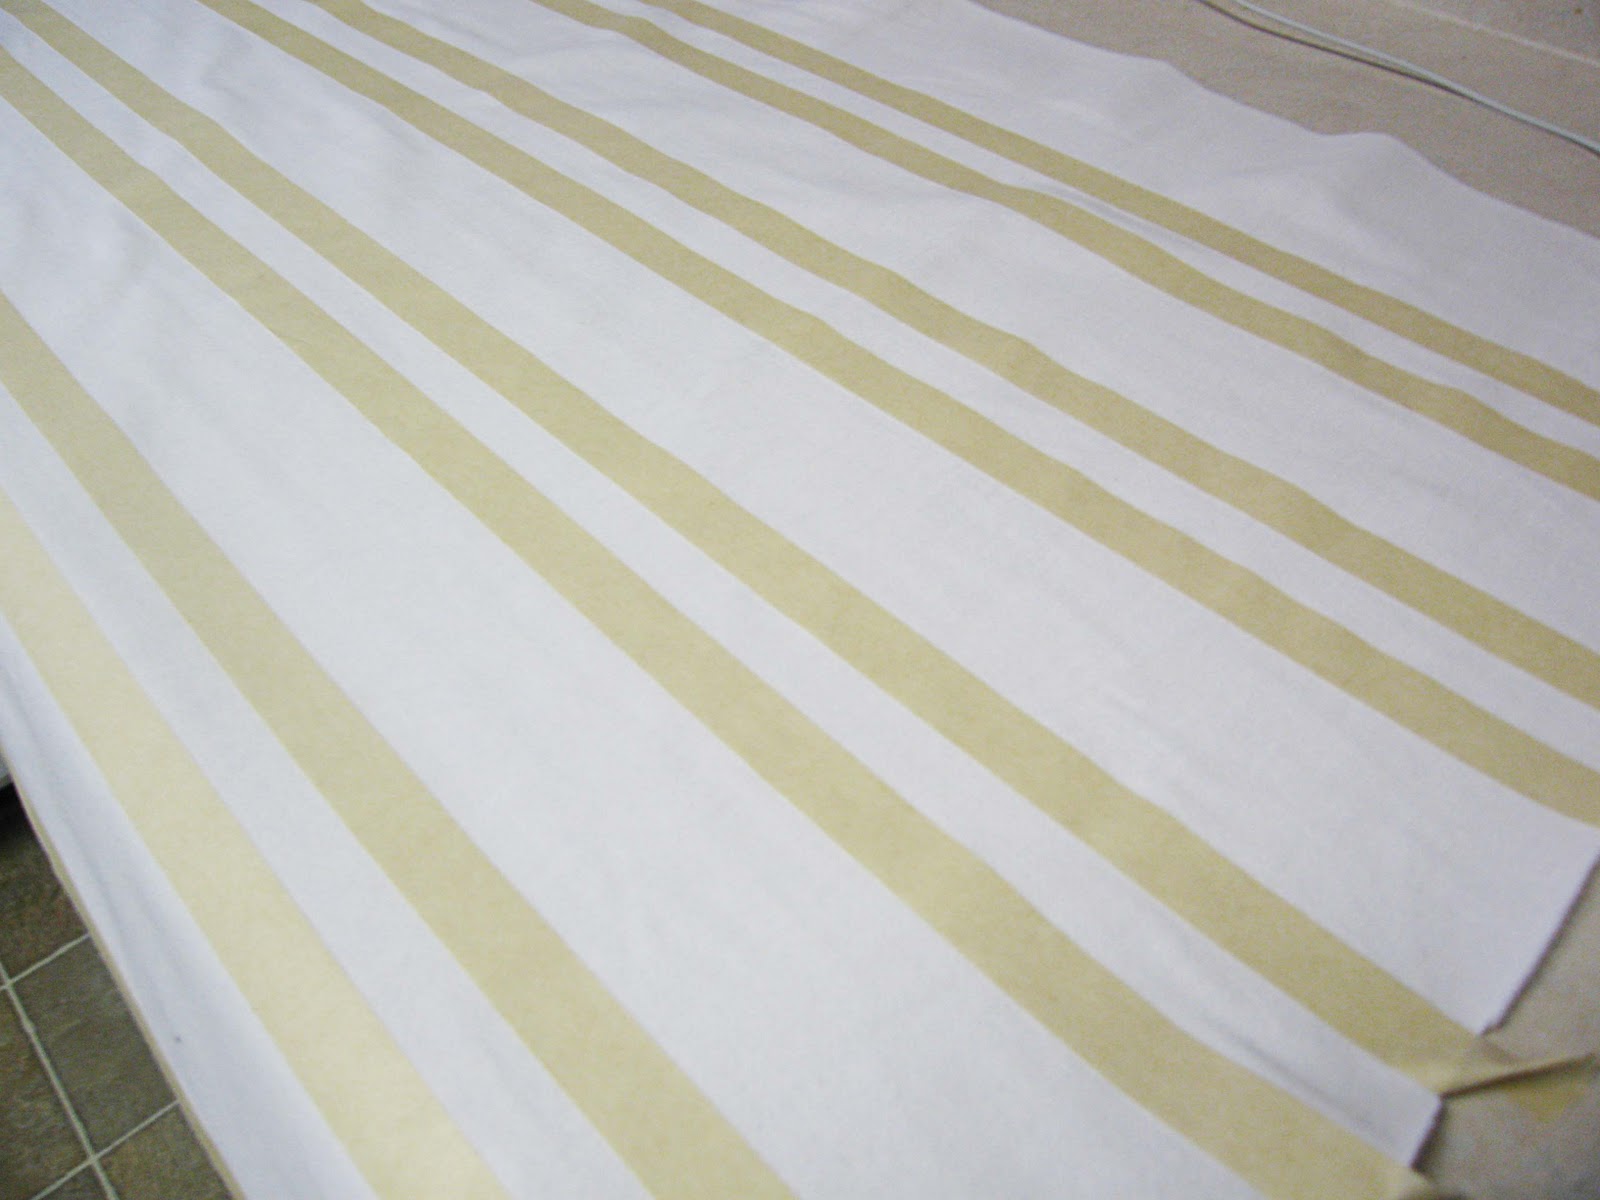 |
| I thought a good “practice” item of clothing would be sweatpants, my son has been begging me to make him sweatpants, he is anti-buttons and snaps since he feels the need to wait till the last second to go to the bathroom and buttons and snaps really jam things up. So sweatpants it was. I started with some plain old white sweatshirt material. Then I taped off my stripes (like I was painting a wall) I made them all 2 inches wide. Making sure the tape was on the inside of the odd stripes. I used plain old masking tape. |
 |
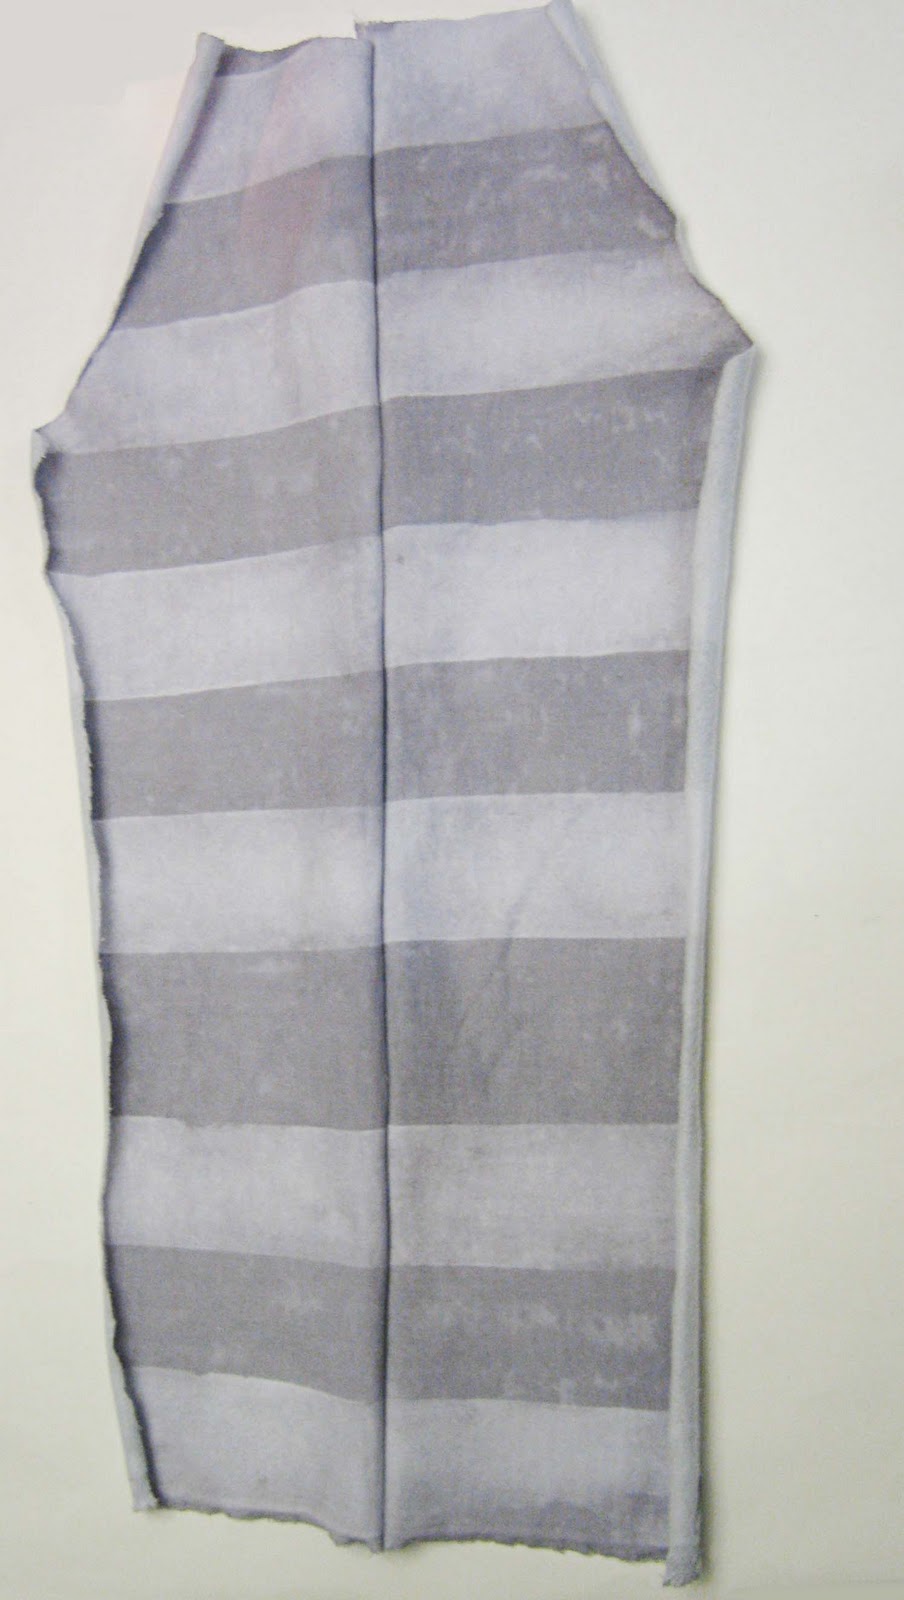
| Then I folded the fabric with the tape on and laid out a pair of sweatpants to use as my pattern. I cut them out. |
 |
| Here they are cut out there are two front pieces and two back pieces. You don’t have to cut them out first if you want to just do the whole fabric piece. (and word to the wise, if you have not already washed your fabric it may shrink during the dye/wash/dry process so you may want to cut it out later) I just didn’t want to have to glue all the fabric. |
 |
| Next using elmers glue, or any WASHABLE glue. Apply it to the stripes using a foam brush. I only applied it to every other stripe, or the ones that were the wide ones. Do this on top of plastic bags so the glue doesn’t get all messy |
 |
| Allow the glue to dry. I really slopped the glue on there, to make sure I got good coverage, so it took a few hours for the glue to dry, it will crinkle up a bit as it dries. |
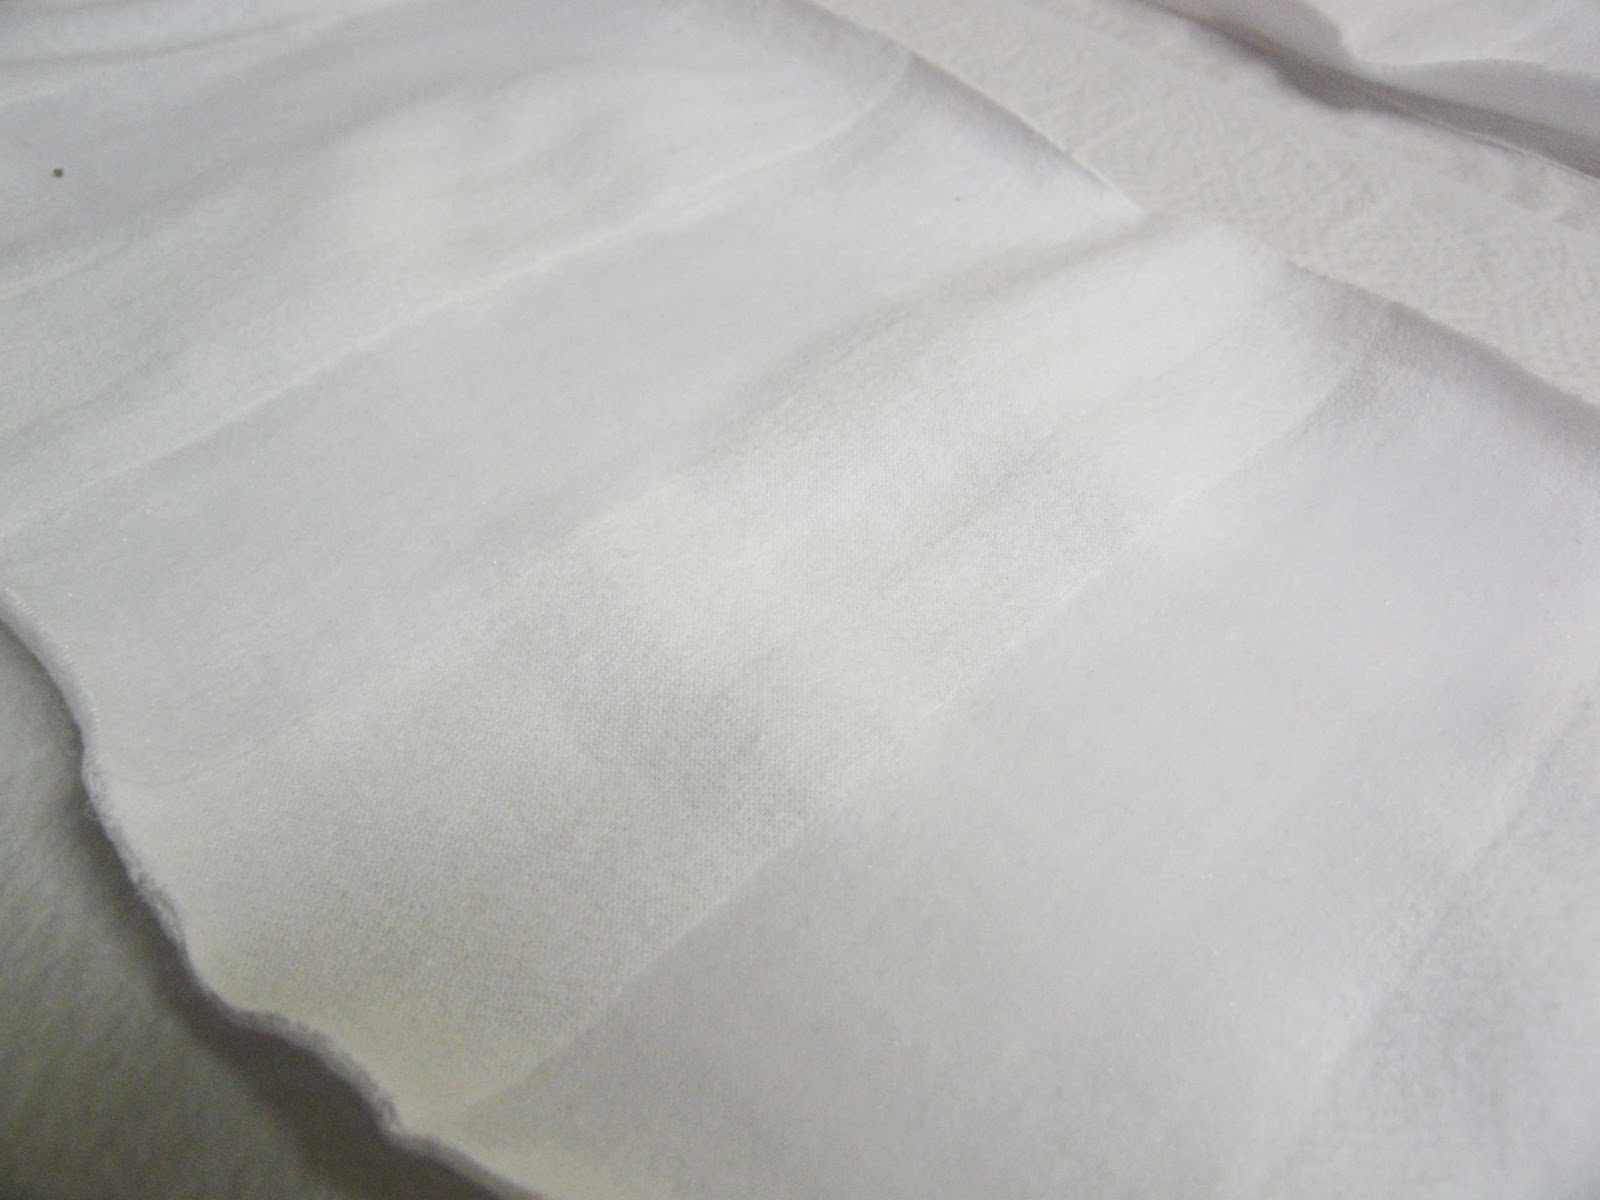 |
| When it is dry or almost dry you can remove the tape. It’s kind of hard to see but you should see crisp lines where the glue is. To ensure the glue was good and dry I threw them into the dryer for a few min. |
 |
| Then make your dye bath. I used RIT black dye since it is what I had on hand, I wanted grey so I made the bath weak by adding less dye than required and I only left my fabric in the bath for about 5 min. Leaving it in for such a short amount of time also ends up giving the fabric a distressed look, since the dye may take a little unevenly. Either way follow the instructions and just watch it to see when it is the color you want. Then rinse, and wash in the machine, then dry. |
 |
| If you were just making fabric you are done. enjoy! If you were making sweats, then take your pieces out, they may have curled up, but they will be fine… Start by sewing one front piece to a back piece along the straight side. |
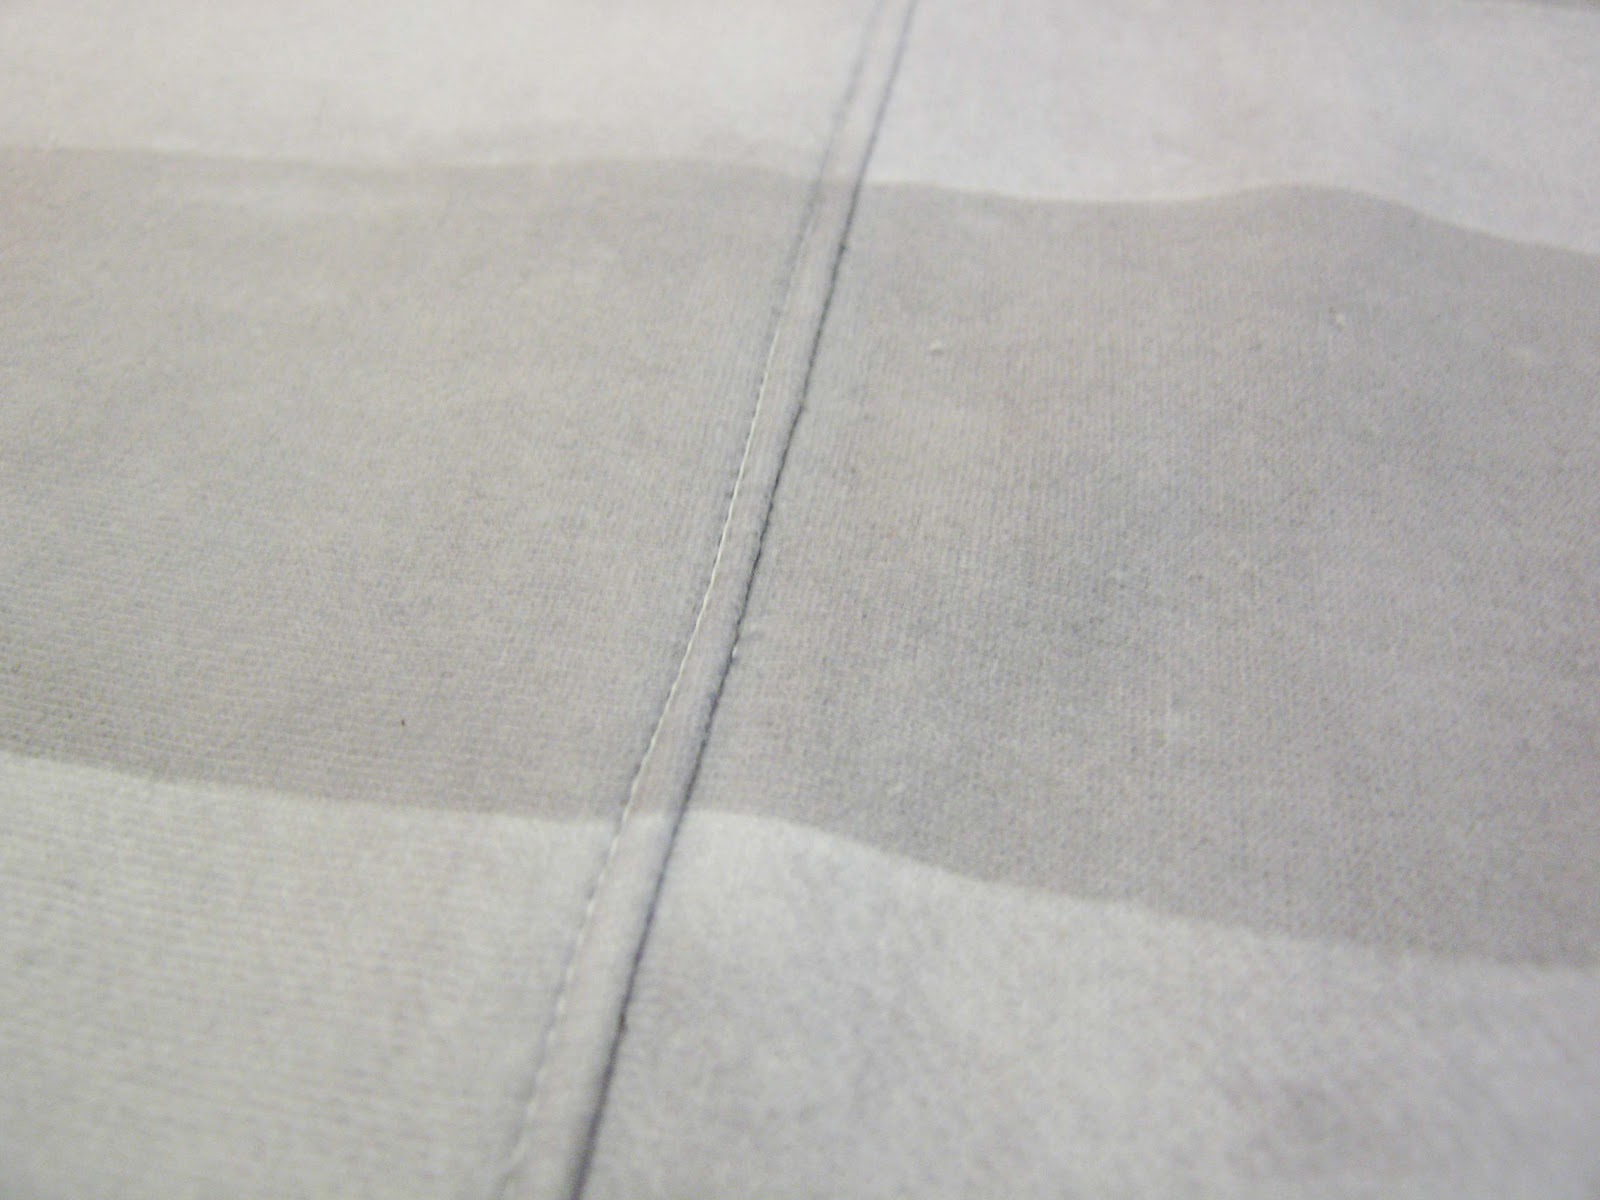 |
| I topstitched the seams, because I like that look. |
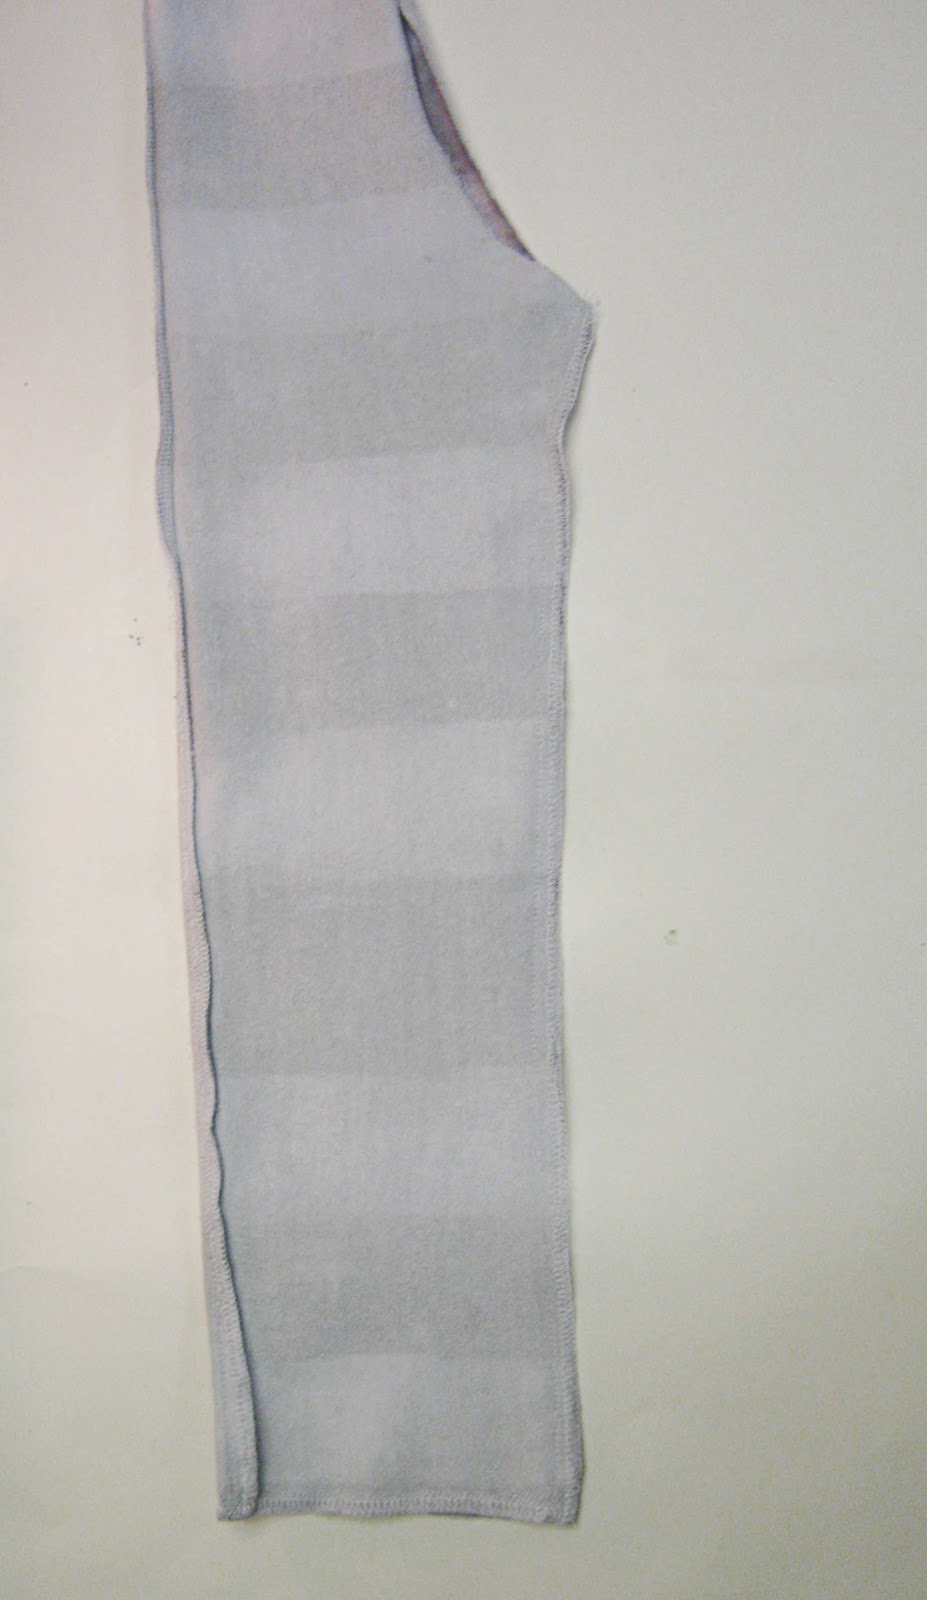 |
| Then fold the piece and sew from the bottom to the top of the curve. |
 |
| Once you have two legs put one inside the other with right sides together and sew along the “U” shape. |
 |
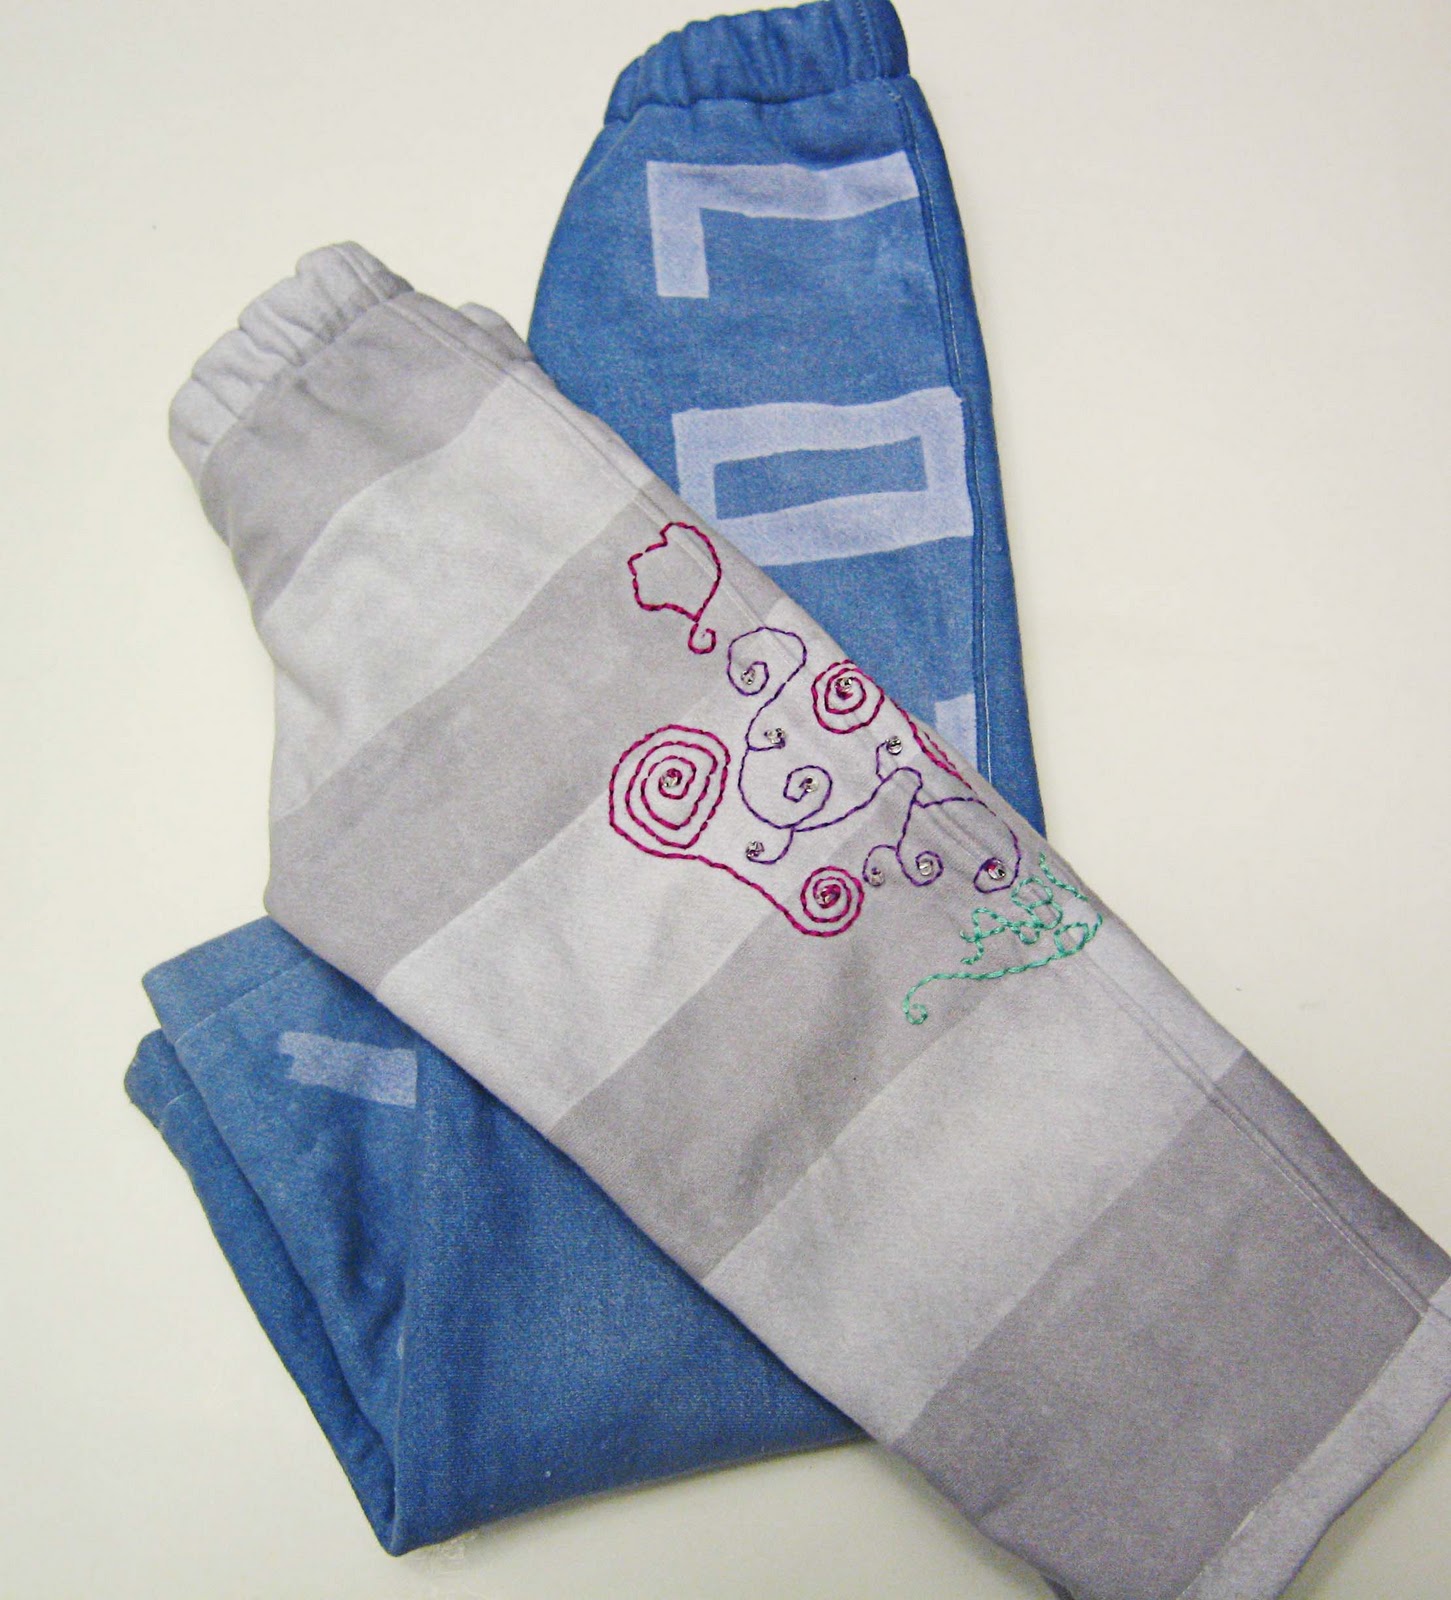
| Now, I was making these pants for my little man, however they were too small in the waist so I shortened them and decided they were perfect for my little miss. However the grey stripes were maybe a little boyish so I added some free hand swirls in embroidery floss with a few beads along the way. |
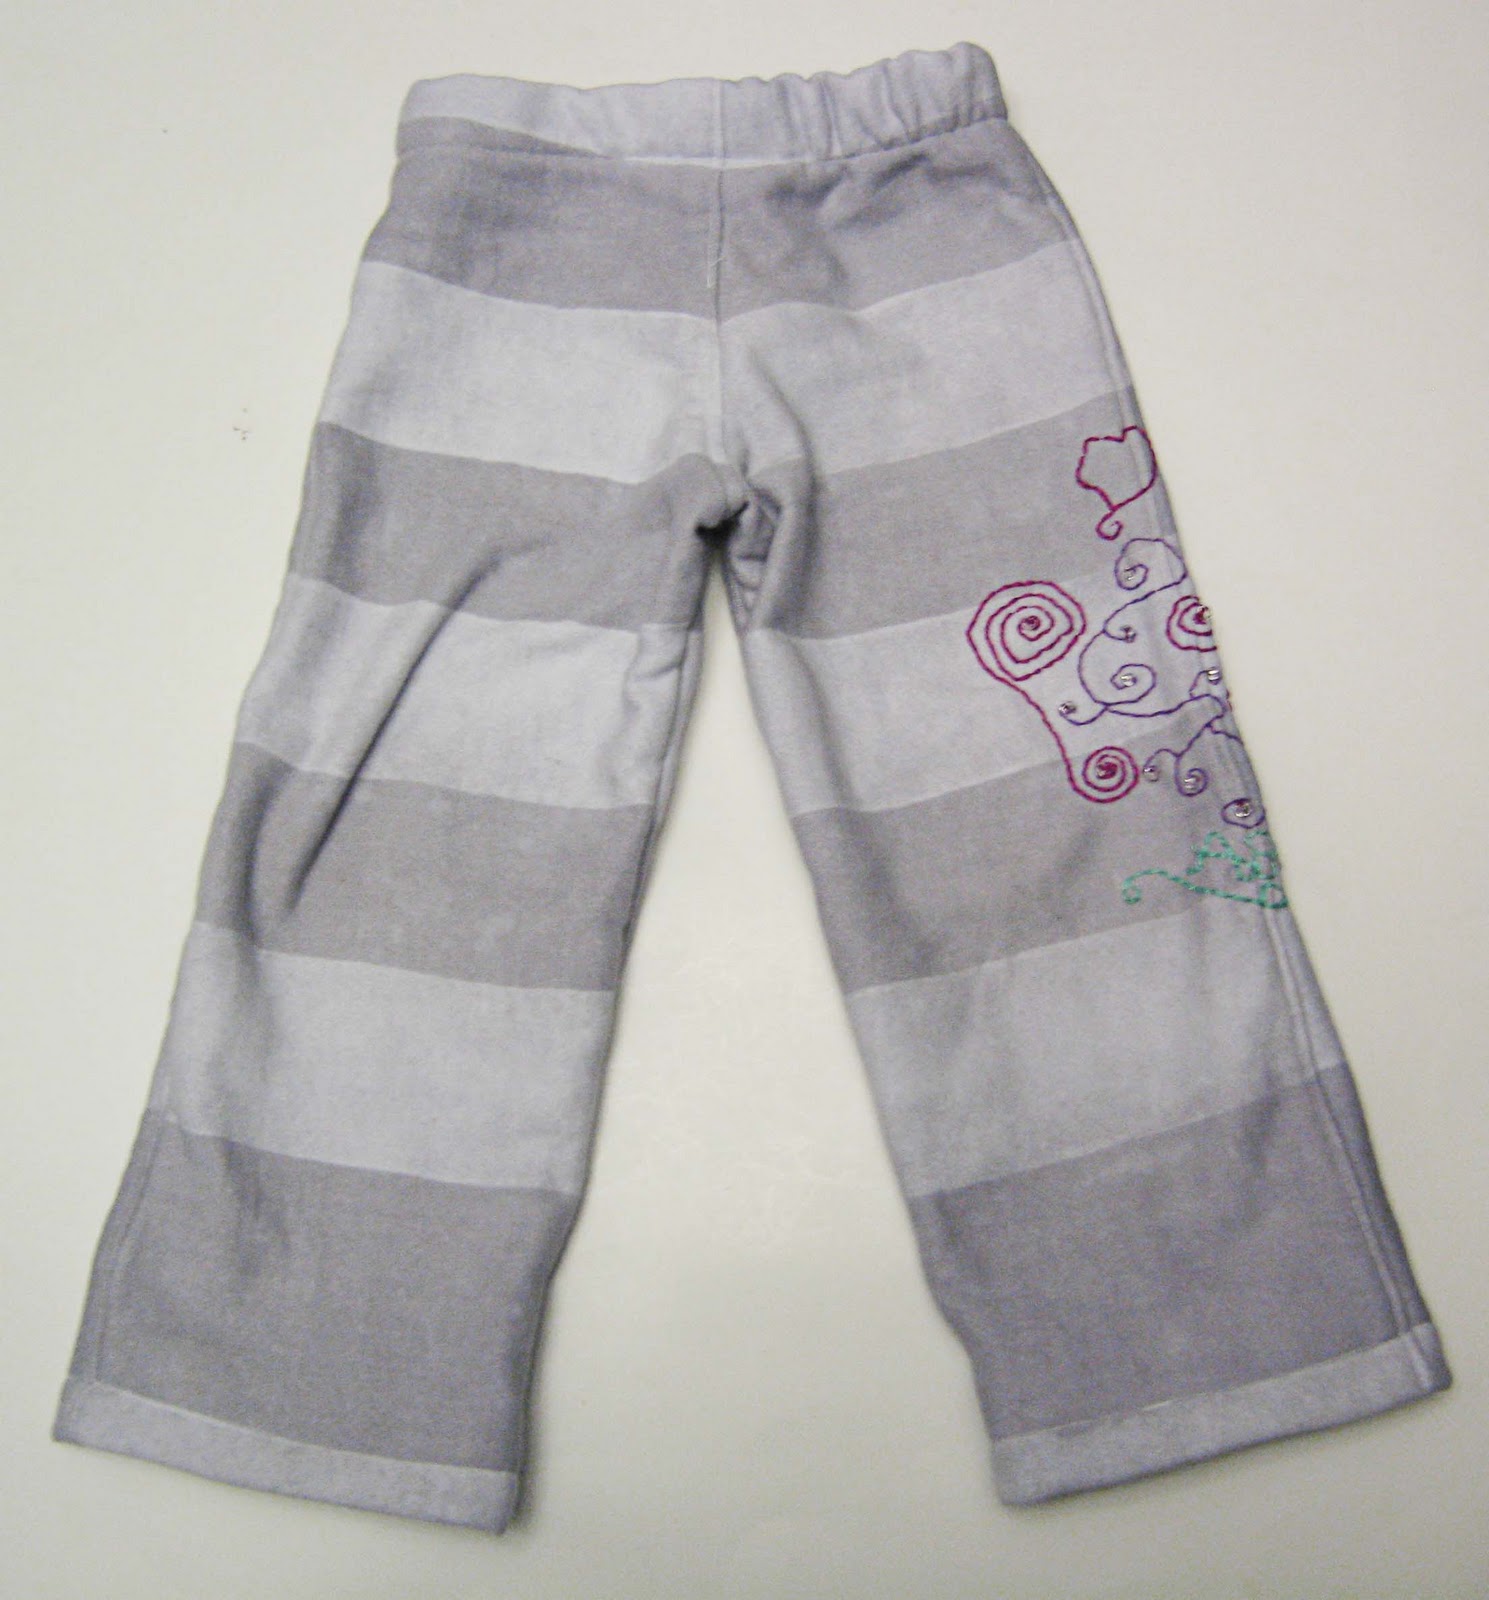 |
| Then hem the bottom and turn the top under for some elastic and you have some very comfy little sweatpants. |
 |
| The perfect little thing to go out and play in |
 |
| Kids always look so comfortable in sweats, and now they are totally customized as well. Have fun making your own prints! Enjoy! |
Rachel
Such a neat idea! I really need to get over my fear of dying fabric, that is such a neat technique.
Aubrey Rose
Love it! I want to make a pair – but am intimidated by making my own pant pattern. Yours look so perfect! I will try the dye technique on something for sure though! Thanks for sharing.
CraftCrave
Just a quick note to let you know that a link to this post will be placed on <a href="http://www.craftcrave.net" rel="nofollow">CraftCrave</a> today [11 Mar 12:00am GMT]. Thanks, Maria
Sachiko
So cute! Great idea and tutoril. Thank you for linking this up to my party!
Taylor {Sew Much Love}
Seriously how do you DO that?!?! You are crazy talented and i'm seriously always amazed!! Thanks for the tutorial, I have the exact same issue with stripes!
eryka
Do you have to put glue on both sides or does it just seep through the fabric enough that will prevent the dye from seeping through the other side?
Shauna
I only put the glue on one side, but I did use enough to penetrate the fabric all the way through.
Lia Williams
Is there a way to do color patterns too? Say for instance black and yellow stripes?