 |
| start by sewing the front and back bodice pieces together at the shoulder. (both the front and lining pieces) |
 |
| next sew the front and lining pieces right sides together along all the edges except the bottom edges. Then turn it right side out. |
 |
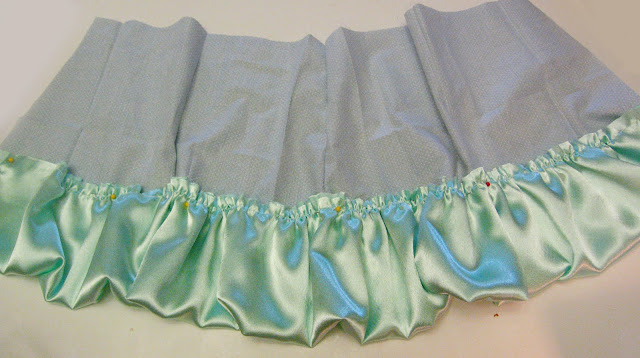
| Then do the next layer, overlap the layers by a little so you don’t see the top of the last layer. |
 |
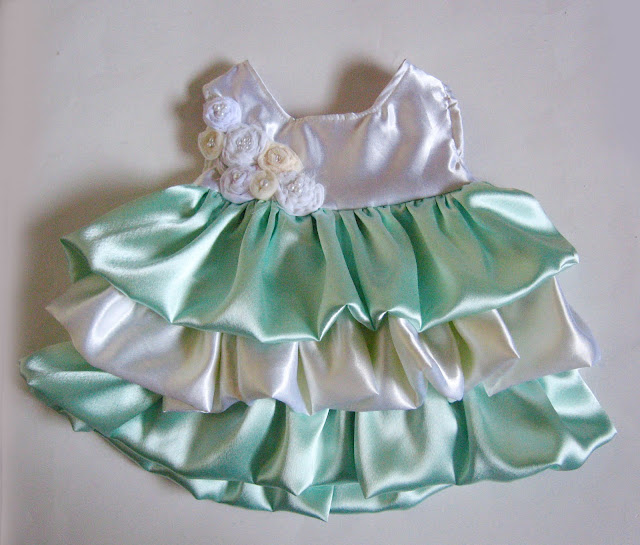
| Then sew on your last layer along the top. For my it was 3 layers you can have more or less. |
 |
| Then take your bodice and sew right sides together the bodice to the skirt piece. Overlap the back pieces by just a bit in back. |
 |
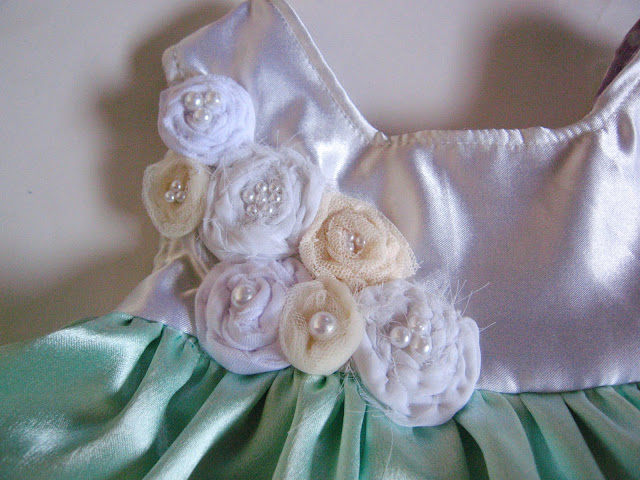
| Then flip up the bodice piece and you are almost done. I added some “shell” like rosettes to the front. I used this tutorial I made them out of a chiffon, lace, knit, and tulle. In a slight variety of colors. Then I sewed a little plastic pearl to the center. |
 |
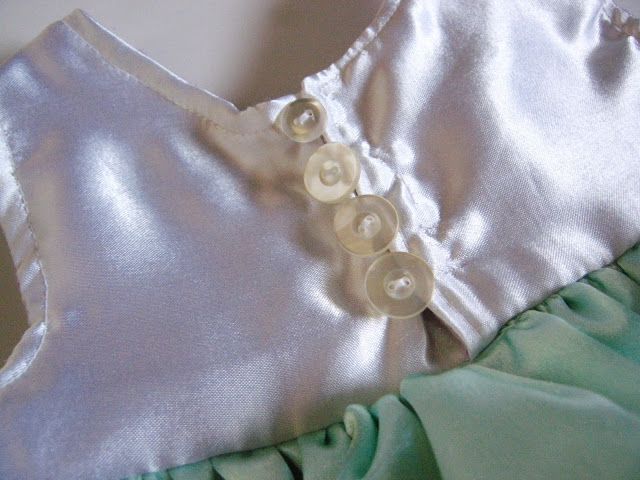
| Lastly I sewed some buttons and elastic loops on the back to close. |
 |
| Done with your waves inspired top. |
 |
| The best thing about ruffles and sweetness is they can look all fancy… |
 |
| But still be fun and comfy enough for a day at the beach… |
 |
| Or at least a play date in a large sandbox until we make it to the beach… |


Karen G.
Ha! You totally had me fooled you were at a beach until that last picture! This top is absolutely adorable!! I can't wait to go to JoAnn's and get some fabric to try one! Thanks for the tutorial!
.Jen
cute! I love making all things ruffle-y for my little girl!
kate
gorgeous! Great tutorial, I might make one for myself! Thanks so much for being a part of the event!
Neldajay
that is so cute! I will make one for my girl too. Thanks for the easy tutorial. Have an awesome day!
Sharon
Very beautiful! I love the colors you used.
Gala Jewelry
Georgeous!!!
Cook Clean Craft
That is so pretty! I love the colour combination and the glossy fabric just makes it so girly. Thanks for the tutorial!