 |
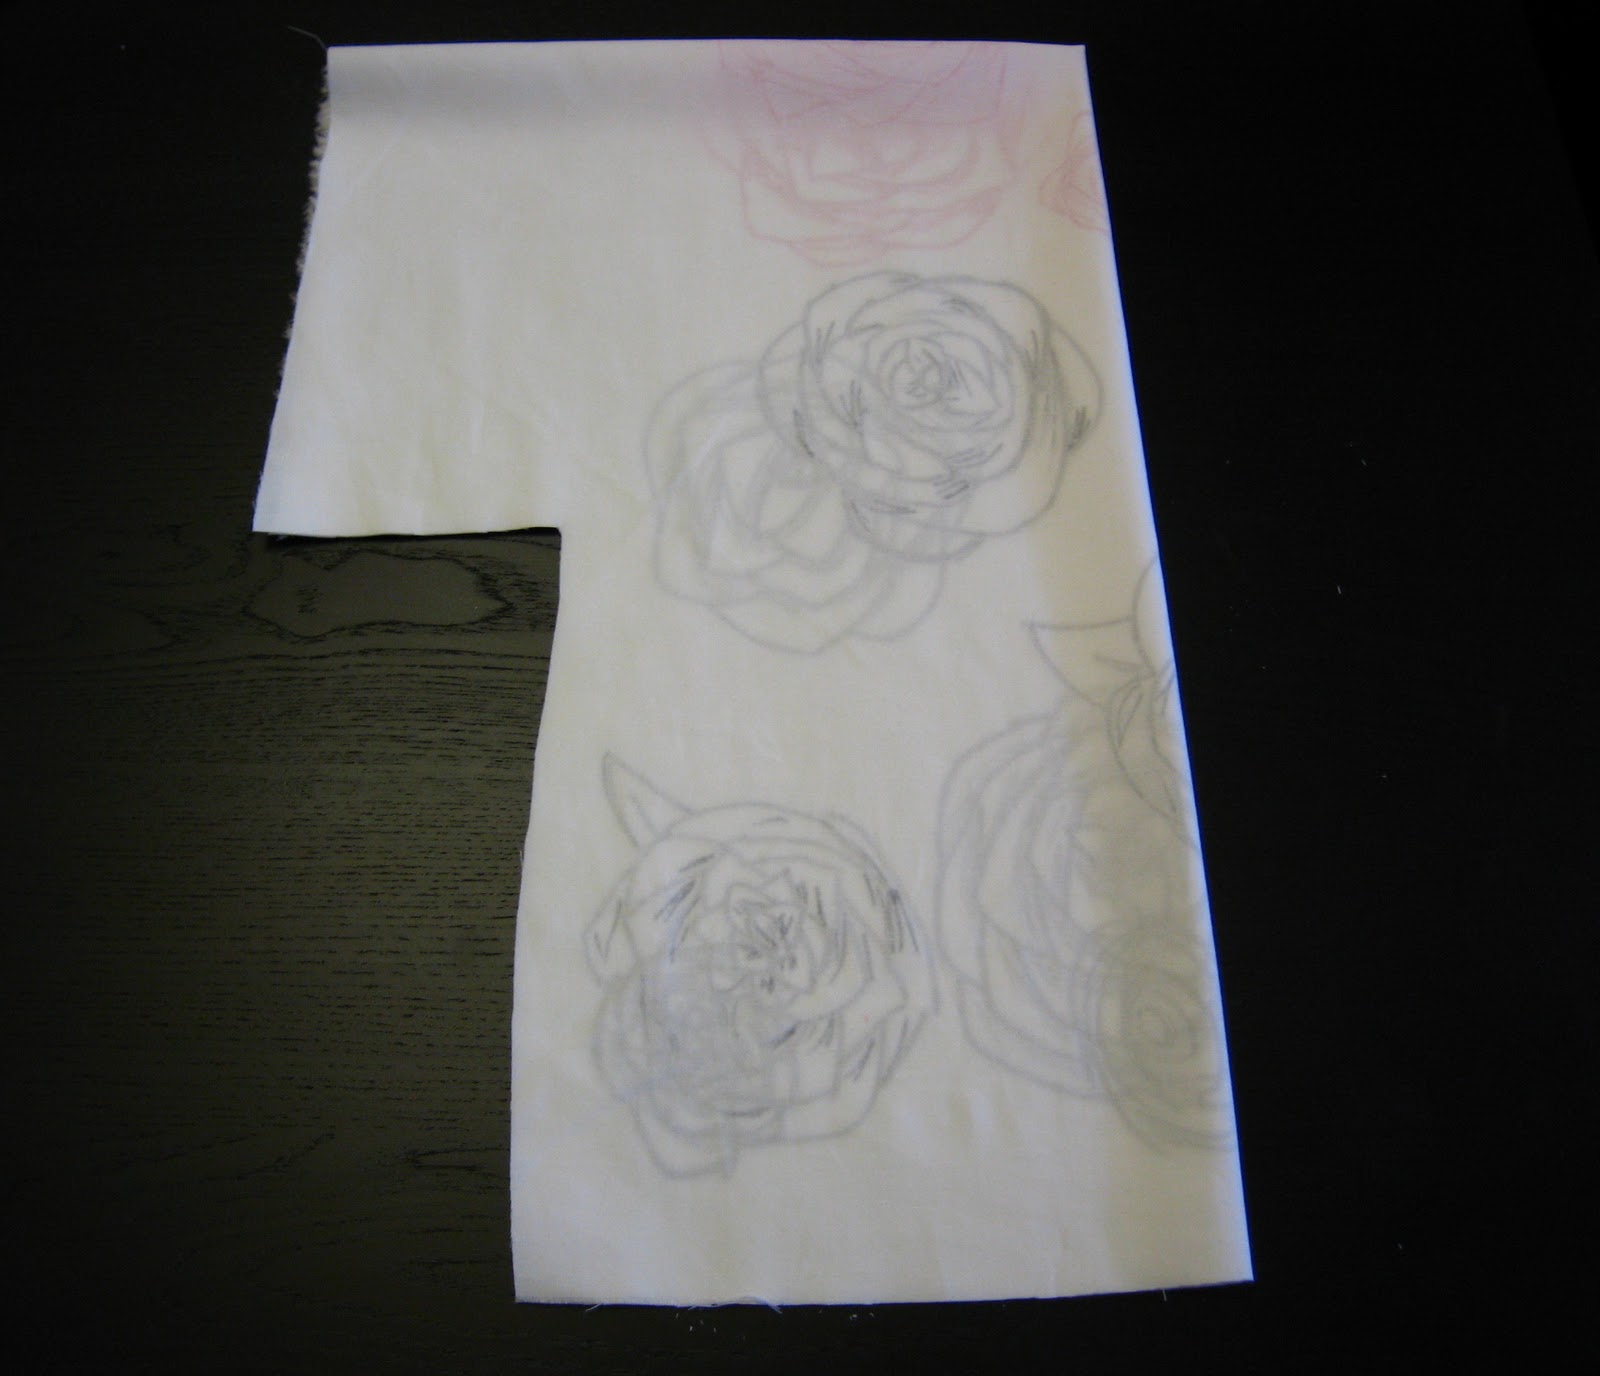
| Did you all paint some master pieces yesterday? Well today let’s turn those into wearable art. I bring you the “she painted the roses red” top. |
 |
| The shirt is really easy to make. Sewing a few straight line and hemming the edges. I have even made this style top out of jersey and skipped the hemming, which is even easier. Start by folding your fabric. You want the fold at the top. Then lay a shirt lining the shoulders up with the top fold. |
 |
| The dolman sleeve is a sleeve that has a really large opening. So start by making the sleeve really chunky. A true dolman sleeve gets narrower at the end of the sleeve, but it’s up to you how you want it. Then for the sides, you can cut it true to size of make it comfy and oversized like I like them, so I added a lot of room on the side. I also left a good couple inches on the bottom since the elastic at the waist will bring the shirt up a little. |
 |
| Then fold the shirt so you cut the other side the same way. |
 |
| Next cut in a neck opening. |
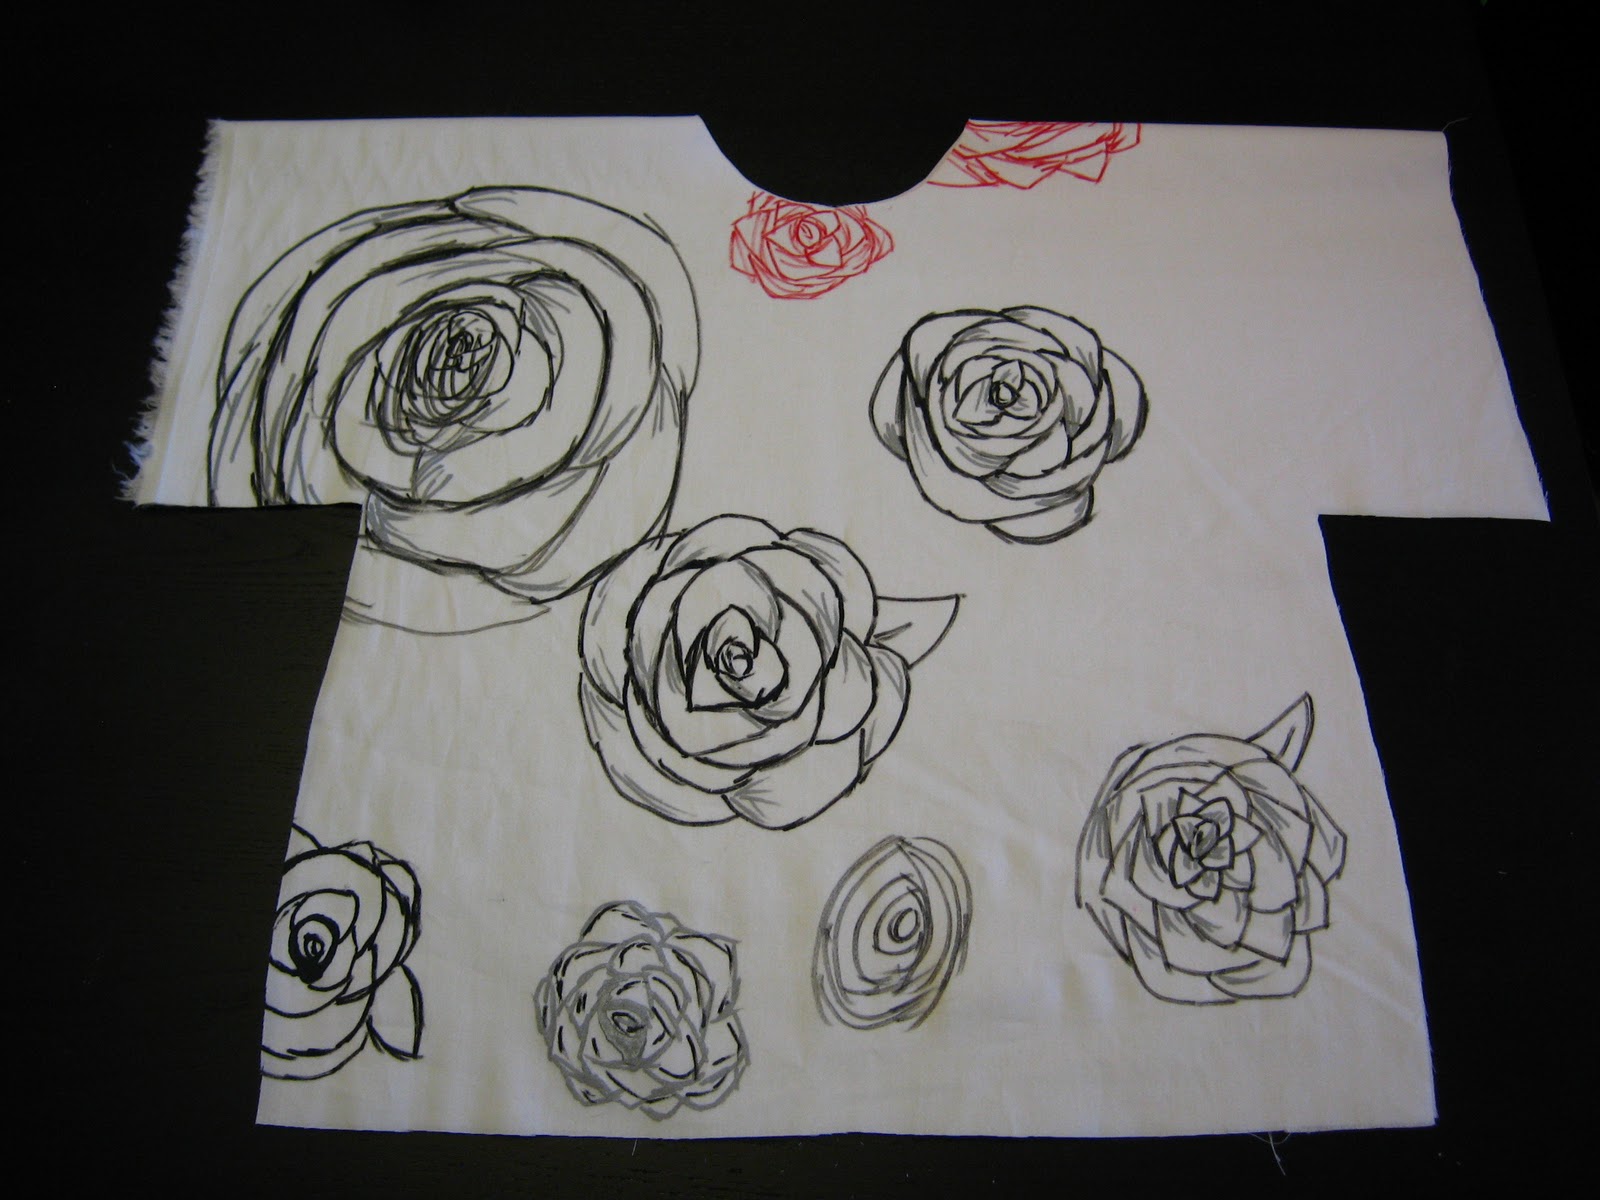 |
| You should have a rather large boxy looking top that has a fold at the top along the shoulder and has a front and back. |
 |
| For this style you will also want to cut a strip that is the long enough to go around the whole shirt (front and back) this will be the elastic casing. |
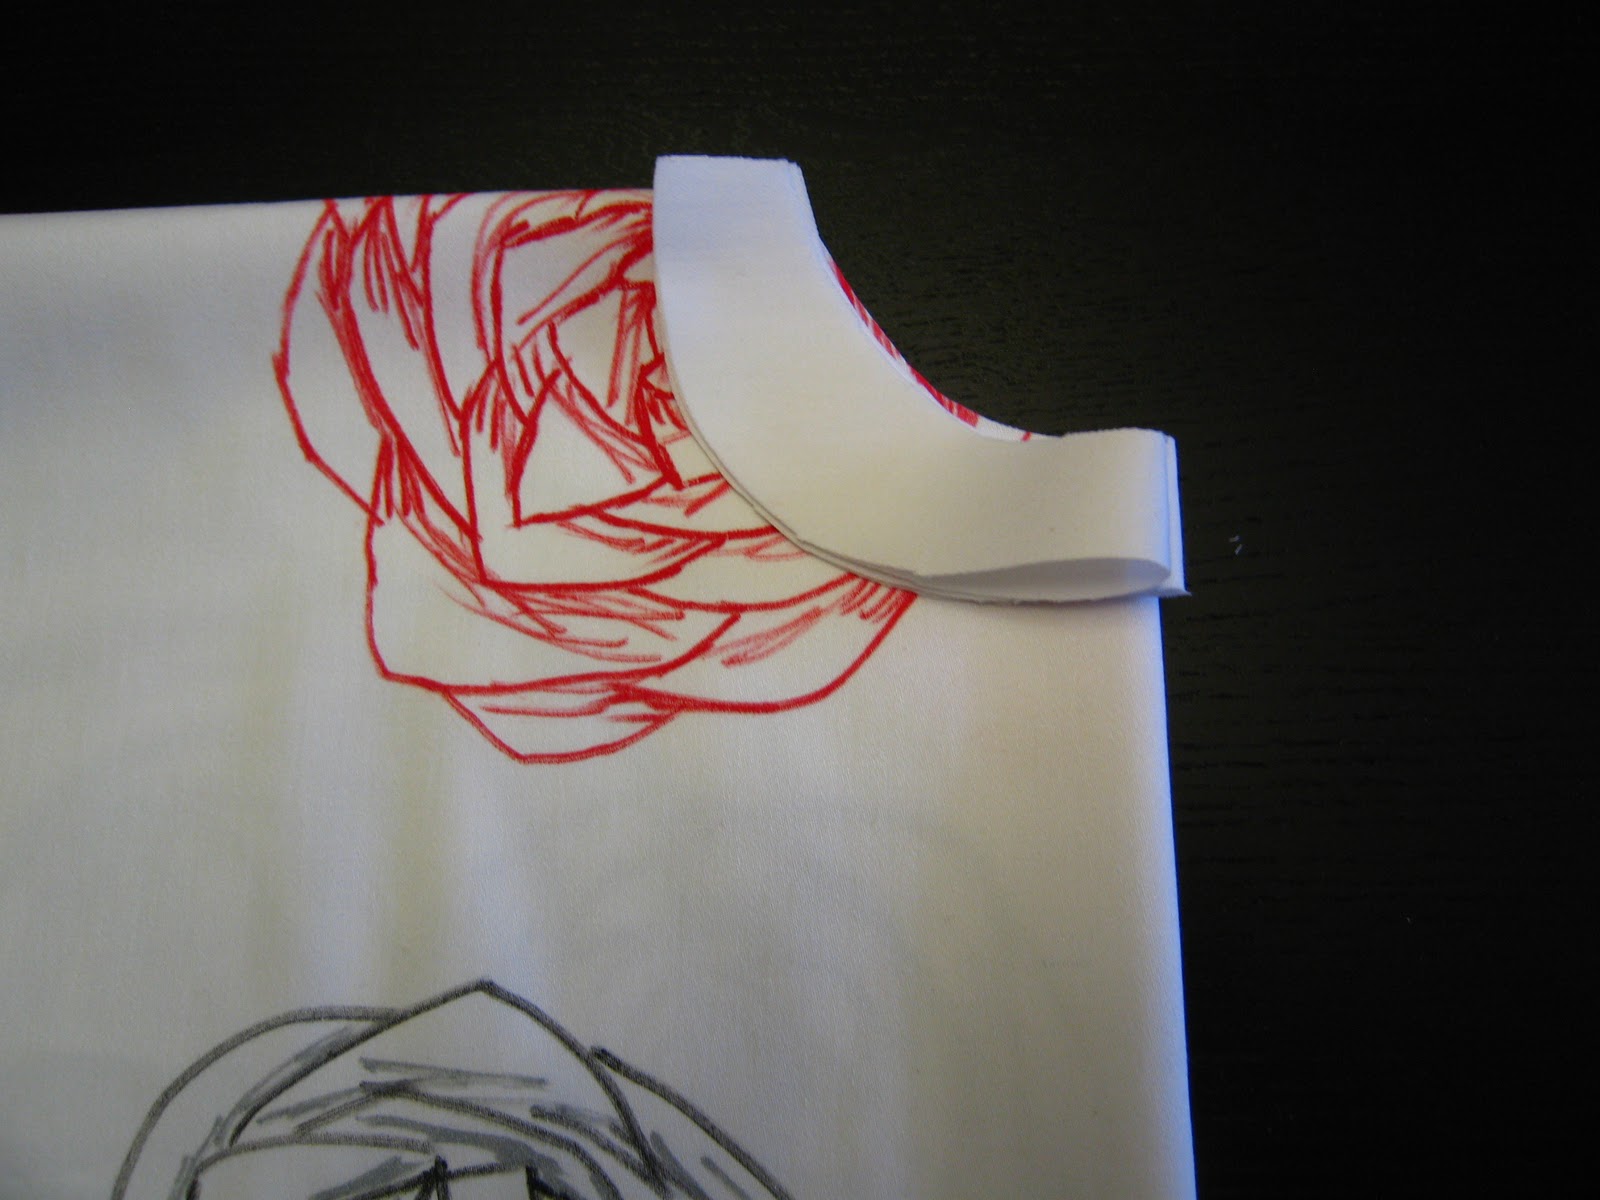 |
| I also cut out a neck lining piece since it makes finishing the neck easier. |
 |
| Start by sewing half the shirt. You do this by folding the shirt so right sides are together (it is inside out) and the fold is at the top. Then sew from the end of the sleeve to the armpit, and turn to sew down the side. Then you will sew the elastic casing on through the waist of the shirt. Sew the top and bottom but leave both sides open for the elastic. |
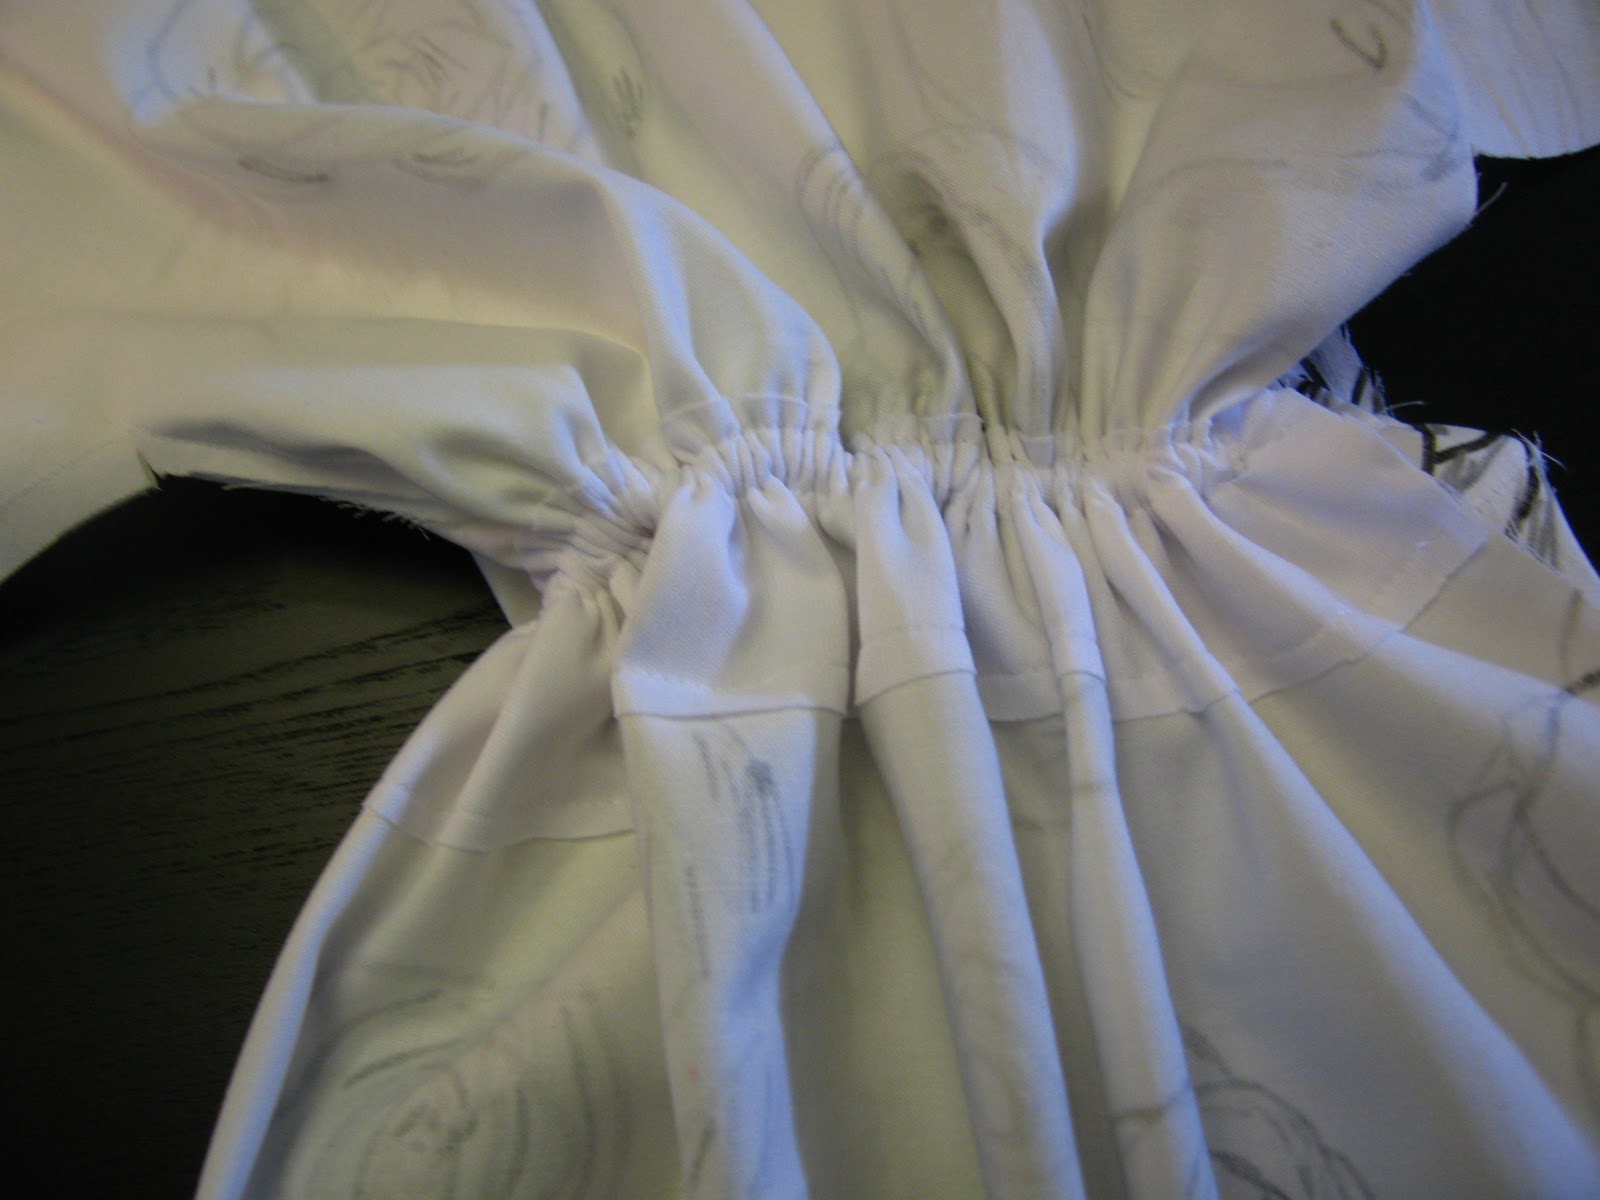 |
| Then slide the elastic in and secure it on both sides. The elastic should be long enough to be comfortable around the waist. Next you will sew the other side of the shirt. From the sleeve to the armpit and down the side. |
 |
| Next sew the neck lining to the right side of the shirt. then clip the curve and turn it to the inside and sew it down in place. |
 |
| The next thing I did that is optional unless you need it, like I do so the top will fit over my daughters head, is add a little opening in back. To do this cut a slit. |
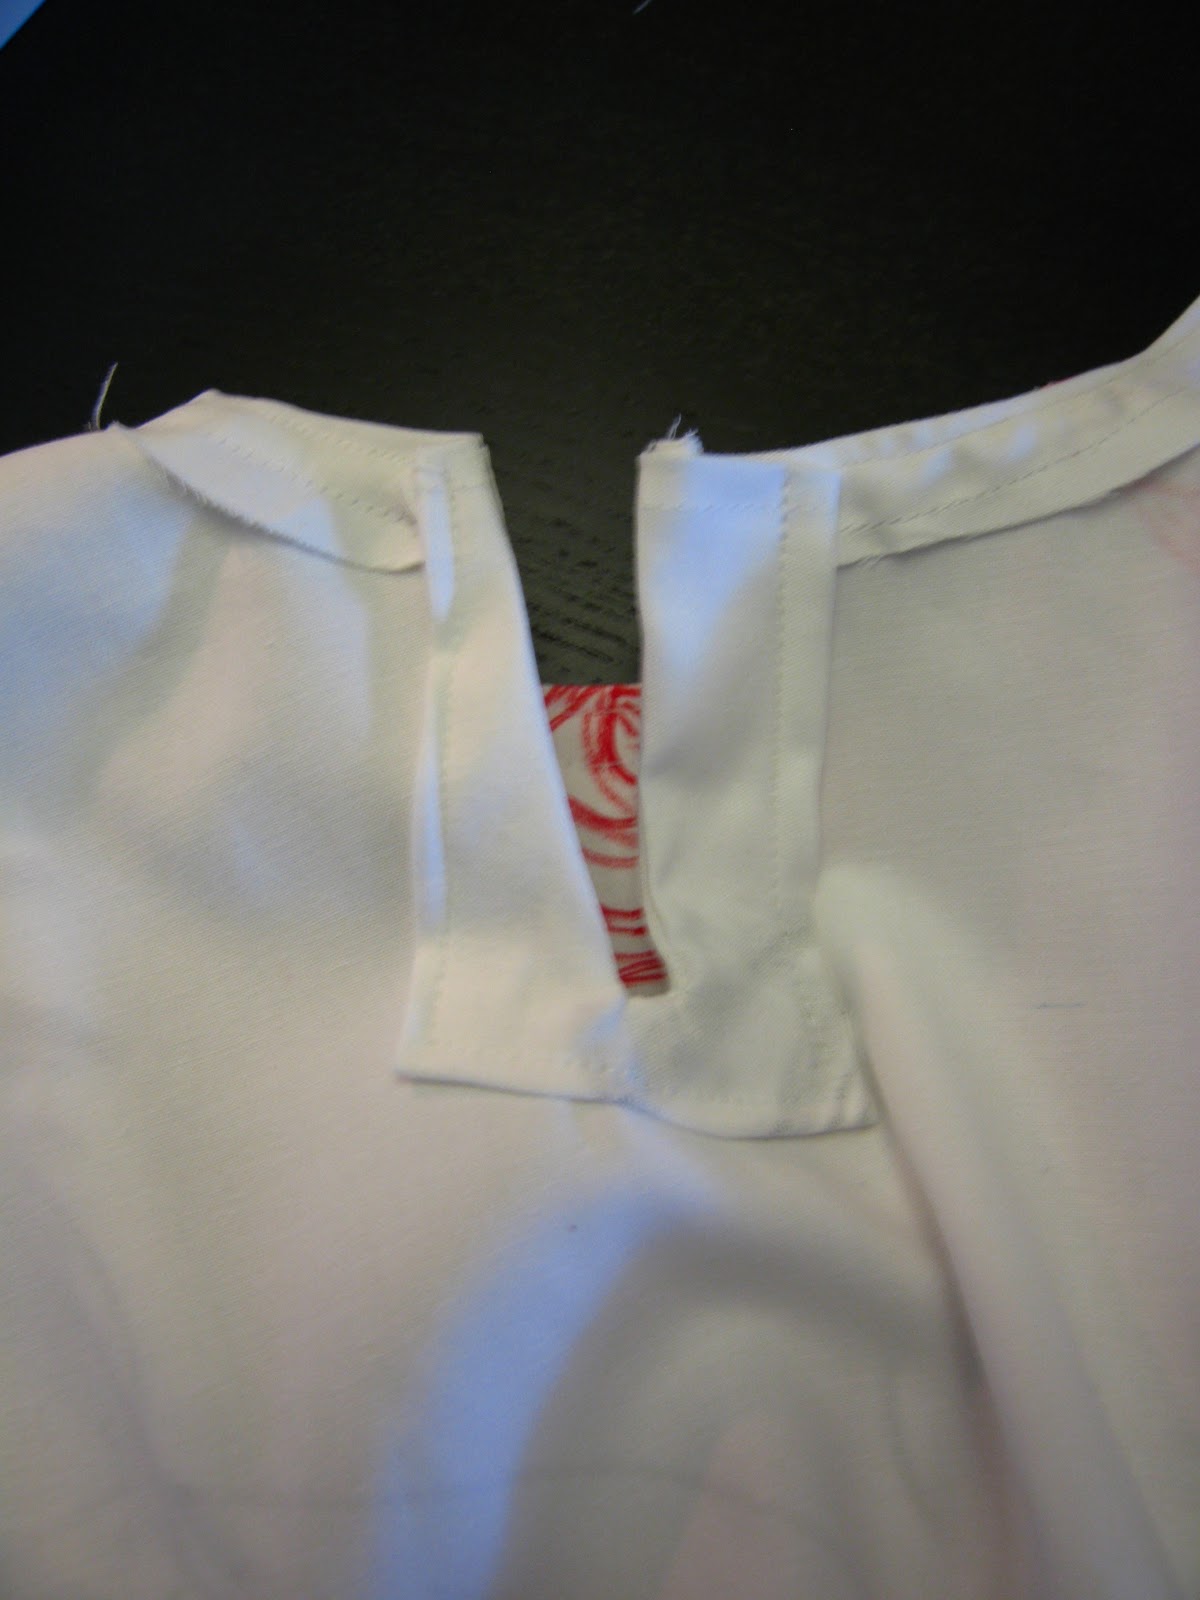 |
| Sew a rectangle to the front of the top sewing just around the slit. Then cut the same slit in the rectangle. Turn the rectangle to the inside and sew in place. |
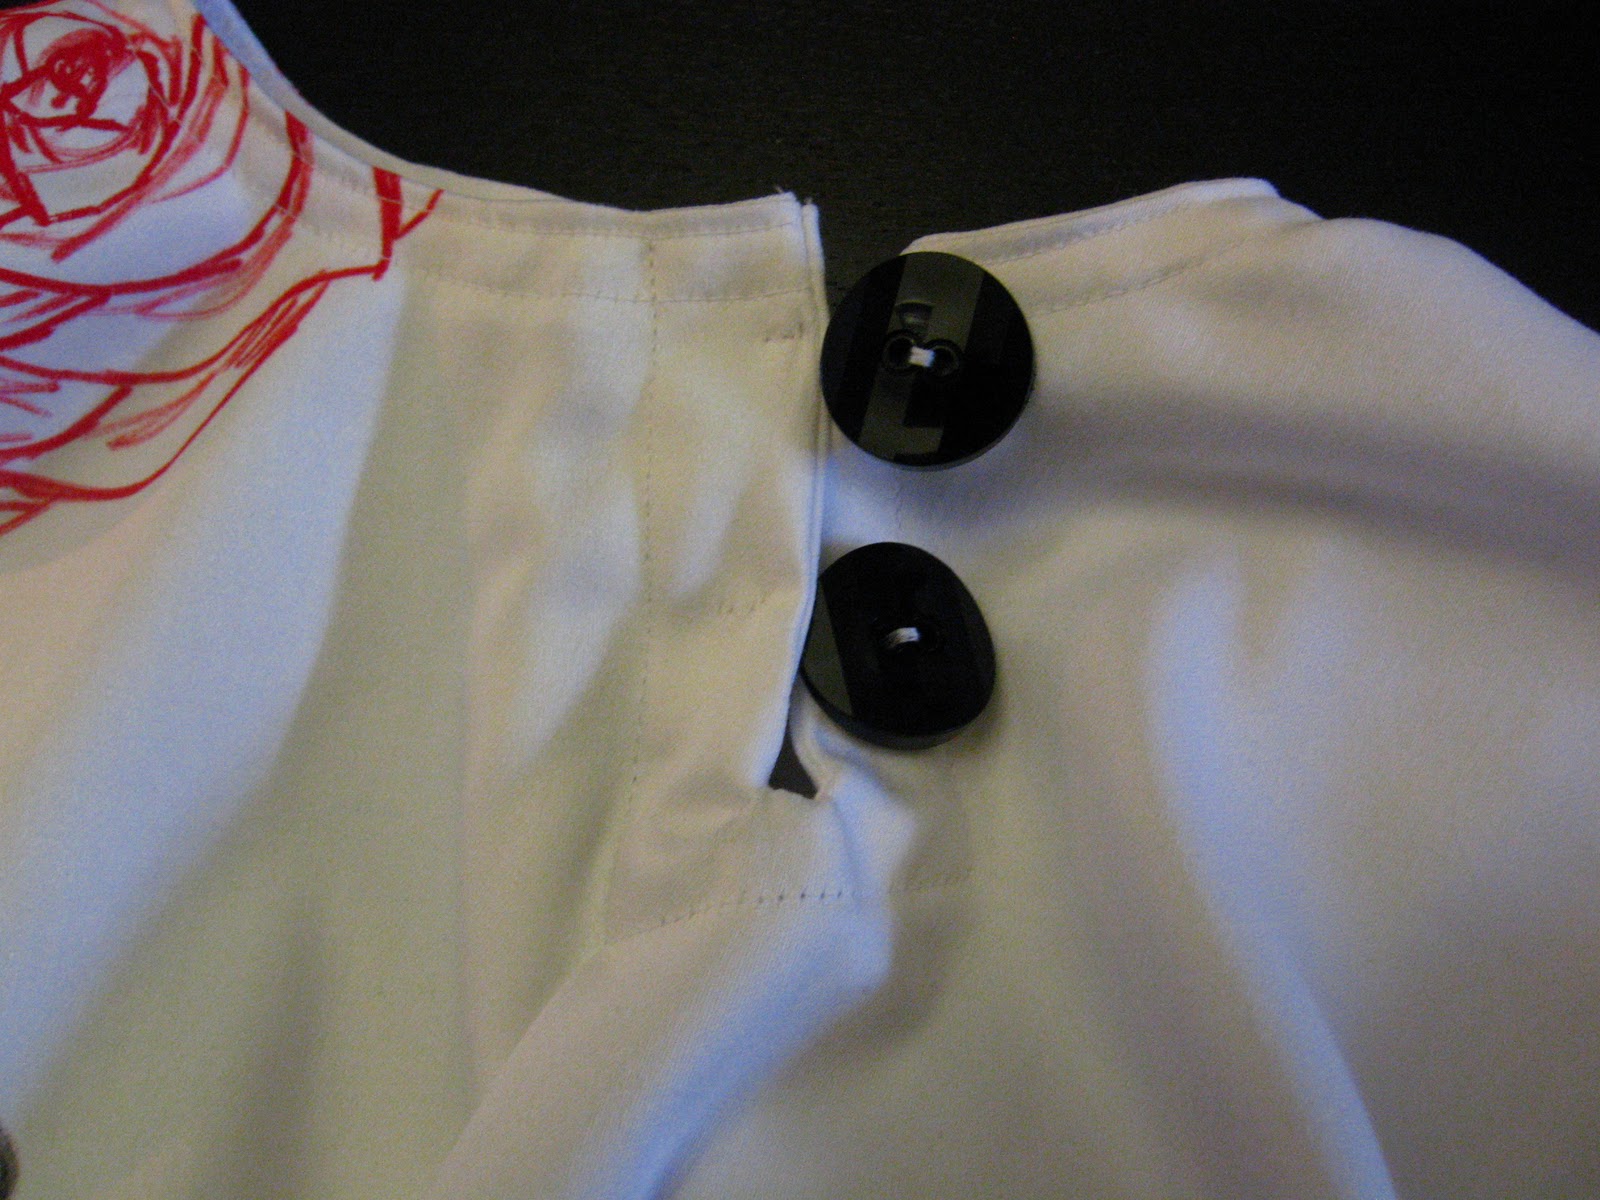 |
| Then sew buttons to one side and elastic loops to the other and you have a quick and easy button opening. |
 |
| The last thing I did was hem all the edges. (sleeves and bottom) And done. A fabulous new wearable piece of art. |
 |
| She is sure to love it… even if she did have to get bribed with a sucker in order to get her picture taken… |
 |
| But with that sucker she was all giggles… |
 |
| The buttons even help make the shirt… |

Cindy
LOVE IT!!!<br />I have to get some materials and I will try this!!
Katie Lady
What a cute shirt! If I ever have a baby girl, I will definitely be making this!
Jessica Stier
LOVE! LOVE! LOVE this top!!! You are so talented and have so many great ideas. Thanks for sharing.
The Extra Ordinary Bree
Oh Shauna… I think I love you! So so cute! And she is getting so big… she's losing that baby face and starting to look like a little girl. Bittersweet huh?
Tara
I even want to make one for myself
Margo
It turned out amazing!!!! Thanks so much for sharing it with us.
Jessica at Me Sew Crazy
absolutely lovely – so cute!!!
The Bluths
Once I get the hang of it, I'm going to start making some of your creations 🙂 I can't believe how old she's looking, and her hair in a pony tail? SO cute!
casserole
This top is sooo awesome! I love the print and the way you sewed it up into a fun top. And your little model is sooo cute!<br /><br />I linked to your tutorial here:<br />http://sewing.craftgossip.com/tutorial-toddlers-bloused-top-from-a-diy-rose-fabric-print/2011/04/05/<br /><br />–Anne
Evelene S
Both are darling-your girl and the top.
Kimberly Pelaez
I love your tutorials! They're so easy to follow and the clothes are just too cute! I just finished making this one and I can't wait to try it on my little one!
Sandy Holly
OMGOSH I LOVE THIS AND YOU CAN ALTER TO DO ONE FOR AN ADULT(ME)!!!!!