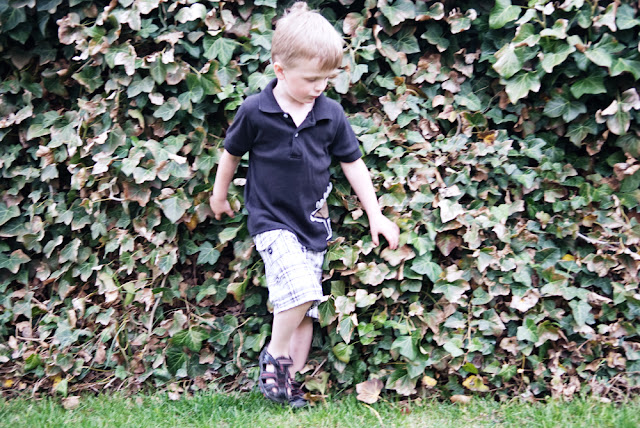
I have a little boy in my life. His name is Jude. He makes me laugh on a daily basis. From time to time he allows me to sew something for him. I like him to have input since he has many opinions. Today it was shorts. He needed some new shorts for this summer, so we picked out some light and breezy plaid seer sucker. He had only one request…
Pockets! Not one pocket but pockets. So I took a basic short and we added pockets, and then we added pockets for the pockets. (I stopped at three he was ok with that) So if you have a boy in your life who is in need of some shorts with pockets to hold bugs and dirt and whatever else little boys seem to treasure… Then let’s get started…
I made my shorts pattern the same way I did HERE. However there are a lot of basic shorts patterns out there that you can add these pockets to. I took the front pattern piece and drew the pocket on how I wanted it. Then cut it out.
Cut out the pocket piece and a lining for the pocket. That is the big pocket you see there. Then cut I cut out a small square pocket that fits on top of the big pocket. Then a flap that will be the pocket flap. Cut lining pieces for all of the pocket pieces. Lastly cut a small strip that will be the loop for the pocket.
Sew the big pocket and small pocket to the lining pieces, sewing right sides together then turn them right side out.
For the pocket flap you will sew it to the lining as well, however first add your loop. I ironed in both sides of the strip then did a zig-zag stitch down the middle to secure.
Then fold the strip to create a loop.
Then sew the loop facing in to the middle of the pocket flap piece so it is sandwiched in between the flap and lining piece.
That way when you turn the pocket flap right side out there should be a neat little loop hanging out.
Now for the sewing of the pockets. A few pictures got erased in the middle here, so hopefully this makes sense,just never mind the fact that the big pocket is sewn to the shorts already. Start by sewing the little pocket to the big pocket, by sewing along the side and bottom edge. Then sew the flap just above the pocket.
Then add the button to the pocket so the loop goes around the button.
Now since we will pretend the pocket was not already sewn to the shorts we will do that now 🙂 sew the pocket facing down along the top edge there.
Then flip the pocket up and sew along the inside edge.
Then to finish up the shorts sew the front leg to a back leg along the side seams. Only going up to the crotch on the curved side.
Then when you have both legs sewn place on inside the other so right sides are together and sew the U curve.
Then fold under the top edge to create a casing and put elastic in the back sew and the sides to secure. Then sew along the front as well.
Then you are done with a new pair of pocket-full shorts! Never mind the fact that the plaid lines don’t match up, they matched in the back but not the front… go figure…
Then your little guy can freely spy on the neighbors…Or just run away from the crazy mom with the camera but either way hopefully he will love his new shorts!


Jessica at Me Sew Crazy
Great tute! Love the shorts, I think a lot of people will get a lot of use out of this!!! Great job 🙂
casserole
These are such awesome shorts!! I'm loving all those pockets! I linked to your tutorial on Craft Gossip Sewing:<br />http://sewing.craftgossip.com/tutorial-boys-shorts-with-pockets-and-flaps/2011/05/19/<br /><br />–Anne
poxacuatl
Thanks so much for sharing. This is going to be a great learning experience for me; I'm trying it this week :^)<br /><br />Strix