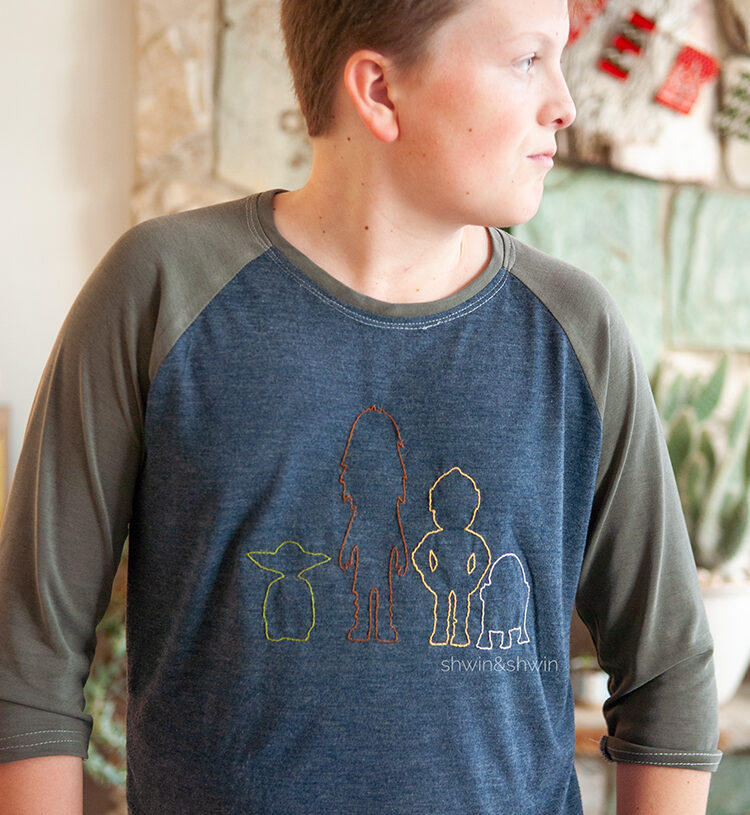
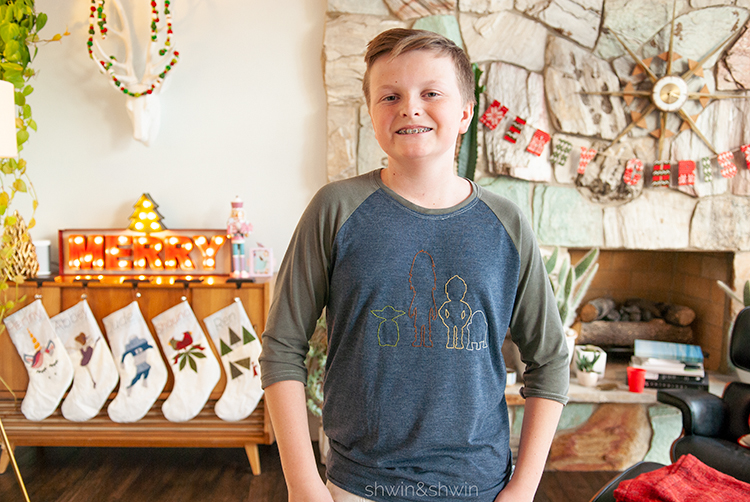
It was time to make something for the boy again. Jude basically wears the same thing all the time, tee shirt and shorts, and the occasional sweatshirt. So I tend to have to get creative with what I make him. I used the Ringo Raglan to make this tee for him. I cropped the sleeves several inches short to be more of a baseball length sleeve since that is his jam.
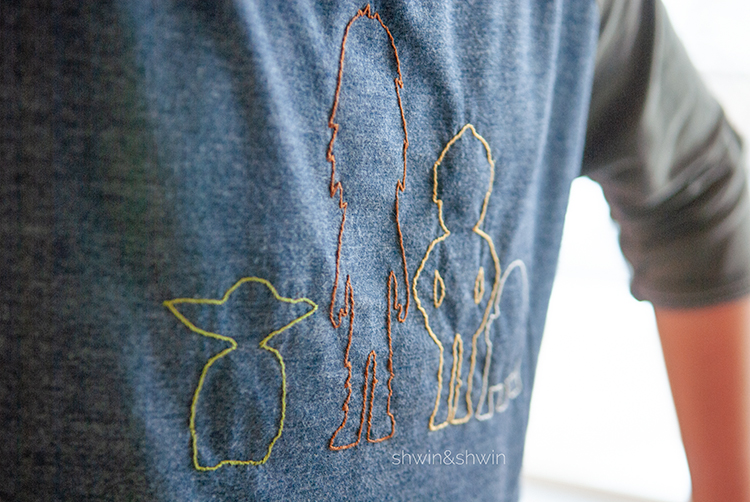
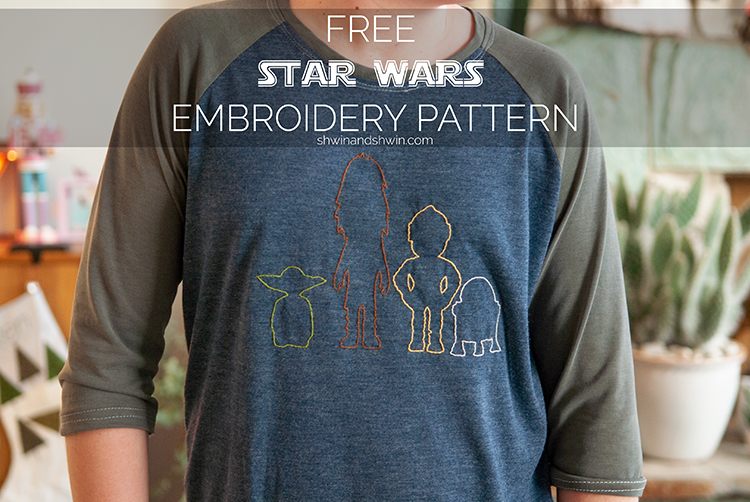
Then I added this “Star Wars” embroidery to the front. It was quick and simple to add but adds such a cool effect. You could also use the free pattern as an applique pattern if you rather. The stitched outline is just a different look.
Free Star Wars Embroidery
You will need:
- Free Pattern
- Transfer paper
- Pencil
- Embroidery Floss
- Needle
- Interfacing (optional but suggested)
- Embroidery hoop (optional but can be helpful)
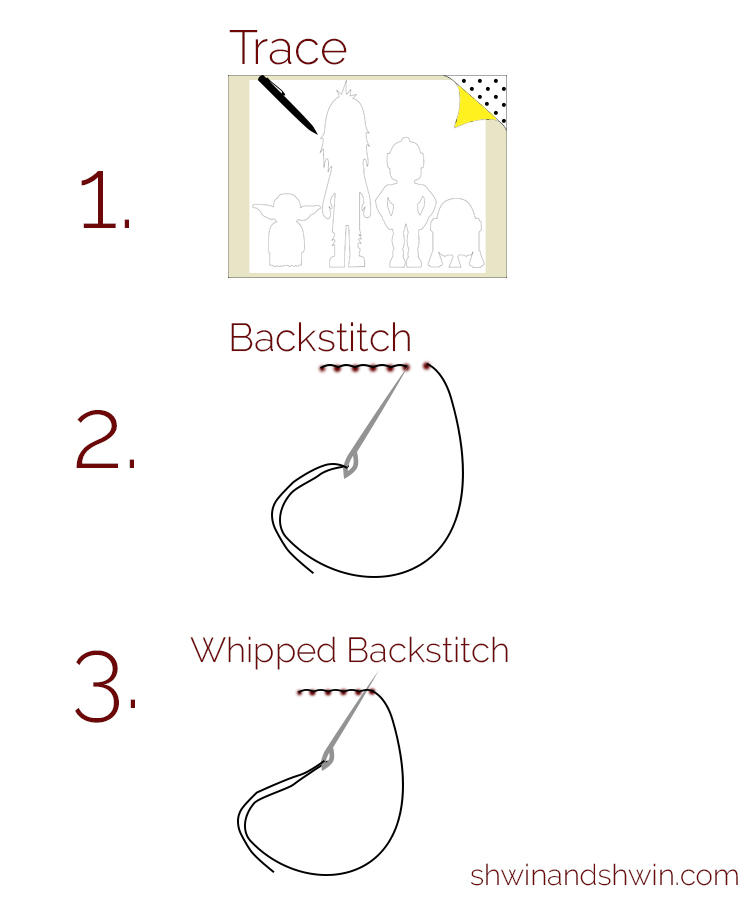
To start print the design, then select your fabric. I use transfer paper to trace the embroidery design on to the fabric. (The way my grandma taught me) You place the transfer paper waxy side down on the fabric, then lay the print out on top. With a sharp pencil trace hard so the design transfers well. Then following the traced design, backstitch all around the design. I like to do a whipped backstitch, which is when you wrap the thread around the stitches after stitching the design. Doing this is what gives the stitching more of a solid line look and raised stitches.

You could also do a regular backstitch, or as I said you could use this as an applique pattern if you rather and cut the characters out of felt or fabric and sew them on.
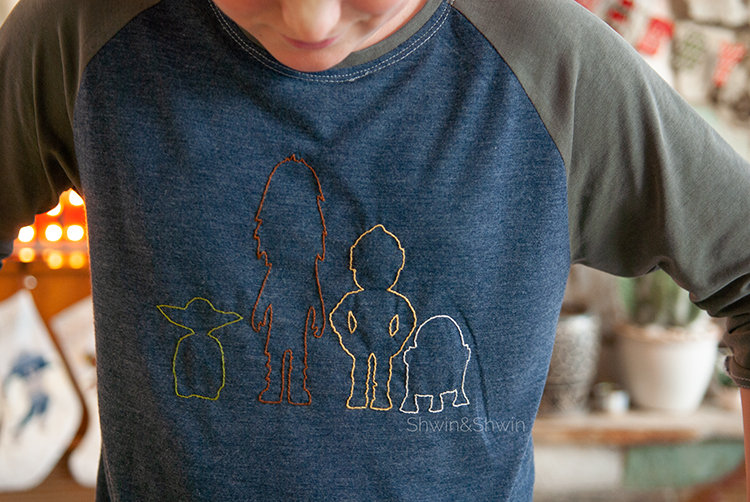
I love the simplistic design that is just modern enough for this kid to love as well.
