 |
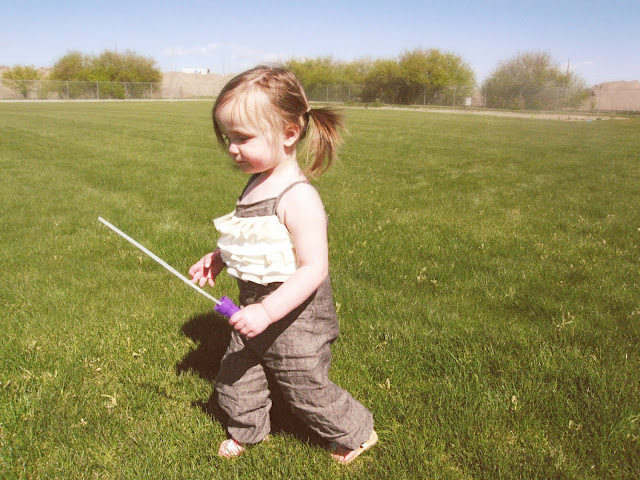
| Complete with puffy legs, and some ruffled chiffon layers to bring a little vintage and feminine charm to the look. Want to make your own? They are easier then it seems… |
 |
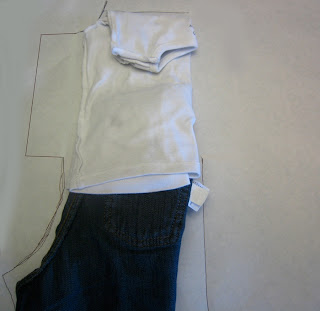
| Start by laying out a top and pants folded in half to create a pattern for the back first. Be sure that the pants and shirt overlap just as they do when worn together. |
 |
| Then fold the top of the shirt down just to where you want the top the overall to be. and trace. |
 |
| For the back and back only add a flap along the same side as the curve of the back pant. This is for the button flap in back. |
 |
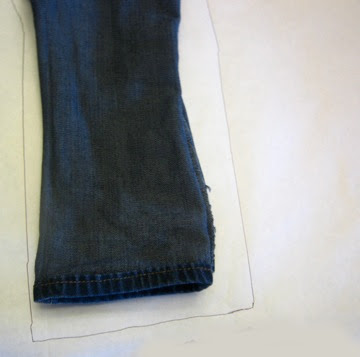
| Next trace the pants, these pants were already wide in the leg so I only added a little extra width but you want the leg to be wider for the puffy leg effect. |
 |
| Then you should have two pattern pieces one front and one back with a flap. |
 |
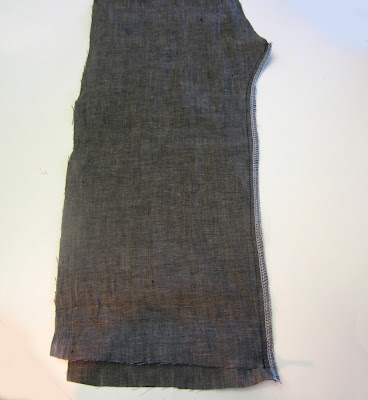
| Next sew one front and one back leg together along both sides. up to the crotch on one side… |
 |
| on the other side sew up to the back flap.
Then you will sew the two legs together by placing right sides together and sewing along the “u” curve from the front to the back. |
 |
| Next I made a top lining by cutting off the top of my pattern and using that as my lining pattern. I cut the front piece on a fold and cut two back pieces. then sew them together. |
 |
| Then sew the lining to the top of the overall. |
 |
| This is a terribly blurry picture but when you get to the bottom of the flap in back sew the lining pieces together then turn it to the inside. |
 |
| Then Cuff the bottom of the pant leg under and put some elastic in. Sew in place to secure. |
 |
| This picture shows what the lining and pants will look from the side. |
 |
| Then for the back I used some vintage stone buttons I picked up at a flea market some time ago, they added the perfect vintage charm. |
 |
| Now my little one has a comfy and fun overall romper for all of her summer adventures. |
 |
| We are linking to some of our favorite parties |


Jessica at Me Sew Crazy
Oh my, I love love love love love love love love love this! So gorgeous! Really, incredible job!!!
Naomi, Art, and Hyrum
So cute. I love them!
casserole
I am SO loving these overalls! The ruffles, the buttons up the back (oh my!), and the gathered ankles! I linked to your tutorial on Craft Gossip Sewing:<br />http://sewing.craftgossip.com/tutorial-vintage-inspired-overalls-for-little-girls/2011/05/04/<br /><br />–Anne
Sharon
very pretty!!
Josali
so wonderful!
Nina/littleperky
Wow!
brickstory
I'm dying over this! So cute!!
PearlsForMyGirls
VERY cute!! Thanks for sharing 🙂
My Love is.....
brilliant!
Shanna
LOVE IT! Bookmarking for when Dress A Day is over!
Kate
These are beautiful! I am going to attempt to make these for summer for my daughter. Where would I find some chiffon attached to ribbon like that? If I can't find it, do you think no fray chiffon ribbon would work ok? <br />Kate
Shauna@shwinandshwin
@Kate, I found the ribbon at Joann Fabric. I bet no fray chiffon ribbon would work just fine. If it frays you could use a fray check or singe the edges to keep them from fraying.
Ashlee
Love these pants! But, as a beginner sewer, i am confused! It says to make sure the flap is on the same side as the curve, then the next picture of the patterns show the flap on the other side- and it says you have 2 pattern pieces one front and one back- so which side does the flap go on? thanks!!
Shauna@shwinandshwin
Ashlee yes the flap should be with the curve. That would be a mistake in the picture. (I had to make the pattern twice) Sorry that is really confusing. The flap should be for the back of the pant which is the side with the curve.
Ashley
This comment has been removed by the author.