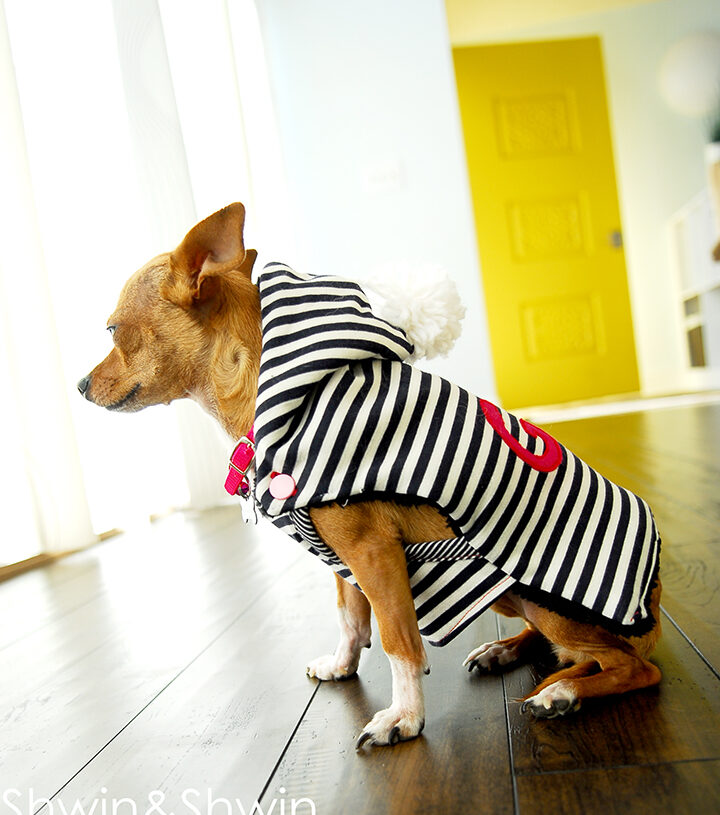
Today’s free pattern is something a little different, it’s for our furry friends. You see my sister and brother in law have a sweet little Chihuahua named Gia. The poor little thing is cold all the time, and in winter it’s worse. So I made her a sweater. (one slightly warmer than the one she already had)
It’s quick and easy to make and easy for a dog to wear.
The free pattern can be found HERE
It’s designed for a very small (3 lb. dog) so it should fit most miniature sized dogs, or could be easily enlarged to fit a larger dog.
I used some scraps of a double knit, and a sherpa for the lining. The under part of the pattern is designed to be able to stretch so it is comfortable for a dog to wear so you will need a knit for that but any fabric should work for the top, fleece would be nice and cozy.
I also used felt for the name appliqué, and two small buttons, as well as a yarn pom-pom I made following this tutorial
I wanted to personalize the sweater so I cut out her name in felt and then stitched it on to the main piece in the center. I did put some interfacing on the back of the knit before sewing it down to help stabilize the knit so it didn’t warp all over.
Then I added the pom pom up at the top of the curve.
Then with right sides together fold the piece in half matching up the curve at the top. Sew along the curved edge. (repeat with lining only skip the pom pom)
Then turn it right side out and you have a little hooded top. (not done yet)
For the under part you will need to make a binding (like bias tape) from knit fabric cut a strip 2″ wide on the diagonal, you will need several inches in length. (you can trim it to fit) Then with right sides together sew the binding along the curve.
Then fold the binding in half and in half again so it wraps around to the back and then sew along the folded edge to secure in place.
Repeat with other side so both curved edges are nicely bound. Then turn the bottom edge under and hem. You can hem the top edge now too if you like.
Now follow the pattern marking for placement of the under piece to the outer piece. Place them right sides together and sew in place along the edge.
Then with the lining and the outer pieces right sides together sew along the outer edge leaving an opening in the bottom. (the photo shows the whole bottom un-sewn but just leave a 2″ opening that you will close up later.
Then turn the top right side out through the opening in the bottom. Add button holes to the points on either edge.
So now you should have two button holes on both sides. You should also close up that bottom opening.
Add buttons to the top sides of the under piece.
They button in place like so, the openings are for the front legs and the hind legs will hang out the back. Plenty of room for them to use the bathroom while wearing the sweater, and if needed you could add another button hole in the back neck for a leash to go through.
Then you have a cozy little sweater for a regal little furry friend.
And even though the hood is impractical and Gia didn’t like wearing the hood over her head, it sure looks cute, and keeps her little neck toasty.


Deidre
Ha! Very unexpected post, but I love it! We have a very small mini dachshund who is not handling this "polar vortex" cold very well. I am totally making her one of these!
Mariana Munoz
how can I enlarge this?
Morningstar Designs
This is so fun. I am going to make one for my toy poodle – I am sure he will love it 😉
Regina
very cute. my try this for my yorkie. You should have made her something with legs – lol
Janine
Thank you for this great tutorial. I’m not a very good sewer but managed to get a wearable product for my yorkie pixi
Dajzy
Is the seam allowance included?