Sporty Bralette Free Pattern
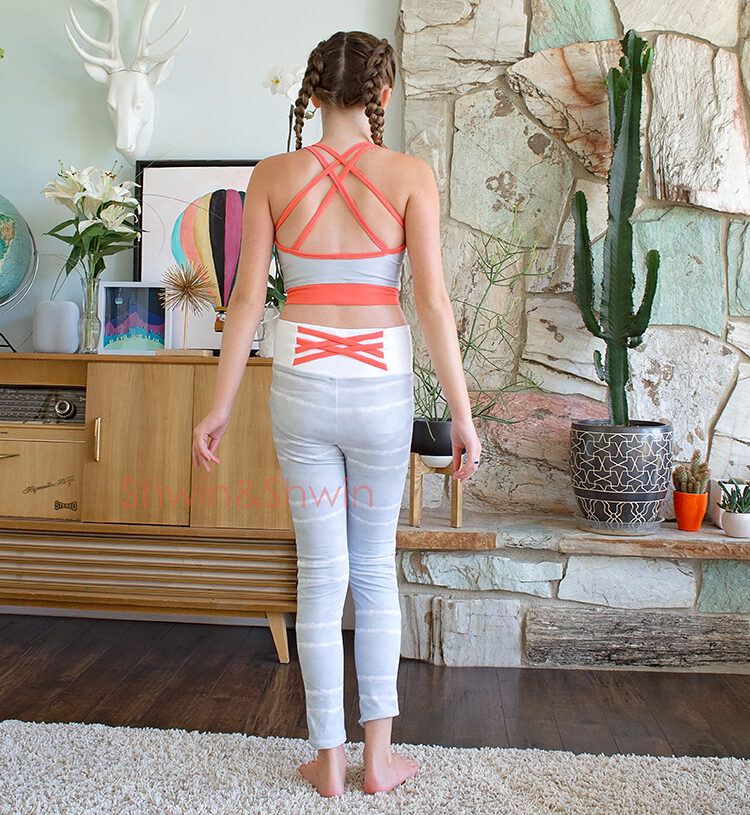
My girls have been dancers for years now, however they have always favored ballet so it’s been a world of leotards in the assigned style and color. This fall however they both decided to also take a Jazz/Hip hop dance class. They are excited for the class and I am excited that this opened up a whole world of athletic wear possibilities. I have been having so much fun making them outfits for class. My favorite is this sporty bralette and I even made a free pattern for it.

I used the Gray tie dye fabric from the new fall line from Raspberry Creek Fabrics in Jersey knit for this set. Along with some solid white and coral jersey knit as an accent.
For the patterns I used the Ivory Leggings, with the crossback waistband hack.
FREE Bralette Pattern in sizes 5 and 10 (24″ and 29″ chest)
You will need around 1/2 yard of knit fabric. (something with good stretch and recovery)
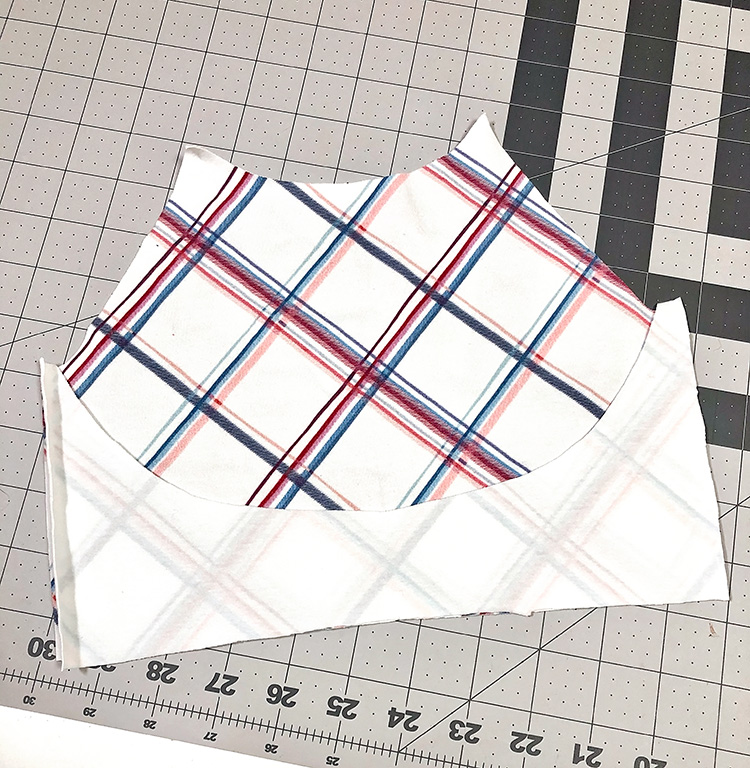
To start, place the back and one front right sides together so the sides match up.
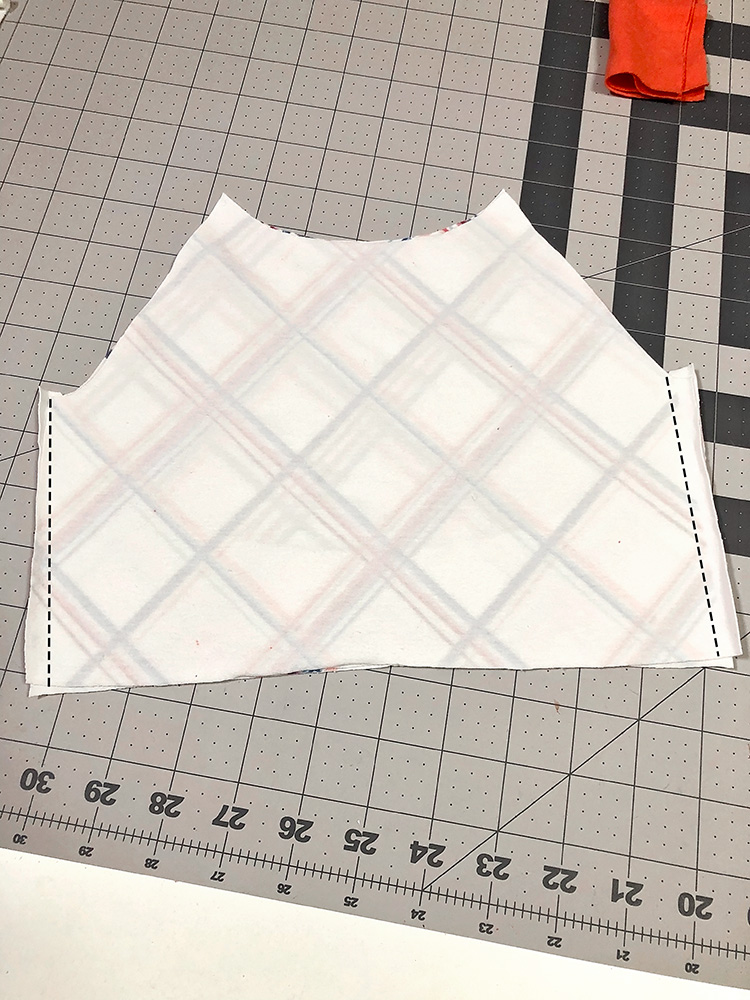
Then place the second front piece over the back piece so it is right sides together with the first front piece (so the back is sandwiched between them)
Sew along the sides.
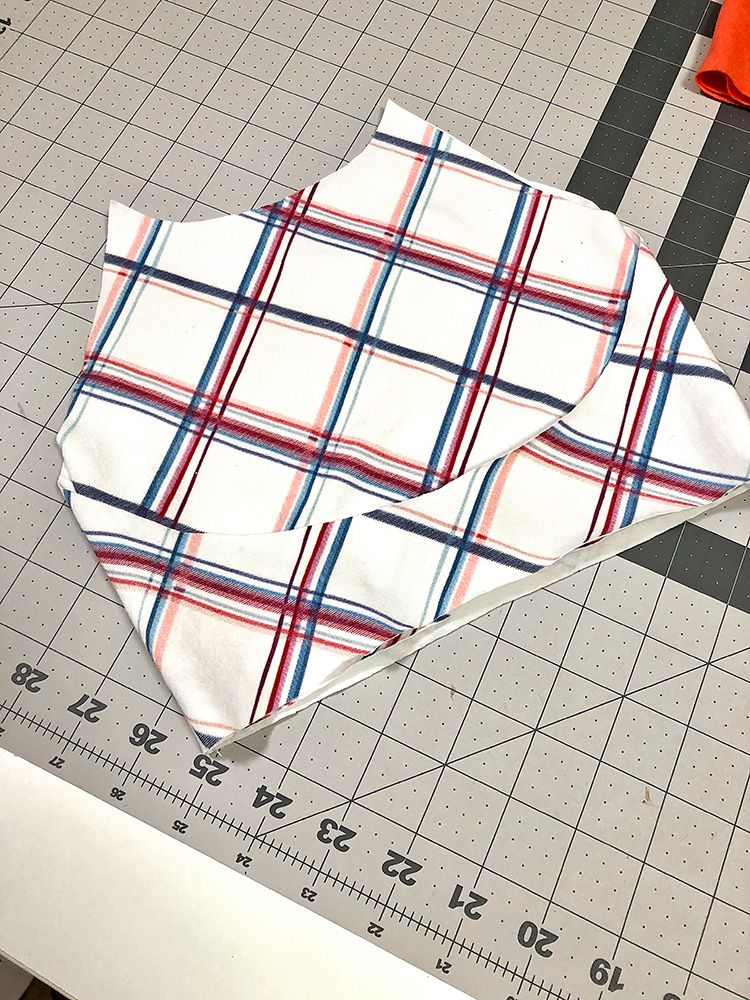
Then turn it right side out. This enclosed the side seams to the inside and lines the front so it has extra support. (my tween needed the support although you could skip lining the front if you wanted)
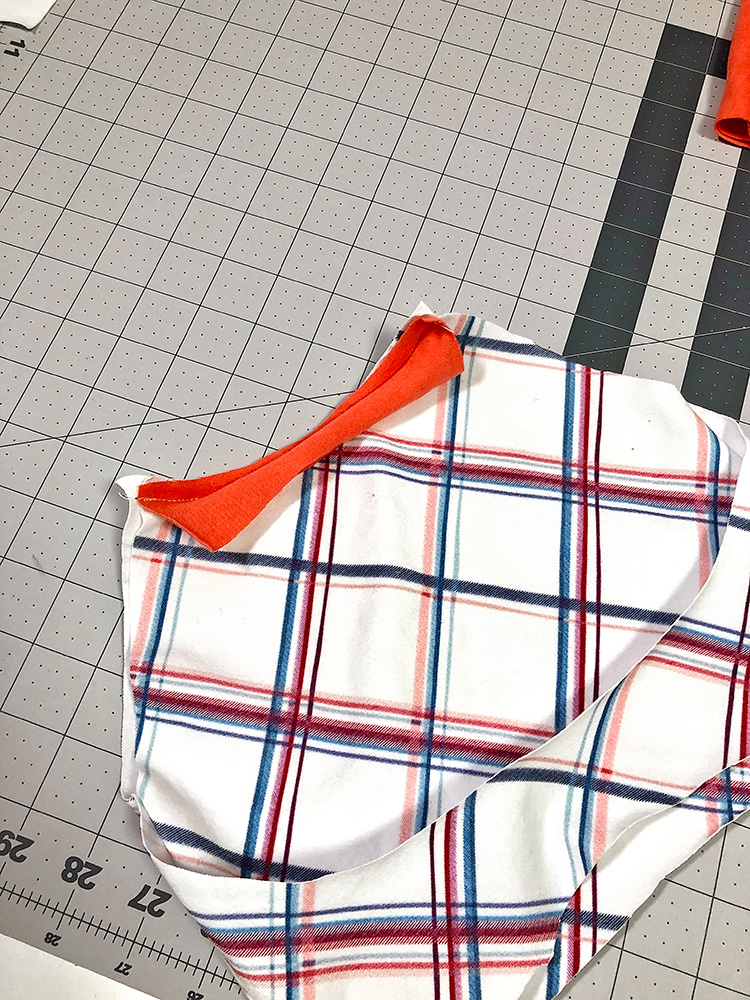
Next you will sew the neckline binding to the neckline. To do this sew the right side of the binding to the wrong (inside) of the neckline. Stretch the binding to fit.
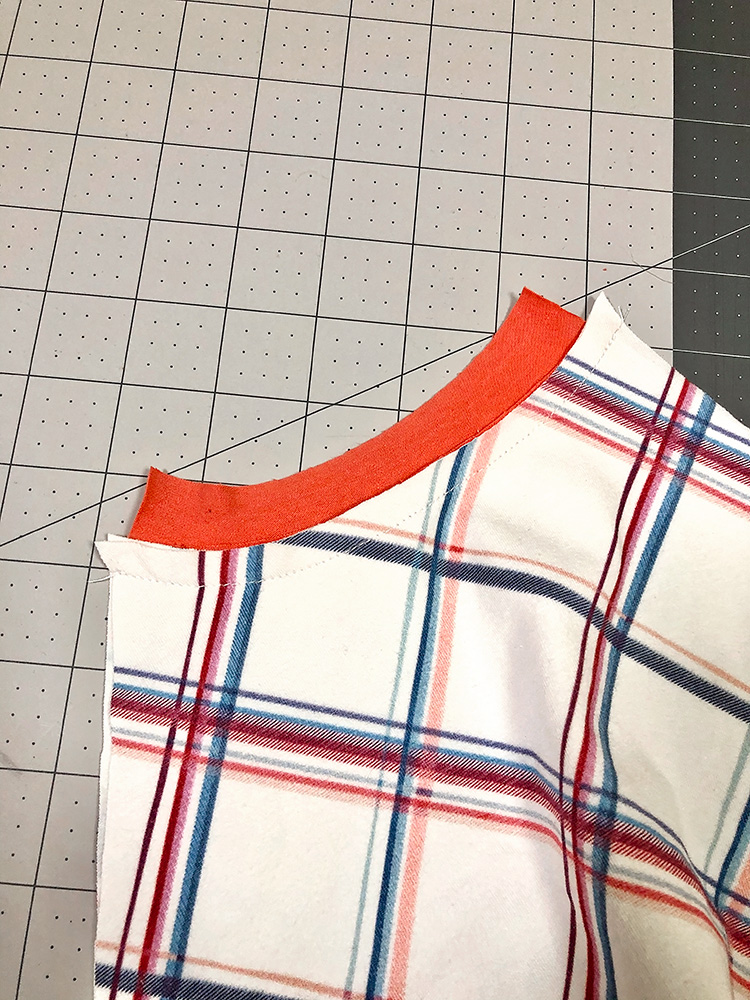
Press the binding up flat.
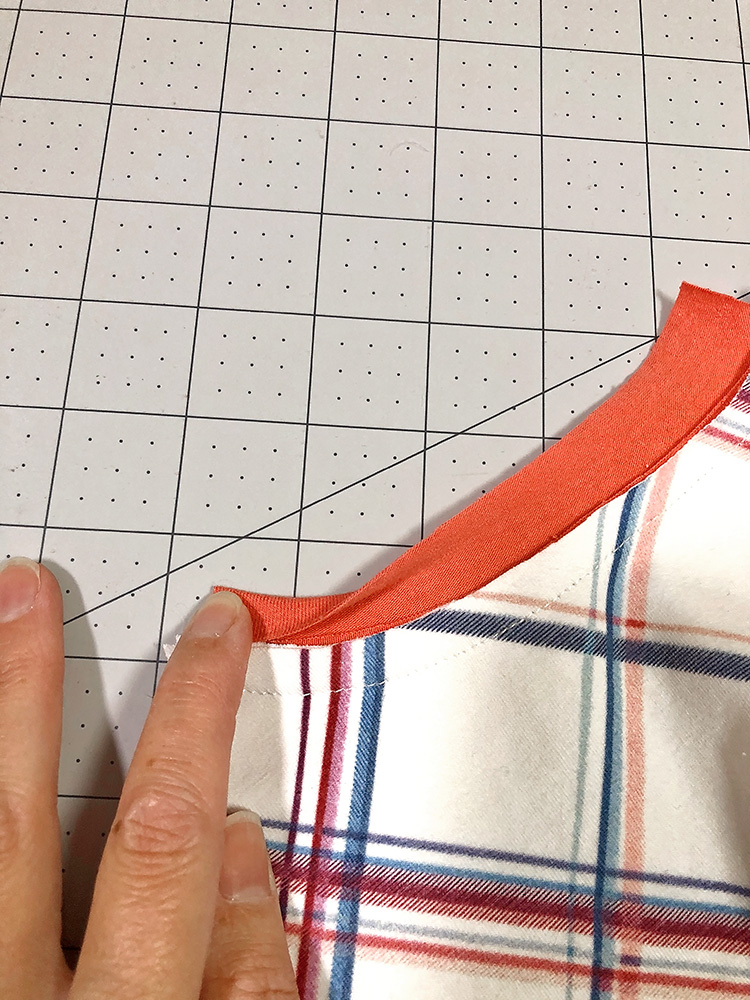
Then fold the top edge of the binding down to meet the top of the neckline.
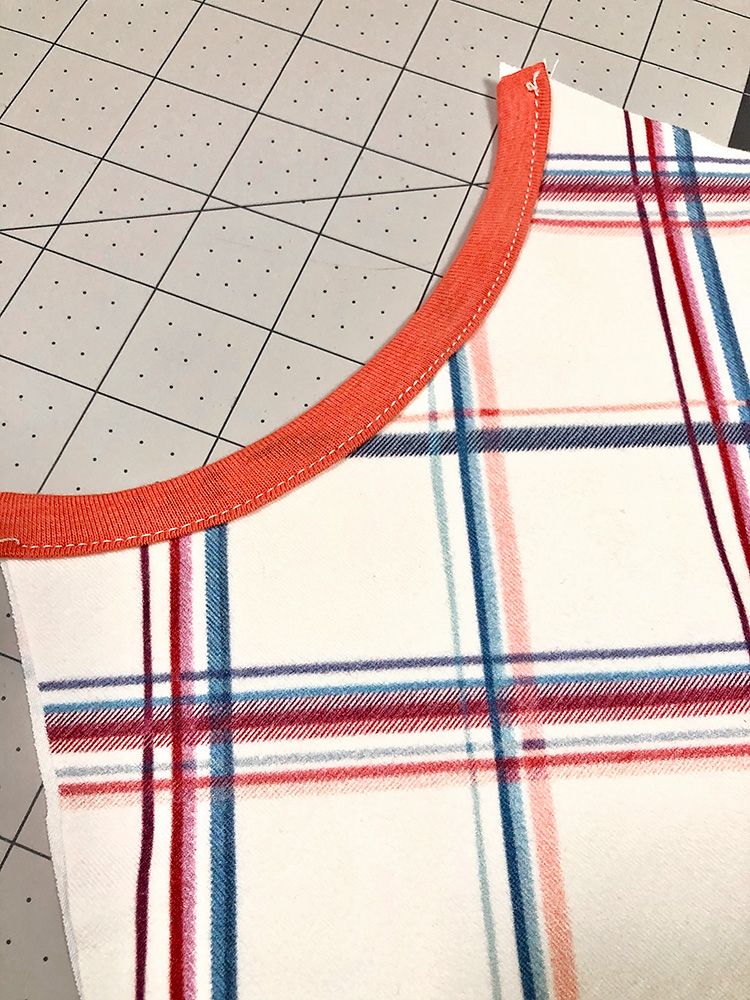
Fold the binding down again and sew along the edge to secure the binding in place.
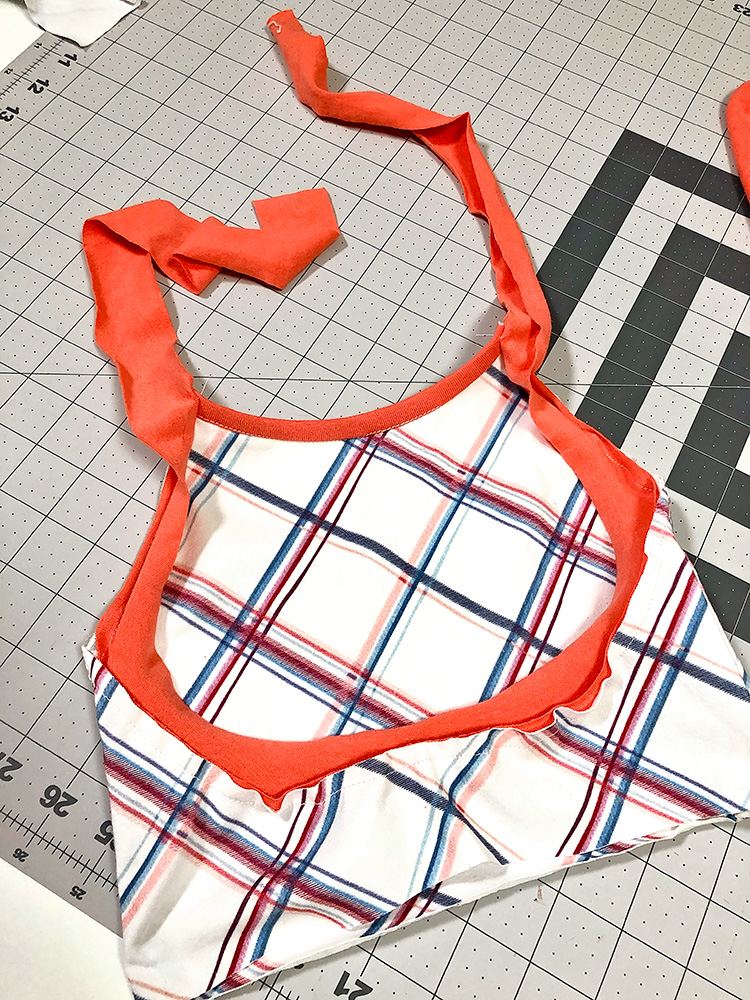
Repeat the binding process by sewing the bodice binding on. To do this you will match the center of the binding with the center back. (again it’s right side of binding to wrong side of bodice) The mark on the binding will meet with the top edge of the front bodice. Then you will stretch the binding to fit the rest. You will have binding hanging over the edge this will be part of the straps for the back.
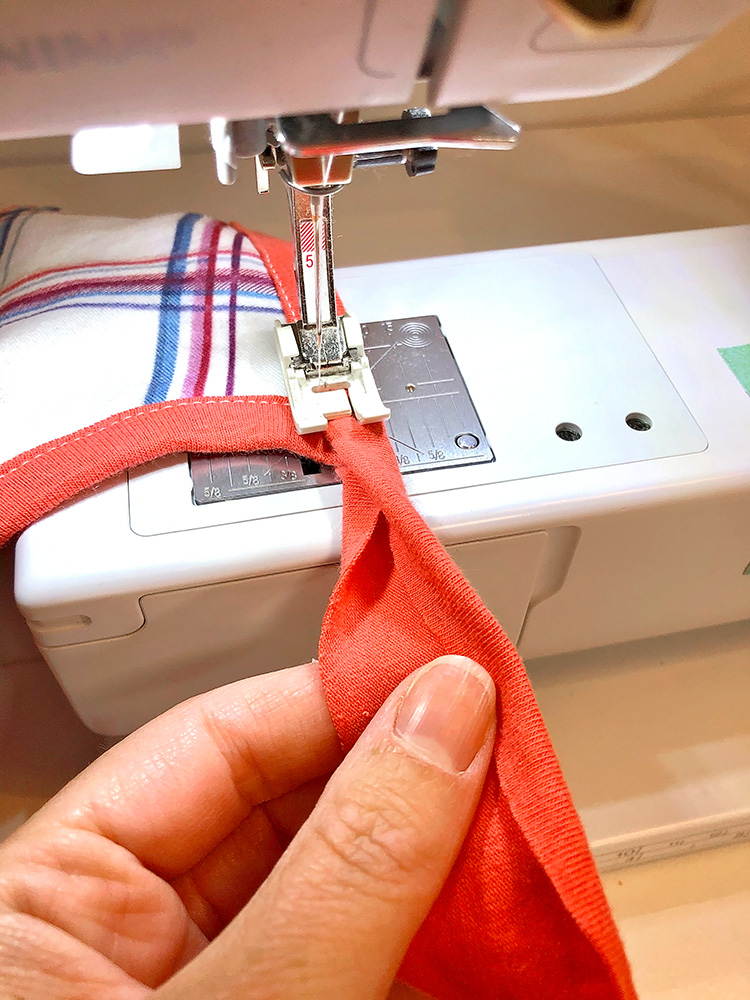
Fold the binding over the same way you did for the neckline and sew it in place along the fold. When you get tot he part that is hanging over, fold it the same way, so both ends will fold towards the center of the binding and then the binding will fold in half. You will top stitch along the edge to secure the binding.
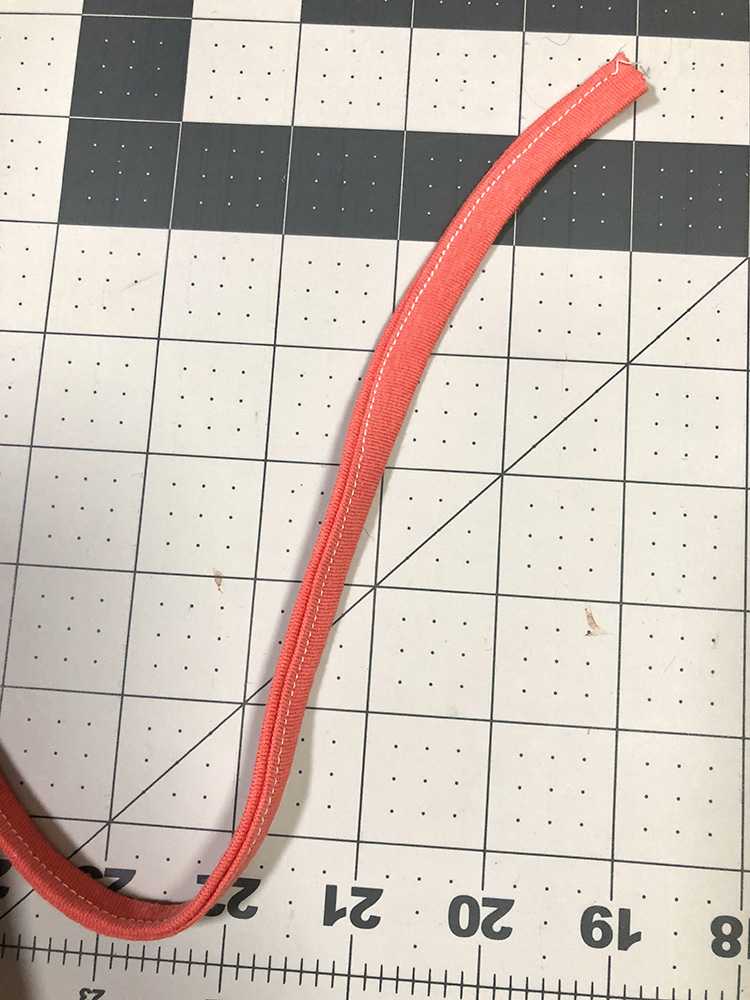
Next you will fold and sew the back straps the same way. (two total)
The straps sometimes stretch out when sewn, so give it a good press with a steam iron to bounce back some of the shape and then compare the strap to the pattern piece and trim if needed.
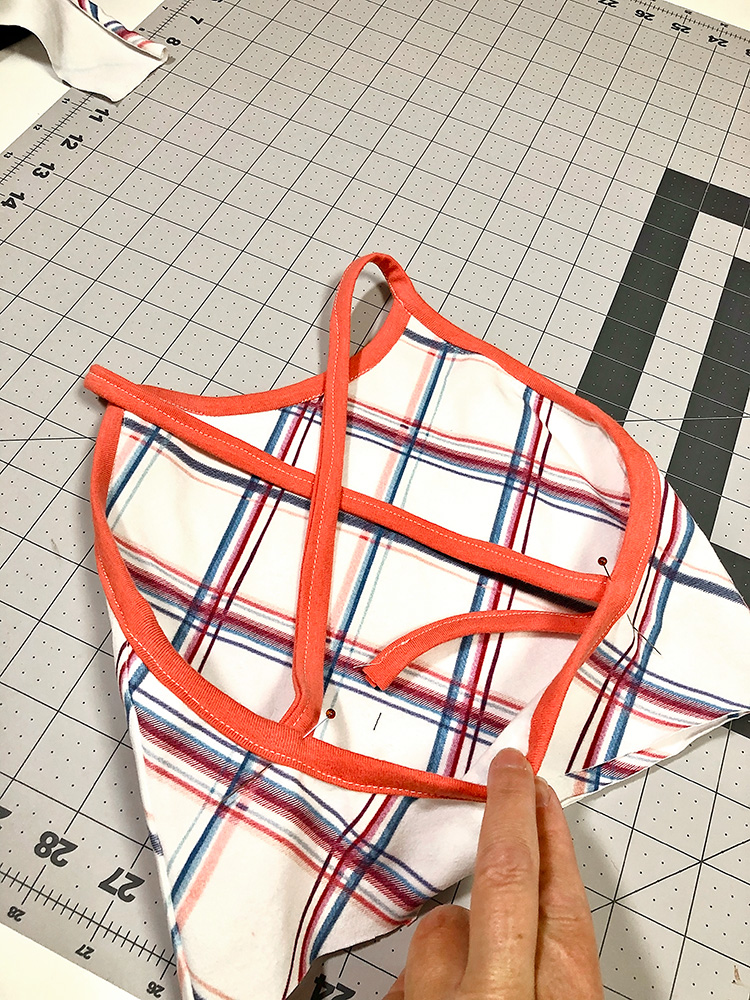
Then to sew the straps in place, first take the straps that are attached to the binding and cross them over each other. Pin them in place following the marking on the pattern for the higher marking. (you can see here my strap is quite long, I did edit the pattern a little after this but you will also want to make sure you strap didn’t stretch out too much while being sewn, it should be the same length as the other back strap pieces)
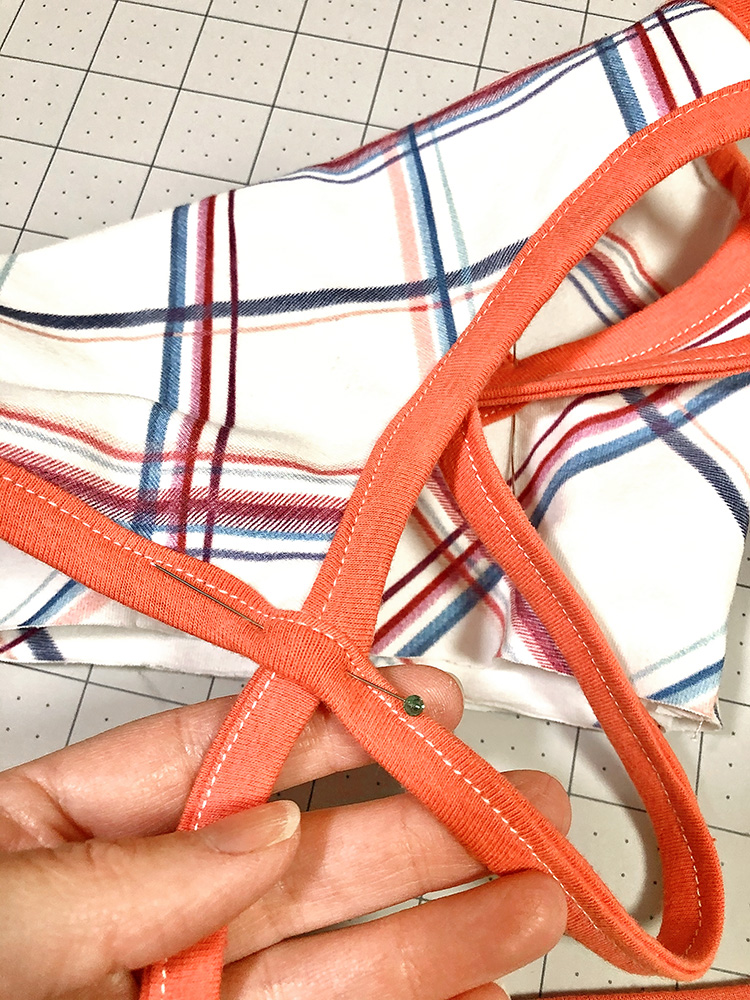
Take the other back strap pieces and pin one end just under the front where the back strap is.
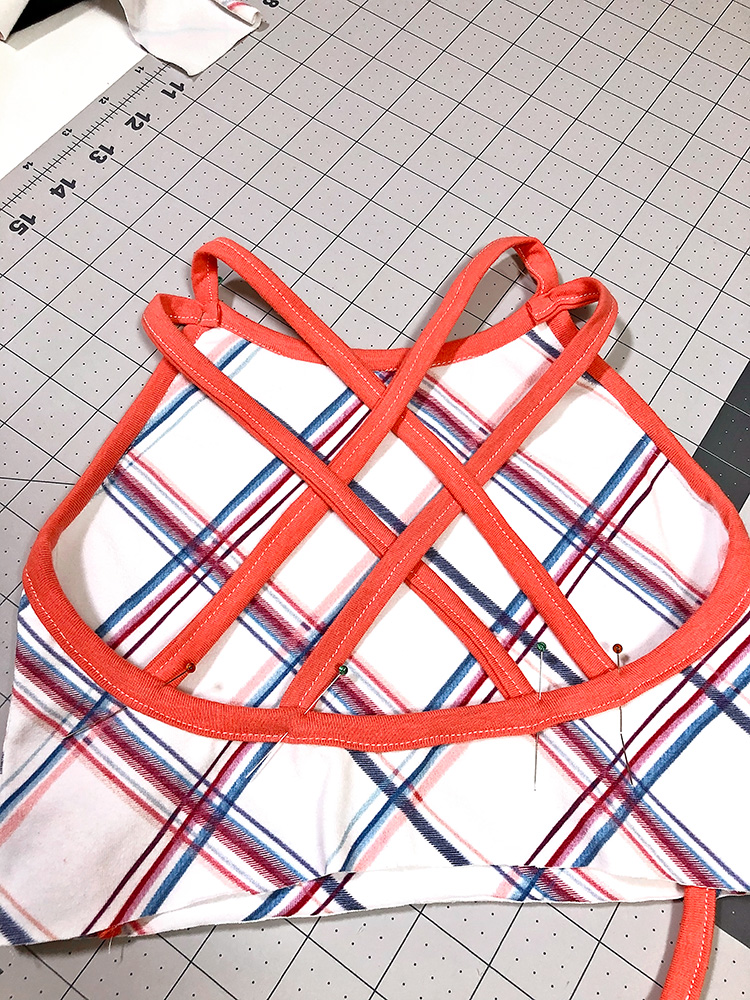
Pin the other end of the strap in place in back weaving it over and under the other straps and following the marking on the pattern. Then sew each strap in place, I follow the same stitch line as the binding so you can’t see it when it’s done.
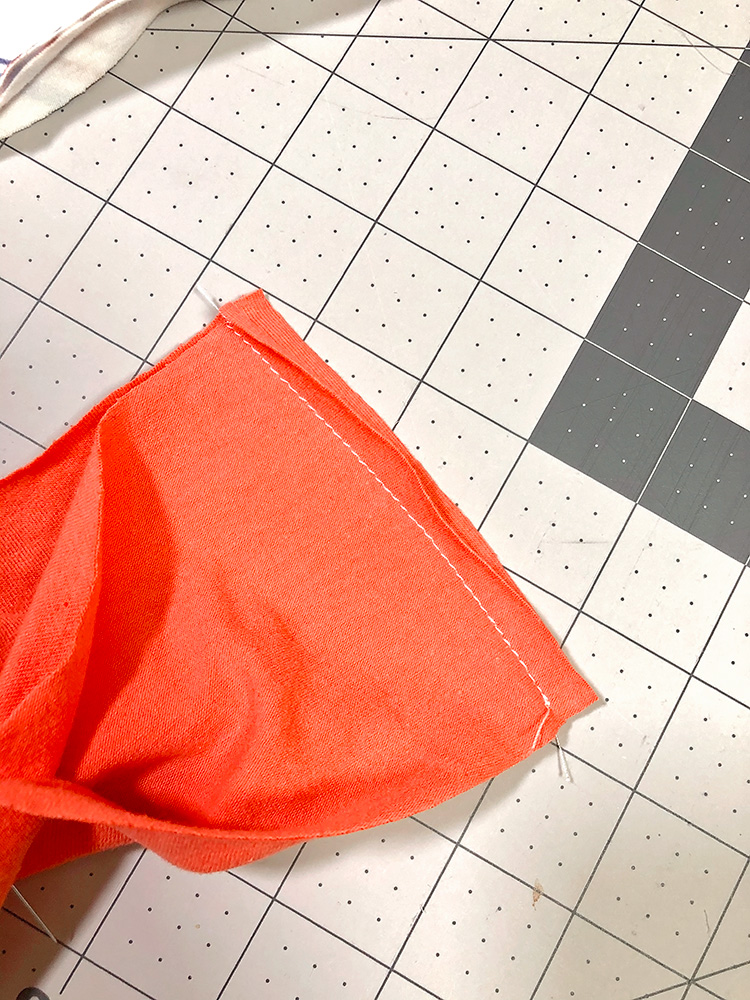
Lastly for the waistband. Fold the waistband in half so it’s right sides together and the short ends are match up, then sew them together. This creates a band.
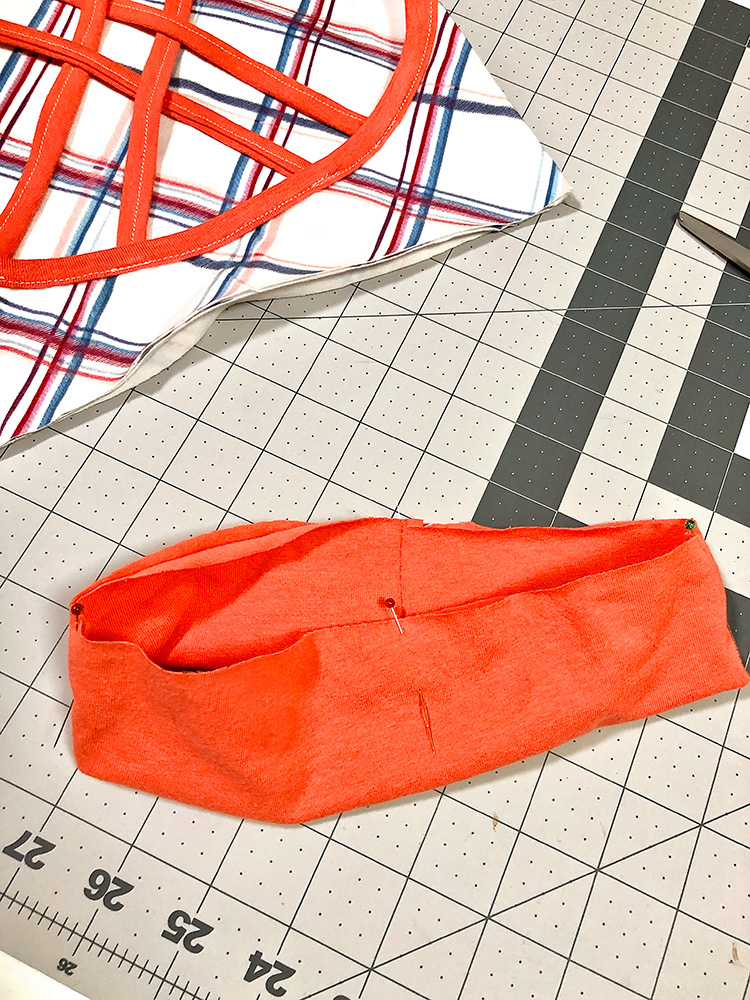
Fold the band in half height wise so the wrong sides are together and the seam is towards the inside. Using the seam as the center back marking I like to mark and quarter the band so it has the center front and sides marked.
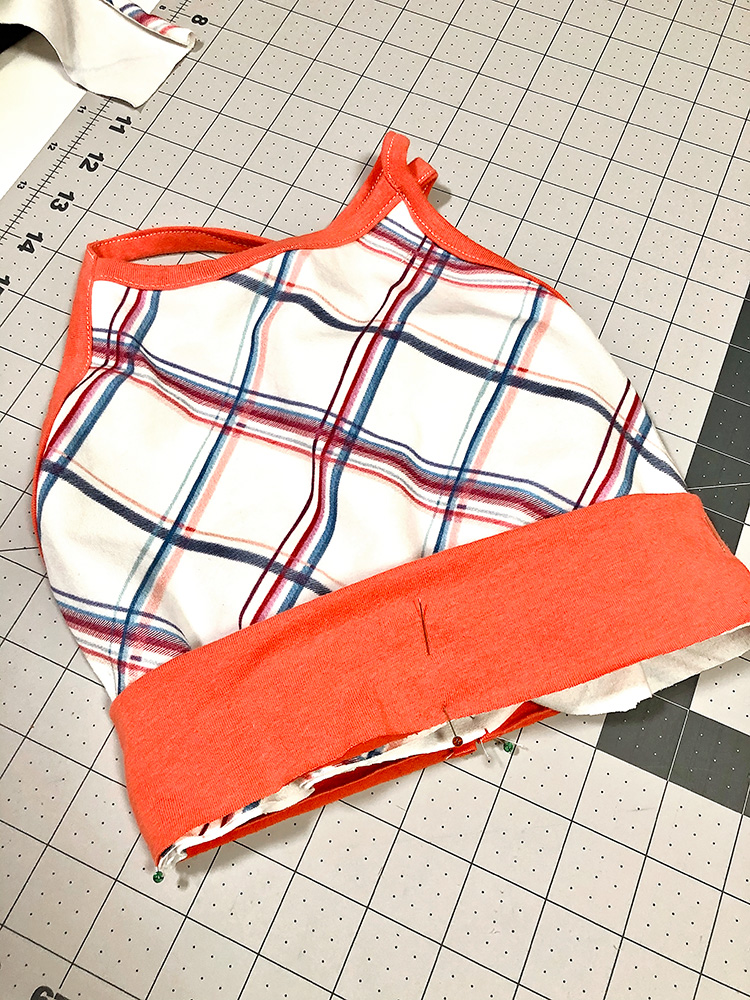
Then match up the center front, back and sides of the band with the waist of the top. Stretch the band so it fits while you sew. Lastly I like to topstitch the seam allowance towards the bodice so the seam lays nice and flat.
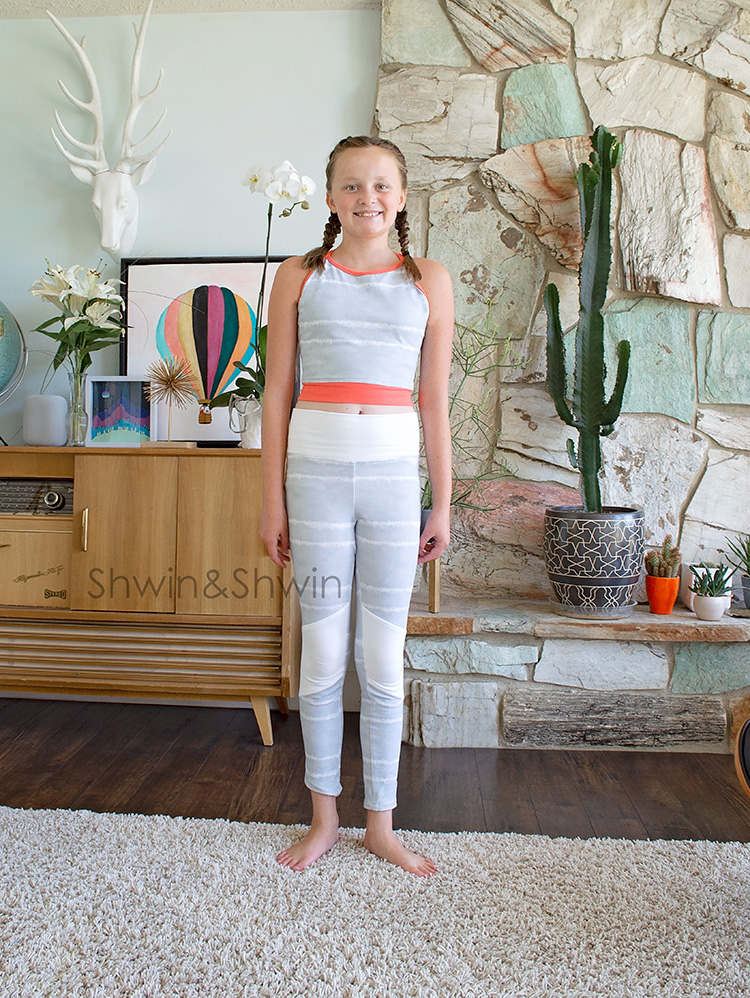
That’s it, then you have a new perfect little sporty bralette.
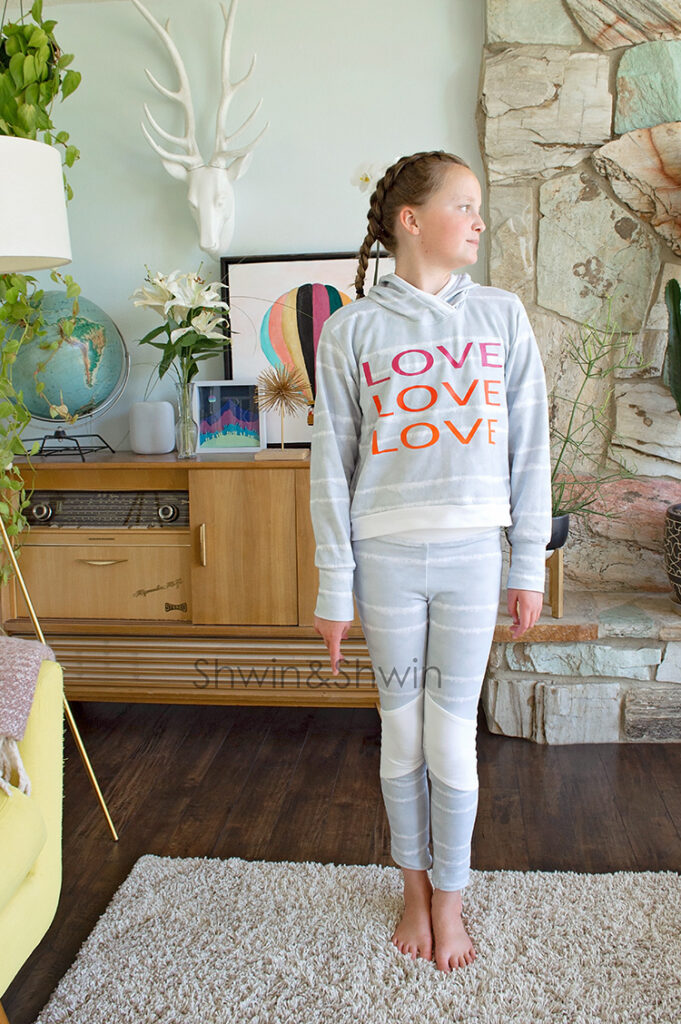
I also made a matching sweatshirt she can wear over it when she goes to class in the colder months. I used the Block Top pattern cropped fit, and overlapped the color blocked pieces so they were back together as one piece. I did this since the print added enough business to the top as is, and I wanted to add the graphic to the front. I cut the words LOVE out of three different shades of pink/orange so it would go with the coral accents of the bralette.
