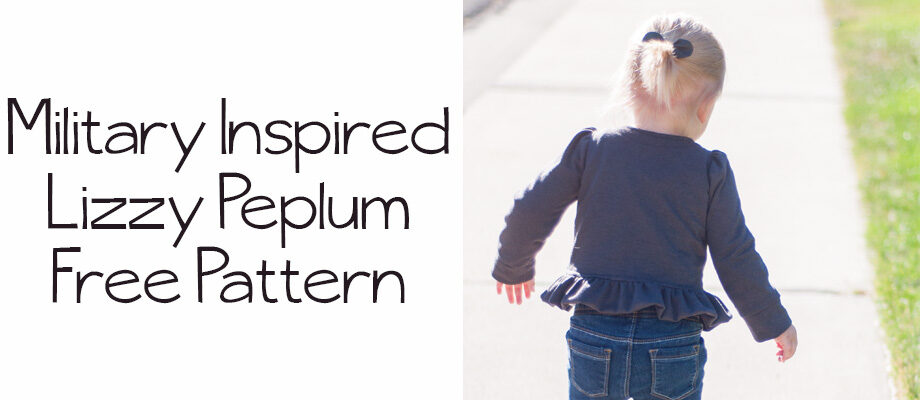
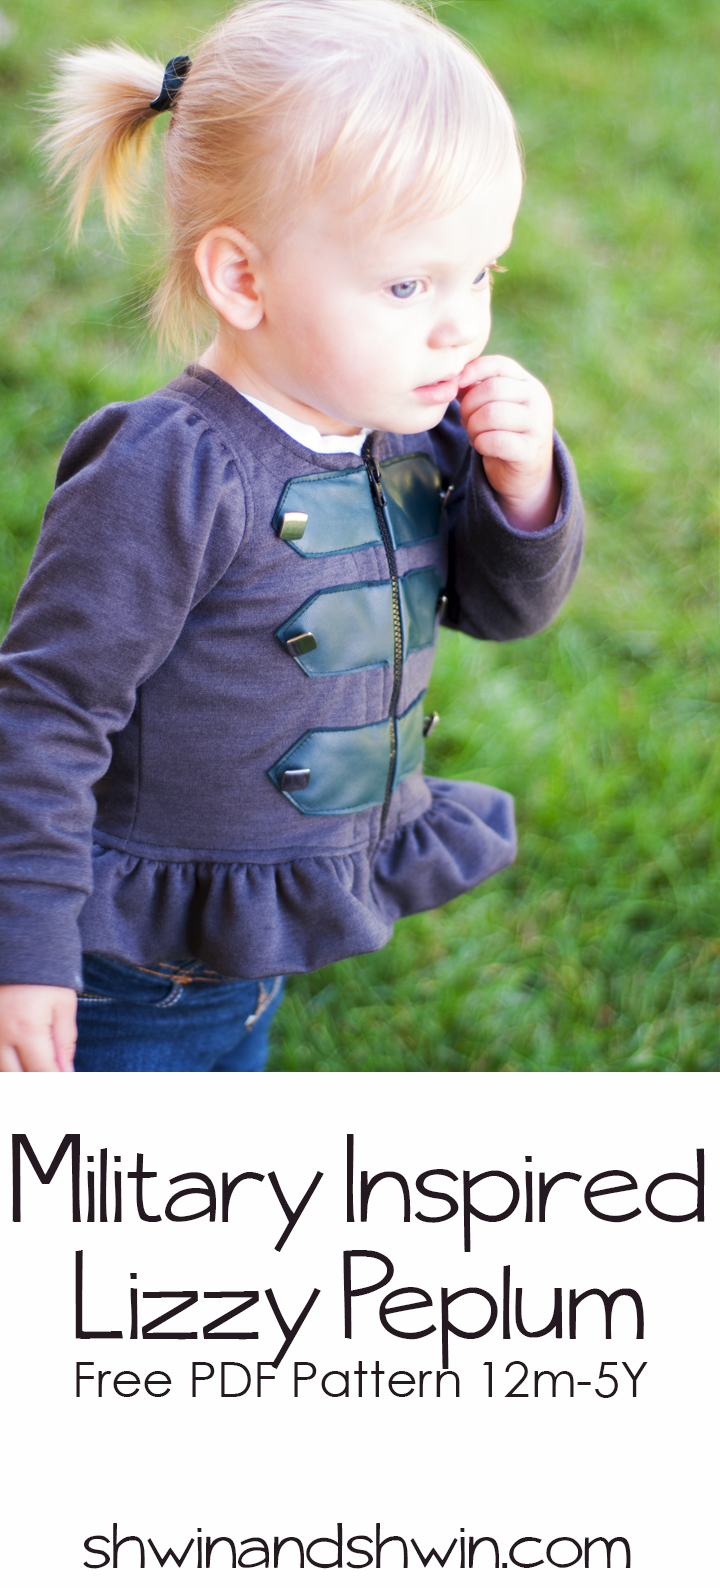
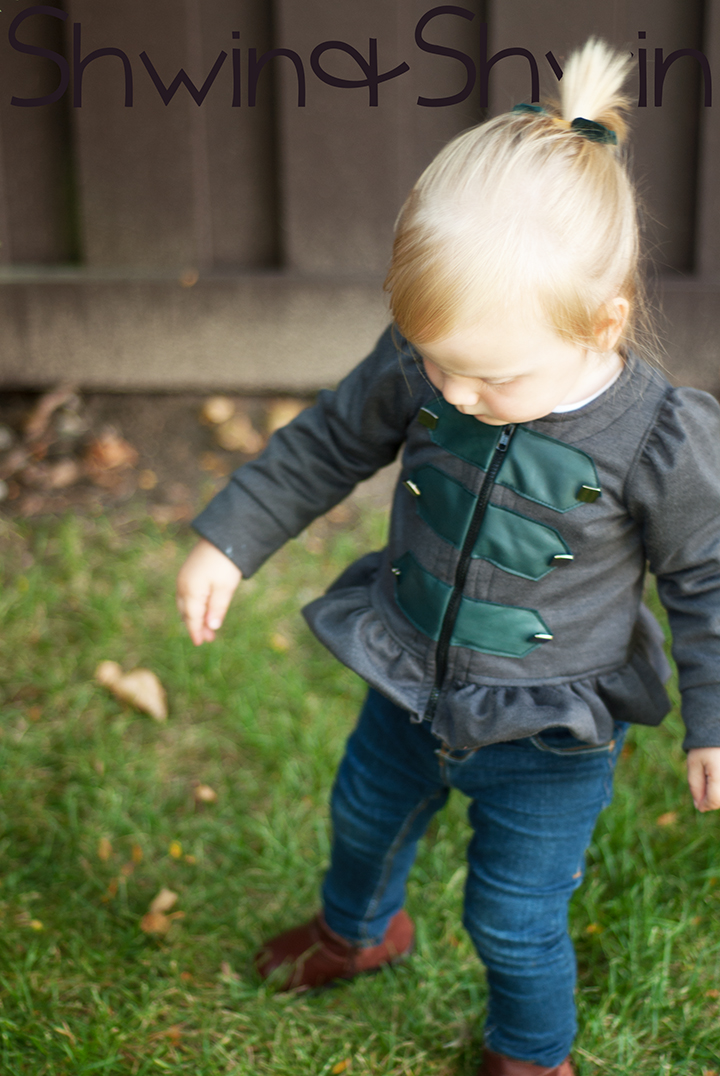
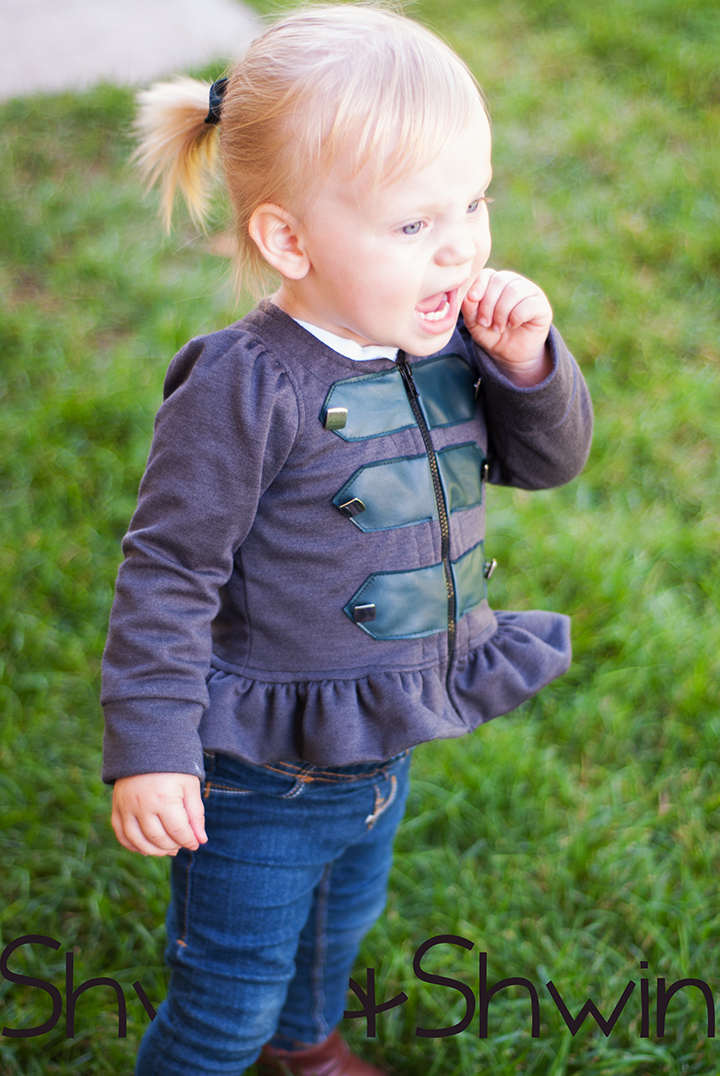
A few days ago I shared the free pattern for the Lizzy Peplum. Today I am sharing the military inspired peplum version I made for Penny. Mainly because I like to mix things up a bit, and partly because I LOVE the leather and knit trend and the military trend and I really wanted to mix the two. I had just recently received my leather (yes real leather) pelts from MOOD fabrics. Let me tell you they are dreamy. So soft like butter, so pretty, and my mind started whirling with ideas. I knew this forest green leather would be great for the peplum.
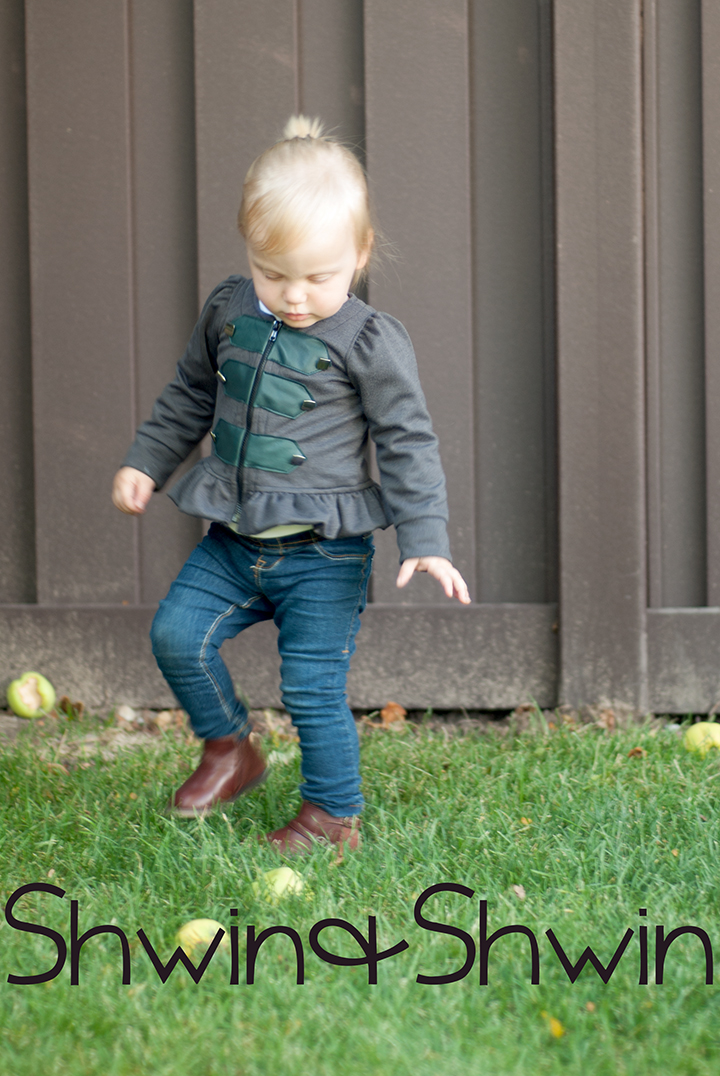
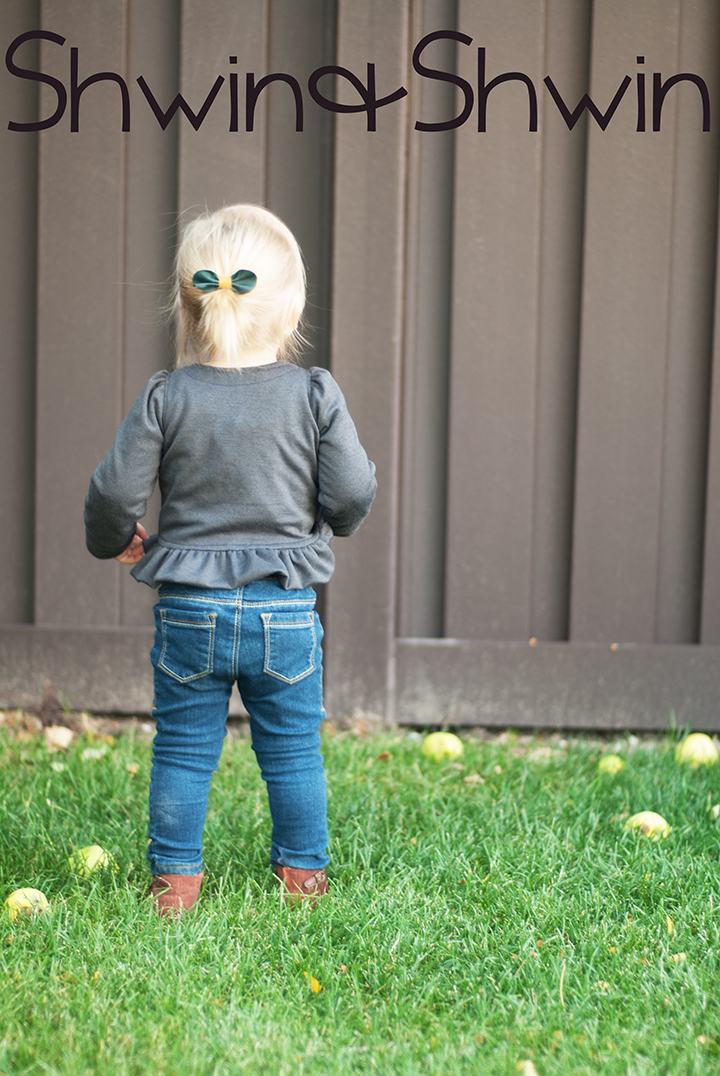
I used up the very last scraps I had of this gray Ponte De Roma fabric. It’s one of my favorites and I was glad that I was able to squeeze out just enough to make the top even if I had to make it a touch shorter and I had to add cuffs to the sleeves since I couldn’t quite get a full sleeve. So worth it. The fabric sews like a dream, is soft, and a nice weight, perfect for a light jacket.
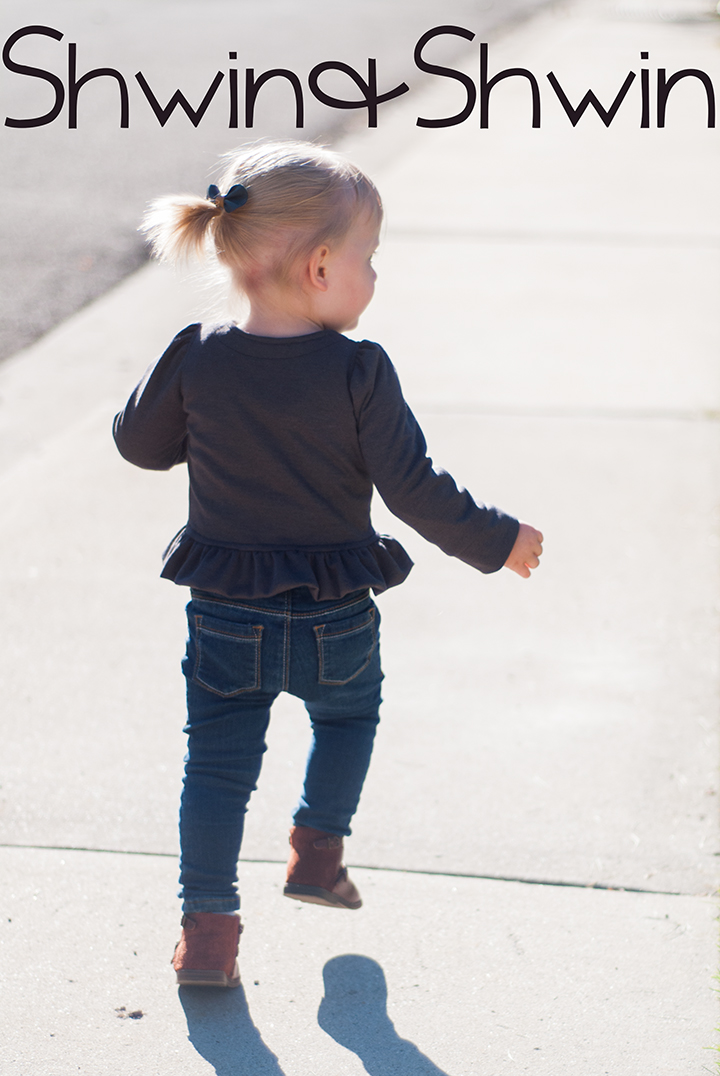
Oh man that ruffled peplum gets me every time I just love it, and that cute gathered sleeve that adds such a great feminine touch, which is great since I went with grey and green for the jacket some feminine touch is good.
So to add the military touch to the Lizzy Peplum, follow the pattern and instructions HERE
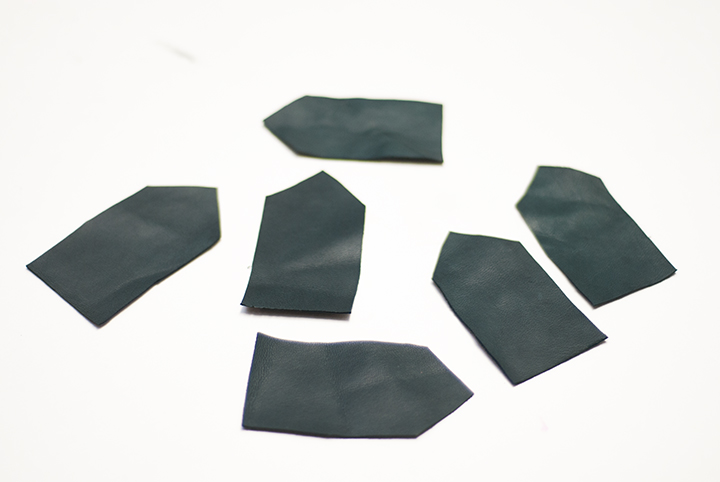
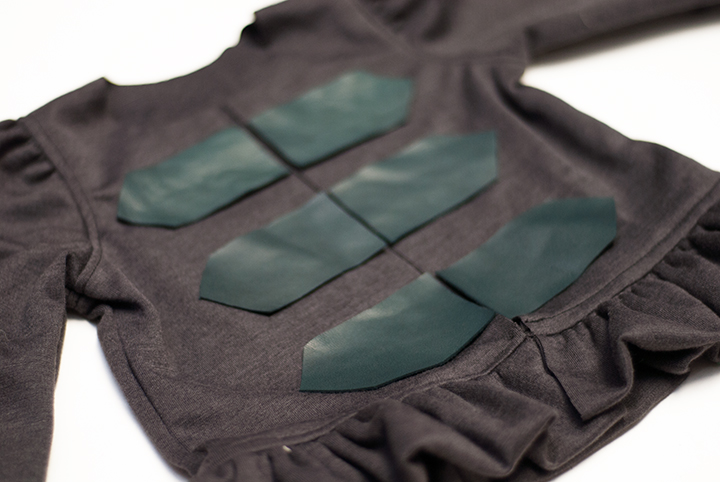
Then I cut out arrow type pieces, 6 of them in total. I did a free hand cut job on these making sure they were all the same size, but I just played around with size until three fit spaced well down the front bodice.
Again I used leather, you will want to use some kind of fabric that doesn’t fray like a knit, or fleece, or felt. You could also use ribbon.
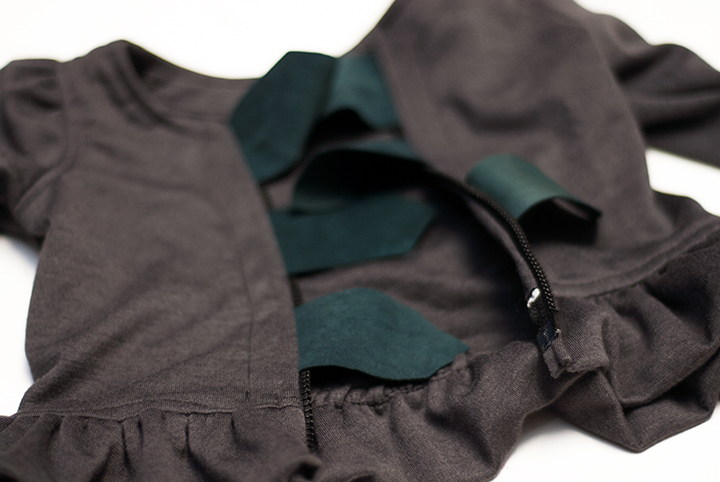
Then before placing the zipper place the arrow pieces down both sides of the front so they are even with each other. Then baste in place just down the center front.
Sew the zipper and the facing in place as the pattern instructed. Don’t sew the arrow pieces down yet, I didn’t want the top stitching to go over the arrow pieces so I waited until I was done with the top stitching and basically done sewing the whole jacket, just moving the arrow pieces out of the way when I needed.
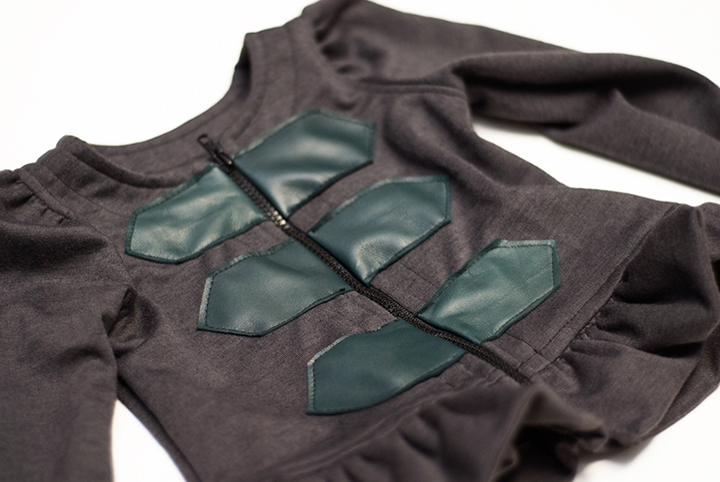
Then I top stitched the arrow pieces in place around the edges. Lastly I added buttons. Which I actually debated about which buttons to use, ultimately I went with the small silver buttons, but I can’t decide if I love them or not, so I may switch it out to option 2. Do you ever have button remorse? I swear it sometimes take me an hour to pick the button I want to use and then sometimes still I don’t’ end up liking it and switch. Tell me I am not alone there 🙂
Taking photos of this girl is becoming more and more challenging, she is a mover and a shaker. Literally the first word out of her mouth when I get her up in the morning or from a nap is “Go!” with a point to the door. All the moving means constantly changing lighting and locations, and seriously half the photos are all motion blurred, which would pretty much sum her up. She is a motion blur.
Always on the go go go, and usually running away from me.
Jacket || Free Pattern || With Modifications
Fabric || Grey Ponte || Joann Fabrics
Leather || MOOD Fabrics
Jeans || Old Navy
Boots || Zara Baby
Mareike
Truly amazing!!!! Love this style!!!
Anne
Adorable!! I’ve got a Craft Gossip post scheduled for tomorrow morning that links to your tutorial:
http://sewing.craftgossip.com/free-pattern-little-girls-military-inspired-peplum-jacket/2014/09/24/
–Anne
Carrie
I LOVE this. Found you on pinterest and I love the proportions of your patterns. Most of the time proportions are too large for my tiny 2 year old and I have to scale down but these look perfect. I can’t wait to make one of these!
Jennifer
You did the right thing with those buttons; adorable! And that little gal may be ready to “go!” but her free spirit makes the photos even more charming <3 Thanks for the pattern and inspirations!