One question I have gotten quite a few times over the past few years usually starts “Is it possible to add a hood to…” or “How can I add a hood to…” Always some pattern that doesn’t have a hood but they would like a hood. You know adding a hood is actually really easy. Granted it *can* be complicated, yes. There are a lot of things to consider in order to make a *proper* hood, lots of measurements, lines, curves. However it really doesn’t have to be overly complicated, it can actually be quite easy to make a simple and basic hood that can be added to any jacket, sweatshirt, or top. So here is how to add a hood to any pattern you want.
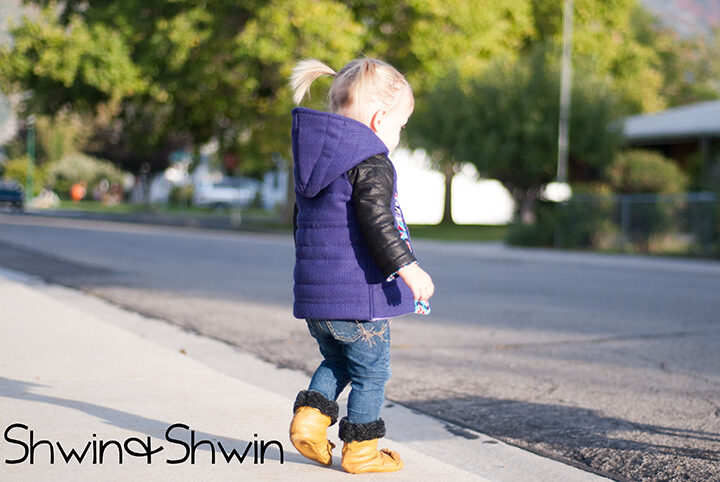
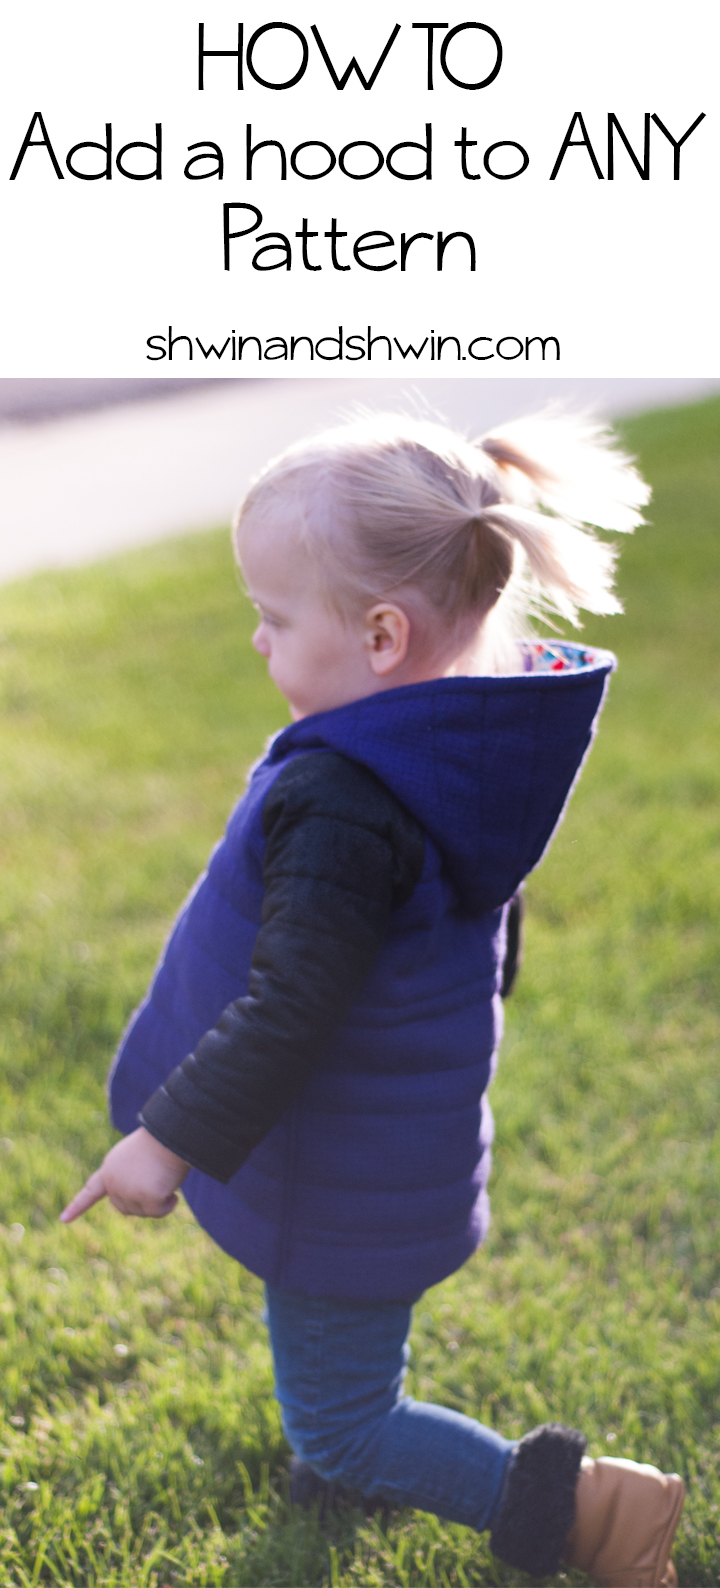
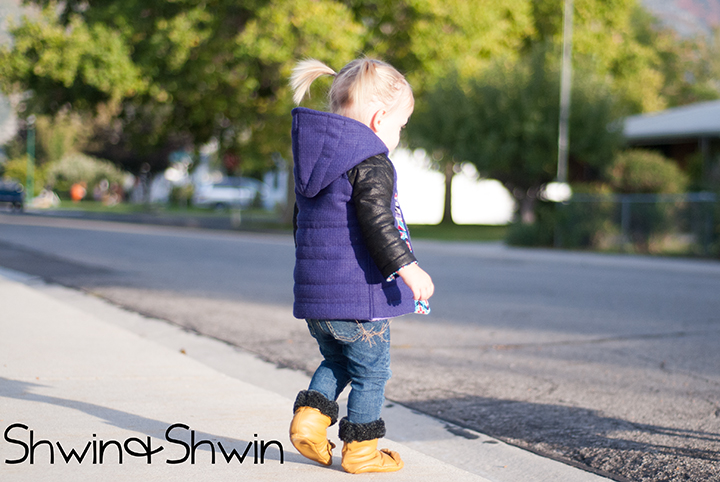
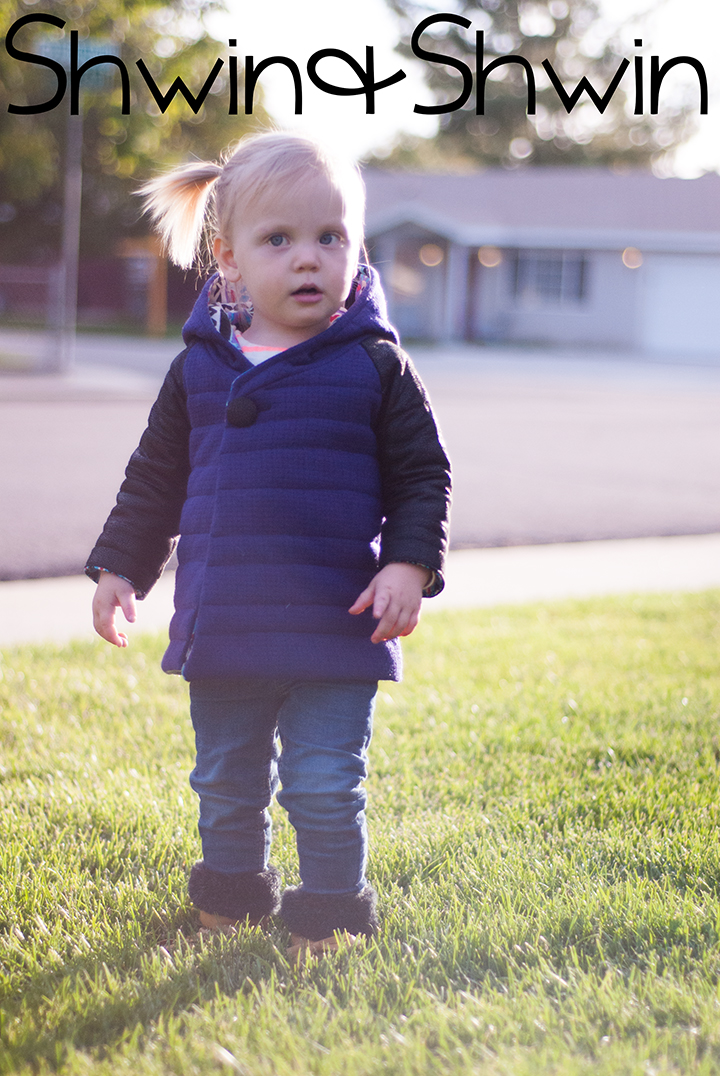
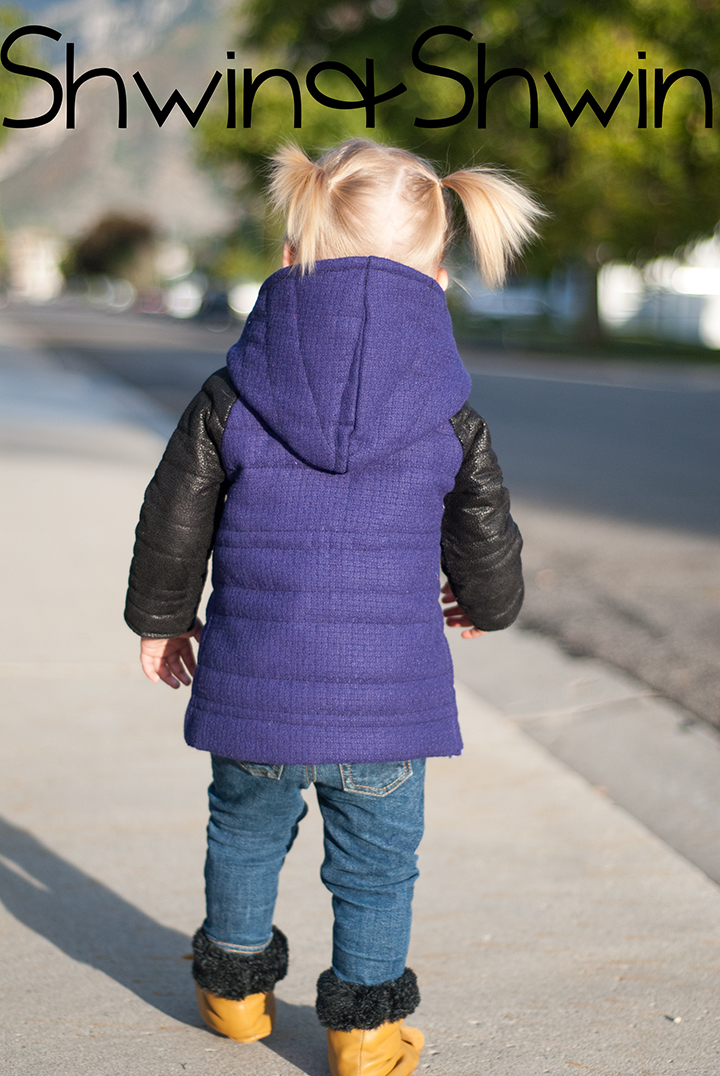
For this jacket I decided I wanted to make Penny a winter coat. I used the Julia Jacket Pattern, because I love the asymmetrical crossover front and the raglan sleeves. I wanted to make it a little warmer since it is for winter although our winters are not that bad. (compared to the arctic Minnesota winters I grew up with) but still we have some chilly days, so I quilted the jacket with some batting between the outer and lining. I made the outer with a wool and faux leather suede cloth (both from Joanns) I made Penny the size 2T, she is in the 18m range for everything I usually make her, but since I was quilting this I new the bulk would make it smaller and the 2T was perfect with the quilted thickness.
Then of course I added a hood since a hood is always great to have in the winter in case of a snowstorm 🙂 For this jacket I only added one button to the front, even though I had planned on three buttons, and I am still trying to decide if I want to add the other two, but I kind of like the “swing” look. So let’s talk adding a hood.
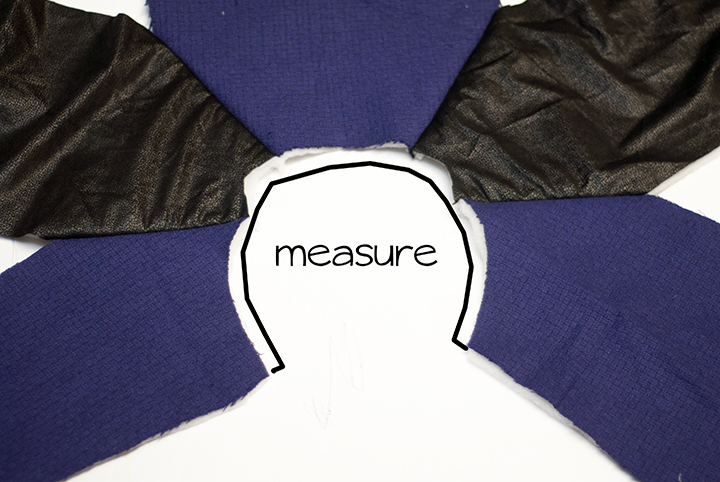
You will want to measure the neckline.
Just as a note… The Julia Jacket is asymmetrical, so the front left and right are not the same, but to add a hood easily I simply changed the front pieces of the pattern so the neckline for the left and right front pieces were the same shape and length then every thing else was the same.
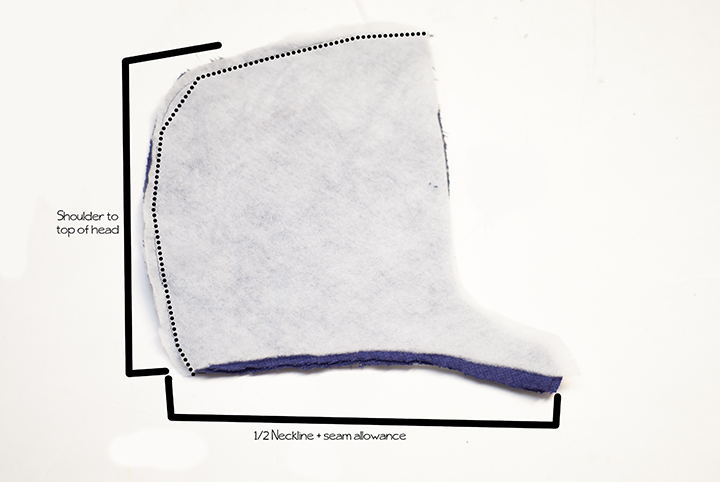
Now you are going to sketch out your hood. There is a basic “hood like” shape (shown above) you want the bottom edge of the hood to be 1/2 of the neckline measurement + seam allowance. Then from the bottom to the top of the hood it should be the measurement from the shoulder to the top of the head (of the child) Then for hood depth (how wide) measure from the center back of the head to the front of the head. Add 1.5″ for ease. (or more if you like a nice deep hood)
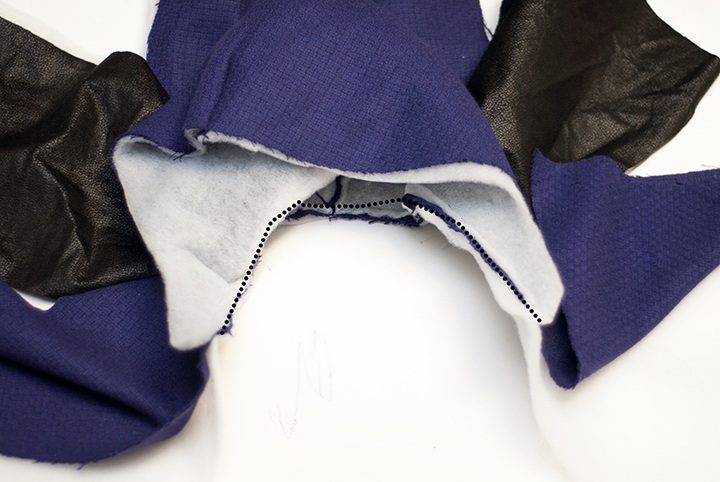
Then to sew the hood sew two hood pieces right sides together along the curved edge of the hood.
Then with right sides together sew the hood to the neckline.
If you are sewing a lined jacket simply make a hood for both the lining and the outer. When you are sewing the lining and outer of the jacket together sew along the hood edge as well.
If you are sewing an unlined jacket or shirt, you can line the hood easily by sewing a hood lining and sewing it right sides together with the main hood along the outside edge. Then turn the hood lining to the inside and sew the lining in place along the neckline.
And just like that you have a hood. There are lots of different styles and shapes to hoods, but sometimes simple is good.
Hennahands
Thank you! I have been pondering this for about two weeks! I even went to the fabric store to see if I could find a discount pattern with a hood on it, but no such luck. I am going to make a hoodie for my daughter posthaste. There aren’t enough hooded t-shirts for girls in stores.
janelle
Thanks so much for this. I’m curious what to do if the jacket has a zip. Does it make any difference? Or is that an example of how it can get complicated?
Shauna
Not really, a simple zip up would be easy just add the hood before you add the zipper. If the jacket you are making is lined then the zipper likely goes between the outer layer and lining so make a hood for the outer and lining and then sew the jacket as you would normally. If the jacket is not lined but has a facing, sew the lining hood to the facing then finish as normal, and lastly if there is no lining or facing. (although I suggest adding it in that case) simply line the hood and sew it to the jacket and then add the zipper. You don’t *have* to line the hood but I suggest it.
janelle
Wow. You are so Incredibly generous with all of your free patterns and tutorials. I think that is the first time I have commented on a blog post and I feel a bit special to have received such a detailed reply. Thanks again
Mikea
I am really loving that jacket! Awesome job!!
Shauna
Thanks! It’s quickly becoming my favorite 🙂
Renee
Thanks for the tutorial. You make it sounds so easy, I shall try this for my granddaughters sometime soon. It’s summer in Melbourne, so I shall hold off for a while, they grow too quickly for me to guess what size for next winter :)!
Anne
Great tutorial!! I’ve got a Craft Gossip post scheduled for later today that links to your tutorial:
http://sewing.craftgossip.com/tutorial-add-a-hood-to-any-top-or-jacket-pattern/2014/10/13/
–Anne
Charlotte
Thanks for this tutorial! I’m making a second abbeyjacket (the wool coat version) and I was wondering about adding a wide hood. Do you think I should leave of the collar? (That would be a pitty rhough, I love the collar againt the wind)
Lucy Stieber
Thank you for your easy pattern. I am adding hood to a ergo cover and had no idea where to start. You are a time and gramma saver.