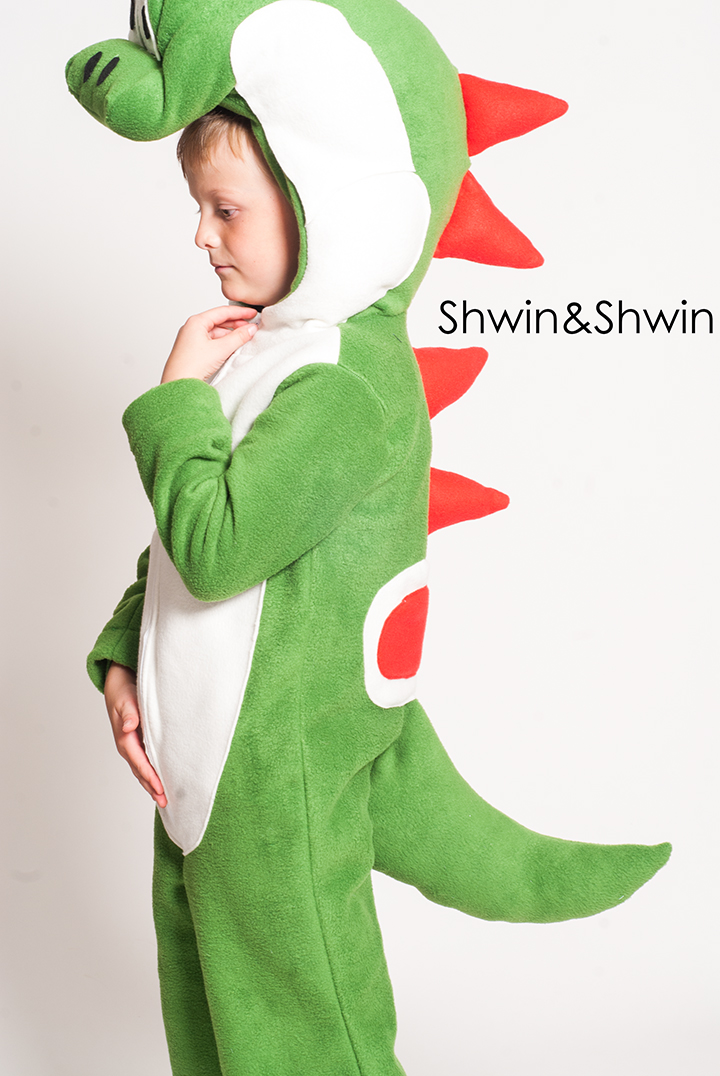
Jude had several ideas of what he wanted to be for Halloween. For the longest time he wanted to be Legolas from The Lord of the Rings. It would have been cool but as I was struggling to come up with a non-cheesy way to pull that off, he changed his mind. Then he changed it again and then finally he decided on Yoshi. I was kind of excited about the idea of yoshi but honestly not sure if I could make it look like yoshi without making a HUGE head that would be hard to wear. So I did the best I could.
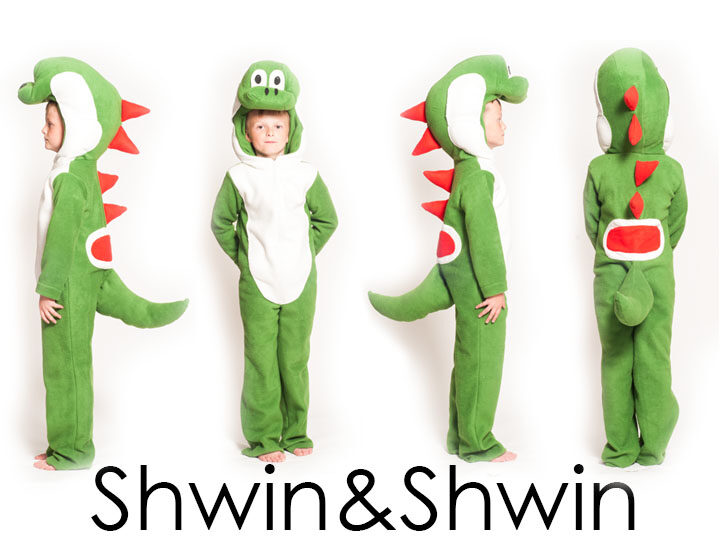
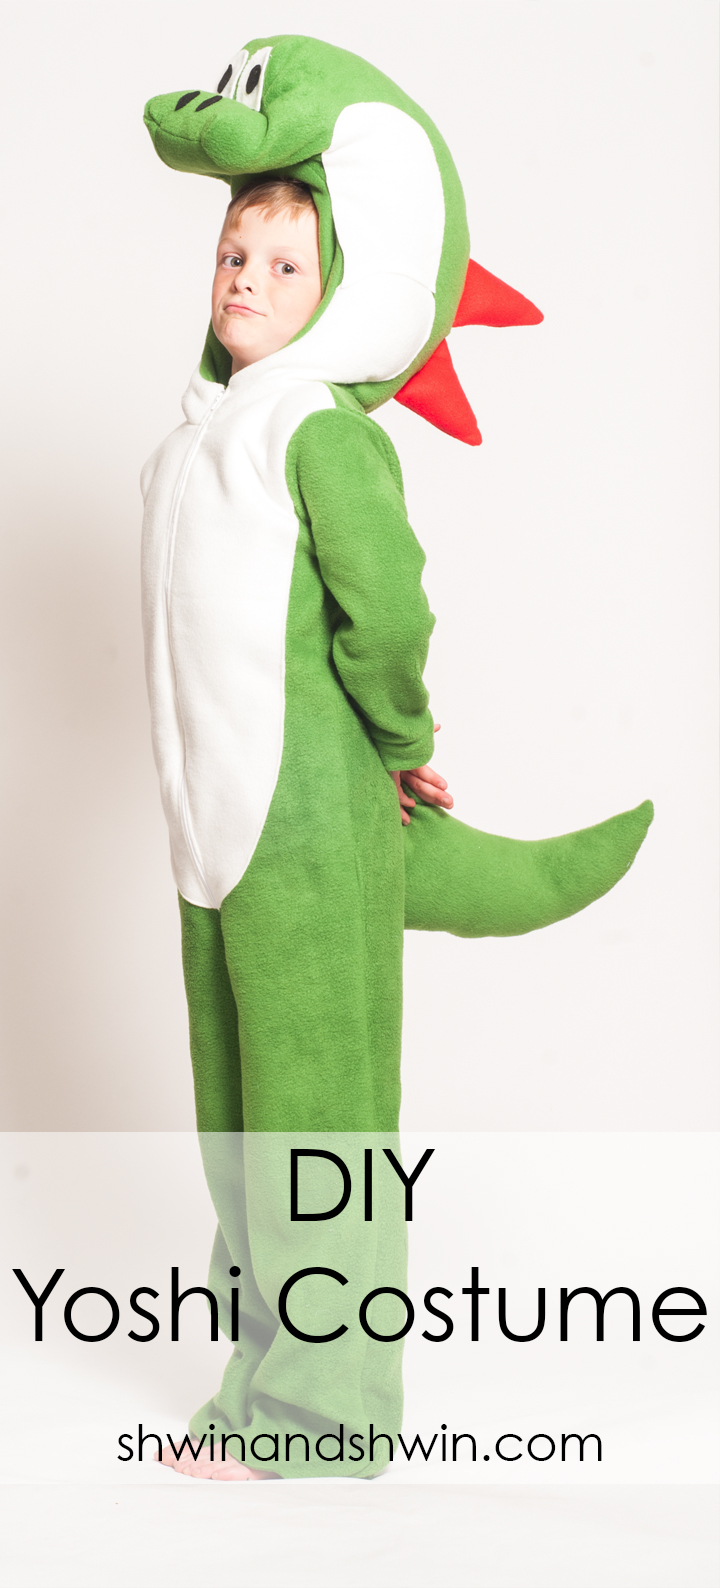
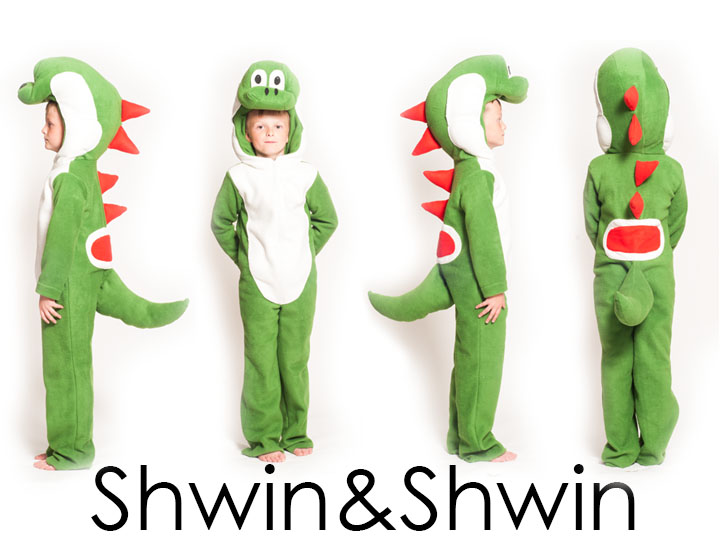
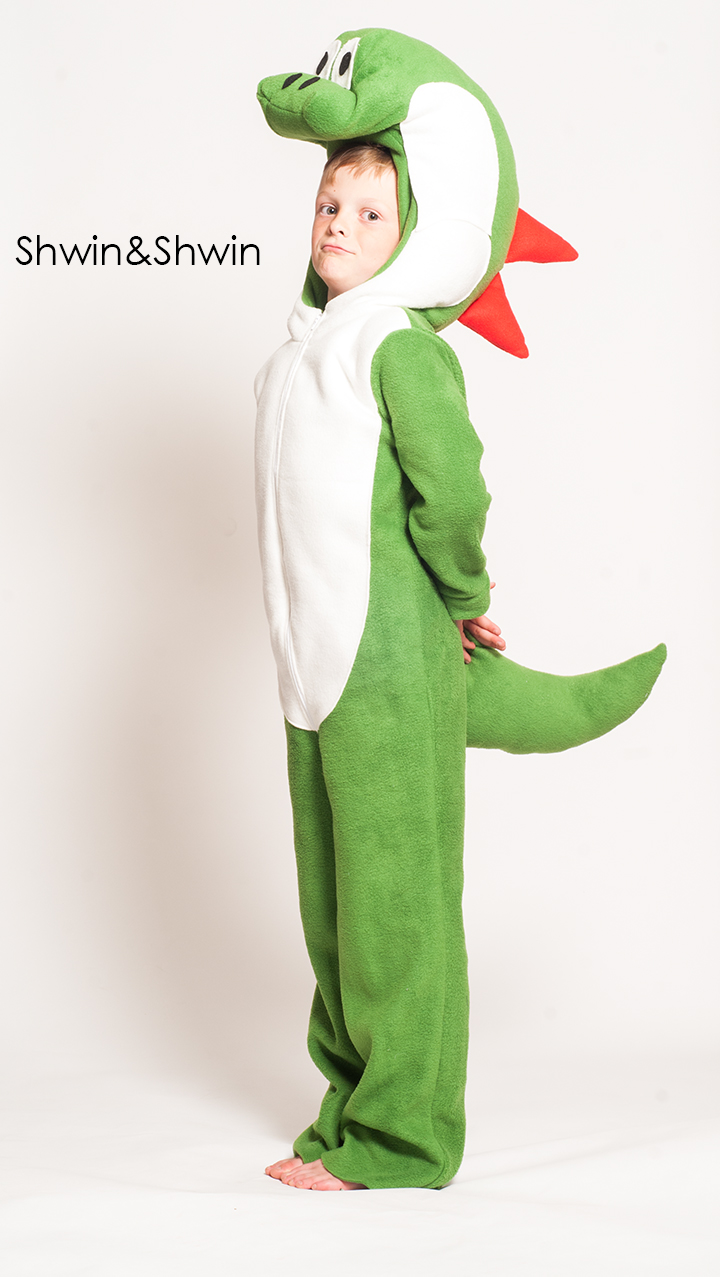
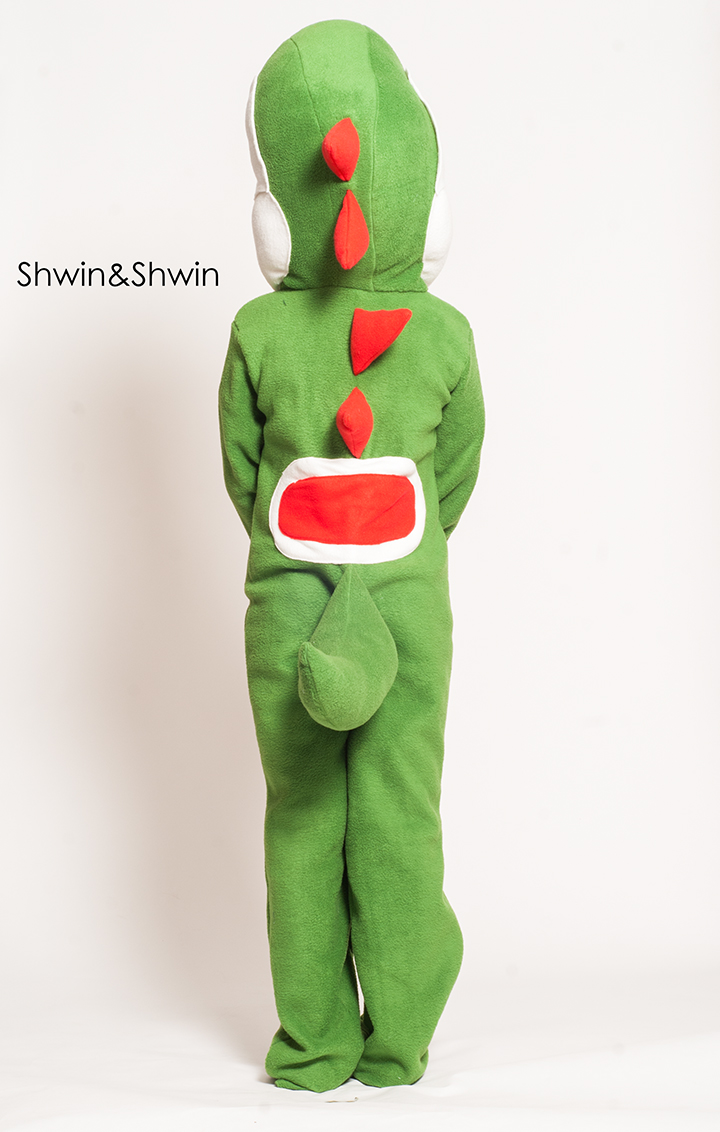
He basically looks like a dinosaur until you see the “yoshi details” like the spikes and saddle. Making the costume really wasn’t do bad. It went from sketch to pattern to costume in only a few hours.
Instead of sharing the full pattern since it’s huge and would have been like 30 pages just to print. I will show you more or less how it was made. You could easily modify an existing pattern if you had a one piece pajama.
Now how to make a DIY Yoshi Costume
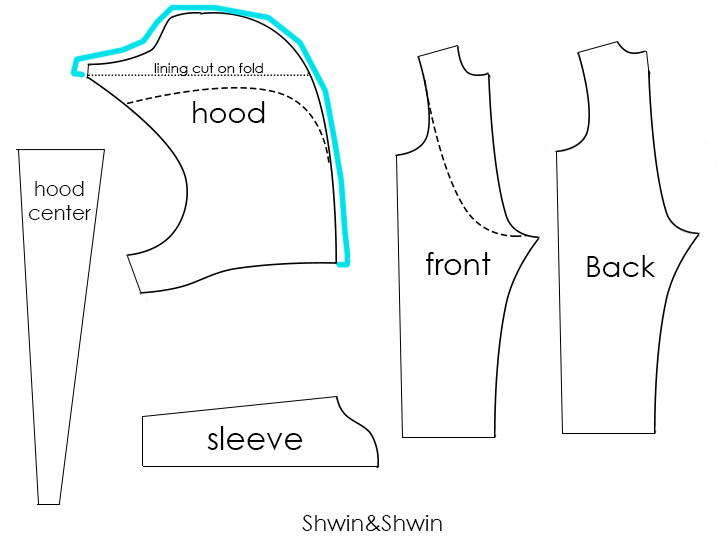
So let’s breakdown the pattern pieces shall we? Let’s say you have a shirt pattern you like? Let’s start with that and then take a pair of pants and fold them in half so the curve of the crotch and straight leg are shown. Simply place those pants at the bottom of the pattern and then trace them to create one pattern piece with the top of the shirt and the pants all in one. I made the pant legs and crotch curve the exact same for the front and back, just to keep it simple. (think simple pajama pant) One thing you want to make sure before you cut out. Measure from the top of the shoulder to the crotch, then make sure the shoulder to crotch seam on the pattern is a little longer than that so there is ease and seam allowance room. You know so you don’t get a snug crotch.
You will also want sleeves as well.
Now for the hood. If you need help drafting a normal hood check out THIS POST.
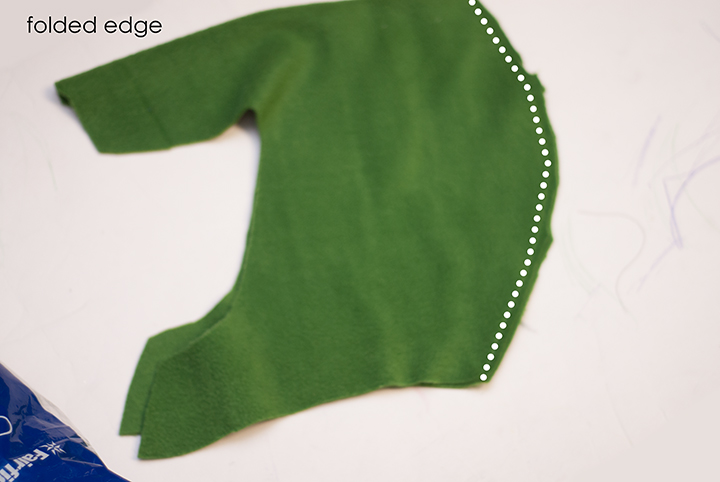
Then you can see above, the dashed line is what a “normal hood looked like. Then I sketched out the Yoshi face shape to go up above the hood. (you can see the shape above)
For the hood lining I cut it out on the fold along the top edge just above the normal hood line. I did this because the hood will be stuffed above this point but I wanted the inside of the hood to be finished and have room for his head.
Then I did the hood as a 3 piece hood so it had the 3d effect. So you need to measure the whole edge of the hood piece (shown in by the teal line above) that will be the length of the hood center piece. Then I tapered the hood center piece because I didn’t want to add too much width to the bottom of the hood edge.
Ok did you follow that?
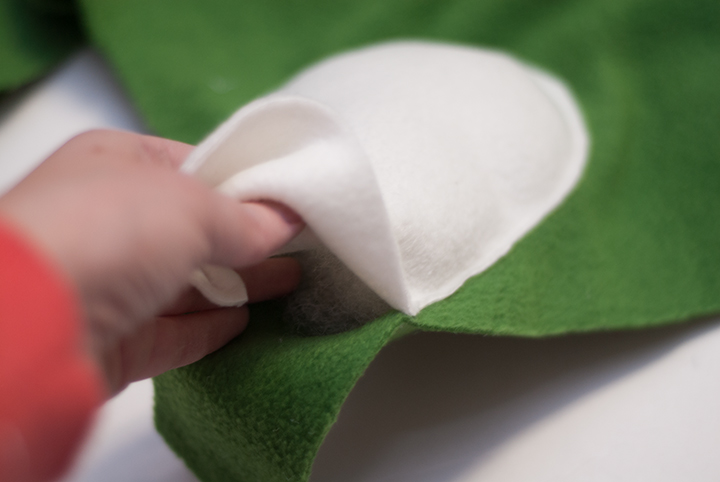
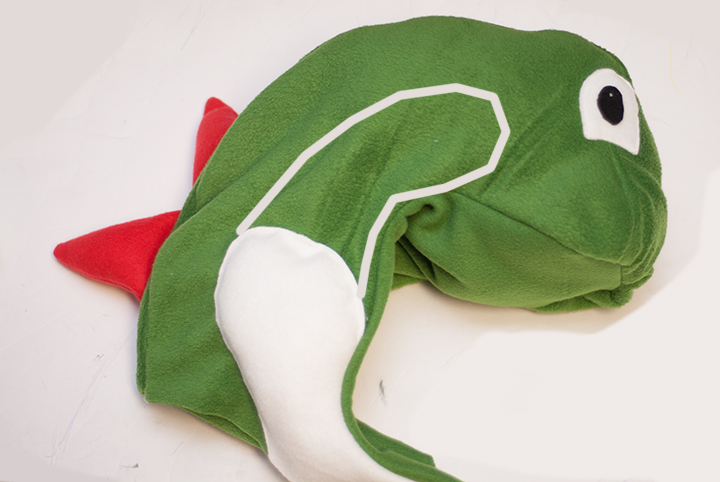
For the hood. I cut out some white fleece for the “cheek” then I stitched the bottom half of the cheek down to the hood on both sides and stuffed it with some stuffing. I made the cheek 2 pieces so only the bottom was stuffed.
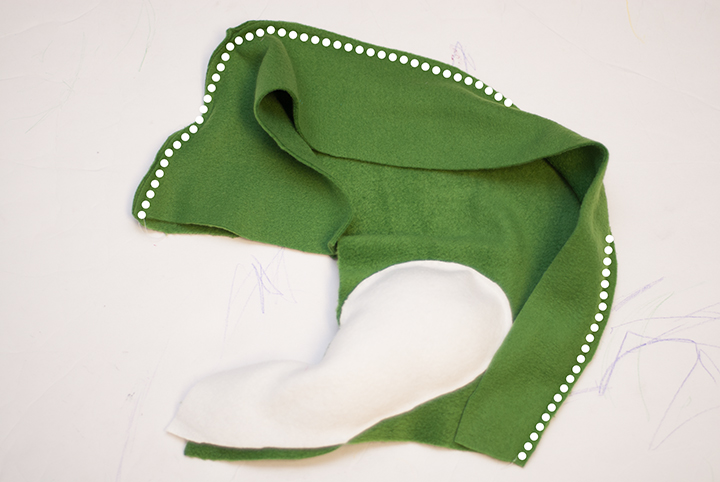
Then sew the center hood piece to the hood all along the hood piece edge. (sewn right sides together)
Then sew the other hood piece right sides together to the hood center as well. So you will have a semi “shaped” hood here.
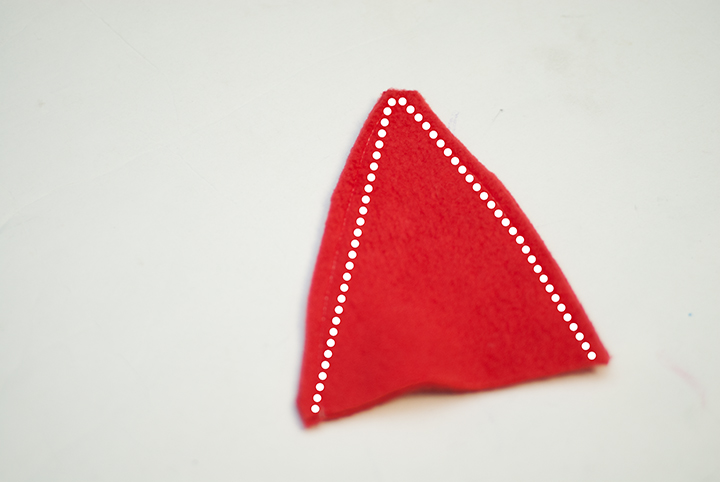
Let’s add some spikes shall we? Cut out some triangles. Sew two together.
Then turn it right side out and stuff it with stuffing.
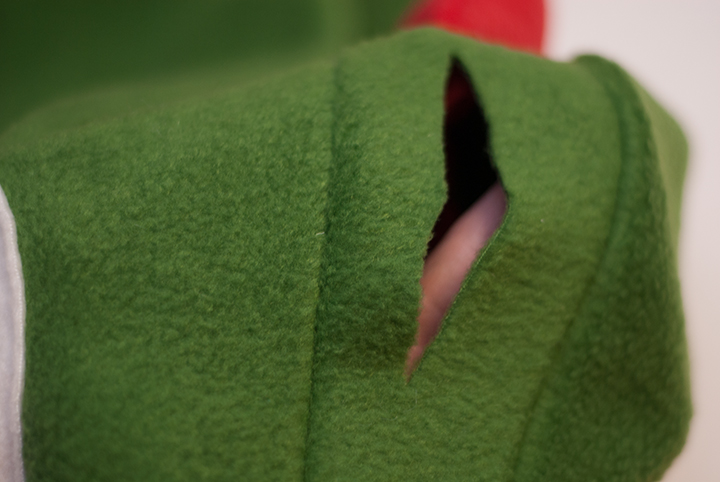
Now since there wasn’t a center seam to put the spikes in I just cut a slit in the center of the center hood piece wide enough for the spike to go through.
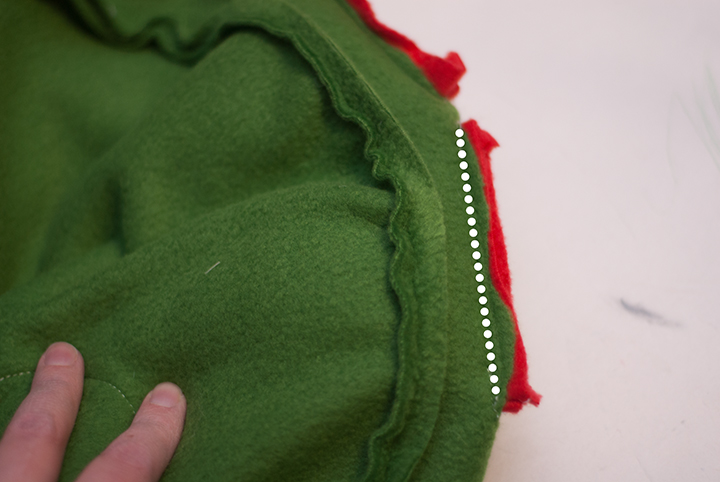
Put the spike in and sew a seam in the back sewing the hood and spike together.
Then you have a spike sewn in place. I did 2 in the hood and made 2 more spikes (all the same size) for the back.
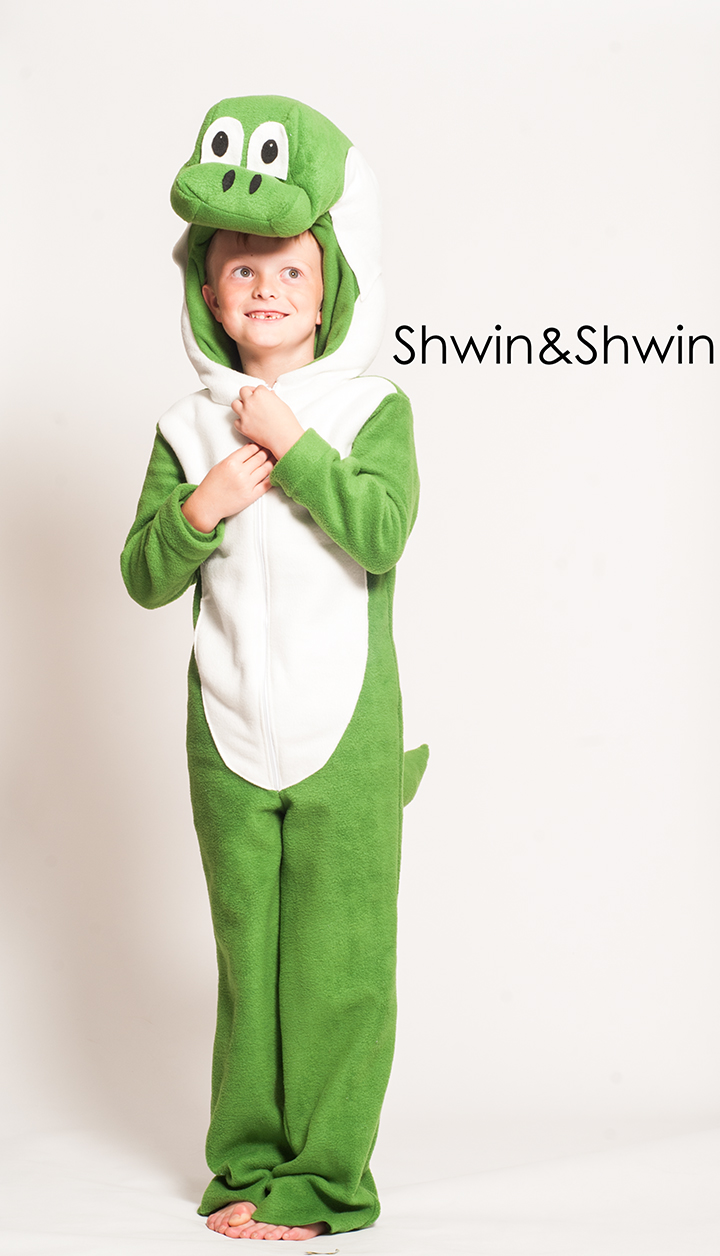
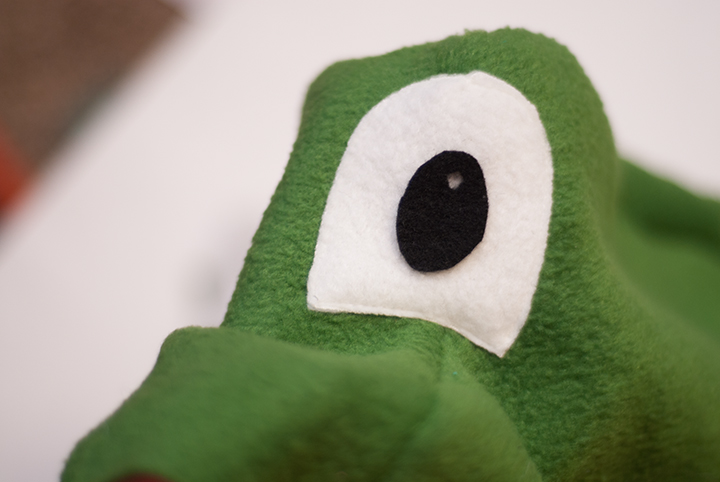
Next add some eyes to the front of the face. I just cut out the eyes from white fleece and the eyeball was from black felt.
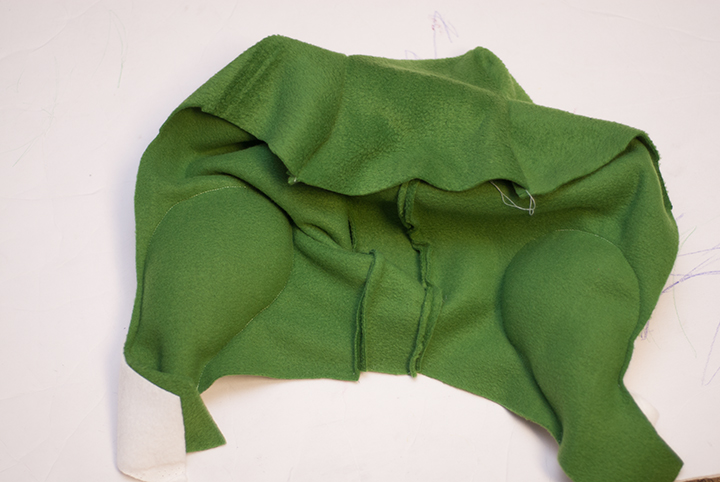
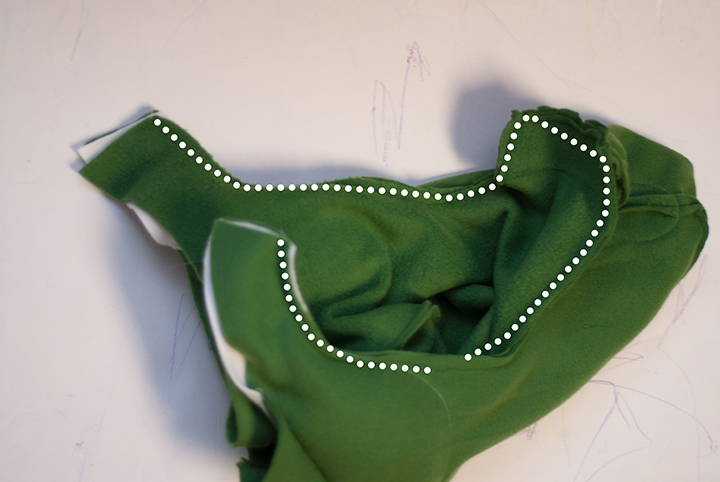
Now for the hood lining, sew along the curved edge and then turn it right side out.
Then with right sides together sew the hood and lining together along the outside edge.
Turn the hood right side out and then stuff the head. At this point I realizes I never added the upper cheek part. (outlined above) and so I cheated and hot glued it on.
Now for the rest. I made the body suit much like THIS is assembled. I added the hood to the neckline before adding the zipper down the center just like the one above but I added the zipper down the front (all the way down the white part) Then done.
Not too bad right? Ok, it seems complicated but really it’s not so bad, just jump in and go for it, remember it’s just halloween.
Oh and the few things I forgot to mention above, details like the tail and back spikes I added into the back seam. Then I added the saddle piece to make it more “yoshi”
One more happy kid ready for halloween.


vernagrace
I have to say you have amazing talent!
Ruth Thornhill
Great tutorial, very detailed! I’m bookmarking this! XO!
Raimey
Hello,
Any chance you would sell a yoshi and/or toad costume? If you would please let me know the price.
Thanks,
Amanda
Hi there, the link to the post for drafting the hood is broken. Can you please provide the link?
Thanks!
Guadalupe
Hola, me podrias enviar el patron por emal?
triptonita@hotmail.com
Gracias
@DoneByAna
When I saw this post, I couldn’t believe it. My son loves Yoshi and that would be great for him. I started the year sewing Yoshi for his birthday and I did it!!!
Here I show you my Yoshi:
http://www.donebyana.com/2018/02/yoshi.html
@DoneByAna
Shay
Do you still have a link to the draft of the hood? Thanks!
Kristen Will
I know I’m late to the party here but THANK YOU! My son decided he wants to be “Baby” Yoshi for Halloween and I sort of had an idea of what to do but you have figured it all out for me! Shwin to the rescue again!