I had a small amount of this Field Study print from Anna Maria Horner left over from when I made myself this Anna Dress. The fabric is a dreamy rayon challis, and I knew I didn’t want the last bit to be waisted. So I had to think up a design that would work with the somewhat limited and awkward cut scraps I had left. But you know what? I was able to get a dress, and a long sleeve dress at that. So I was pleased.
I knew I wanted something, simple, since the print is bold, something with a bit of flow and drape since the fabric is so dreamy, and something that is easy to throw on.
As a ZARA addict, the thought of THIS dress kept popping into my head. I just loved the simple, but not simple design, and the retro vibe. So I decided I would go ahead and make it.
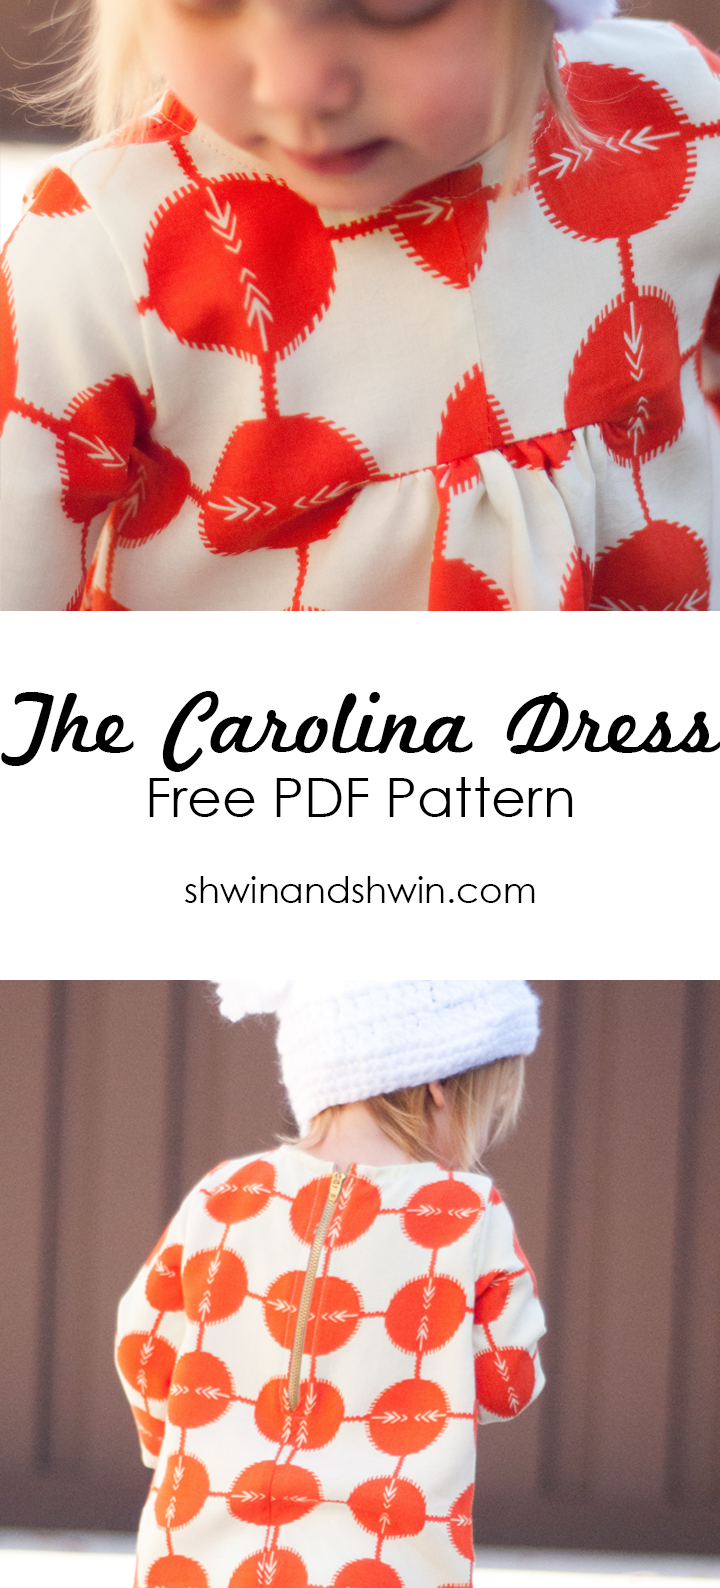
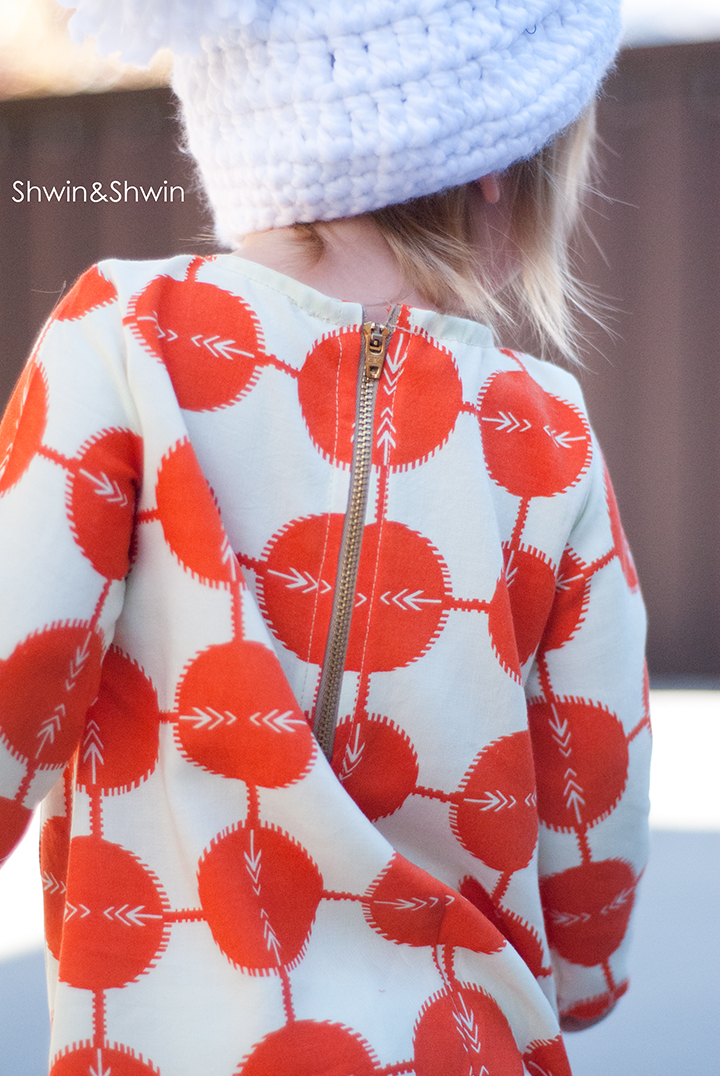
With an exposed zipper down the back, since we all know how I feel about those. Now I will be honest. IF I were to do it all over again, I would do things a little differently, however, I plan to re-work things a little and release the design as a full pattern, so for now I thought I would share the free PDF pattern for this version. It’s a fine dress, I still love it and Penny has already worn it several times.
You will need:
Carolina Dress Pattern Size 12-18m (want a full pattern 12m-8Y with added options, buy it here)
About 3/4 yard (maybe again my fabric was awkwardly shaped
1 7″ zipper
Single fold bias tape (or use the pattern piece to make your own)
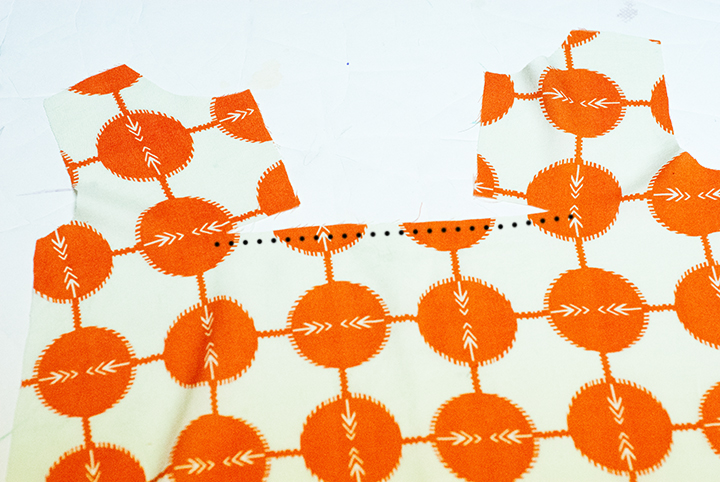
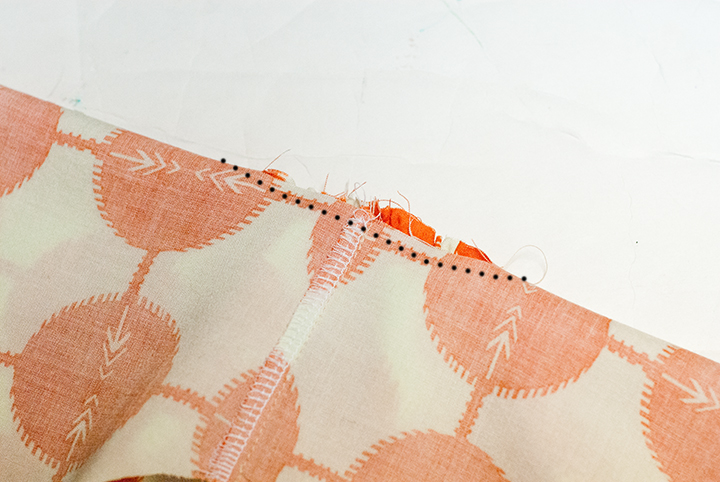
So let’s sew the front. It will look like this. Run a basting stitch from the cut point to the cut point along the bodice. (shown above with the dotted line)
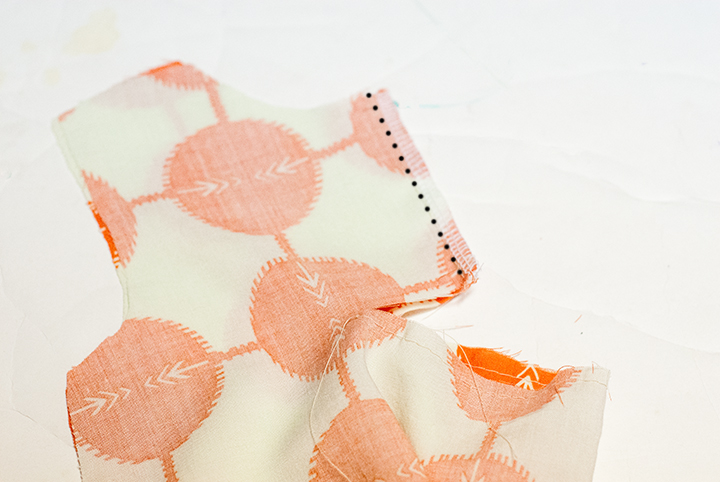
Then with the front right sides together we are going to sew the center front together. Finish seam as desired.
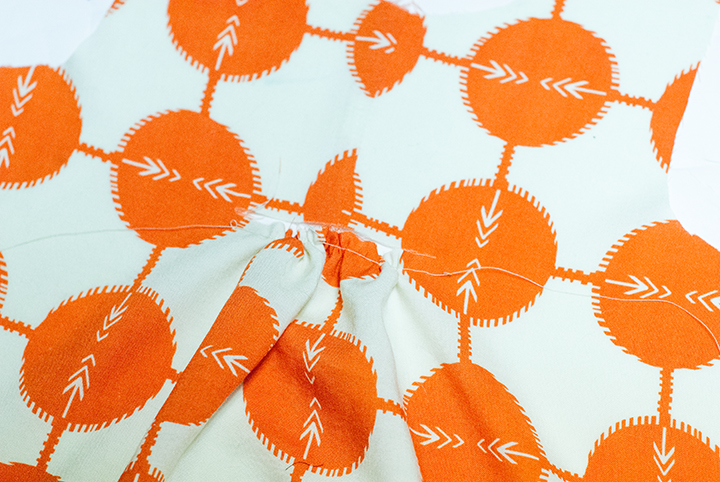
Then pull the basting stitch to gather the center. You wan the gather to fit in the slit evenly.
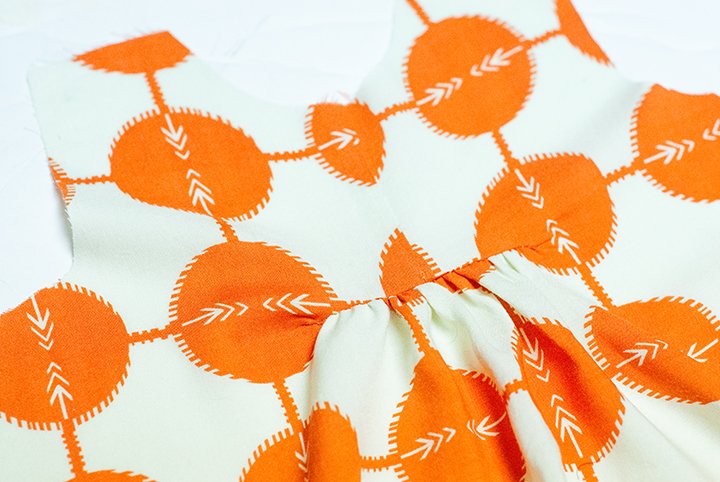
Then fold the top part of the bodice down to be even with the slit, so the slit should now be at the top. Spread the gather evenly, and have the raw edge of the gather sticking out the the top. Now you will sew this opening closed like you would sew a dart. Start right at the edge at the top of the slit angle out so it’s 3/8″ seam allowance over the slit, and then angle back down and off the edge. Leave the threads long and knot them a few time to hold the stitch. Now, you will want to finish this raw edge by either serging the edge, or running a zig zag stitch over it.
Press the seam upward and you have a finished front. With the perfect little center gather.
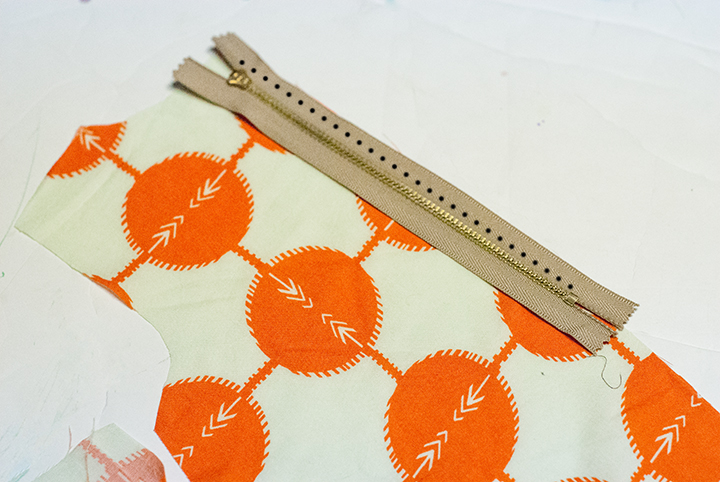
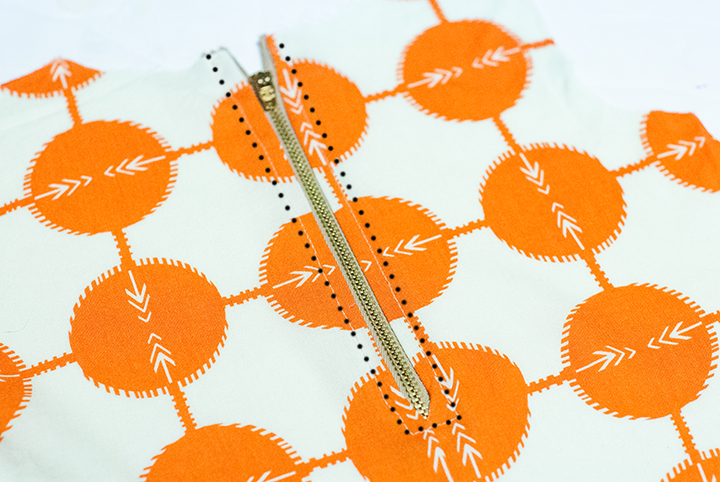
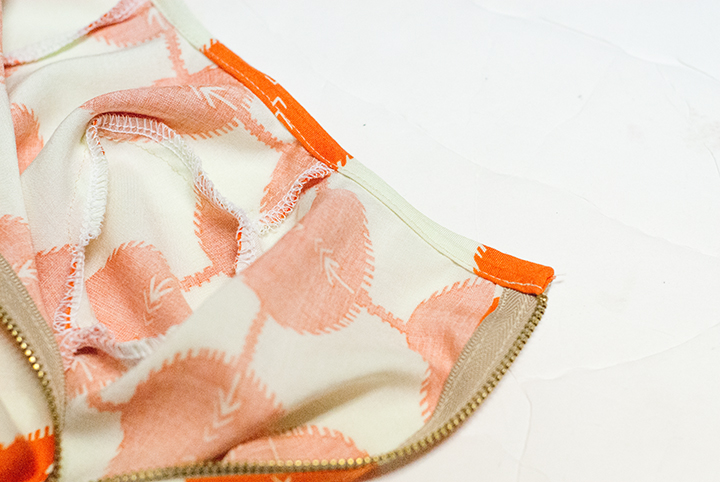
Now for the back. Sew the zipper right sides together down one side so the raw edge of the zipper matches the raw edge of the back.
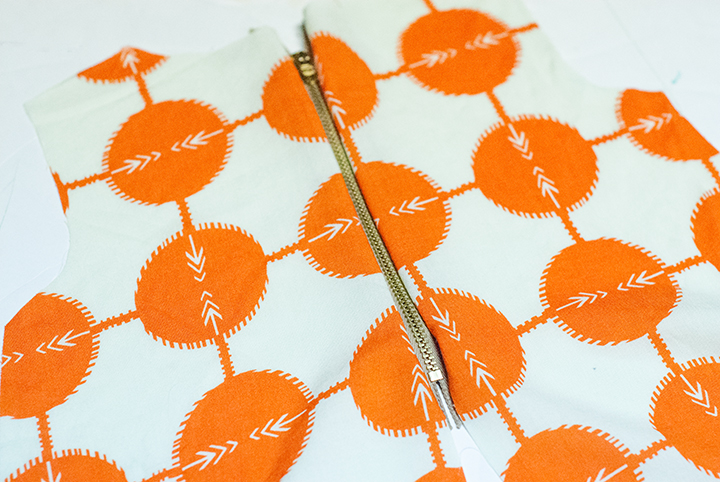
Then repeat with the other side sewing the other side of the zipper right sides together with the other front piece. Make sure it matches across the zipper, so that when it’s done you have a zipper on both sides and that everything matches up. Then fold the back so that right sides are together. Then from the zipper stop sew the back together down to the bottom hem. Finish seam as desired.
Turn around the front side, press well and top stitch along the zipper to secure the zipper in place.
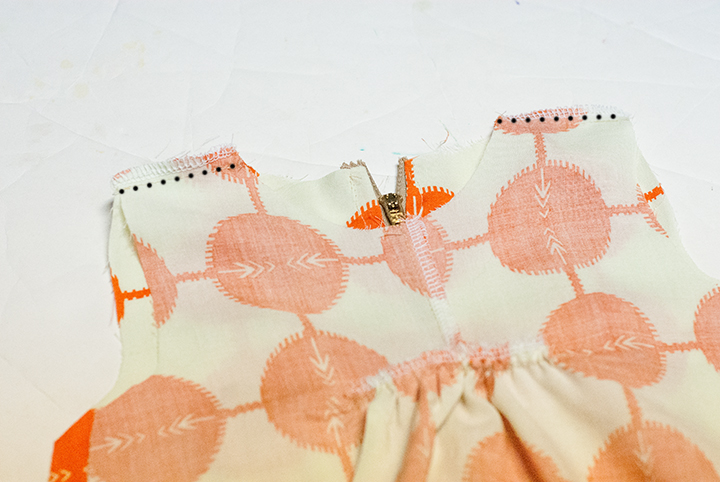
Then with the front and back right sides together sew along the shoulders. Finish seam as desired.
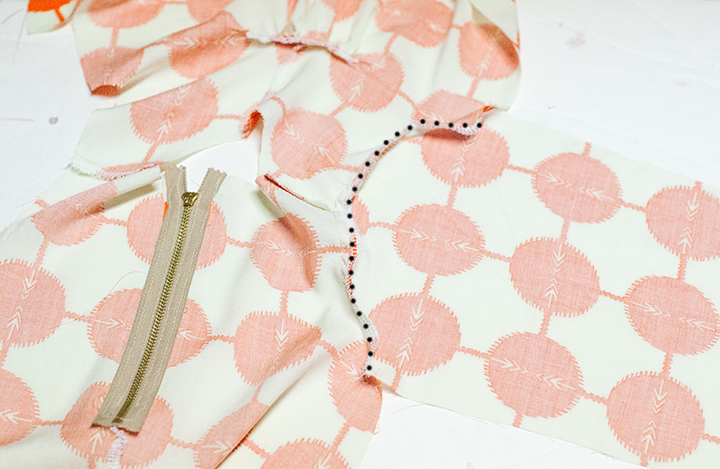
With right sides together sew the sleeve in place or the arm curve. Finish seam as desired. Then repeat with other sleeve.
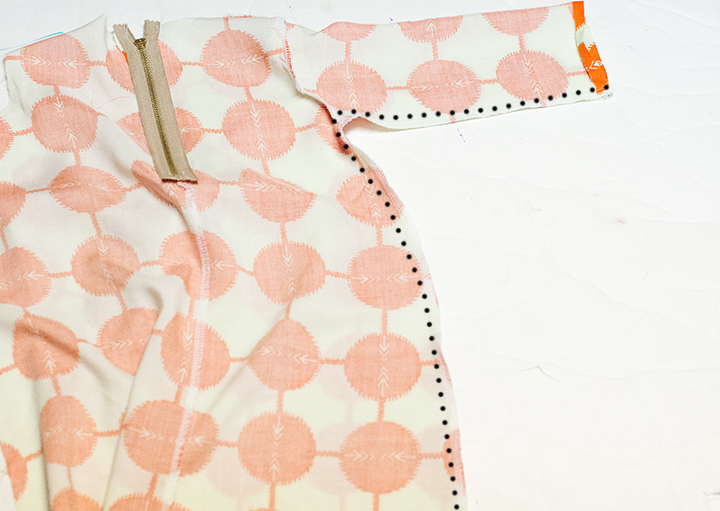
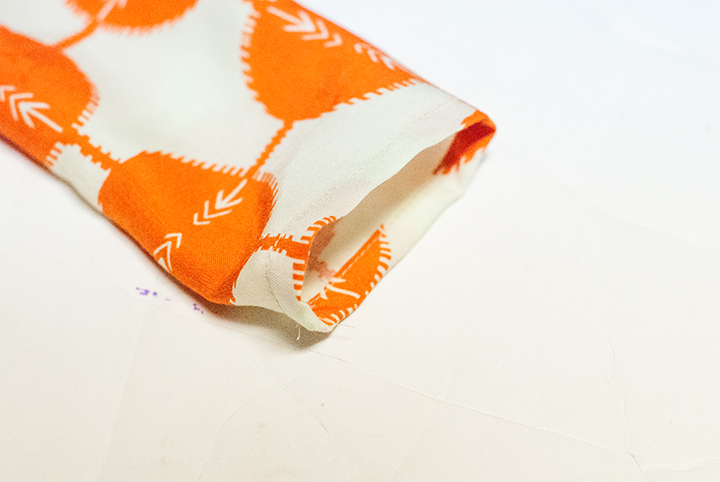
I like to press the sleeve edge before sewing the side so it’s easier to hem the sleeve later. Press the edge under twice and then unfold once. Sew right sides together matching the front and back up, from sleeve edge to armpit and then go down the side. Finish seam as desired. Repeat with other side.
Then re-fold the sleeve edge and sew in place to secure the hem.
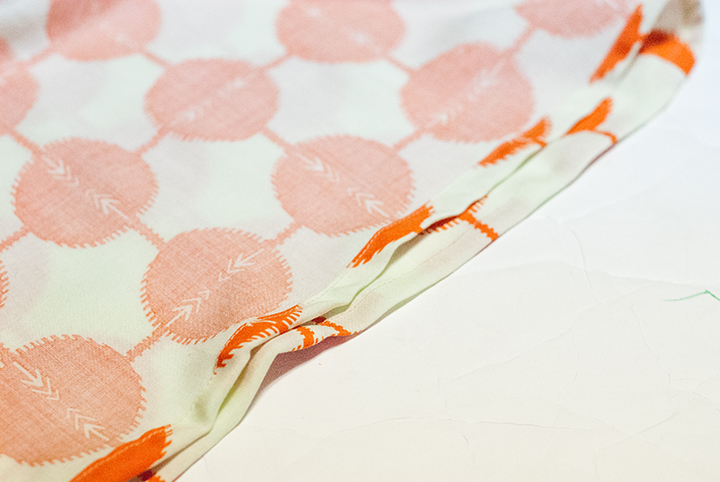
Hem the bottom by turning it up twice and sewing in place.
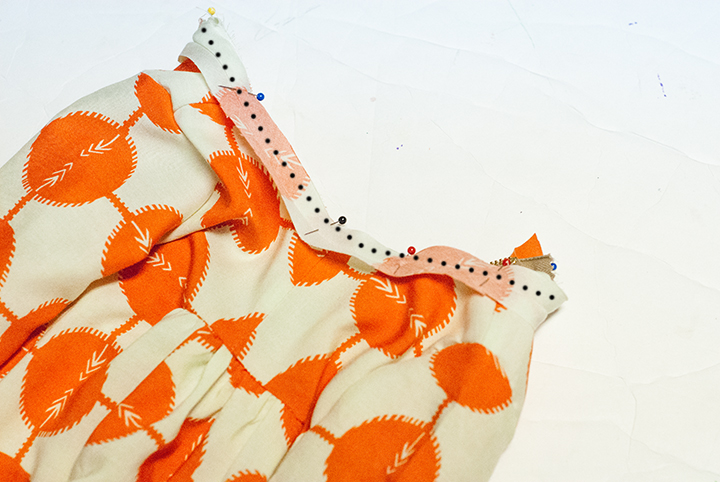
Lastly to finish the neck line, Sew the bias tape right sides together to the neckline. Have the bias tape hang over the back edge by 3/8″ on either side and trim to fit as needed.
Then turn the bias tape to the inside. Fold the bottom edge under and tuck in the center back sides. Then sew along the folded edge to secure. Then you are done.
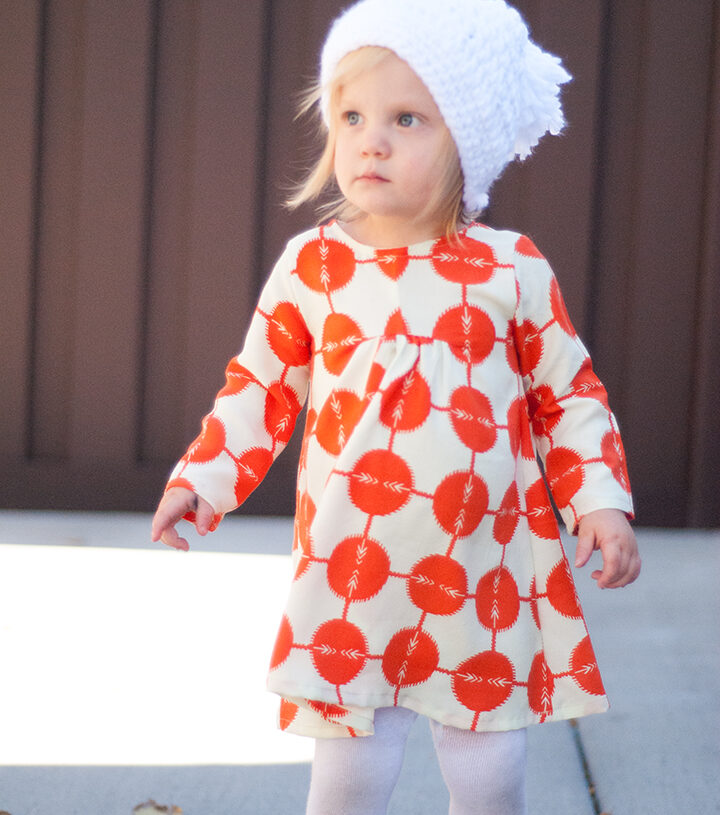
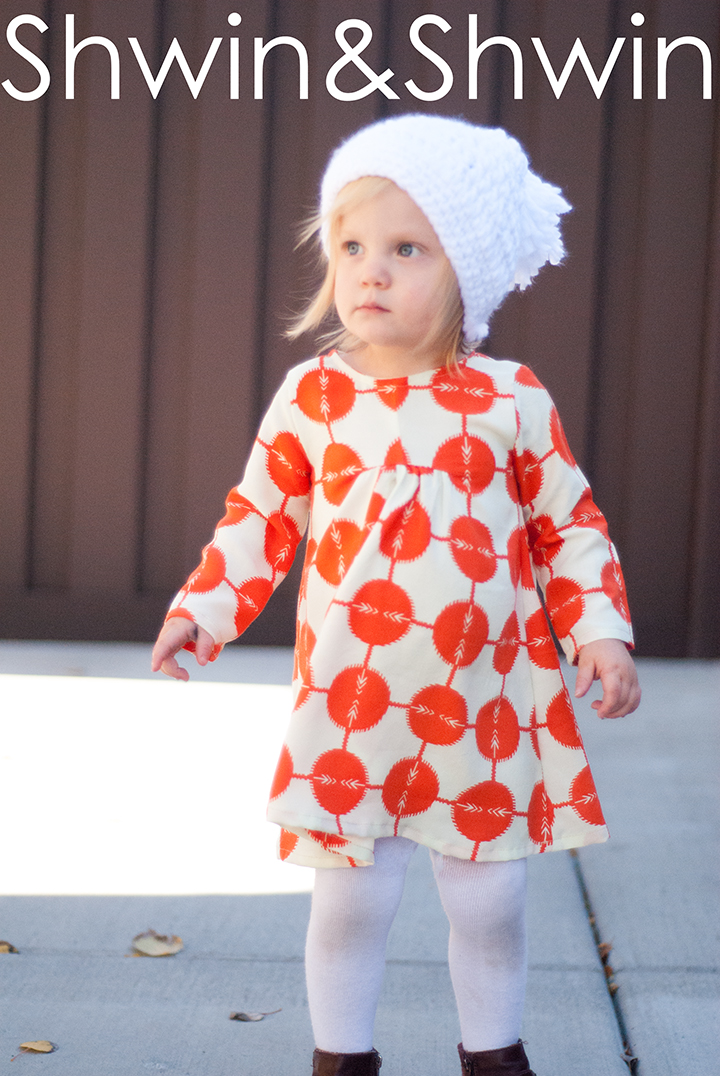
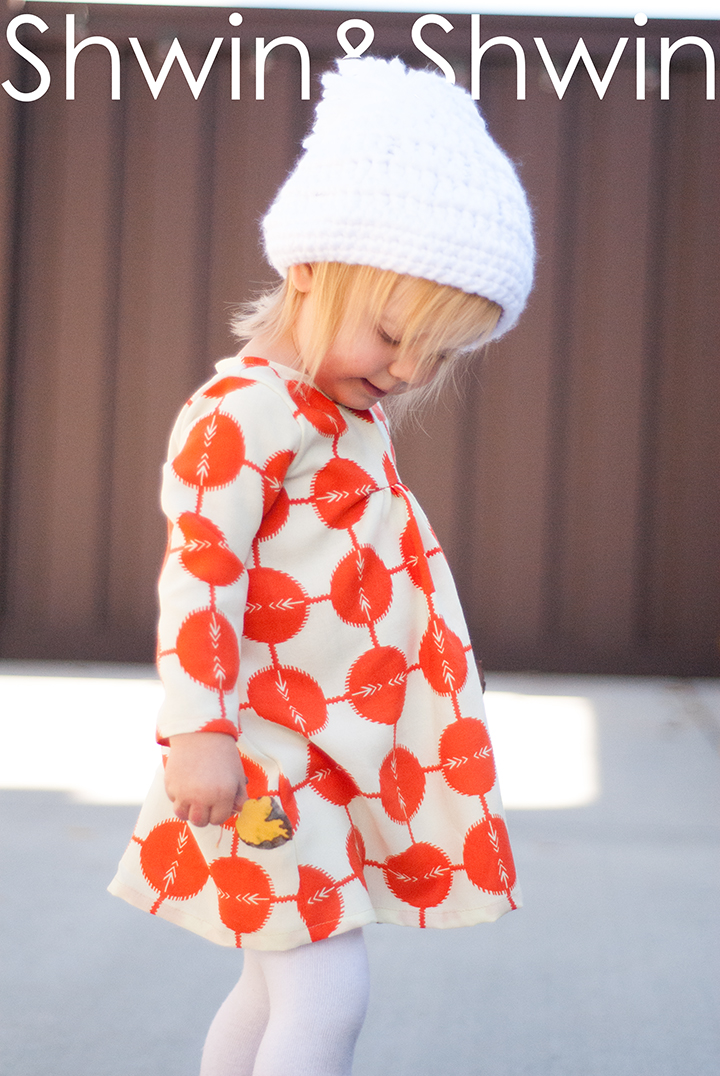
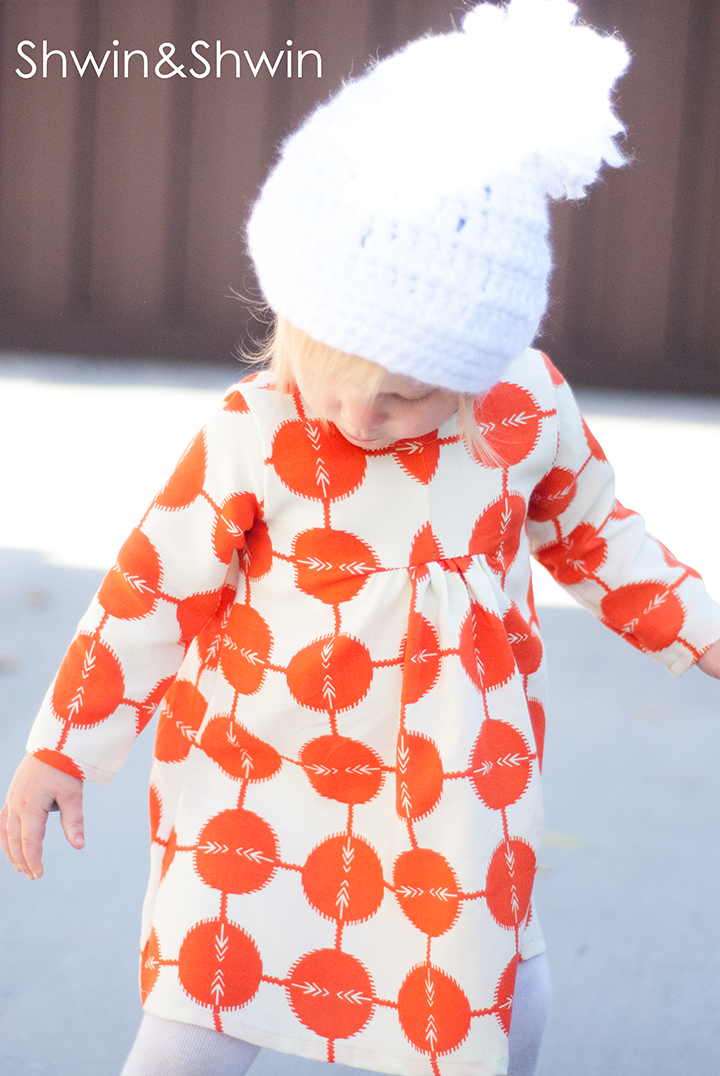
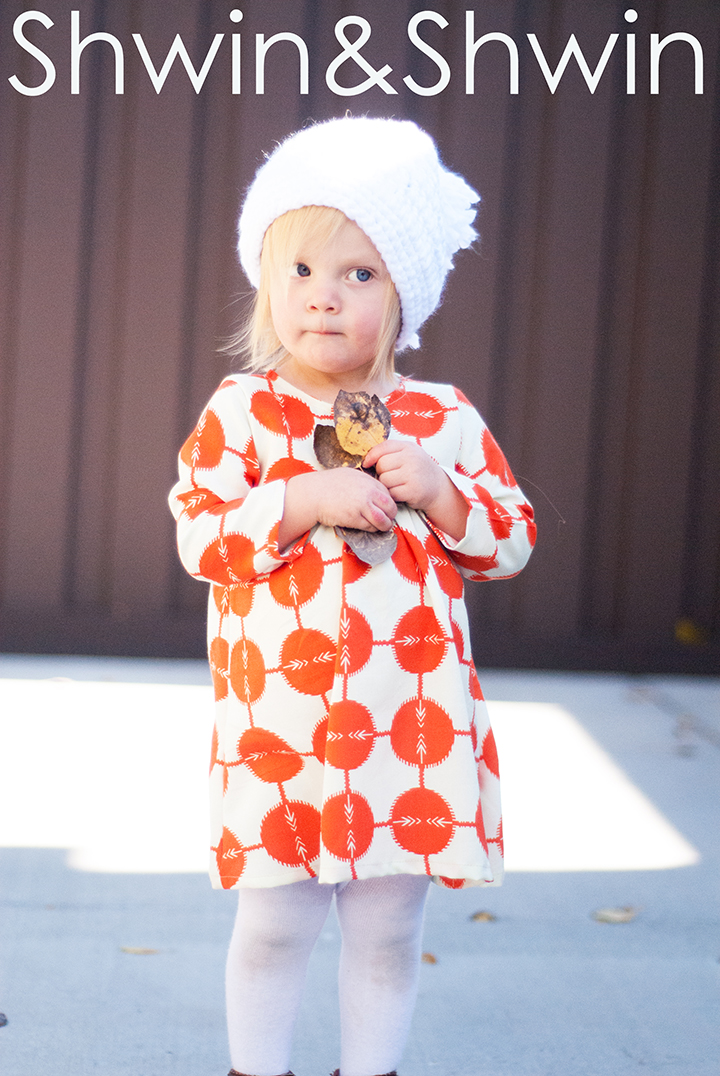
A sweet a-line swinging dress with a cute little gather in the middle.
I love that little detail, and that there isn’t a seam straight across the front and back bodice.
Perfect for the little girl who is holding on to fall as long as she can. (we all are, I am ok with winter starting on December 24th)
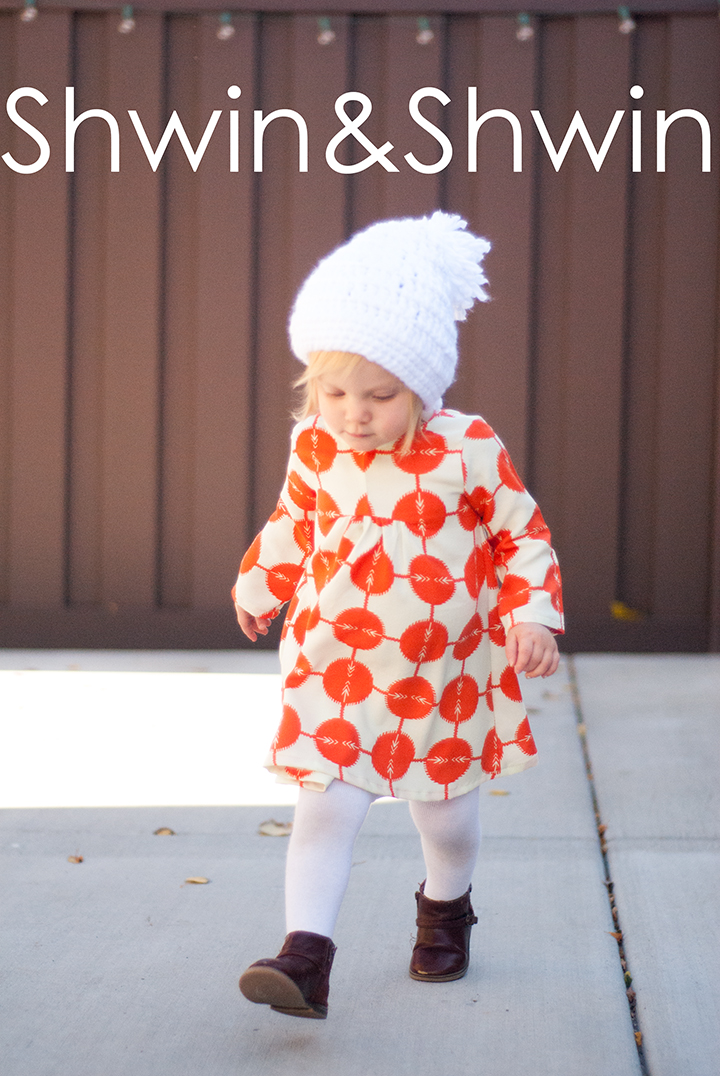
NikKi
love it! I’ve been on the hunt for long sleeves dress patterns for my daughter, and this looks perfect!
chae
Love this dress and thank you for sharing. I can’t wait to see the full pattern and please make it up to 14. I would like to make one for my dd 🙂
Christine DANNEELS
Thank you very much for this pattern. It is simple and very beautiful; love it.
Meritxell
I loved It! Do You think It could fit to a 2 years old girl enlarging the skirt? I’ve just bought the Apple l’ou te wear too!
Emily
oh that is fun that the front is one piece! I thought it was a yoke and skirt… very clever. I love using up scraps so efficiently!!
Anna Lööf
It´s perfect! I´m gone try it for my petit 2,5 year old daughter. The Penny Playsuit did fit her, but I made it as a dressat KCW.
Thanks!
Tiffany
I love this dress! I just made two in some cute fabric that has been hanging around. Love the long sleeves! I did one in a 3/4 sleeve, and they are both adorable. Thanks for the free pattern. Although, next wintertime, I will need the next size up! Hopefully, this one ends up being sold in all different sizes.
Erin
I made this dress!! I did a short sleeve version in navy and white gingham for my little girl and it’s adorable. Thank you so much for sharing the pattern – it’s just gorgeous on her.
WAnde
I’m new to seeing and was wondering what type of fabric would be best to make this dress?
Fay
I would love suggestions on how to reduce size for a 6 month old or increase, I would assume if I increase/decrease the print size % it would work, but any idea how much or how little to increase or decrease?
Joyce
what is the seam allowance for The Carolina dress? I am assuming 1/2 inch but when I look at the illustrations I an not sure.
Thank you for your reply.
Shauna
The seam allowance is 3/8″
karen
does this pattern come in 3 toddler size
Lindsey P
Loved this and it came out ADORABLE, although I needed a full yard (I may have cut inefficiently though). I blogged about it here http://lindseyraetoday.blogspot.com/2015/03/another-secret-dress.html
Monica
Hi,
I tried making this dress but I end up an inch short for the sleeves from each side =(
would anyone have some suggestions or did this happen to anybody else?
Syble
I am having the same problem with the sleeve being too small for its armhole. Did you get this figured out yet ? Or did you get any help.
Sheila Robson
There doesn’t appear to have been a reply on the armhole issue, but I measured and it is definitely too small. I measured the armhole – not the pattern edge, but where the seam allowance would be (assuming 3/8″). It’s the same back and front at c 14cm, from the underarm seam allowance to the shoulder seam allowance. The actual sleeve is only about 12cm from the underarm seam allowance to the fold (also at where the seam allowance should be). So I’ve added about 1/4″ or 6cm to the underarm seam (continuing the curve) and 5/8″ or 1.5cm to the fold seam. I added the 1/4″ on the seam mentioned to the armhole end of the seam, but not the wrist, I angled it down to the original pattern at the wrist, but I added the 5/8″ all the way down the fold. I am just about to make it up now. We’ll see how it goes! (But a cute pattern.)
Sheila Robson
I was so concerned about this that I contacted Shauna, and she a) confirmed that was definitely the pattern she’d used and b) thought somehow perhaps the file has been corrupted. When I print it, the 1″ square is correct, and the overall length seems fine, but some of the other measurements on the pattern don’t look like Shauna’s picture. In particular the sleeves are definitely too narrow, I measured the seam line on the armscye (allowing for shoulder and side seams) and on the sleeve top (allowing for side seam) and the sleeve measurement was too short. I ended up adding half an inch to the fold side of the sleeve pattern, and 1/4″ to the seam side. Then it fitted. But I’d like a steeper curve on the sleeve really, to get a really good fit. I think it does work OK, but it needs a degree of fiddling with. Suggest you measure the child across the shoulders first and then measure the back pattern piece across, and see if you need to make adjustments. However, let’s be fair, this is a free pattern, it’s a really pretty idea, and I am always grateful for the chance to try free patterns.
saba.b.b
goood
kholod
fantastic!
Ramadan
Goooooooood
very very good
Ricki
Is there a Seam allowance inclusive in the pattern? If yes, what Size? Thanks
Sheila Robson
Where you have to join the gathered part to the straight bit of the bodice it says 3/8″, so I’d assume that’s what it is everywhere.
uooni
thank you
usra.ura
thank you