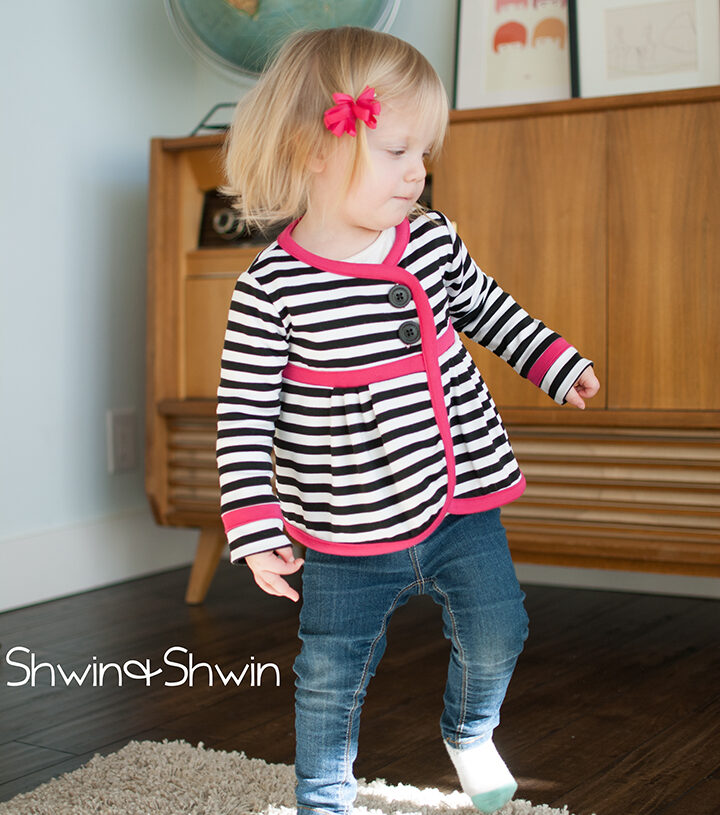
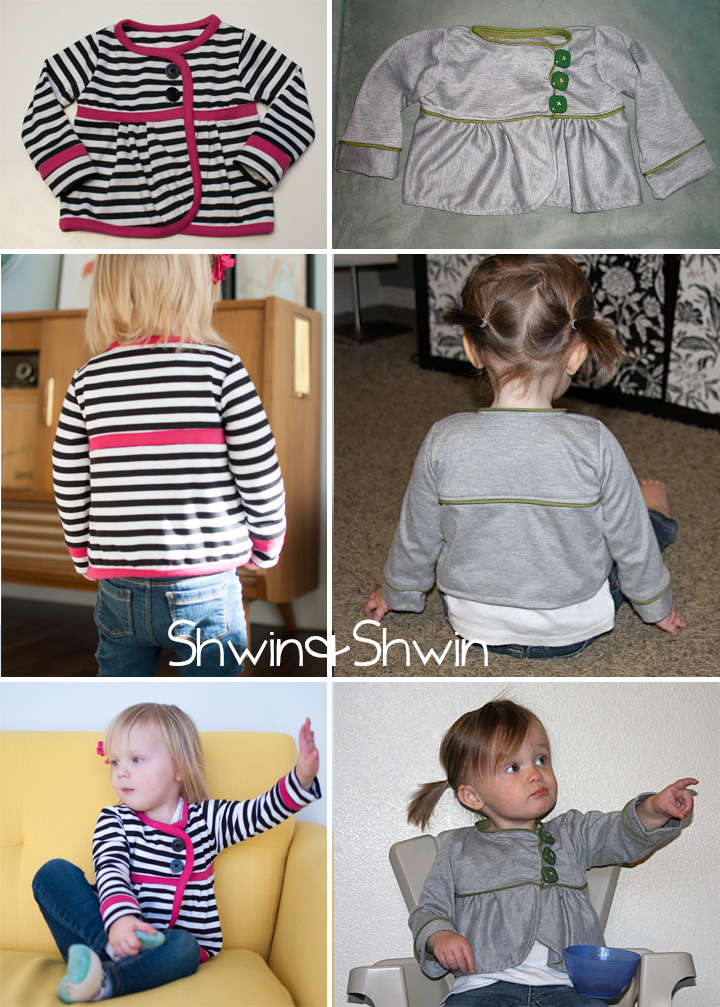
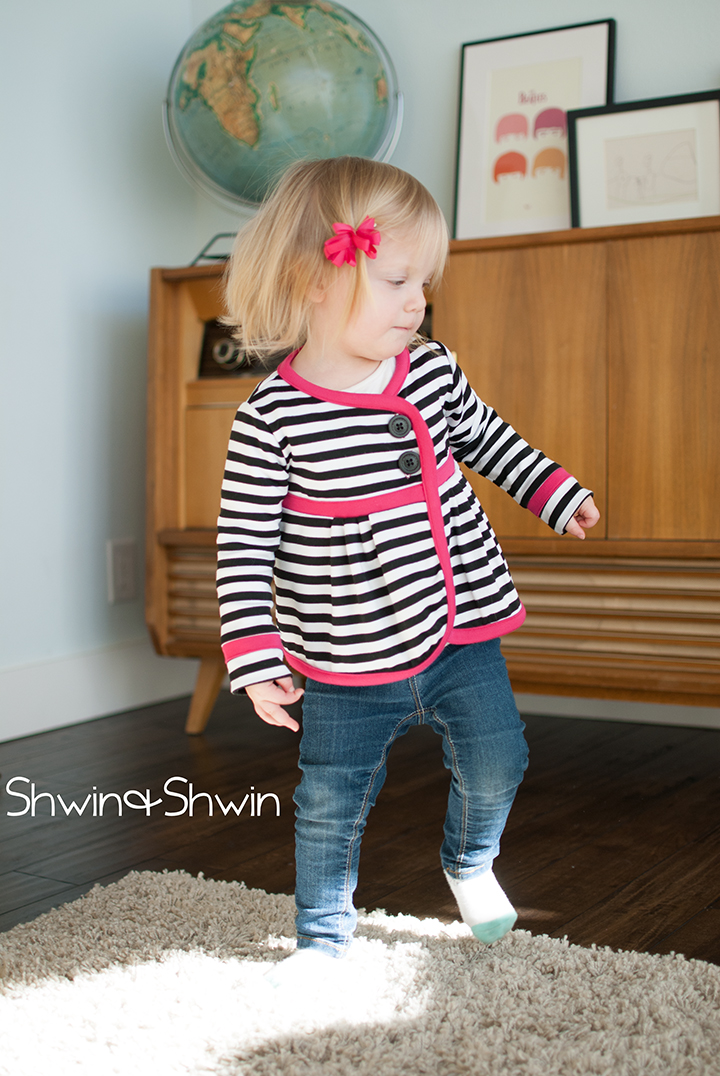
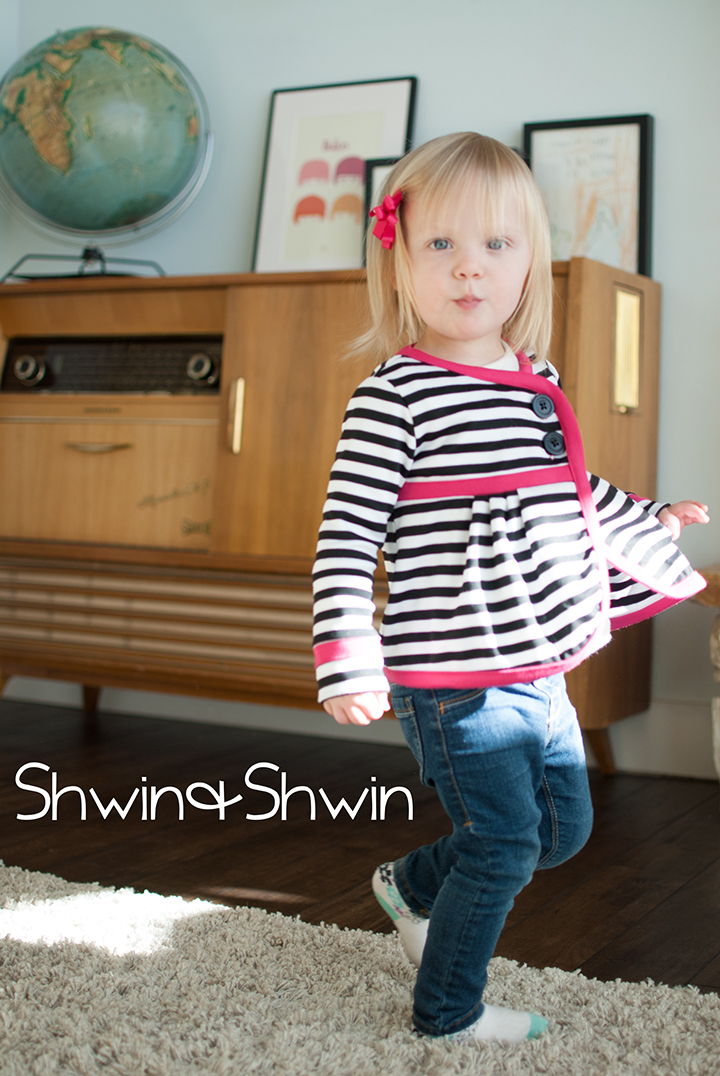
Way back when Abbey was Penny’s age and I had just started blogging all of the things I was making, I shared a knit jacket I made Abbey. Recently I was going through all of Abbey’s old clothes and I came across the jacket, (among several others) seeing it made me want to make another one, a fresher, and tweaked version.
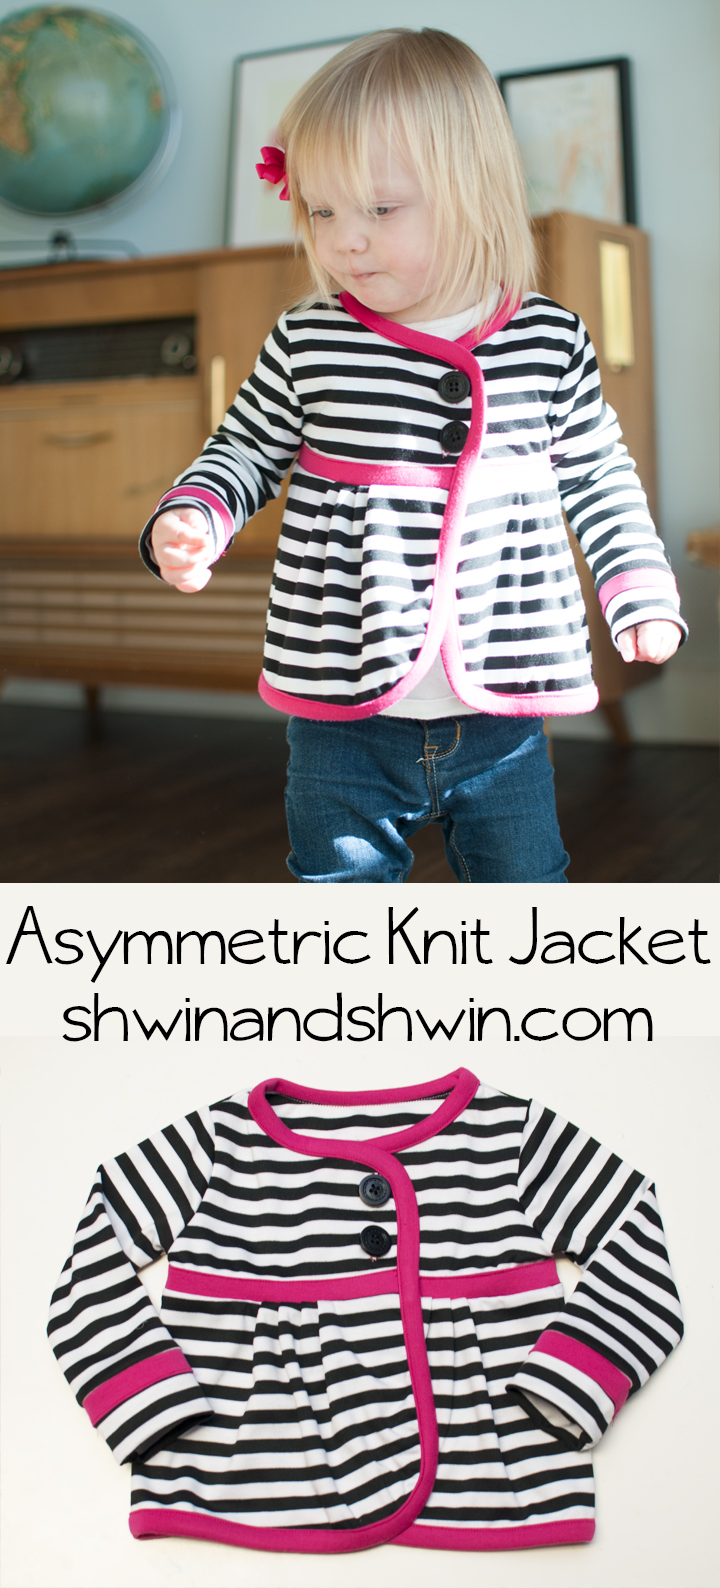
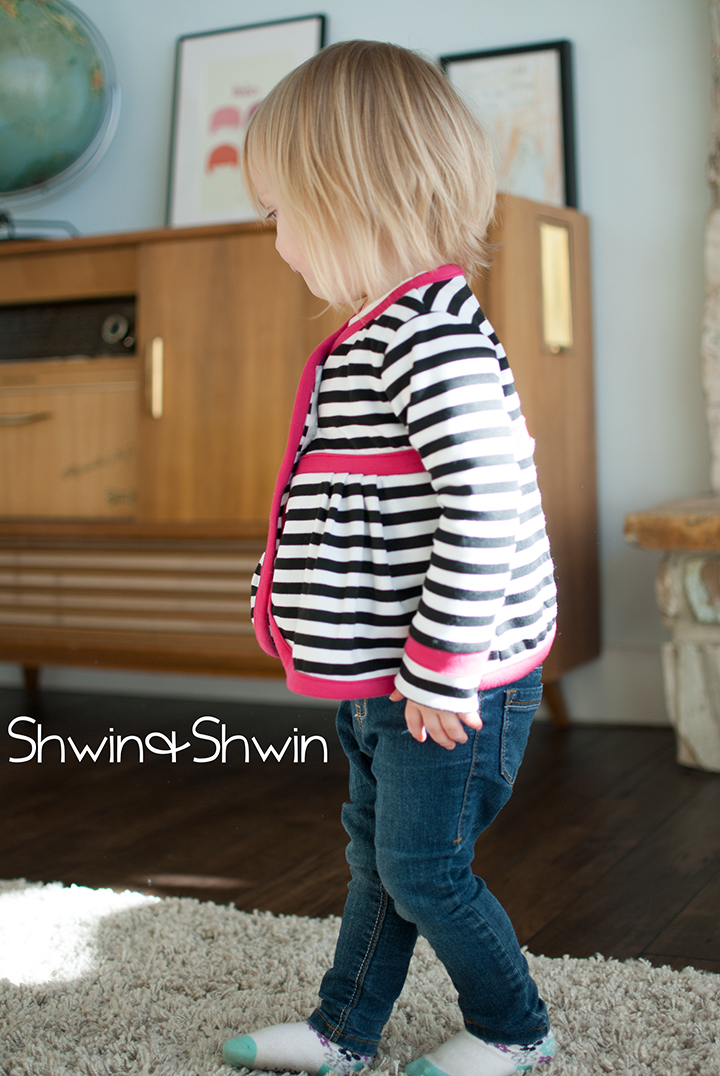
So I made a knit jacket with some changes, most of the changes were based purely on the fact that my skills have evolved, like adding real button holes instead of button loops. and I love it as much as I loved the first one.
For the original (the grey and green one) you can find the tutorial HERE
The original is a cropped jacket with piping accent. The tutorial walks you through how to make your own pattern and how to sew it, I made the changes as shown below:
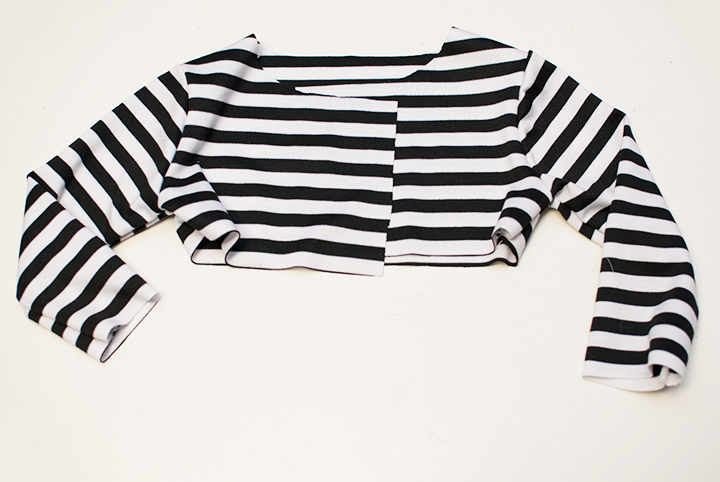
I sewed the sleeves and upper bodice only I skipped adding the piping to the bodice. I also didn’t sew the cuffs on yet.
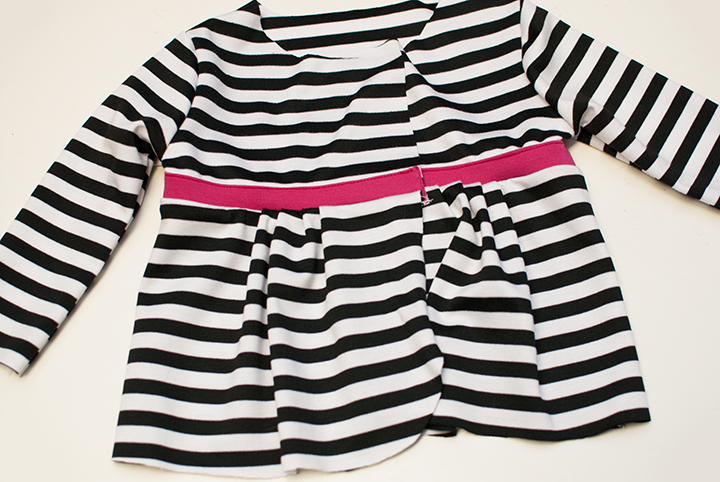
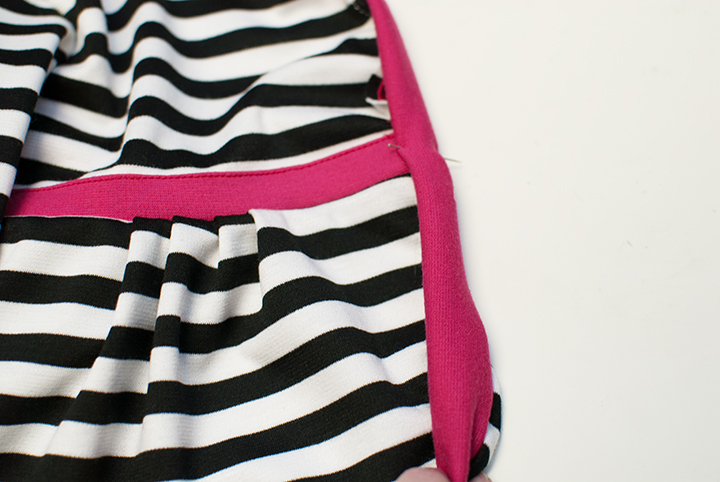
Then using a 2″ strip of knit fabric I folded the strip in half and then with the raw edges toward the bottom edge of the bodice I stitched the strip in place (stretching slightly just so it would sew smoothly) Then add the bottom of the bodice the same way as the original (only I made it longer so it wasn’t cropped)
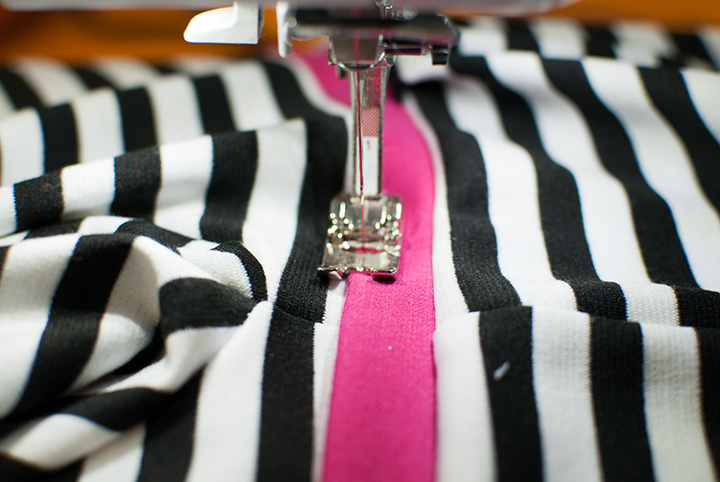
Once the lower part was sewn on I press the folded strip upward and then edge stitched along the fold to secure it in place. (again stretching slightly)
Then I had a jacket like so.
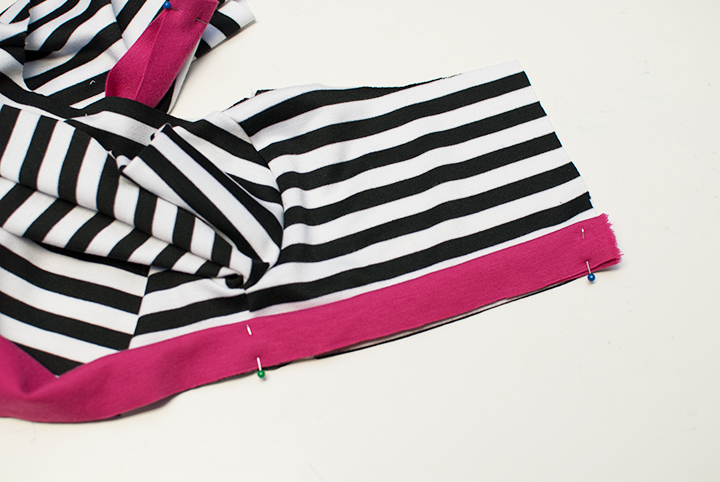
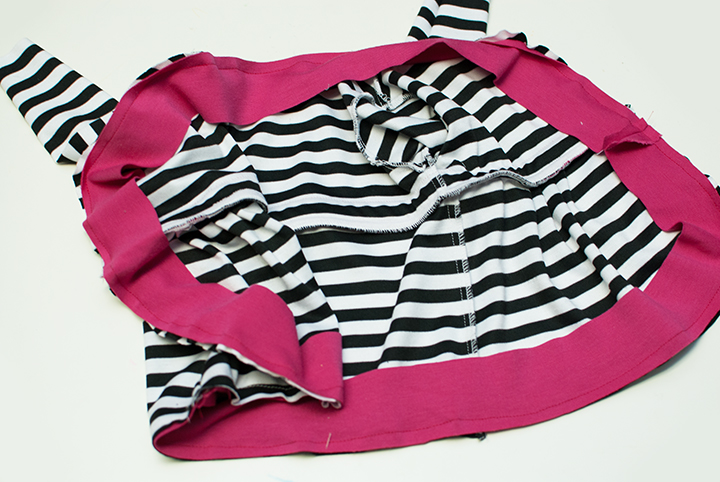
Instead of hemming the edge I decided to bias trim the outside edge, it would add a little more color pop and finish things nicely. So I again cut a long strip that was 2″ wide. Then with right side of the strip to the wrong side of the jacket, stitch the trim in place all along the outside edge. Stretch the trim slightly so it doesn’t ripple.
Then fold the trim in half twice turning it towards the front of the jacket. Sew along the fold to secure.
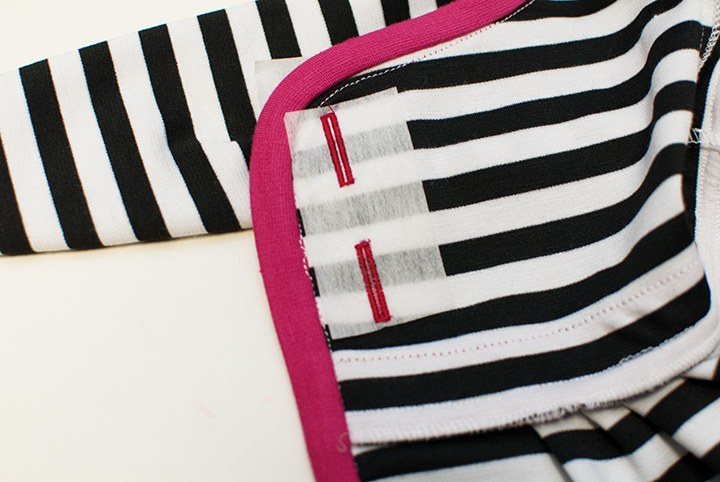
Then I added button holes but since it’s knit I added stabilizer, I used tear away stabilizer and added it to the inside and the outside, it helps to sew perfect button holes.
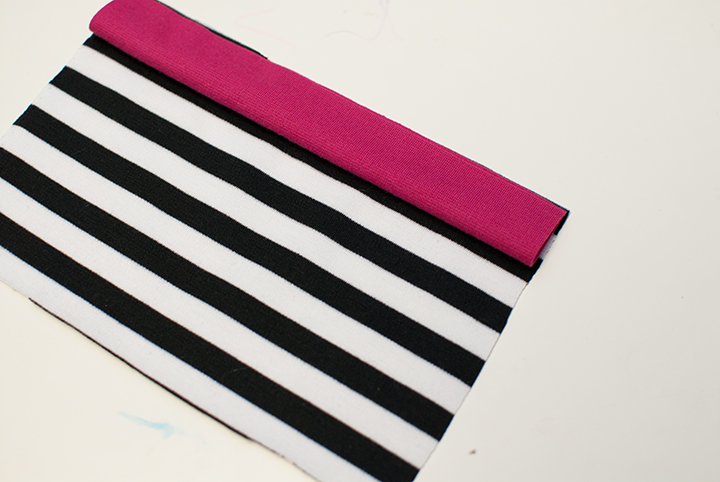
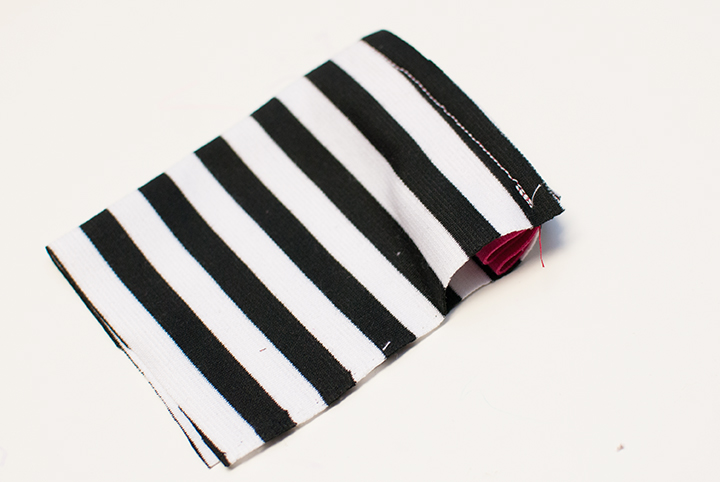
Lastly the cuffs, which are sewn nearly the same as the original but I again did the trim as the accent and I added it first. Fold the trim in half and then match the raw edges up with the top edge and sew in place.
Then with right sides together fold the cuff in half and sew along the edge.
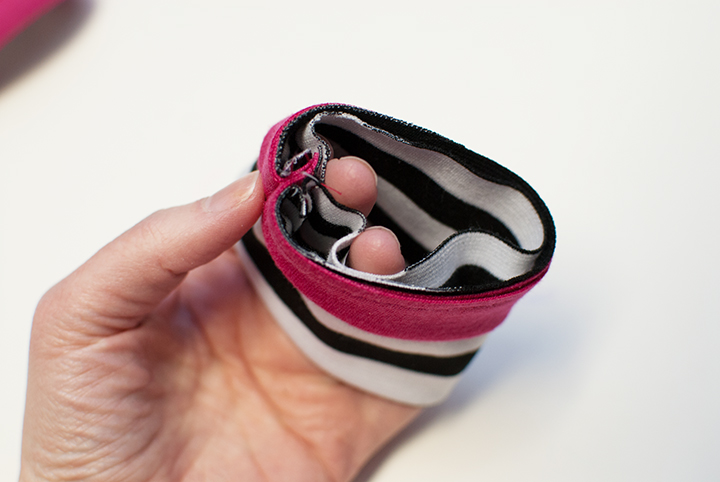
Then fold the cuff in half so the seam is on the inside of the fold, and you have a cuff.
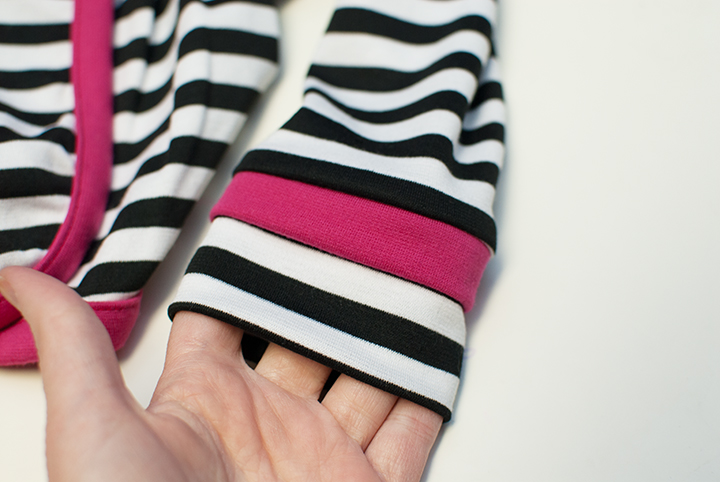
Sew the cuff to the end of the sleeve so the trim is towards the right side of the sleeve.
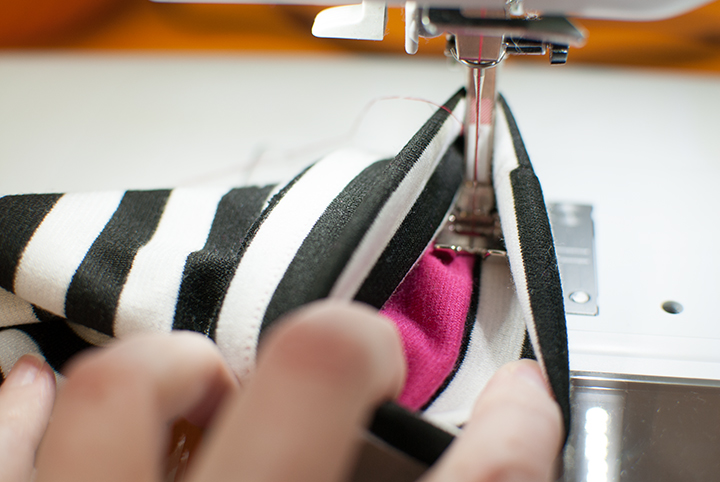
Lastly I top stitched the cuff accent in place just like I did for the chest, doing this it’s easiest to sew with the needle on the inside of the cuff along the folded edge of the accent.
That’s it, and making it for the second time made me love it even more. I have a few other old favorites on my to-do list as well.
I used Ponte De Roma Knit for this one, and I recommend using a likewise sturdy knit for the structure of the jacket. For the original I used an interlock.
Megan
Shauna, this is SO cute. I loved the original and have been following your blog ever since. But I love the colors of this one even better and am a big sucker for anything striped!
Shauna
Thanks! I didn’t do pink when Abbey was this age, and while I still try to avoid it I allow it in small doses 🙂 having 2 girls who happen to love all things pink and purple can change a person.
Kathleen
I absolutely adore this little jacket! I sure wish you had it as a pattern to purchase in your shop. I did read the first jacket tutorial, but I don’t feel confident enough to make my own pattern quite yet.
Shauna
I may just make a pattern for it 🙂
Kathleen
YAY!!!!!!!
justine
What a sweet jacket! Definitely deserved to be made again. And it’s fun to see your new photos next to the old ones.
Mikea
This is really cute! I want one in my size. I think im serious haha
Autumn
I LOVE it Shauna! That pink trim is perfect with the stripes. Thanks for the some great inspiration.