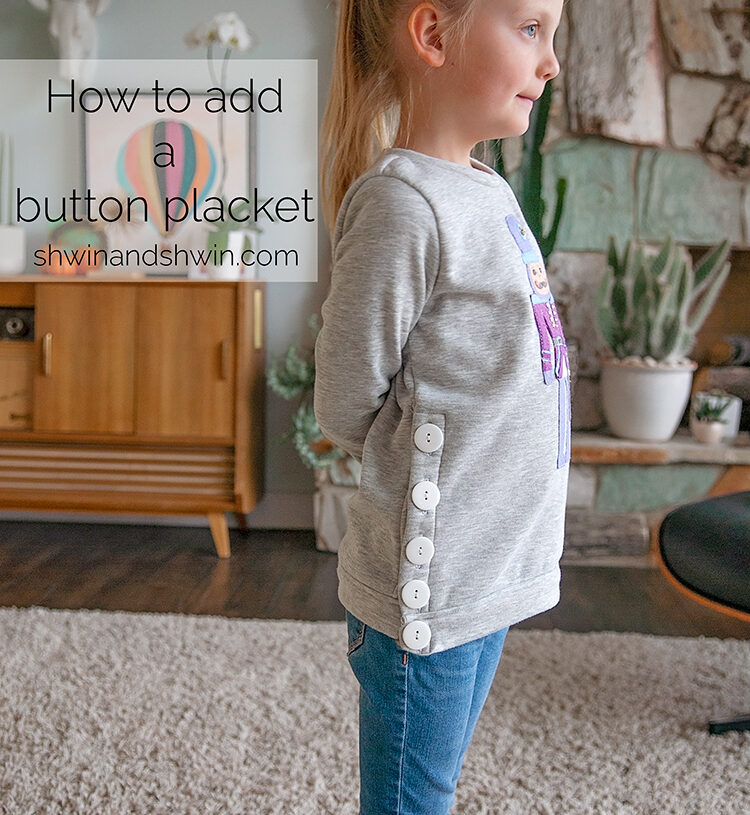
Recently, (I think on a facebook ad) I saw a cute sweatshirt that had big chunky buttons going up the side. I thought it was so cute but it was being sold by one of those fly by night companies. The ones that you can’t trust and shouldn’t purchase from. (speaking sadly from history here) So I filed the idea away until I would sew one up for myself.

I thought about adding it to an oversized comfy sweatshirt. (like the Apple Loungewear) Ultimately I decided I wanted a more fitted sweatshirt. The Anytime at all Tee pattern was perfect. I made the button modification and I added a band along the bottom instead of just the hem. I also added the Nutcracker applique free pattern here.
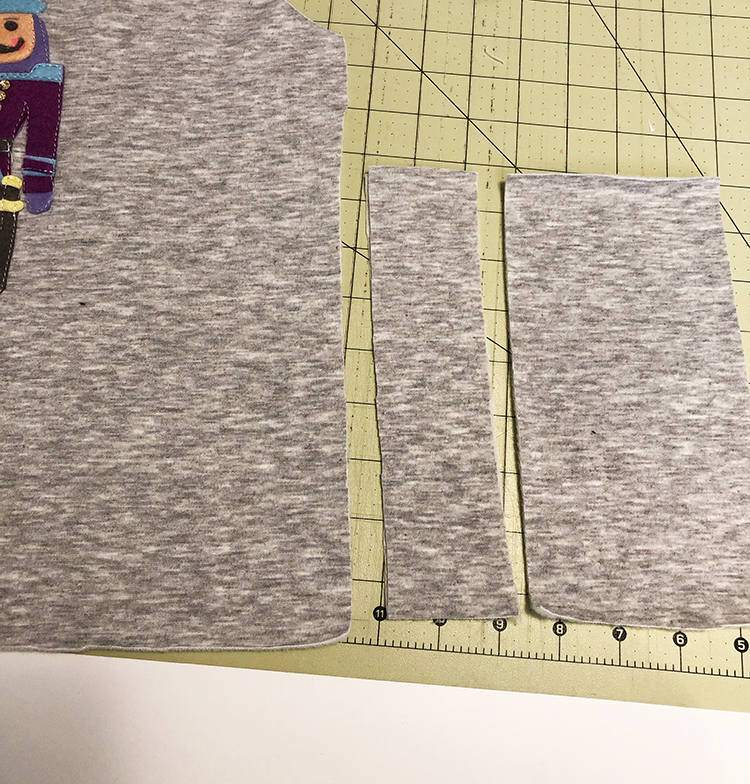
Sewing the button placket
To add the button placket, you will cut out and sew the pattern as usual. Before sewing up the side seam you will add the button placket pieces to the front and back. To do this you need to determine a few things. 1. how tall do you want the placket to be? I had mine go almost to the armpit. 2. how wide do you want the button placket to be? I used 1″ buttons so I made it 2″ wide. For the back placket piece I made it twice the width, so it was 4″
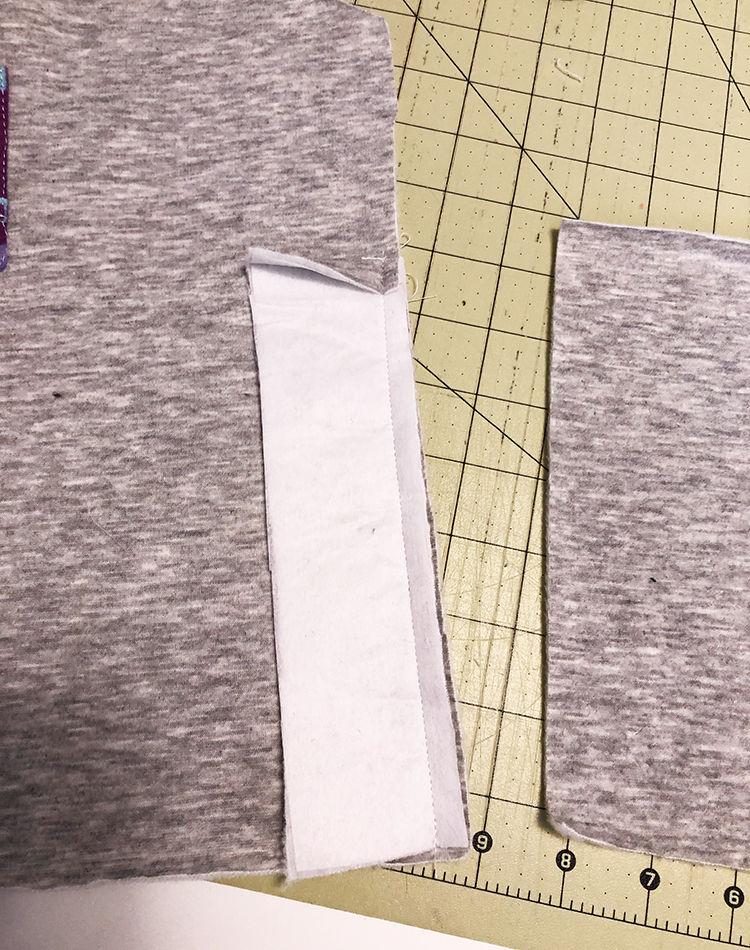
Now to sew the placket pieces in place. Fold the top edge of the placket piece under by 3/8″. Then with right sides together, sew it to the front bodice along the side. (repeat for the other side of the front as well)
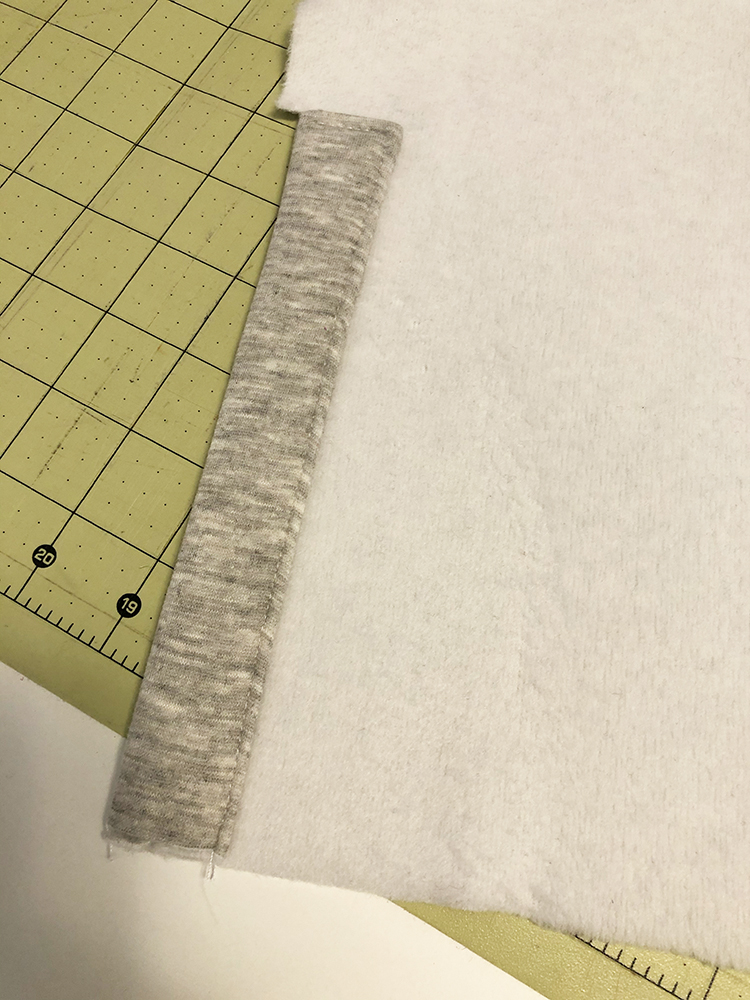
Then fold the edge of the placket piece over by 3/8″ press well. Fold in half so the folded edge covers the seam, then sew along the folded edge to secure. Cut a small notch at the top so the seam allowance of the bodice can still lay flat.
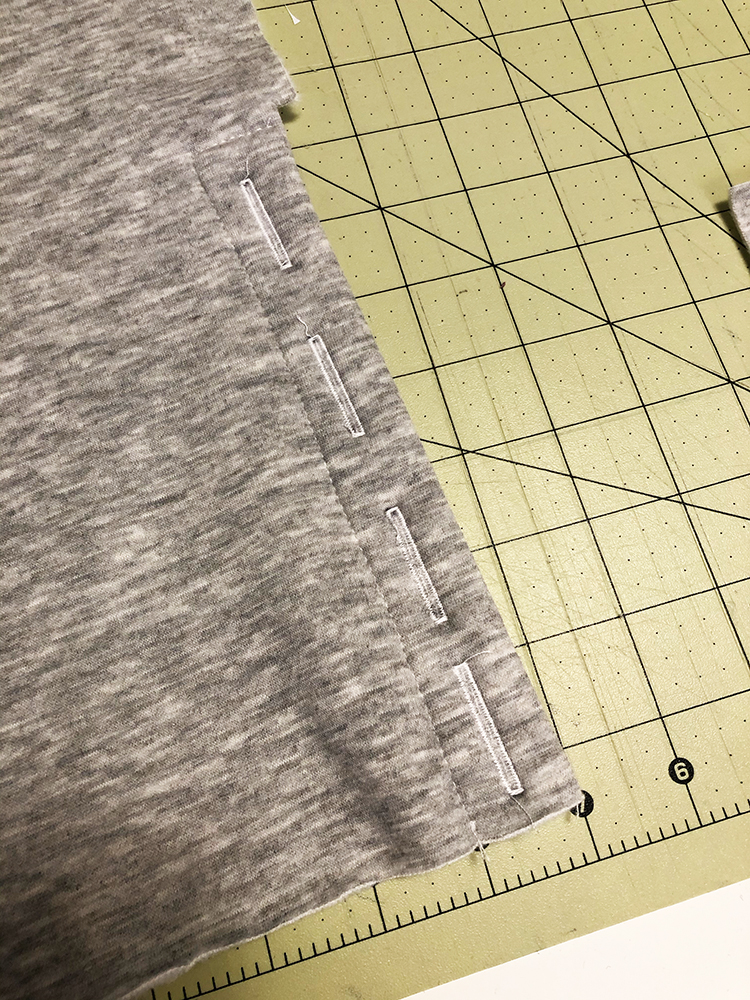
Next add button holes to the placket piece.
*It should be noted I also added a button hole and button to the waist band. I wish I would have sewn on before adding the button holes, live and learn.
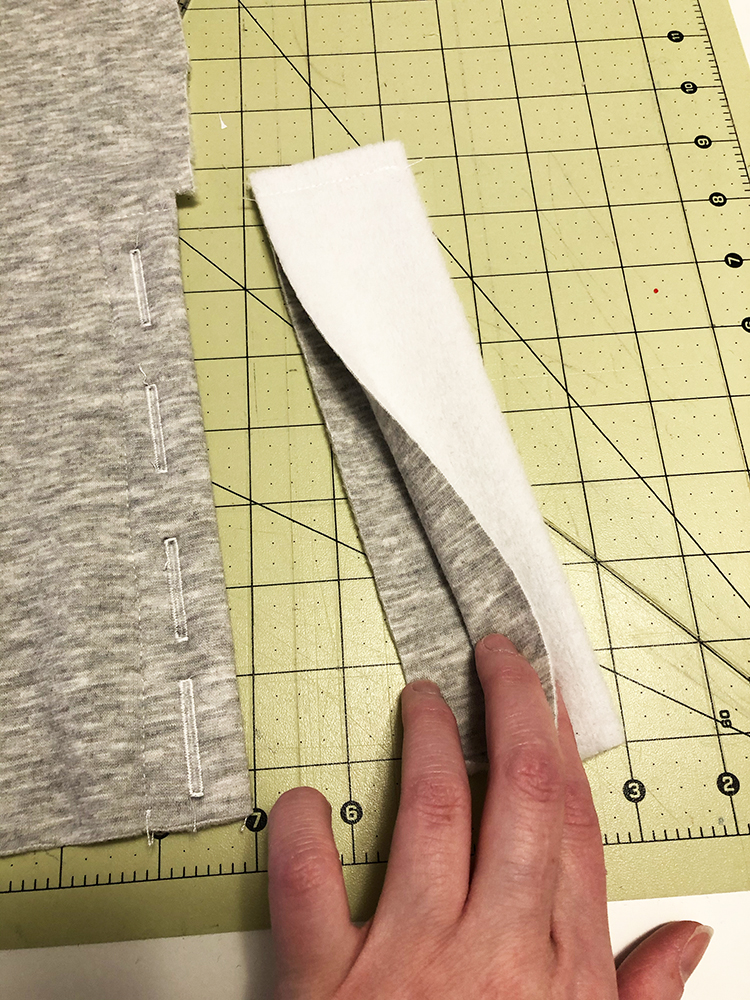
Now, for the back placket piece. Fold it in half right sides together, and sew along the top. Then turn it right side out.
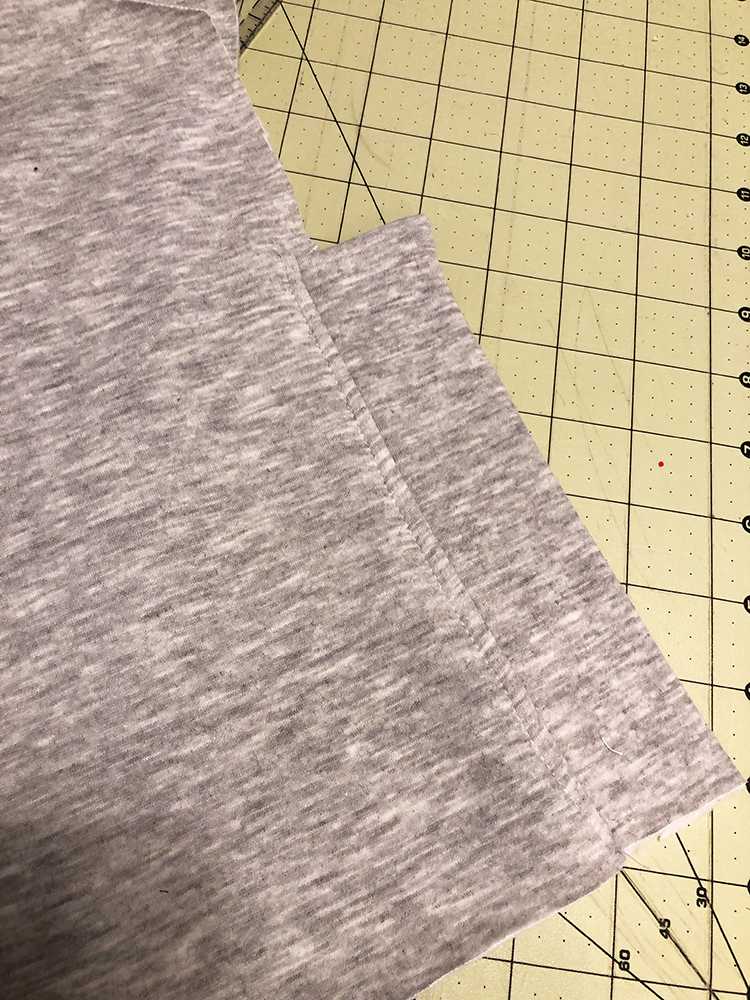
With right sides together, sew the placket piece to the back bodice the same way you did the front. Press the seam allowance towards the placket piece and top stitch if desired.
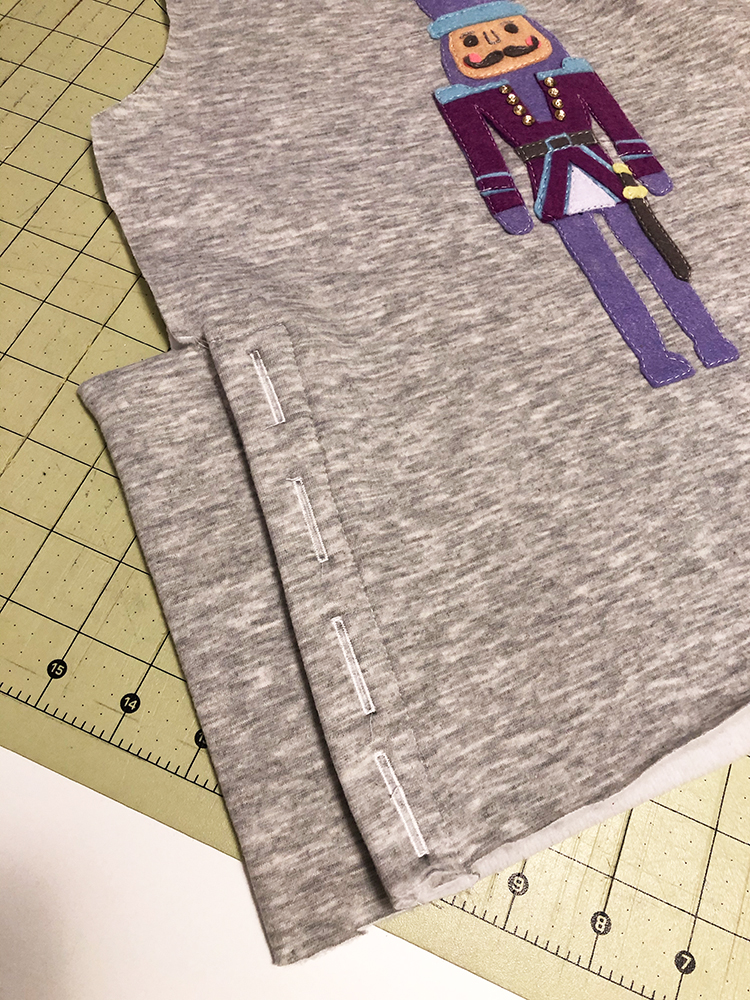
Lastly, you will notice that the back is wider than the front. This is so it can fold under the front and button closed. Sew the bodice right sides together now sewing just to the top of the placket. Finish the rest of the top as stated in the pattern. In this case I added a band and buttons to the bottom as well.

The top can be worn open as a cute split hem.

Or closed, as a buttoned up top.
