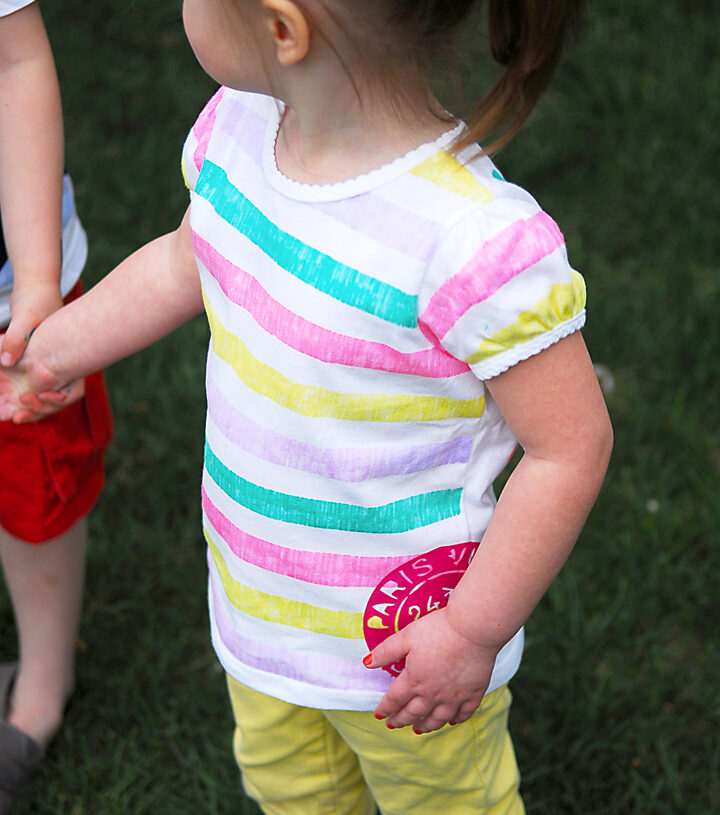
Stripes and dots are my two favorite things and this wraps them up into one super cute shirt, but you can use the same technique to make nearly any design imaginable. And guess what?? It is super easy! Woohoo! Let’s get started shall we?
You will need a tee shirt. I used a granimals tee from wally mart for around 3 dollars. You can use any tee you have on hand, perhaps one that has a stain? You could cover that bad boy up and then bam! New shirt. You will also need fabric markers. They come in tons of colors and can be found at nearly any craft store. I am using this nice pastel set today you know due to the whole spring thing. You will also need tape, I used painters tape but any tape will do, and a ruler and some cardboard.
Now to prep your shirt put cardboard inside to protect from any leakage, and it helps give a nice smooth surface to color on. Then with tape and a ruler measure off stripes going up the shirt. You can make the stripes as wide as you like. When taping pull the shirt so it is snug but not super stretched. The tape should also secure it to another piece of cardboard or a table so that the shirt won’t move on you.
Now grab your marker. There are a lot of different markers out there, my favorites for this type of project are the ones with a marker like tip. They are the easiest to use.
Color between the lines. I alternated colors but you can use one color to do the whole shirt. I also like the “vintage” or worn look to the stripes so I color up and down quickly across the shirt if you want a more solid look color slower and fill in all the white. For a deeper or more bold color go back and color it again.
When you get to the sleeves just color up to the sleeve and then tape of the sleeves when you are done with the front and color them the same way.
Once you are done remove the tape. Markers dry super fast like a min, so you don’t have to wait for it to dry. You will see nice crisp white lines. Sweet deal right?
Now for the back you can tape of stripes again and do the back the same as the front, or for fun you can do polka dots. I used all the same colors and drew dots all over the back.
The last thing I did was add a little iron on vinyl to the bottom. Just because I am seriously addicted to the stuff. I bought mine through silhouette and used my silhouette to cut out the design but you can also cut a design out with scissors or a scalpel and iron it right on to any shirt. (you can see more about how here)
That’s all there is to it. Easy right? And it is dry and ready to wear right away so if you are bored with your clothes you can jazz them up in no time and wear it right out the door.
It adds a fun pop to the boring white tee.
And my daughter loved hers so much she was jumping for joy… seriously the girl loves to jump.


Jen @ My Own Road
Ooh I love the stripes!! I recently tried to use spray paint to make stripes on a shirt….didn't turn out well at all. This is MUCH cleaner and nicer looking 🙂
Katherine
Oh yes! I remember this one! Such a cute shirt! 🙂
Mia
woow! it's a great idea! I like it these fabric markers!! lovely tee and good coordination with stripes & dots!
{jen} iCandyhandmade
Love this! Would be a fun kid project too!
Lynette @ My Craft Discovery
I think I may need to make one of these for me. 🙂
Shannon
OH BOY! Fabric markers! (That iron on vinyl is fantastic!)
Eva {Tales of the Scotts}
What a great idea and it's so cute! Thanks for the idea!