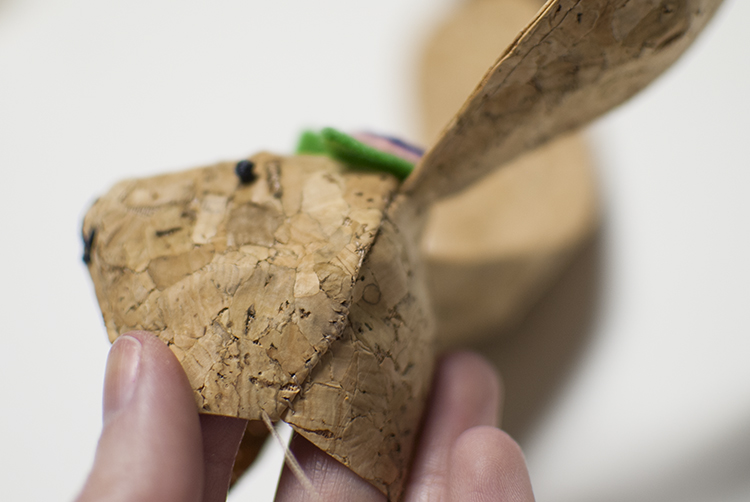
Today I am part of the DMC Blog Hop! I love DMC floss, needlepoint was actually my first love. Before sewing clothes obsessively I was usually found cross stitching or embroidering. I even took embroidery as a specialty class when I was in 4th grade. ( I made embroidered a monkey on a pillow case.) So I was pretty excited to be on the blog hop today, and even more excited to try out their new product, stichable cork. I had an idea in mind before the cork came, and then when I got it, it was different than I was expecting (in a good way) and I had a total change of heart. The cork is really just like fabric! It’s cool, I thought it would be thicker like rolled cork, but it’s actually super flexible and thin so it behaves like fabric would, but with a little more stiffness to it, like a canvas really. So my wheels started turning and I thought how cute would a little woodland creature look made from cork which looks like wood.
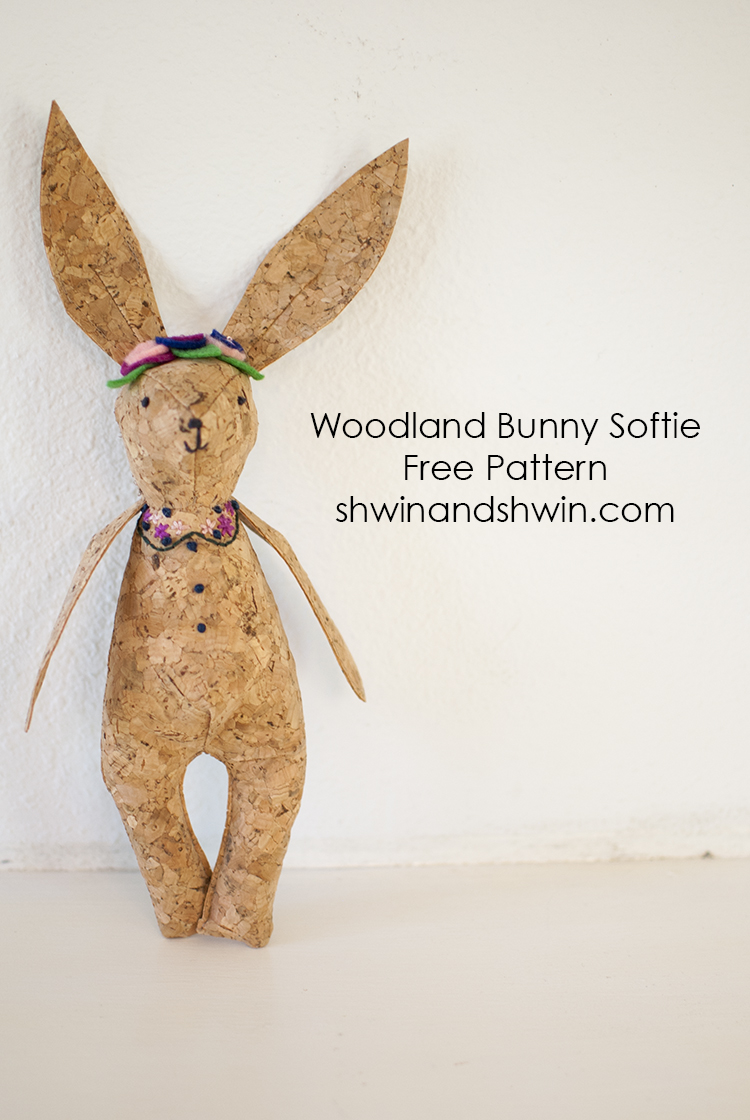
Born was the Bunny, and I have a FREE pattern for it so you can make one too!
You will need:
1- 10X10 sheet of stichable cork (cut carefully or you may need a little extra.
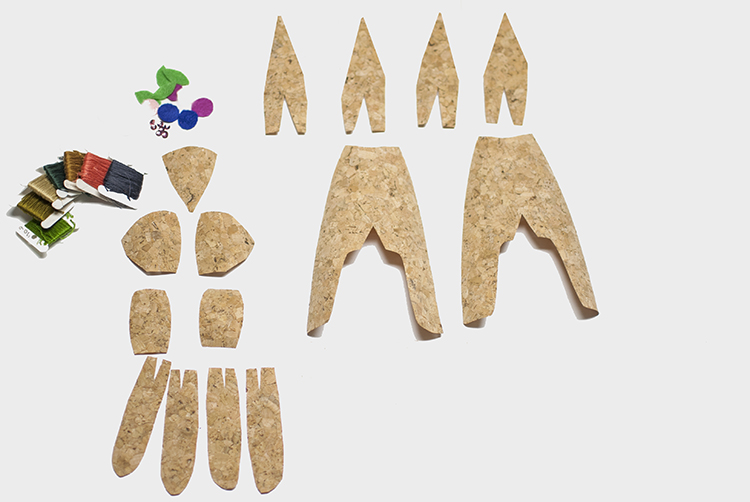
Free Pattern for the Woodland Bunny
DMC floss in a few colors, including black for eyes and nose.
Felt scraps and sequins (optional for floral crown)
Stuffing
Cut out your pattern, (the back head pieces were altered, so the picture is showing a slightly different shape)
Seam allowance is 1/4″
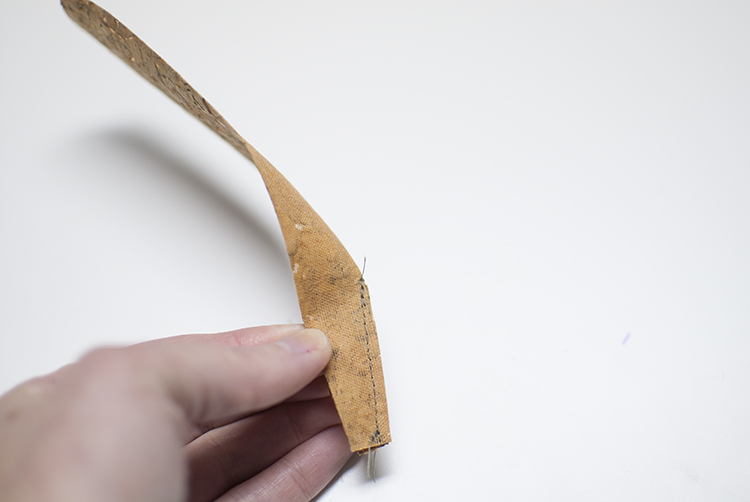
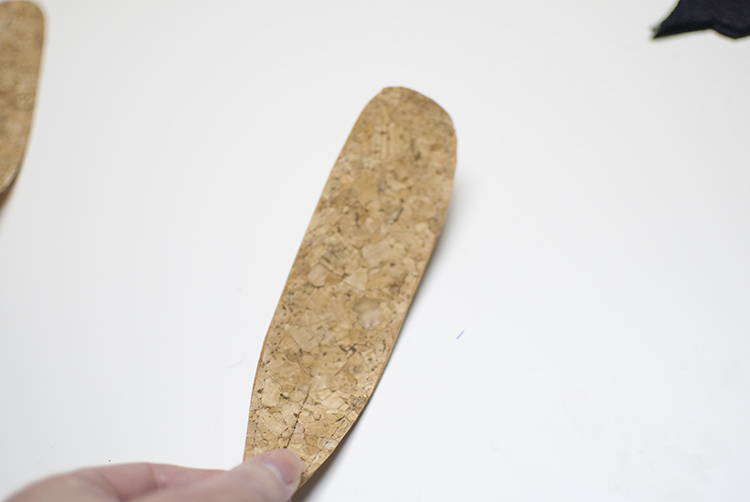
To start we will sew the ears and arms, these are sewn the same way just different shapes. To start fold the right sides together and sew the dart closed. Repeat for all 4 arms and all 4 ears.
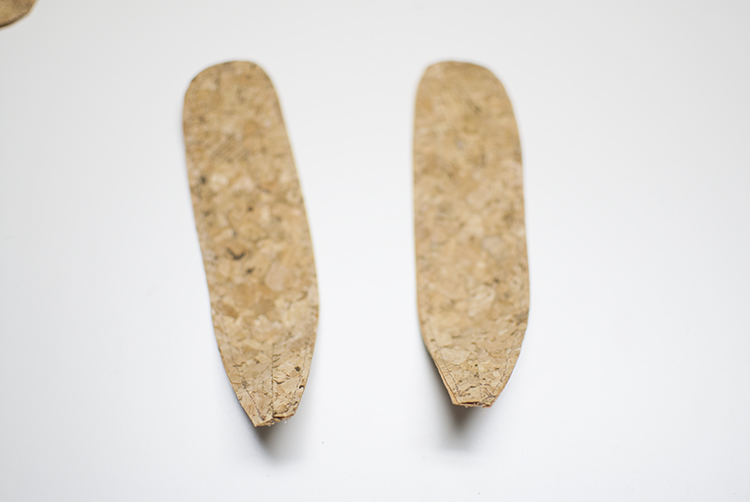
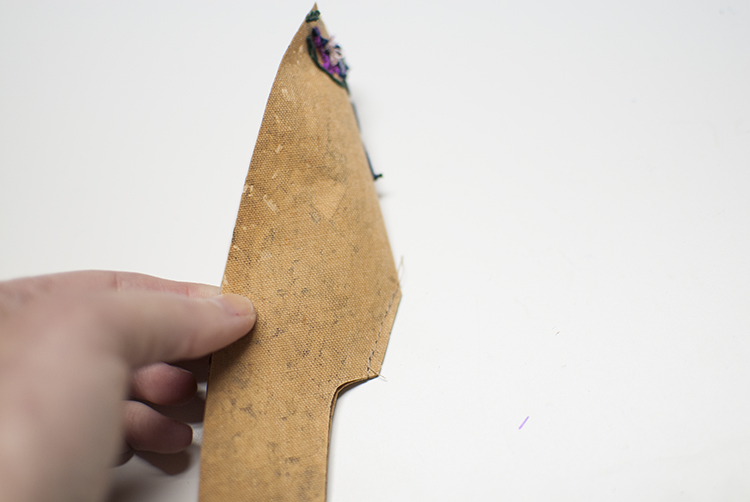
Then place two arms (or ears) wrong sides together and sew around the edges. These are sewn together this way and not turned right side out since the cork too stiff to turn right side out through the opening but it doesn’t fray so it can be left this way.
Repeat so you end up with 2 arms and 2 ears. Then set them aside until later.
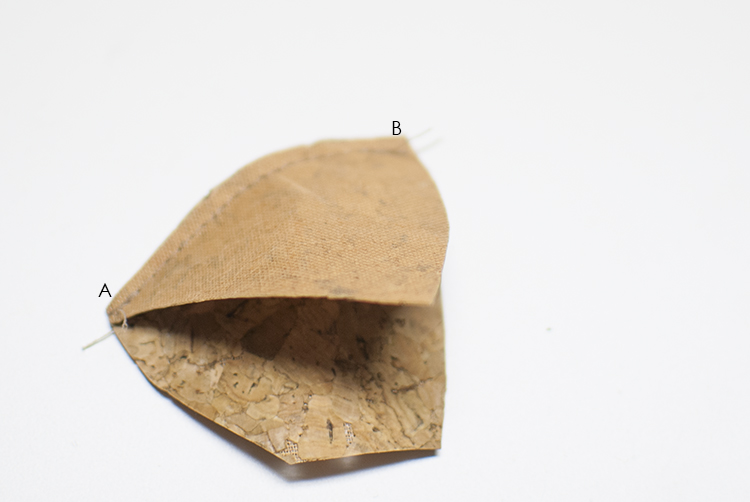
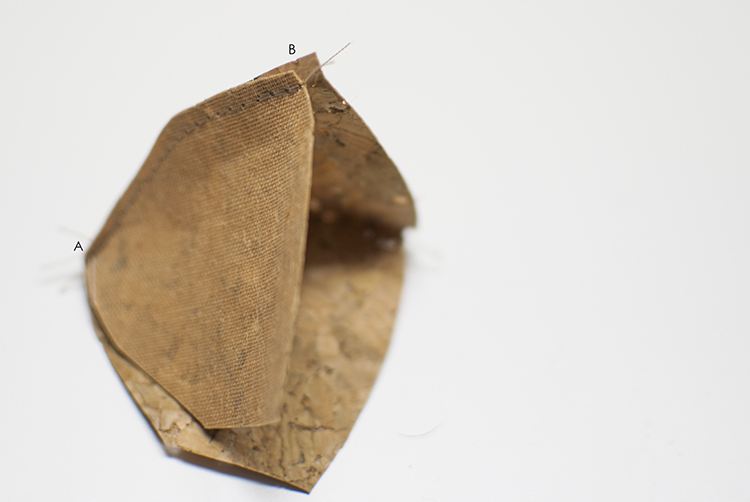
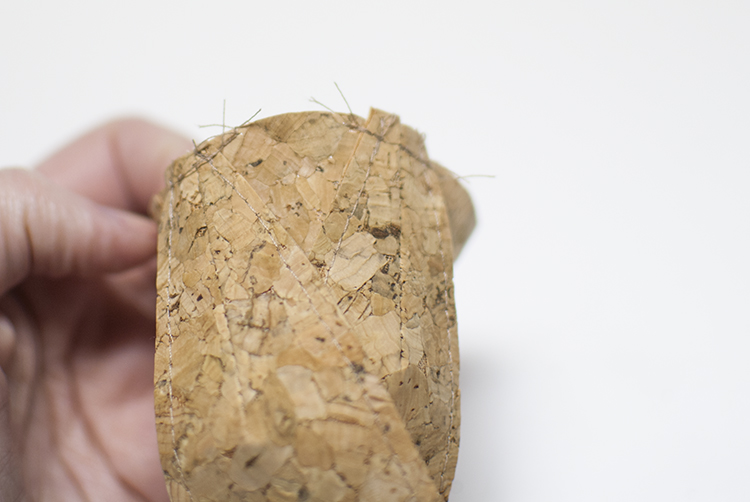
For the head, sew right sides together, the front side and top together sewing from point A to B.
Then sew the other front side piece to the top by also sewing from point A to B.
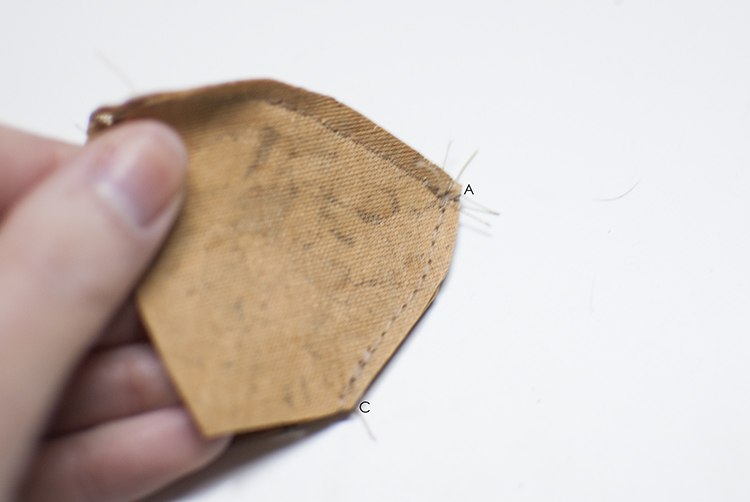
With right sides together, sew the side pieces together from point A to C.
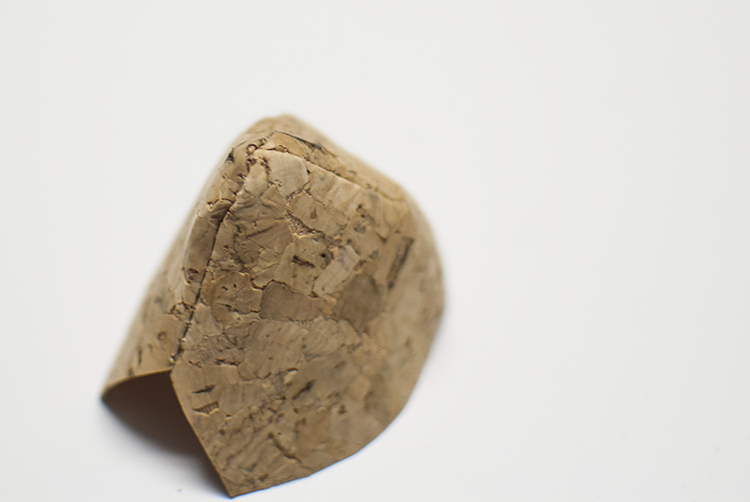
Then turn the piece right side out.
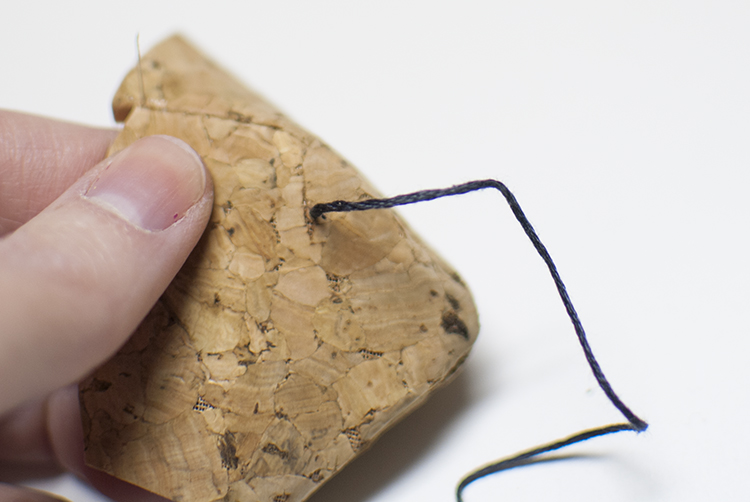
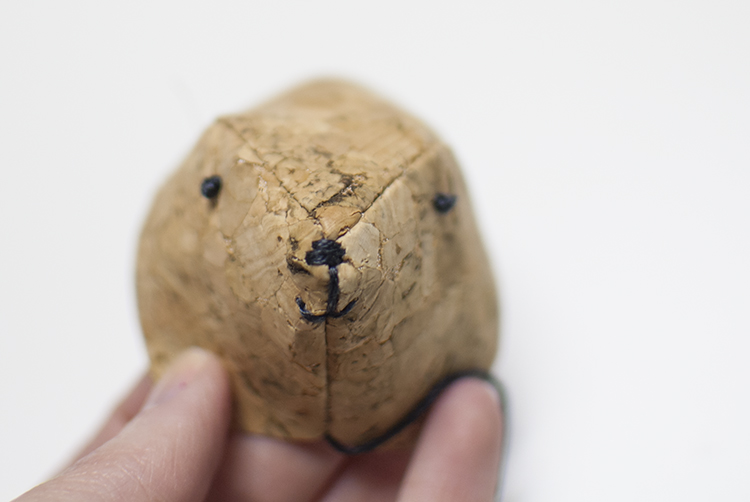
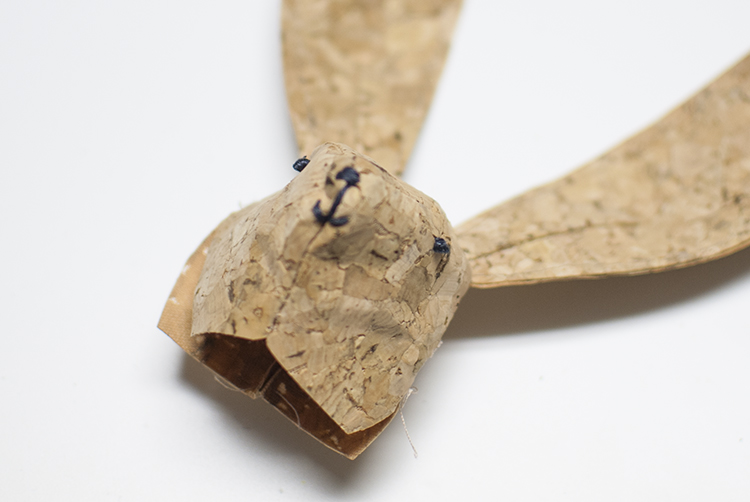
Using DMC floss, add face details. To sew the eyes I made a french knot on both side face pieces.
To make a french knot, you will come up through the back at the placement you want the eye.
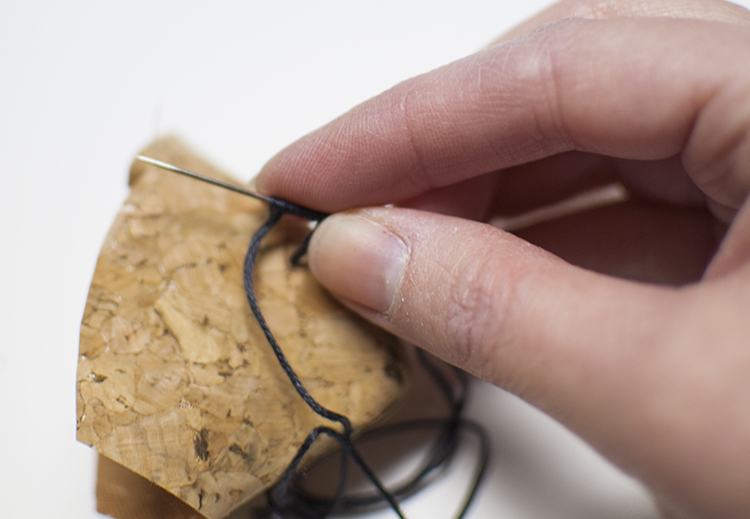
Then wrap the thread around the needle 4 times (more or less will change the eye size)
Then put the needle back through to the back side right next to where you came up through the back, hold the thread snug while you pull the needle through and tighten.
Repeat for the other side of the face.
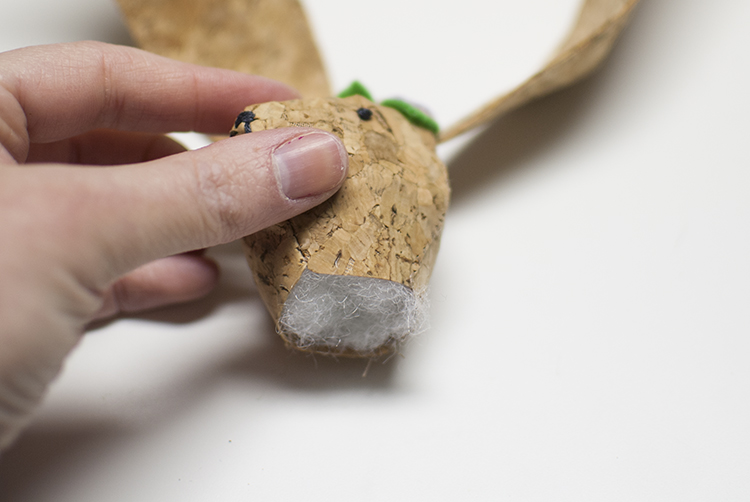
Then add other details, like a nose and mouth to the front.
Next sew the ears in place so they are just about centered with the seam from the top and side face piece.
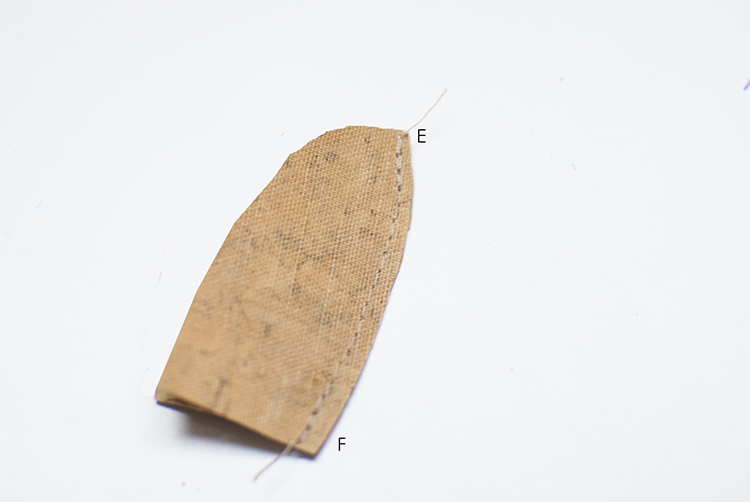
For the back, sew the back head pieces right sides together between points E and F.
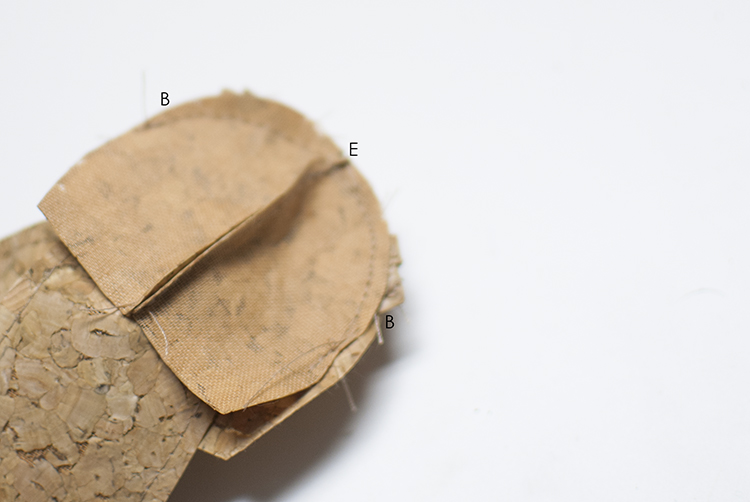
Then with right sides together, and the ears sandwiched in the middle, sew the front and back head pieces together sewing only from just past point B to point E to just past point B again.
Then turn the head right side out.
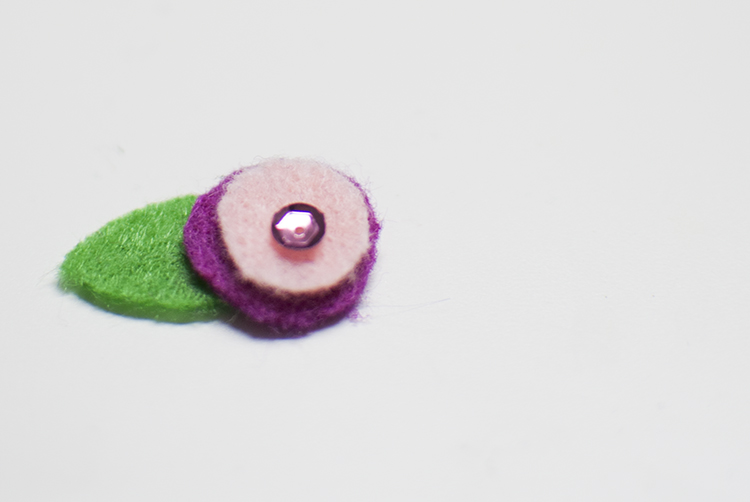
For the floral crown, cut small circles of felt in various sizes, adding a sequin to the center, and cutting a small leaf shape as well.
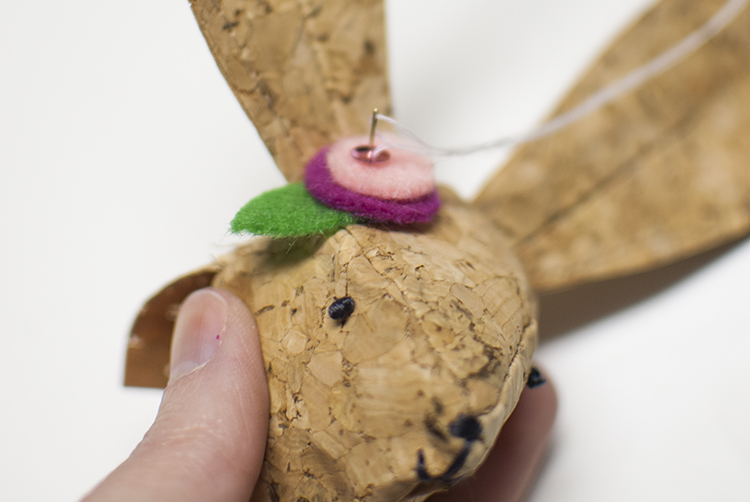
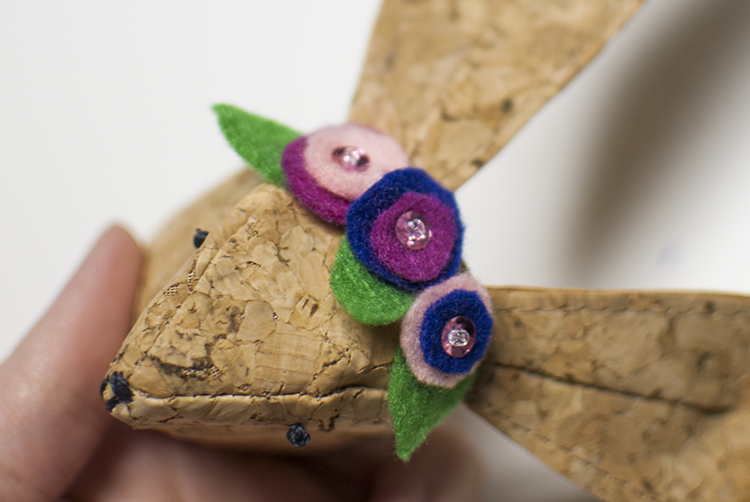
Then sew the in place along the top of the head right in front of the ears.
Sew a few across the top.
Hand stitch the rest of the head closed.
Add stuffing to tightly fill head.
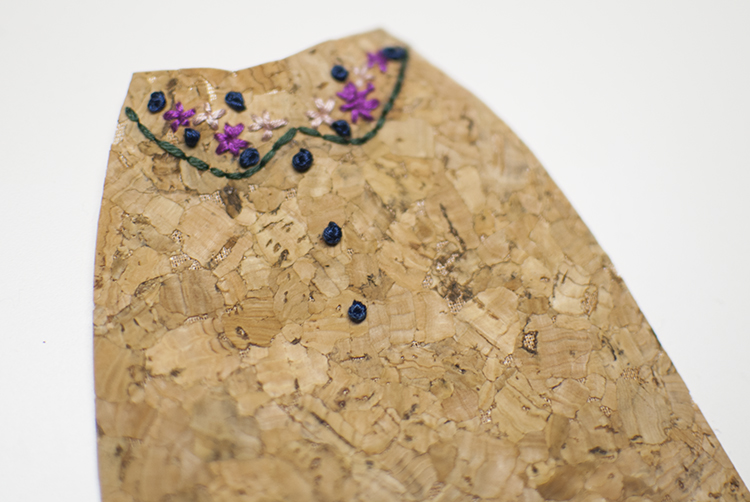
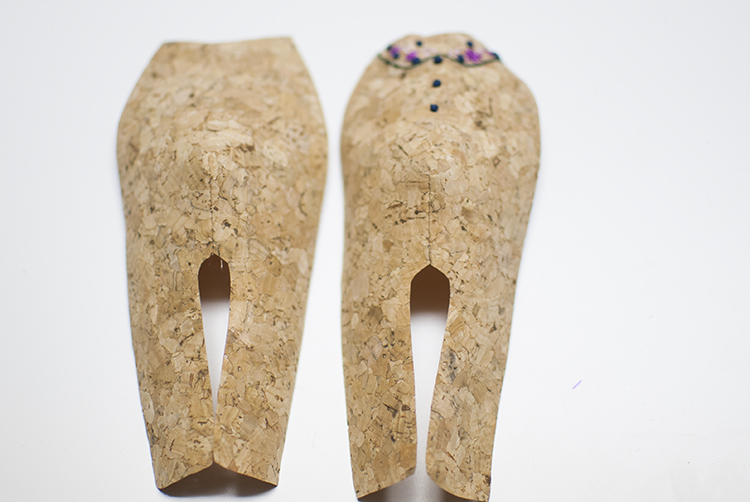
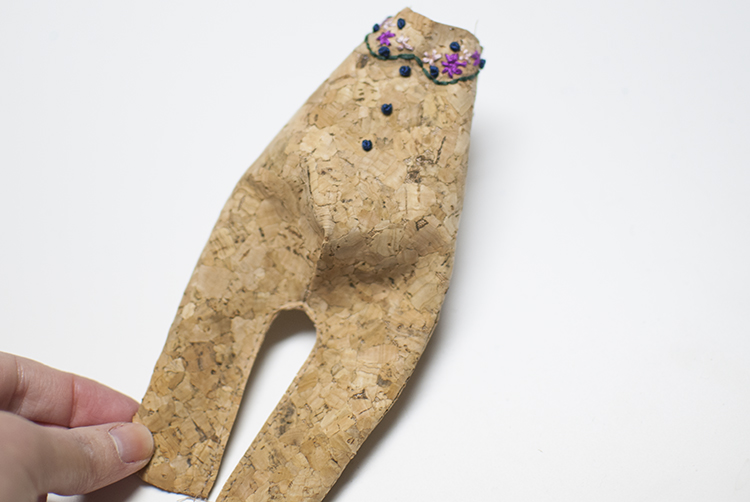
For the body, I added a little stitched detail (like clothing) so I used assorted DMC floss to add a collar, and floral detail and french knots as “buttons” down the front. (collar detail marked on pattern)
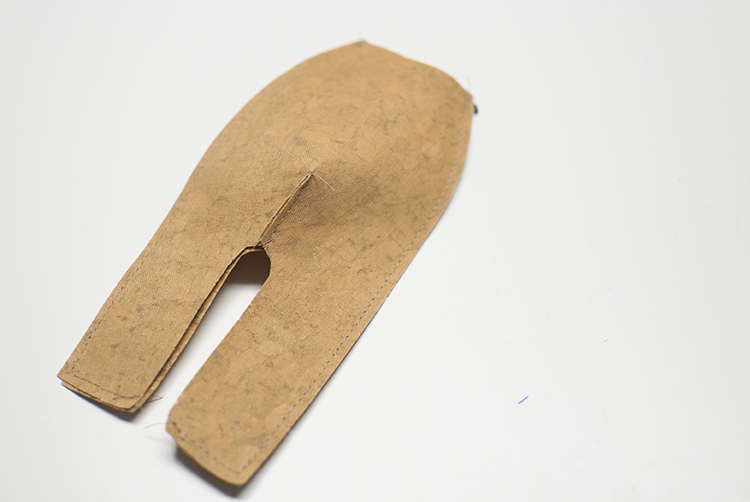
Then fold the body right sides together and sew up the dart just like you did for the arms and ears.
Repeat for the back body as well so you have two body pieces.
Sew the two body pieces right sides together sew along the bottom of the foot and up the sides. (don’t sew the inner leg or it’s hard to turn it right side out)
Turn the body right side out and then stitch the inner leg closed by edge stitching.
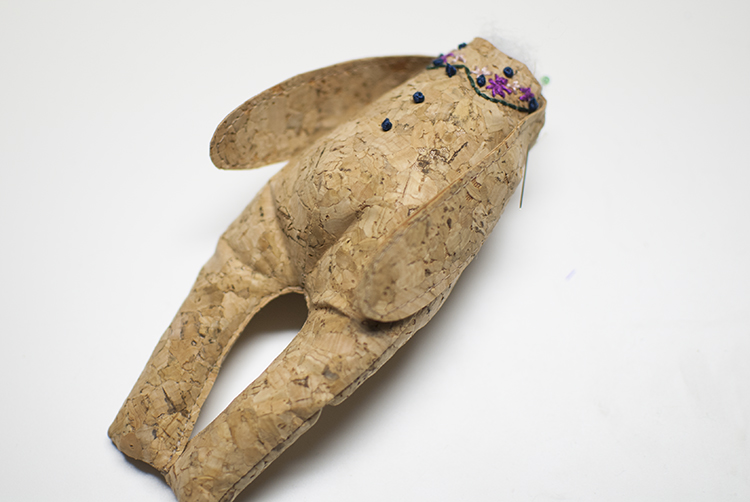
Stuff the body firmly. Sew the arms on so they are at the side seam of the body.
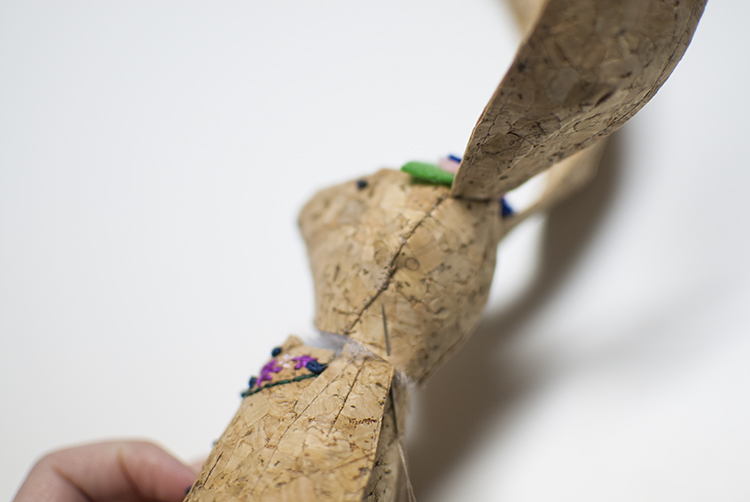
Lastly hand stitch the head to the body, the side seams of the head will match the side seams of the body.
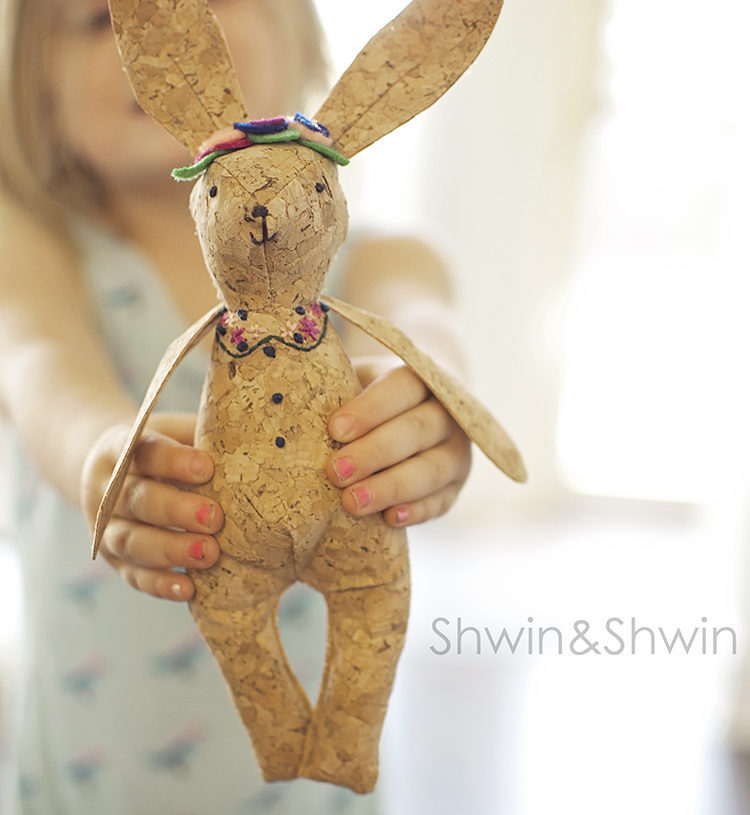
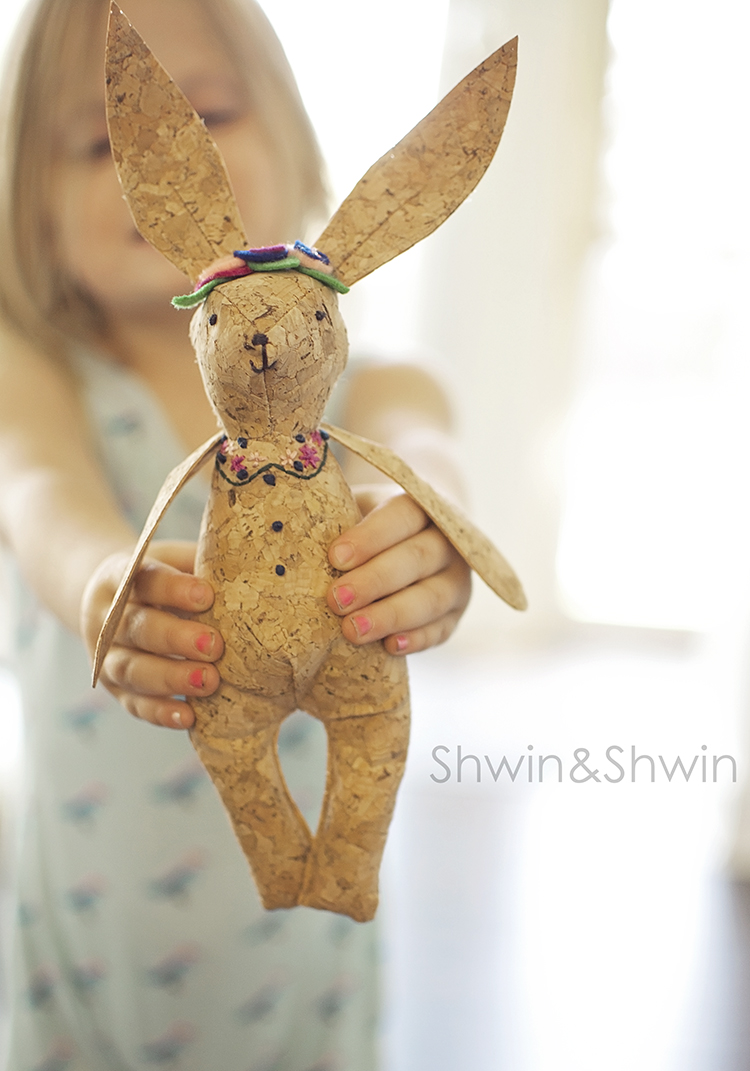
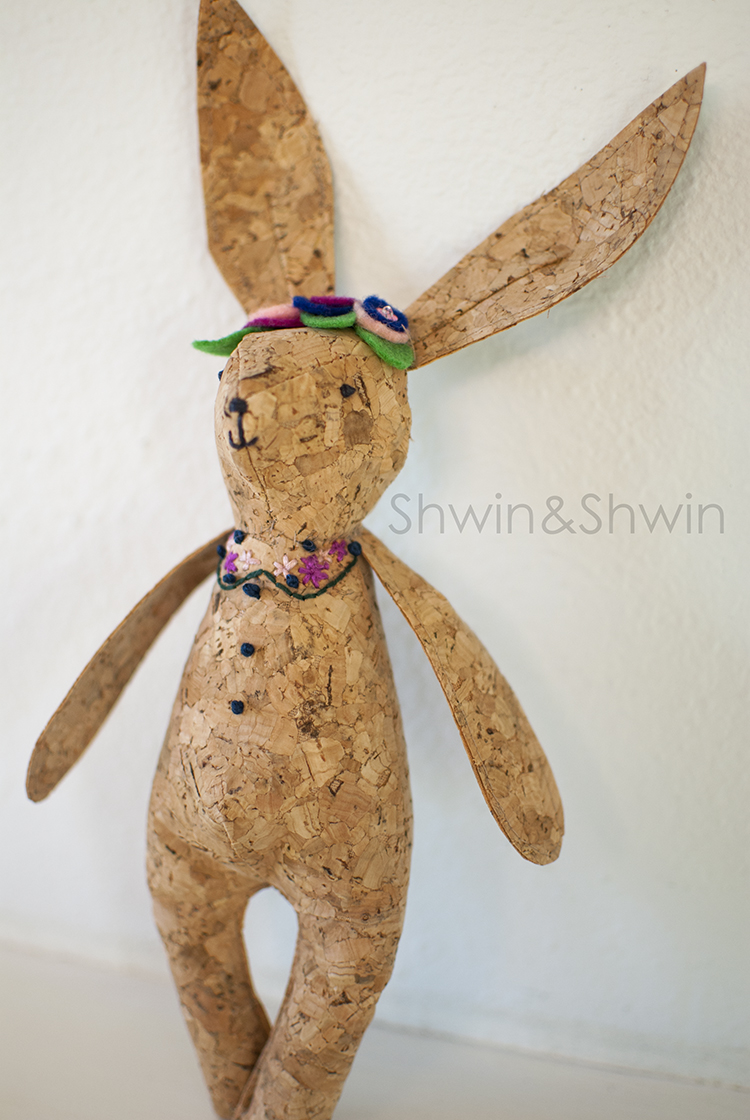
Then you have a darling little stuffed woodland bunny. Soft like a doll with the cool look and feel of cork.
I am kind of in love with this new stitchable cork! Can’t wait to make more things.
