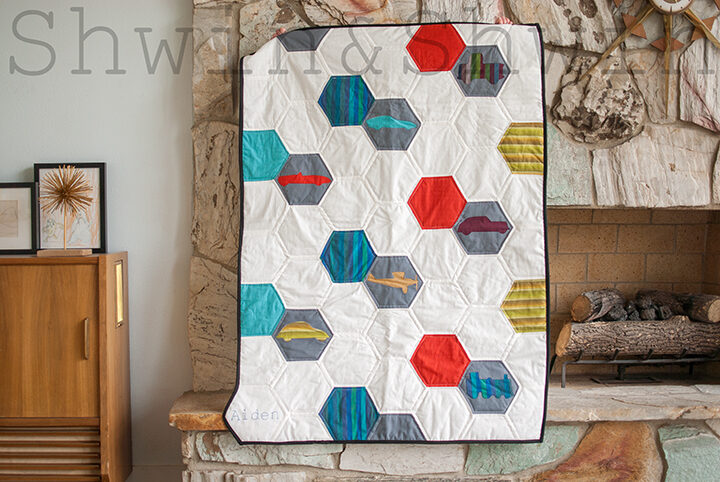
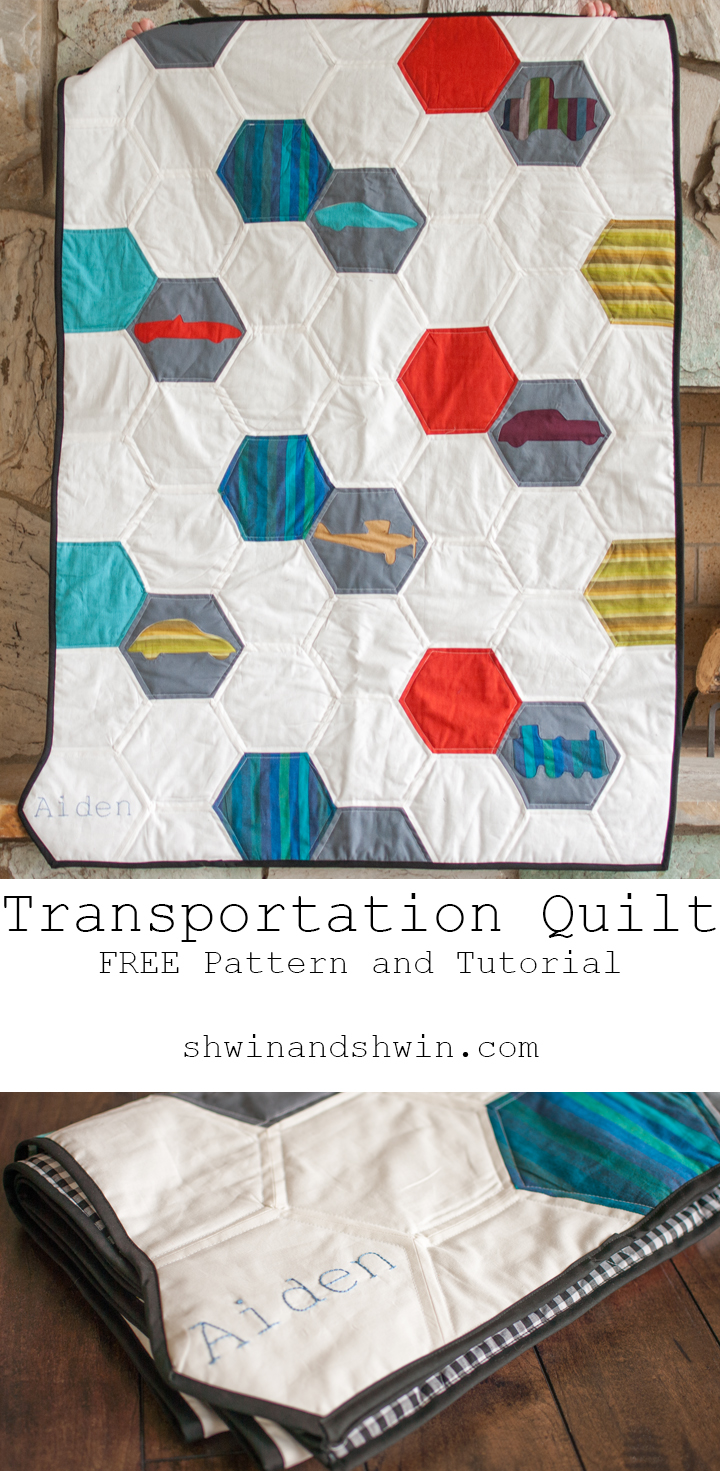
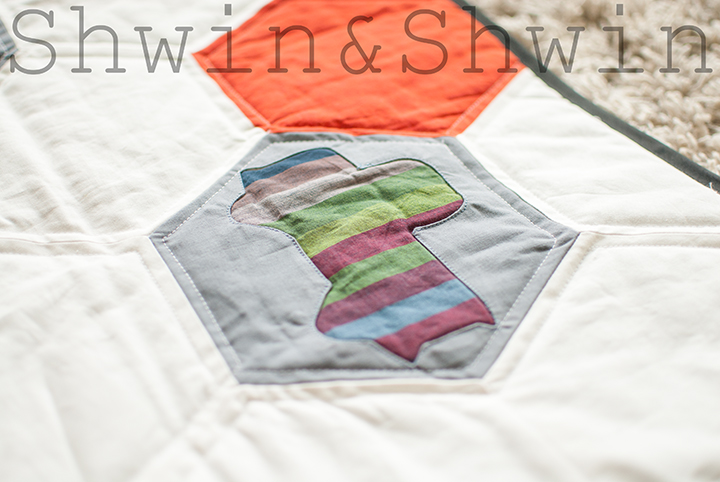
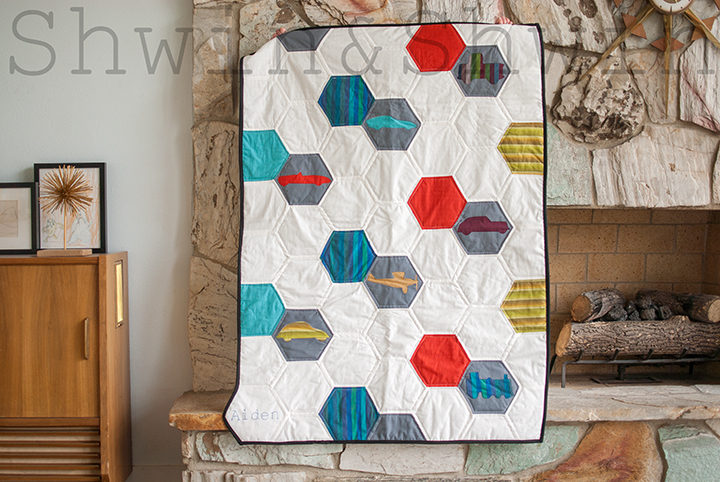
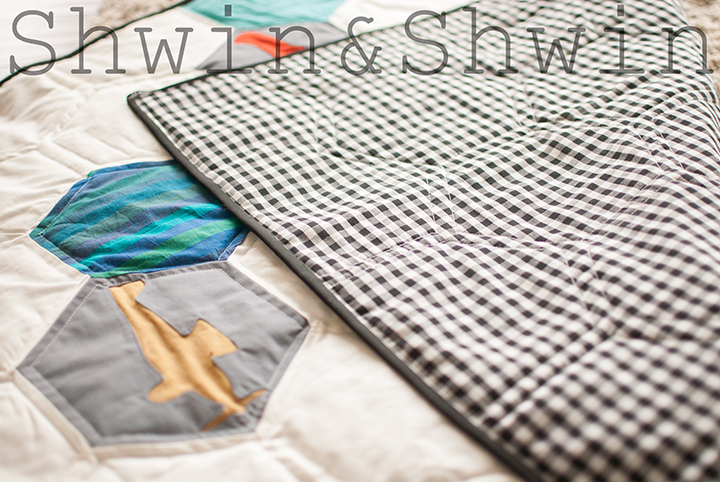
Another day another quilt, this time I made one for my sweet little Nephew Aiden. I asked his parents what kind of theme they wanted and they said they liked cars and trucks but nothing cartoon like. So it got me thinking. I thought it would be really cool to do a reverse appliqué of automobiles, and I really wanted to make a hexagon quilt so I thought I would put the two together. Now originally I was going to paper piece the design details of the cars and then place the pieced designs behind the cutouts, which would have been cool sure, but I started doing the first one and it was taking FOREVER and all of the little details were sooooo small that it was annoying, and then it didn’t even look how I dreamed it would so I threw that idea out the window and went with solid (or striped) sihlouettes instead, which I love it’s even more clean and modern looking this way.
I went with simple modern and “mature” colors, to help keep it less cartoon like, but still keeping it kid friendly. I also LOVE the giant hexagons. I thought/feared the quilt would take forever since you know I get bored if something takes too much time, but I did it in sections, making all the silhouette pieces one night, sewing the rows another night, then sewing the rows together another night, and lastly quilted and bound it in the final night. A few hours each night is all it took.
To make the quilt you will need:
- The Transportation Quilt Pattern
- 2 Yards Kona Cotton (white hexagons)
- 1/2 Yard Kona Cotton (gray hexagons)
- 1/2 Yard Muslin Fabric (silhouette lining)
- 7 Fat Quarters or other scraps for back ground hexagons
- 2 Yards Cotton (backing)
- Crib Size Batting
- 2 Packages of single fold bias tape
- Reynolds Freezer Paper
- Marking pen
**Also just a note with the pattern, it includes a layout even though I mixed things around a little differently when I was sewing it together I made the layout as a rough guide for myself.
The quilt is about 40″X55″ Finished You can make it larger or smaller by simply adding more hexagons.
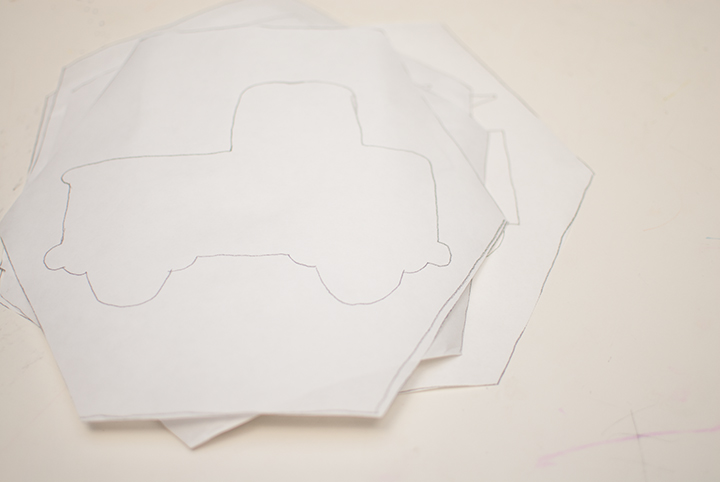
Trace the transportation outlines on to freezer paper. Then cut out the inside of each vehicle silhouette.
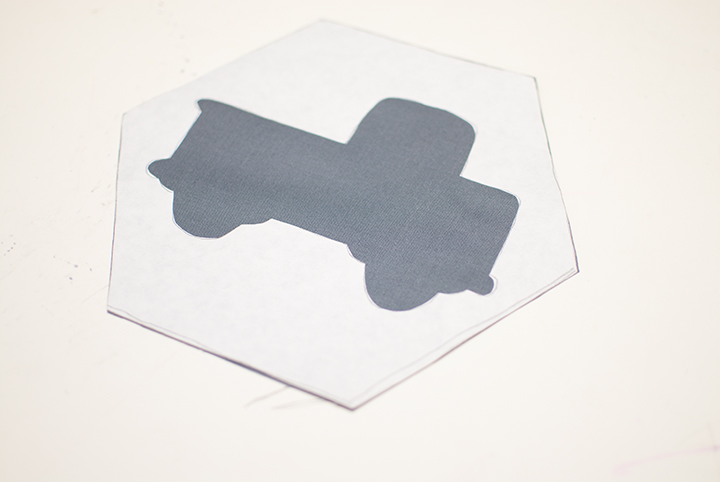
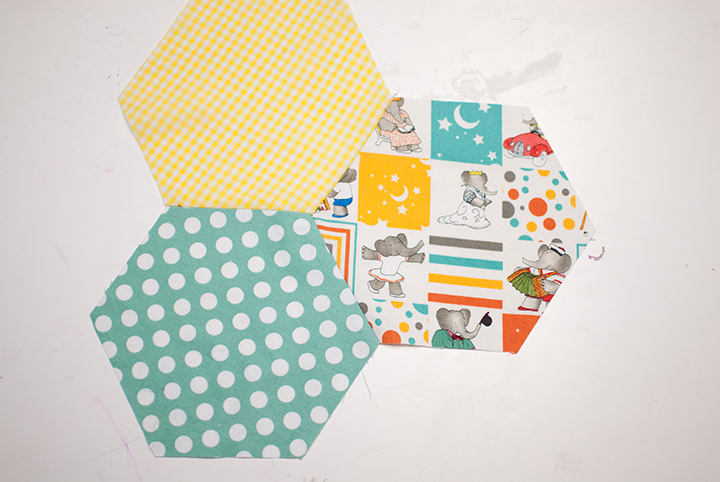
Iron the freezer paper on to the WRONG side of the fabric and then cut out the hexagon shapes. I ironed all the hexagon shapes down to the fabric and then cut around them so I had all the hexagons cut out.
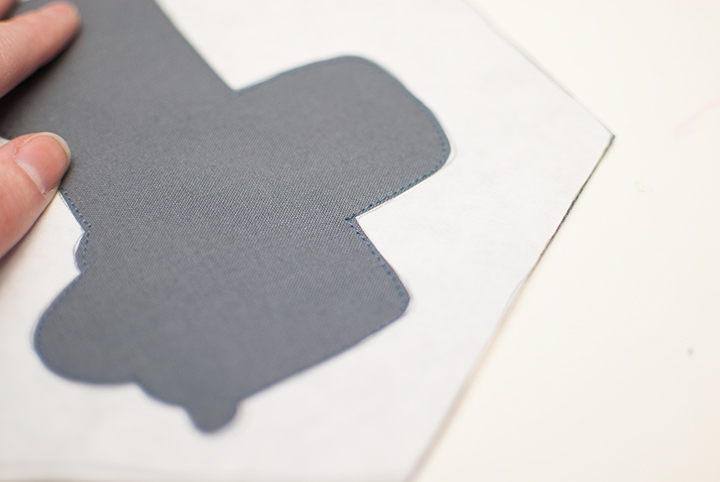
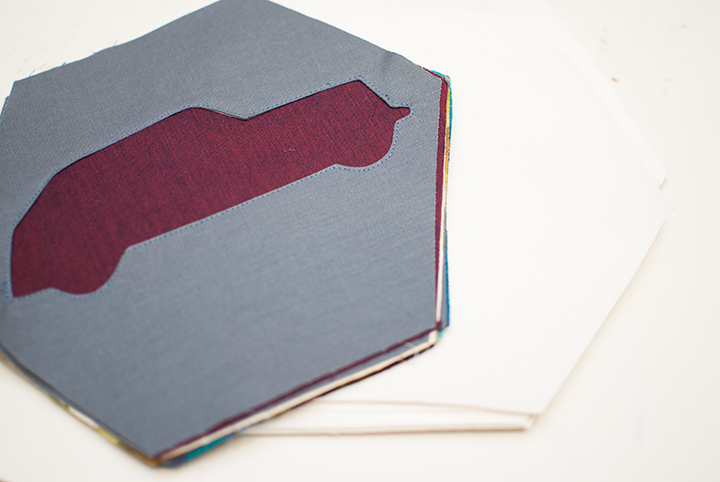
Then with two hexagons placed together. (I used a muslin fabric for the backing) Sew along the edge of the silhouette, don’t sew the paper but sew right along the edge.
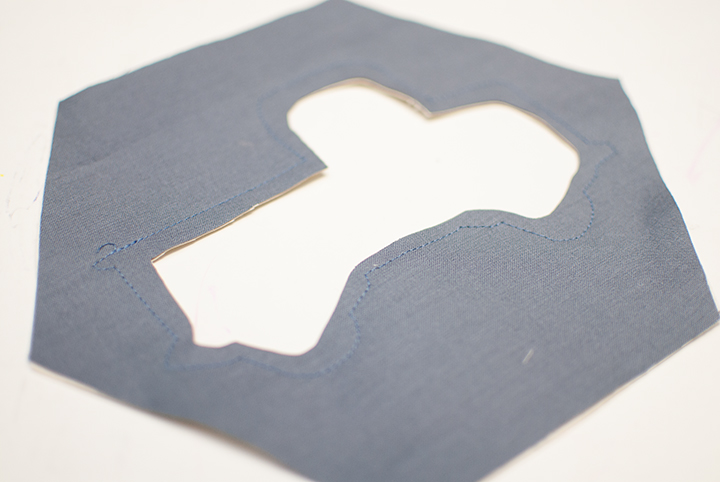
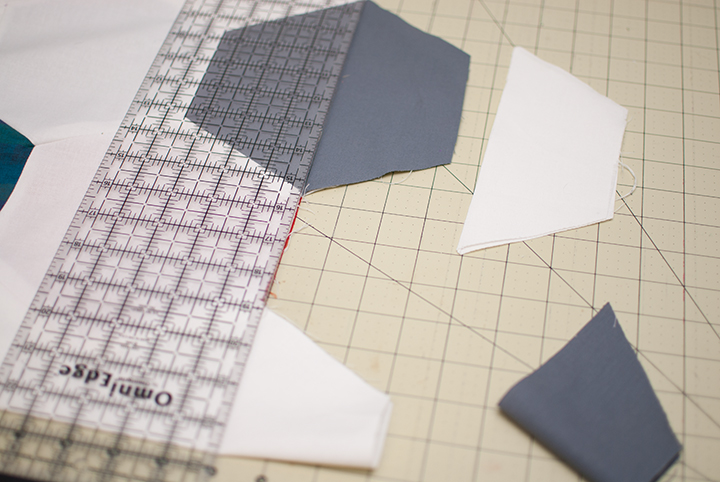
Then remove the paper (you can use it again if you want multiples of the same vehicles) Then cut away most of the inside of the silhouette.
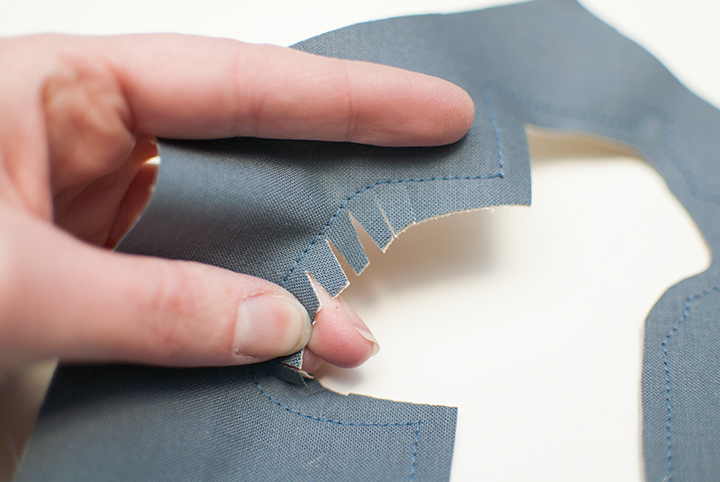
Now for all of the curves, and corners and nooks and crannies of the design we will clip. Clip RIGHT up to the stitch line without clipping through the stitches. Clip off any corners, clip away extra fabric where you can and clip clip clip those curves.
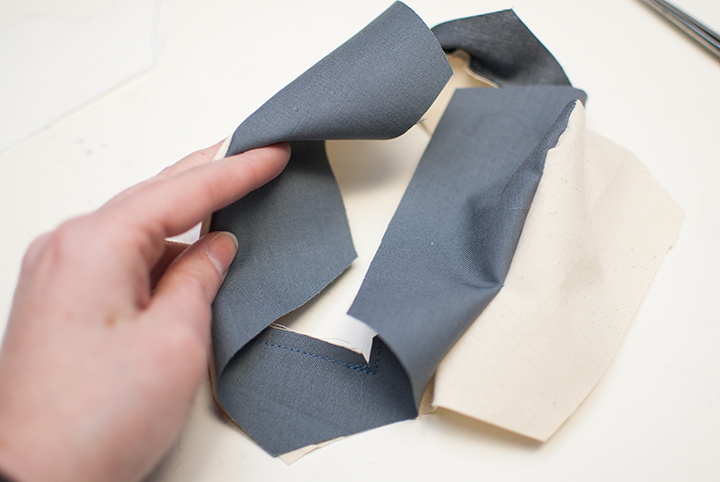
Then turn the piece right side out by pushing the lining through the middle and smoothing out the seams.
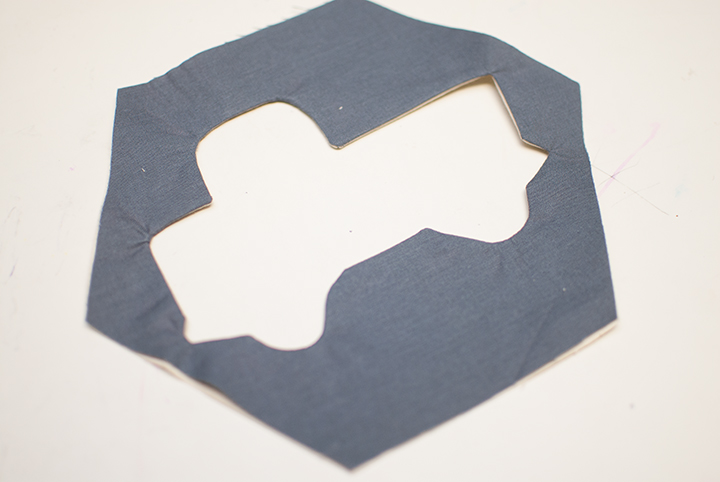
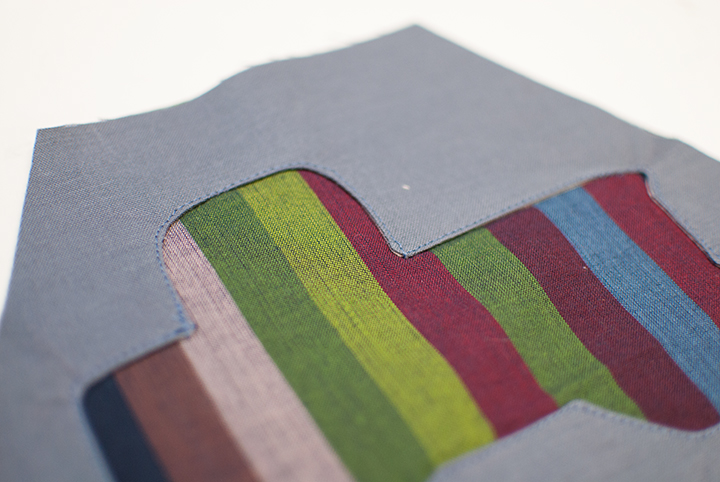
I used a knitting needle to help push out the corners and all the little areas that need smoothing and then PRESS WELL. Until everything is smooth. If you have puckers everywhere flip it back around and clip it better. If they are just slight pucker (like the curved edge near the hood of the truck above) and you can pull it straight then don’t worry once you stitch it down it will be smooth.
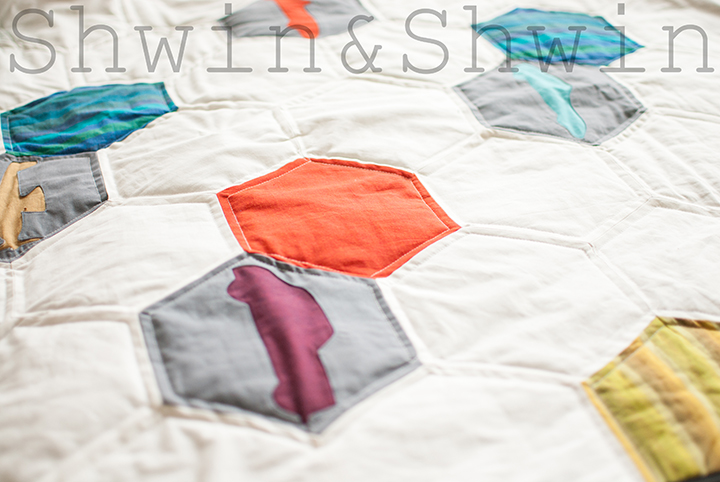
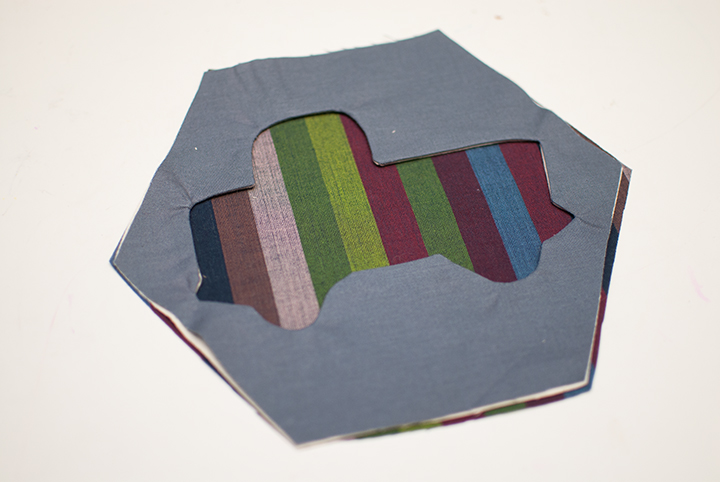
Then place the design over the background of your choice.
Stitch the pieces together by sewing right along the edge. Sew as close to the edge as possible .
Then continue until you have them all cut and sewn. Then go ahead and cut the rest of the hexagons.
To sew the quilt together:
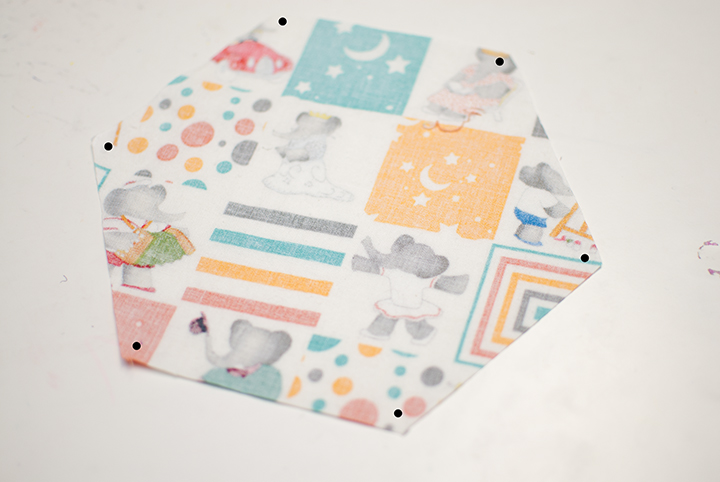
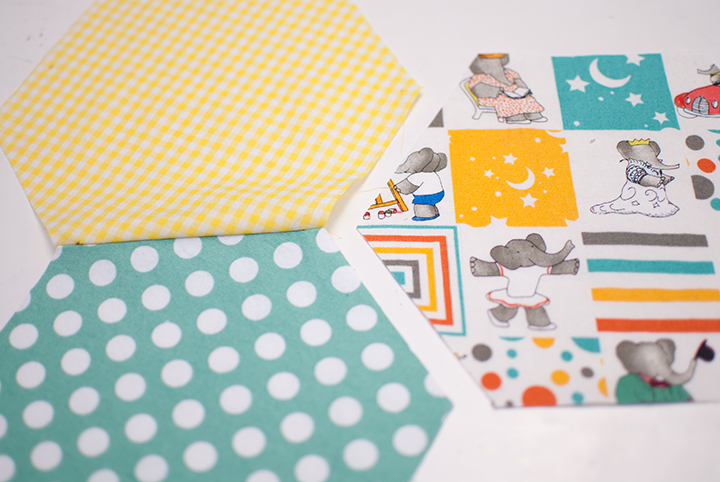
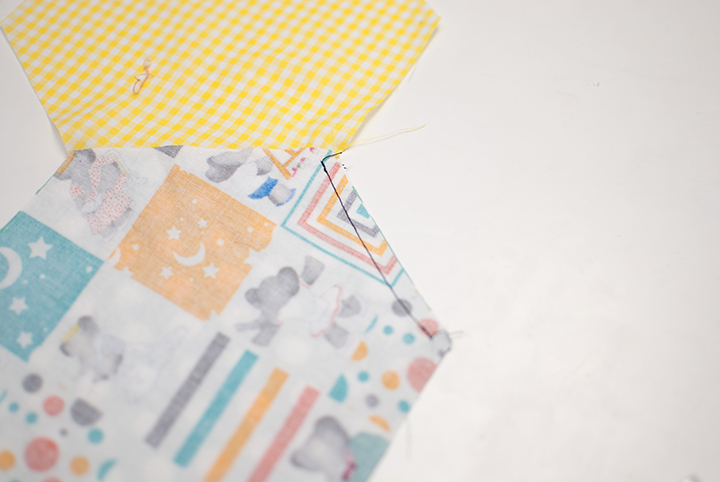
(since the transportation quilt was a lot of white which was white on white pictures I switched fabrics to show you how to sew the inset seams) To start, mark the seam allowances in each corner of the hexagons. I used a 1/4″ seam allowance for this pattern, so I marked each each corner 1/4″ from each edge. I used disappearing ink, but you can use anything to make the mark you won’t really see them when the quilt is done. Mark each hexagon this way.
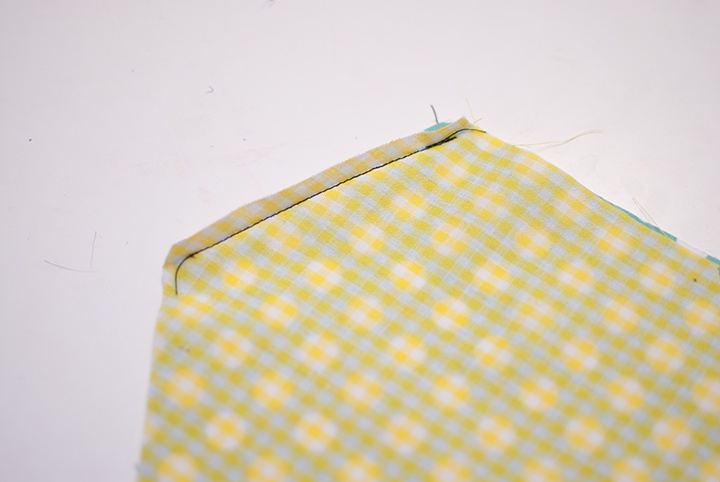
Then start by sewing each row moving up and down. With right sides together sew the pieces from dot to dot. Careful to start and stop right on the dot do NOT go past the dot.
Then once you have all the rows sewn you will sew the inset pieces. (sewing the rows together.)
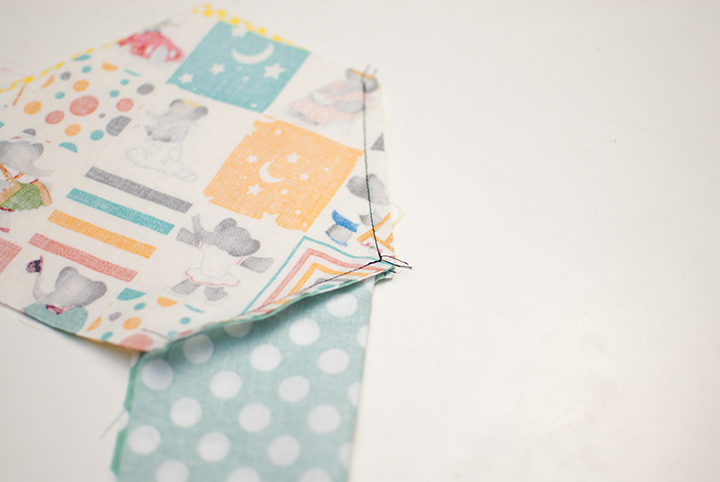
To do this match the first angled edges right sides together and then again sew from dot to dot.
Then pivot the piece to match up with the next edge and again sew from dot to dot.
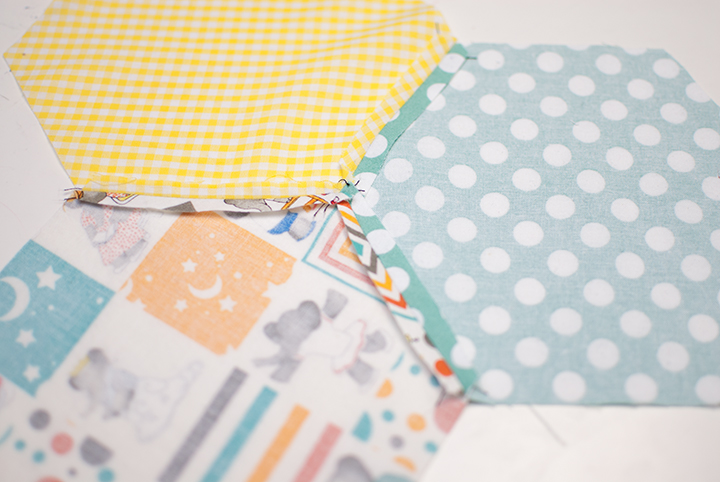
Press all the seam allowances open.
Then you have sewn together hexagons. (and no paper piecing yay!) Continue doing this until the whole quilt top is sewn. Also if you are more of a visual person here is a video I made showing the steps.
When it was all sewn together I trimmed off the edges so that it was an even square, this cut some of the hexagons in half.
Then I quilted the backing, batting, and top layer together by sewing around the inside of each hexagon. (again keeping it simple) Then I bound it with bias tape.
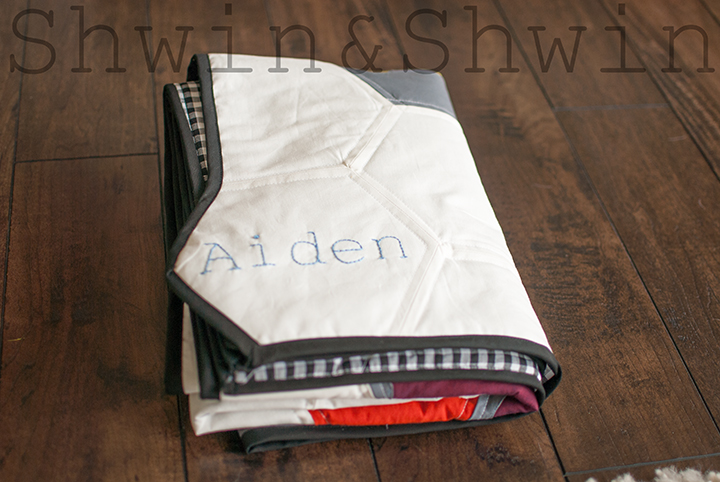
Oh yes, one last thing, which I admit was actually done by accident but then I kind of loved it. I added his name to the bottom left hexagon with embroidery floss. Then when I went to trim up the quilt I realized his name would be cut in half. So I left the hexagon in the bottom left corner sticking out. When I bound the quilt I simply went around the edges of the corner hexagon.
It’s a happy accident since I really love the lone corner hexagon.
For the back of the quilt I used a black and white gingham, which adds to the masculine feel, and keeps it classic.
