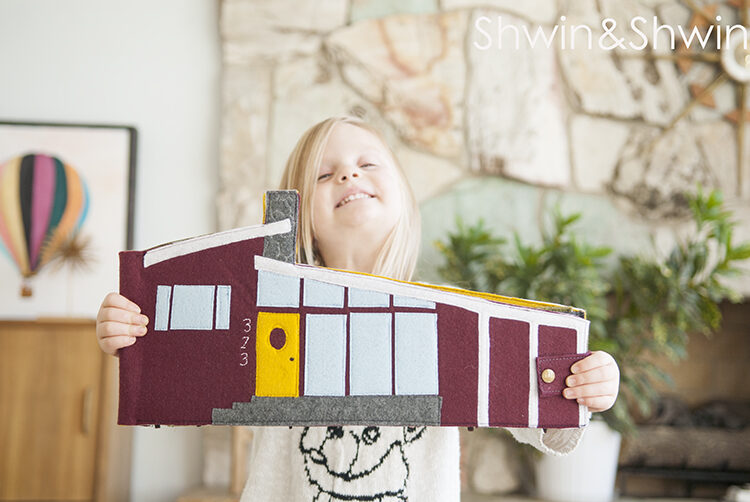
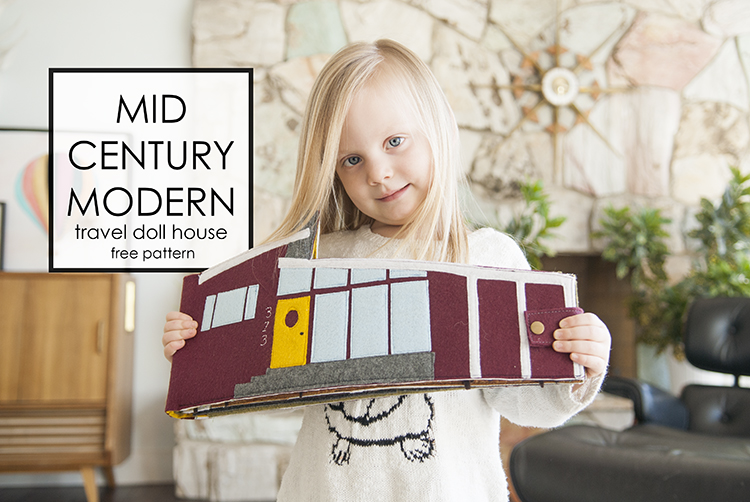
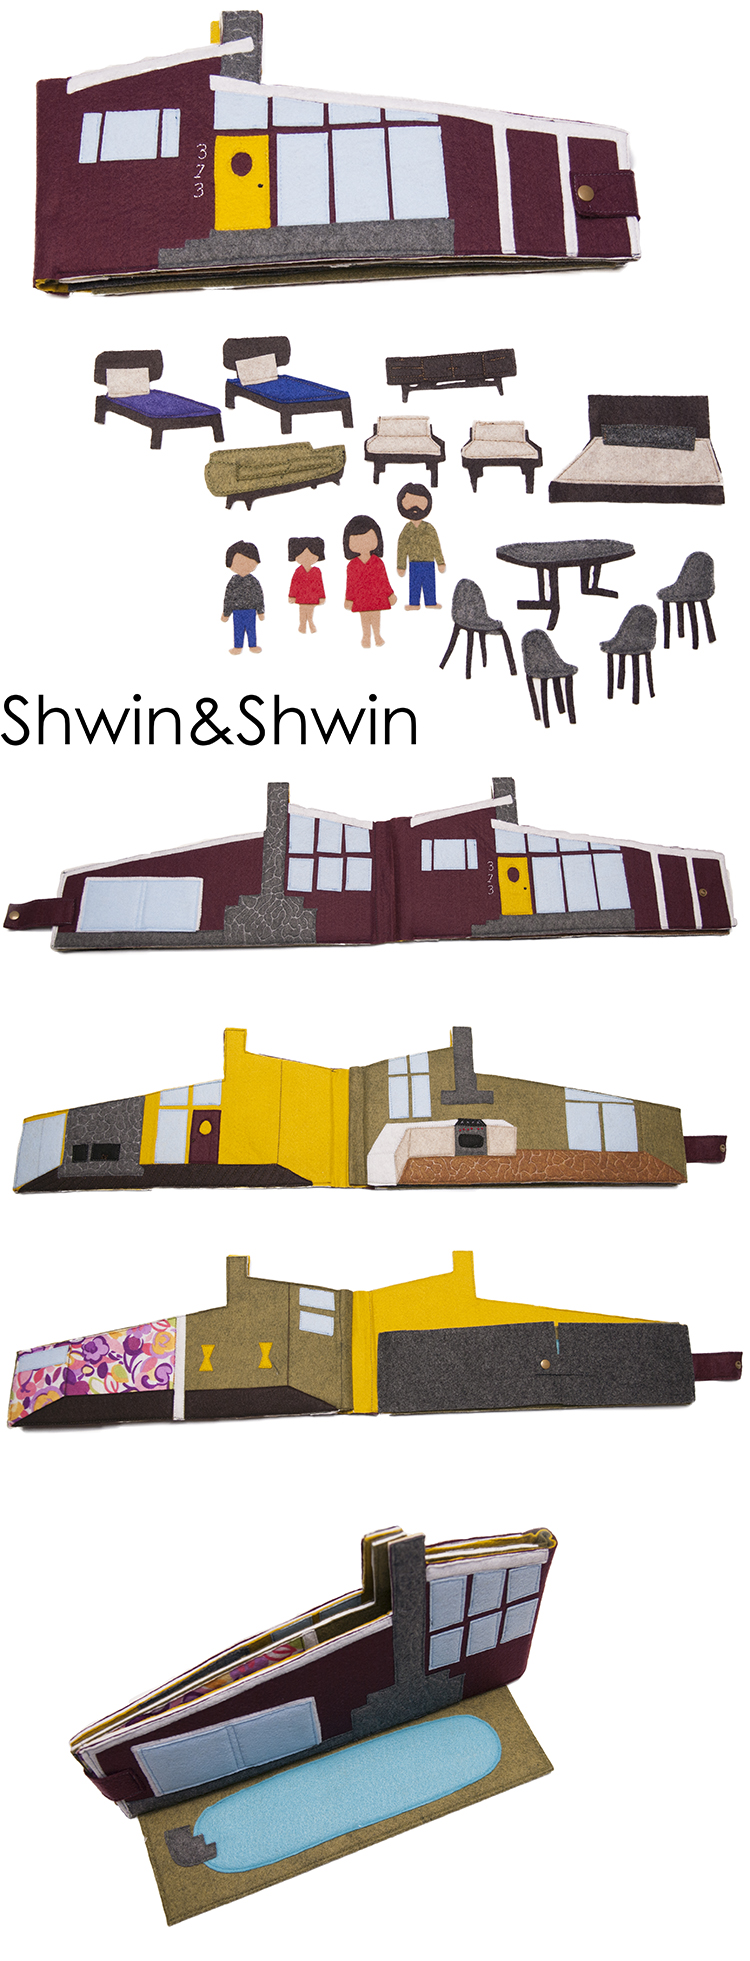
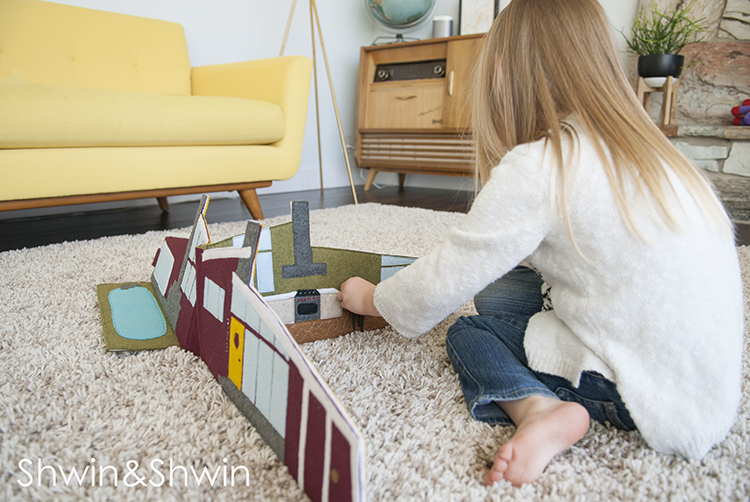
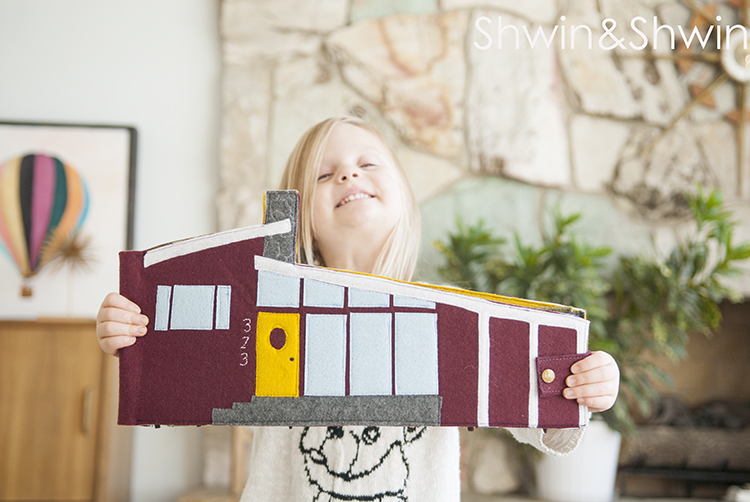
I have seen a lot of these little travel dollhouses around. I love the concept of them but I haven’t loved the style of them. I decided to go ahead and make my own version modeled after our home. (loosely)
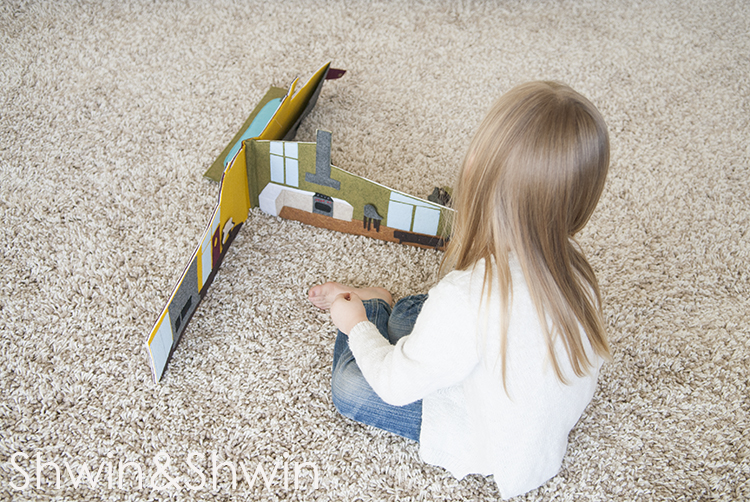
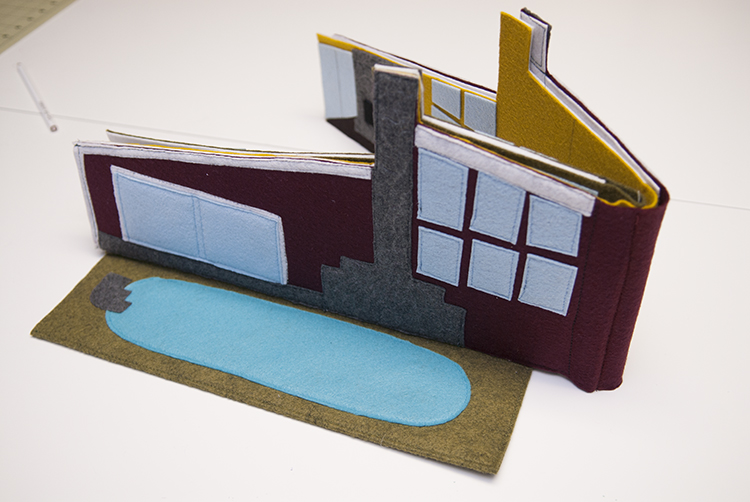
The house opens up like a book and stands up so it can be played with like a real doll house.
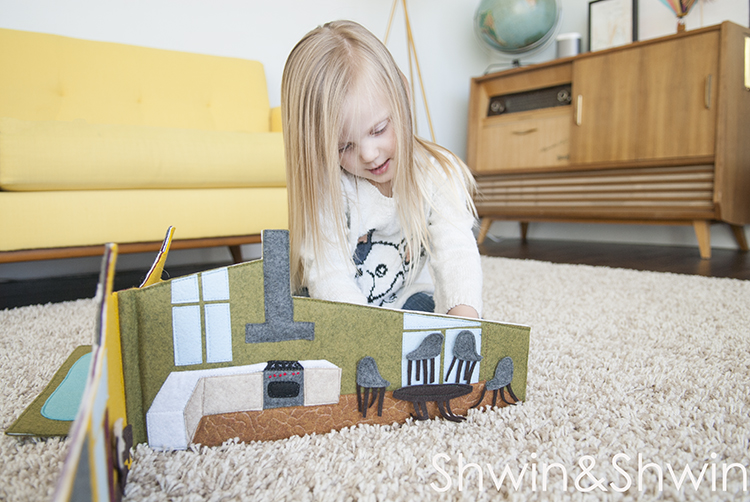
The walls and decor are all made from felt so they stick to each other and this means she can place the dining room furniture in the dining room and it stays. The walls are all stabilized so they are still soft but firm enough to stand up.
To make one you will need:
Mid Century Modern Dollhouse Pattern
Felt by the yard for the pages. I used 3 colors 1/4 yard each.
Felt pieces for the furniture and details. I used an array of colors many picked by my daughter but the important one to have is a light blue or light gray for the windows. I ran out of my light blue and so I had to leave off a few window details.
Heavyweight interfacing (something like this)
Freezer paper to trace the pattern
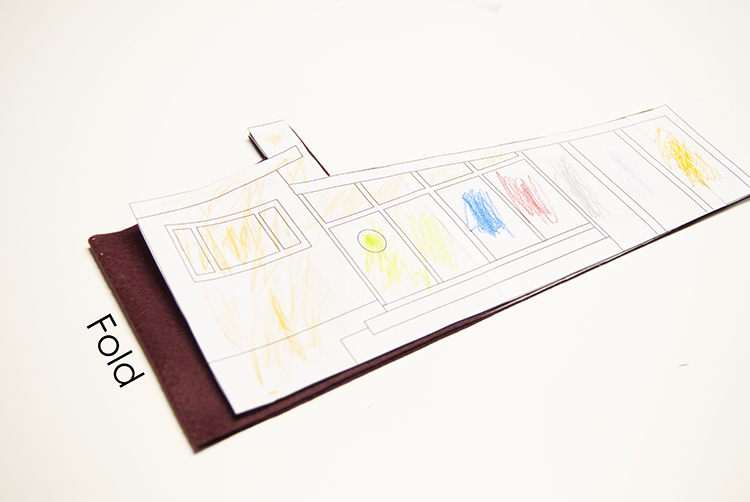
To cut the pages, cut out the house on a fold but move the page about 1″ from the folded edge. You will be cutting 3 of these so you have 3 pages.
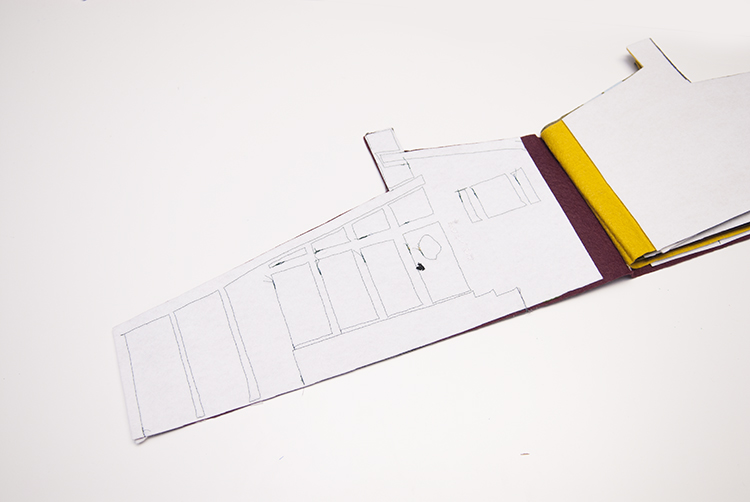
Then cut out the interfacing the size of the house pattern, you will need 6 of those. Iron them on to each page as shown above.
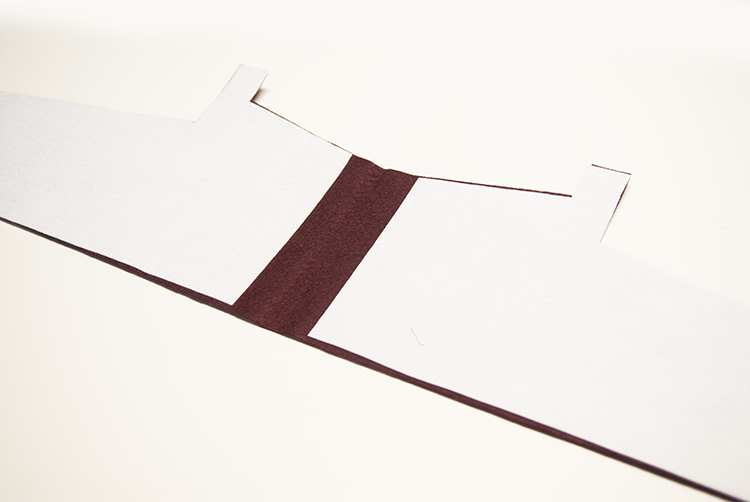
Then stack the pages so the front and back of the house is first with the interfacing side facing up, then the next page is on top with the interfacing facing down, or face to face with the other interfacing. Lastly put the third page with the interfacing face up.
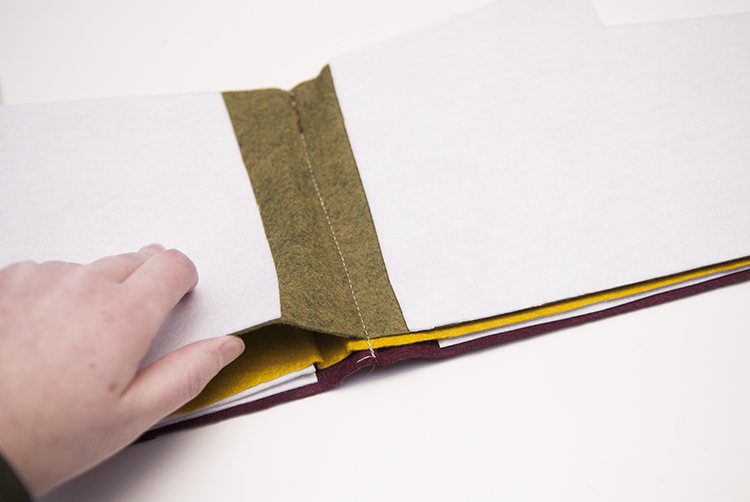
Then sew one line sewing all three pages together along the fold line.
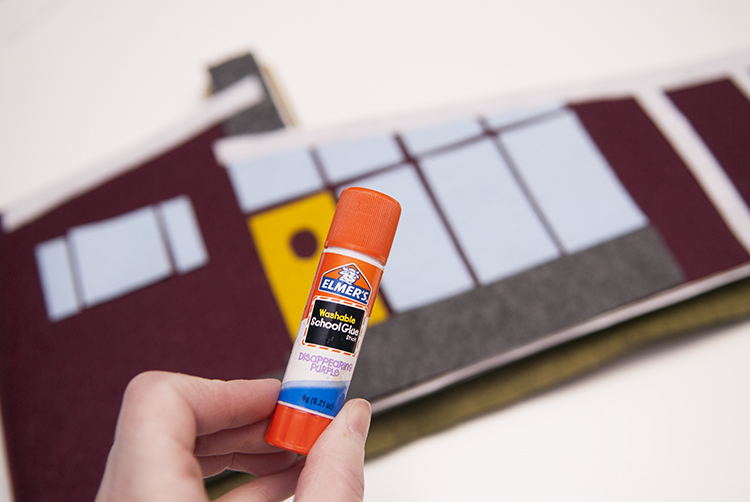
Now start adding the details to each page. Starting with the front I traced all the design elements on to freezer paper and then ironed the freezer paper on to the felt to cut them out. Then following the template I placed all the elements on the front page and used a washable glue stick to hold them in place until I stitched them on.
Once they were all glued on I stitched each piece in place. Then with embroidery floss I added details like a door knob and house numbers. *Also note it’s best to add the snap now for the tab to close the book.
Once the front page was done I moved on to the next page, the living room. I again added all the elements with glue, and then stitched them down. I added stitch detailing like lines in the floor for a wood floor, but I liked using textured felt like the pebble felt for stone detail on the fire place. Once all the details were sewn on I stitched the front of the house and living room page together by sewing around the outside edge of the page.
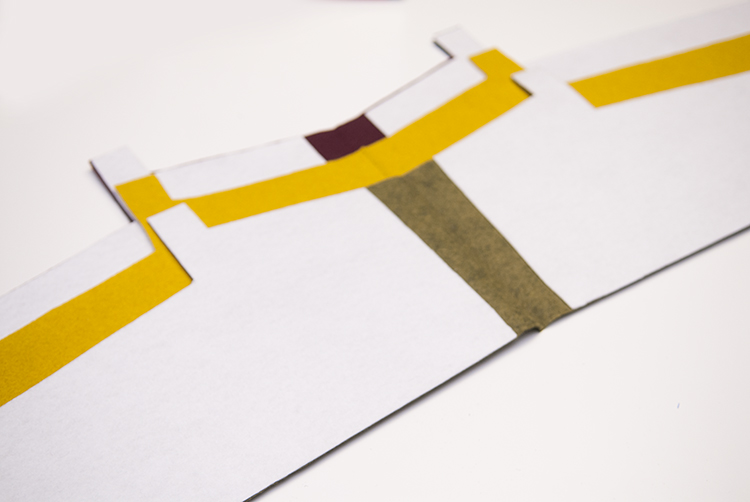
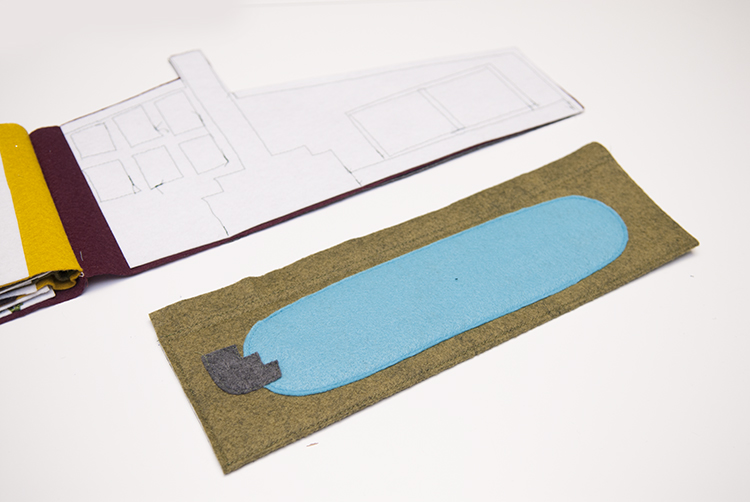
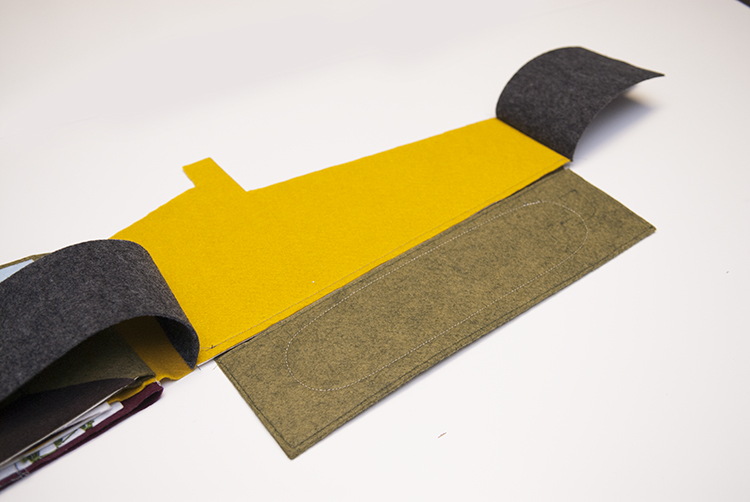
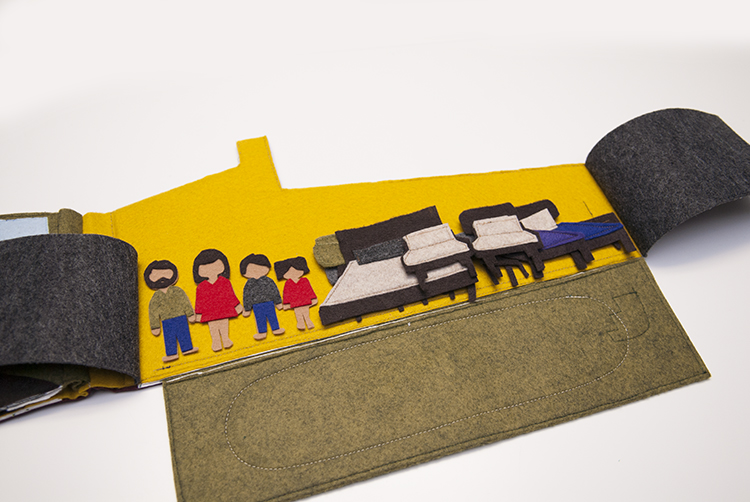
You will continue adding the details and sewing them down and then sewing the pages together, so the middle pages will be sewn together so the interfacing is in the middle. Keep going until you get to the last page, here is where I added the pool, which also doubles as the holder of all the furniture and dolls when the house is folded up. Sew all the pool details on, and finish the back page of the house.
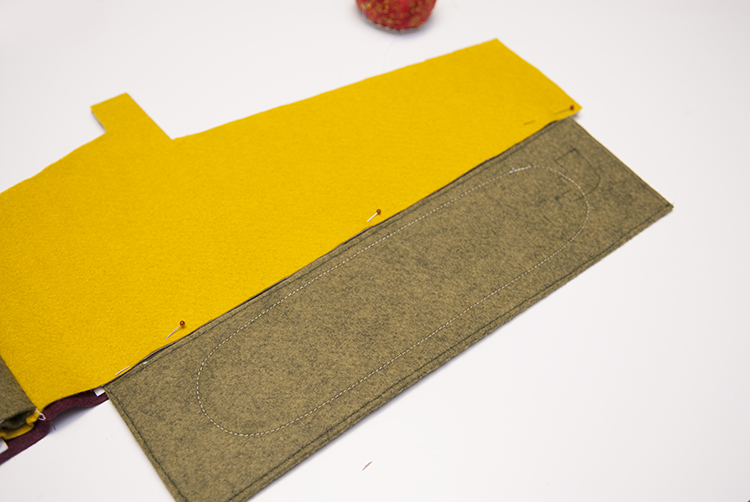
Then sandwich the pool face down between the back page and the “storage room” page. Then sew the two pages together around the edge sewing the pool in place.
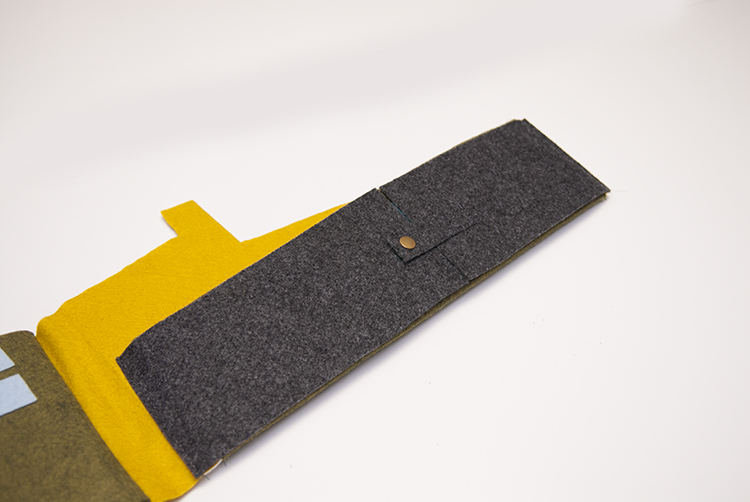
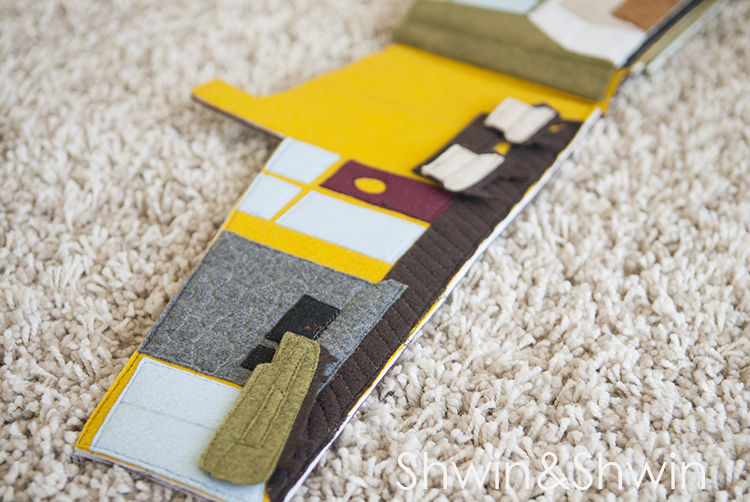
Then add the back flaps to the storage page.
Add a tab and snap closure so the back flaps can stay closed.
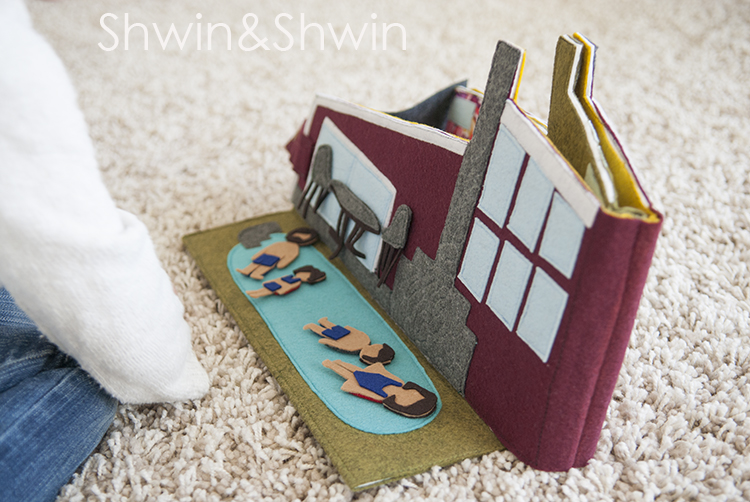
Then the pool can flip out toward the back and be a play area, or flip toward the storage page and under the flaps to help hold all the people and furniture in the house. The final thing to do on the house is to add the tab and snaps so the book can close. I simply cut a felt strap and sewed it on to the back page adding a snap to the tab and the front page so it could stay closed when not in use.
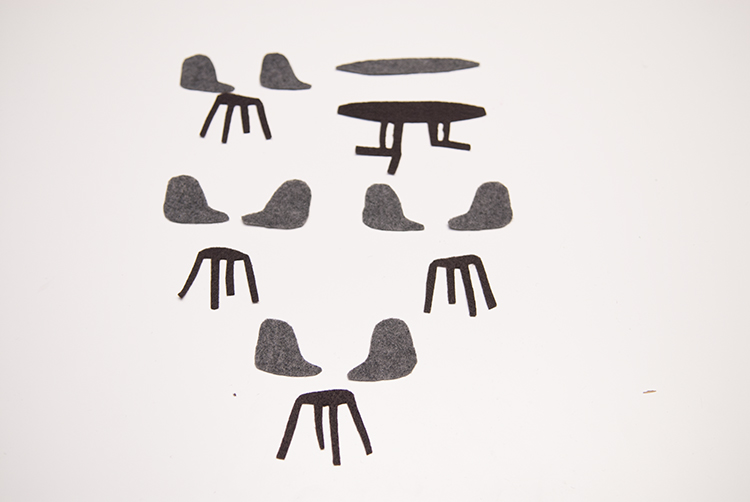
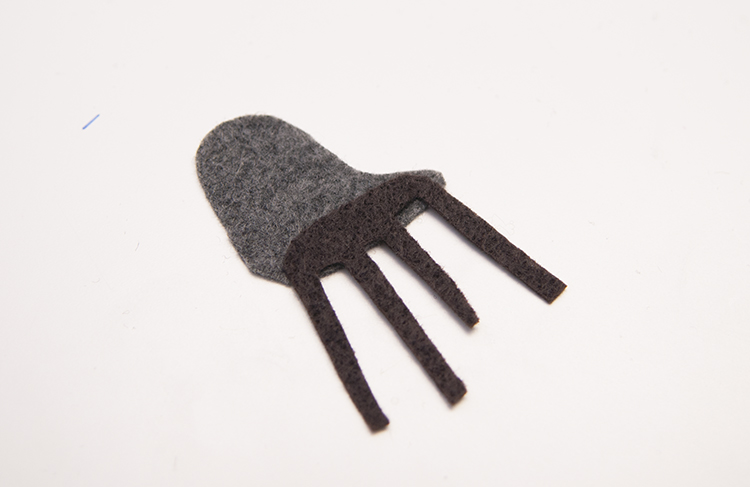
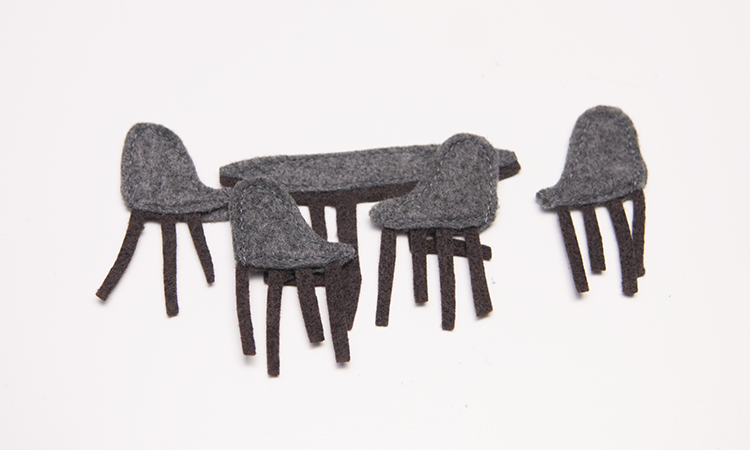
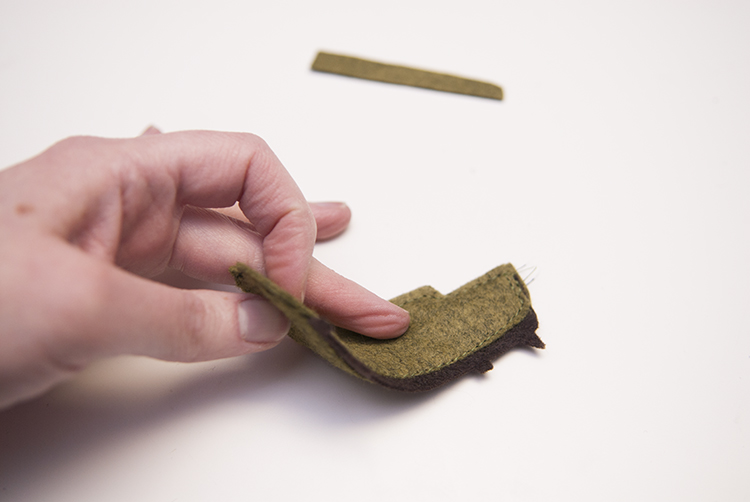
Now for the accessories. For the dining set, I cut 2 seat pieces and 1 leg piece for each chair. I cut the leg pieces so they had a bit of a base to them.
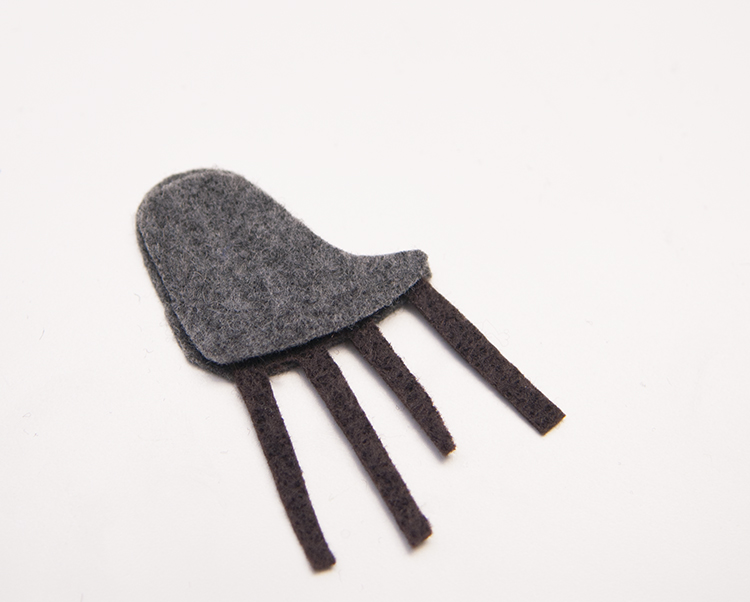
Then take one chair piece, and stack the legs on top.
Place another seat piece on top of that and sew the two seat pieces together.
Continue this same method for the rest of the chairs. I did the same for the table making just the table top a different color.
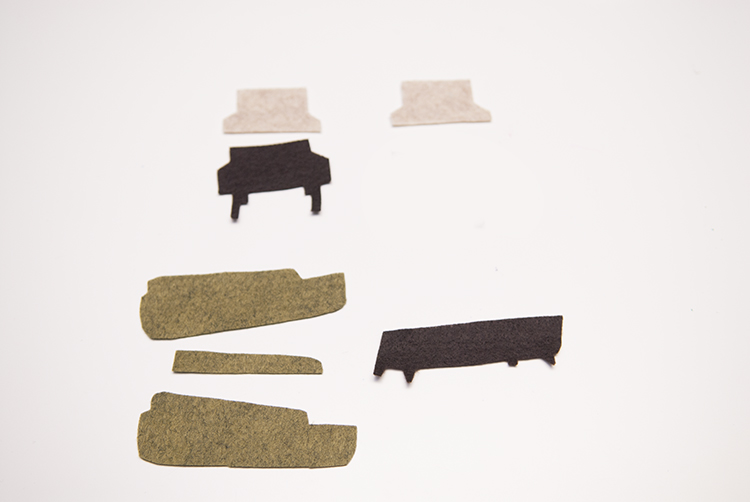
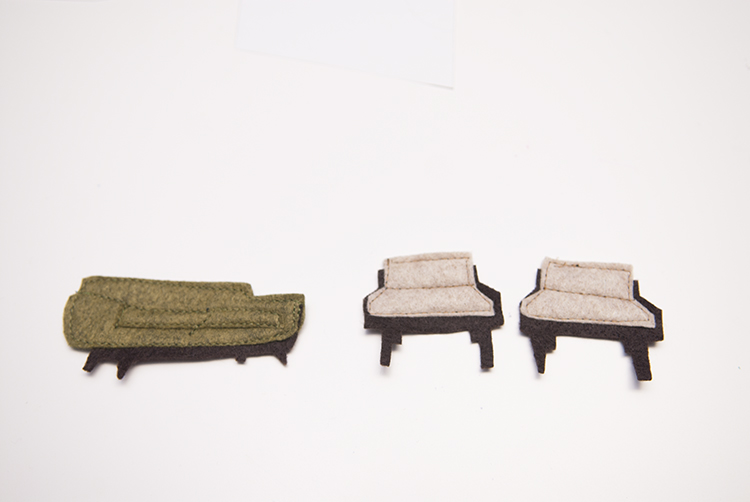
For the living room, I cut 2 main parts of the couch out, then cut out the cushion and for the legs I again made a larger base for them. For the chairs I traced out the full size of the back and legs and then cut out the cushions, 2 cushions per chair.
Sandwich the two main cushion layers around the leg base and sew them together. Then sew the smaller cushion on top.
The chairs are done the same as the dining chairs. Adding stitch lines to show dimension of the cushions helps.
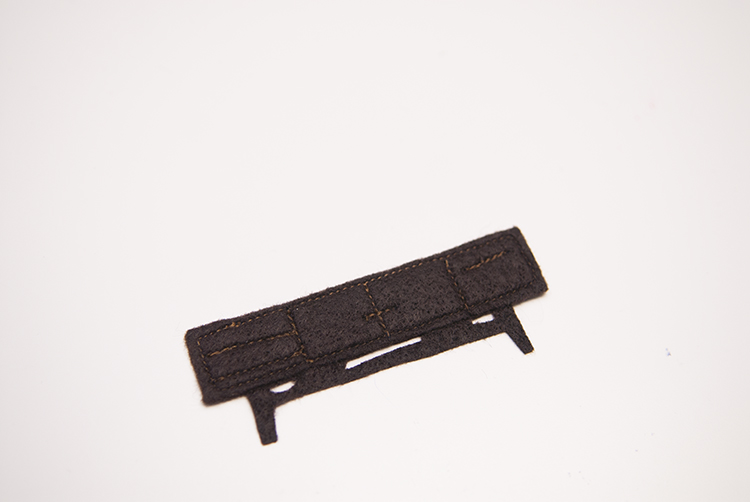
The credenza is just a rectangle stitched on top of the whole piece with the stitch lines showing all the details.
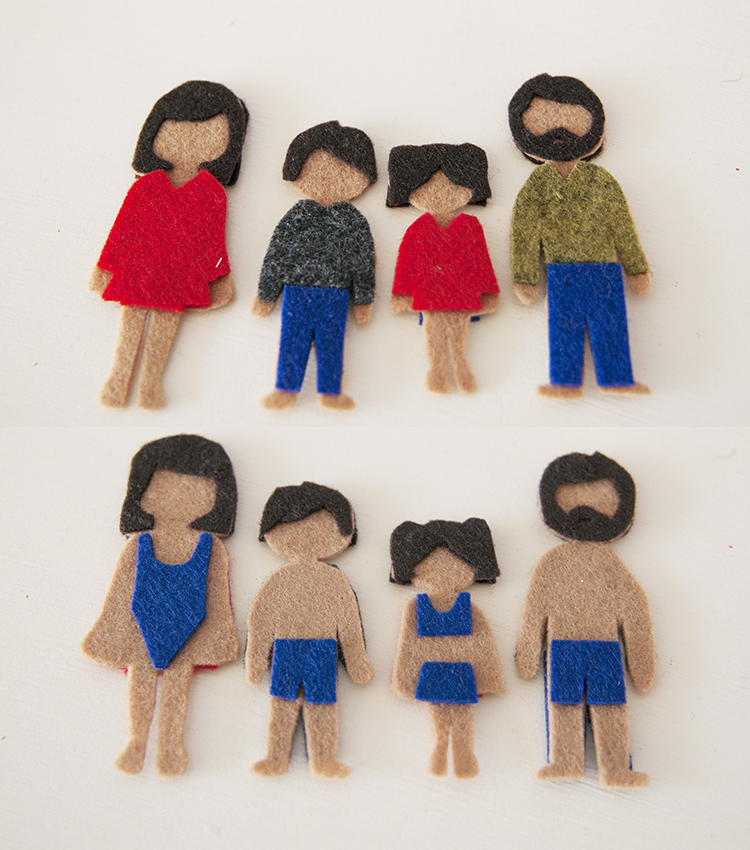
Lastly for the family, I cut out all the pieces and for these I just used felt glue to assemble them because they are so small stitching would be annoying and the felt glue holds well and is fast. I did the whole body cut out and then added hair and outfits. One side clothes and one side swim suits. (as per penny’s request since they do have a pool after all)
That’s all there is to it. The project came along very quickly and you can be as detailed or as simple as you want. I like that the colors and style make it boy or girl friendly since boys like dollhouses too. Oh and the beds, which I forgot to take step by step photos of, are just cut out full size and then the bedding and pillow stitched on top.
My favorite part of the house is the storage room, which holds all the stuff. When they are ready to pack it up you just put all the pieces in the page, fold up the pool and then close the flaps with the snap. It’s the perfect little pocket.
Penny loves playing with the house, either as a book flat on the ground and she can flip through the pages.
Or propped up as a house. Either way it provides a lot of fun and play and you can always add more accessories at any time so she can decorate more.
I love that it travels well. When you are done playing you just fold it all up and stick it on the bookshelf.
Or carry it with you everywhere you go.
