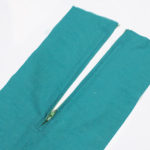
One of the things I hear a lot are that they are afraid of zippers, and afraid to sew a pattern that uses a zipper. I say let’s not let fear decide what you do and don’t sew. Hopefully understanding zippers a bit will make them less intimidating. So I am going to break it down for you.
First things first. Picking the right zipper for the job. There are a lot of different kinds of zippers out there.
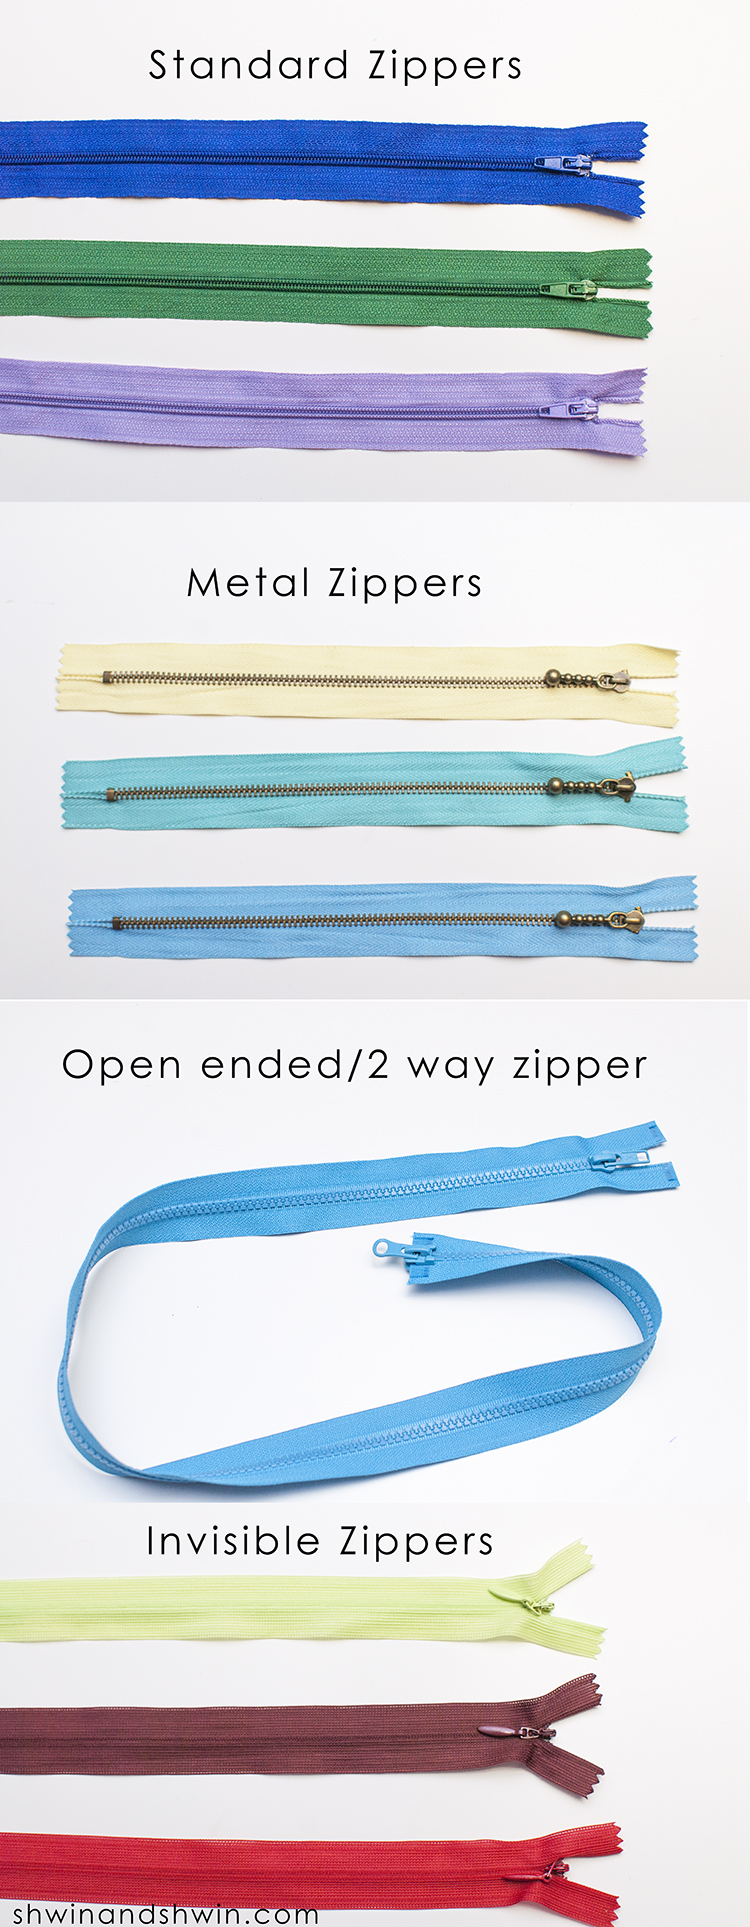
I am calling these “standard” since they are the most common these days, nylon coil zippers. They come in a variety of colors and lengths. Closed ended and open ended so they can work for a variety of projects. They can be used in blouses, dresses, skirts, jackets, or most projects that require a zipper.
The same as a standard zipper (and as all zippers used to be once) metal zippers simply have metal teeth. Typically used for the fly in jeans and pants. They can also be used in garment sewing although you will want a zipper guard since the metal teeth can irritate skin.
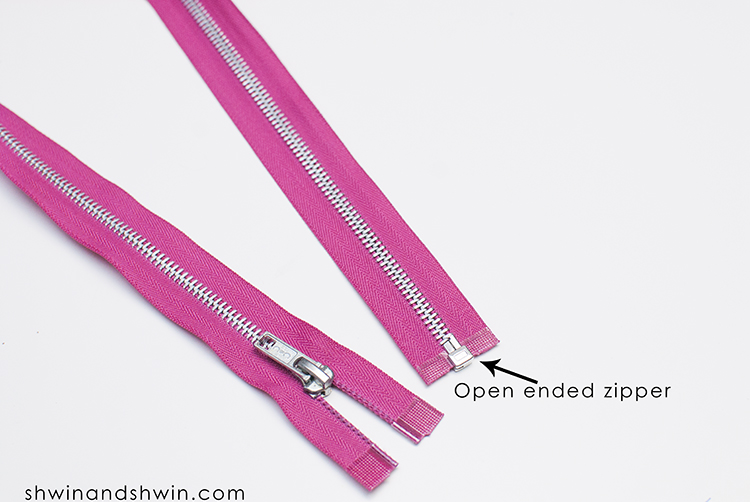
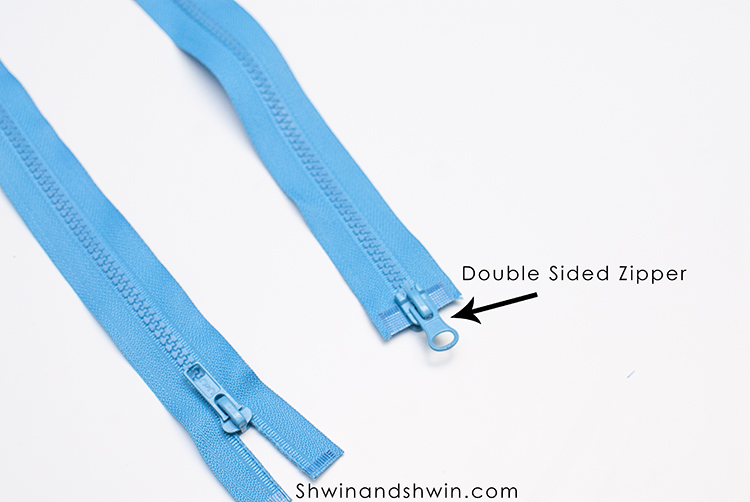
Zippers will either be closed or open ended. Open ended zippers (or a 2 way zipper like shown above) are used for jackets or sweatshirts in which the zipper needs to fully open. They come in molded plastic or metal.
Designed to be hidden in the garment invisible zippers are specially made so they are not shown at all from the outside. They are usually my go to zipper for garment sewing since I rarely need the zipper to be the focus of the garment. They are a perfect choice for blouses, dresses, skirts and other garments.
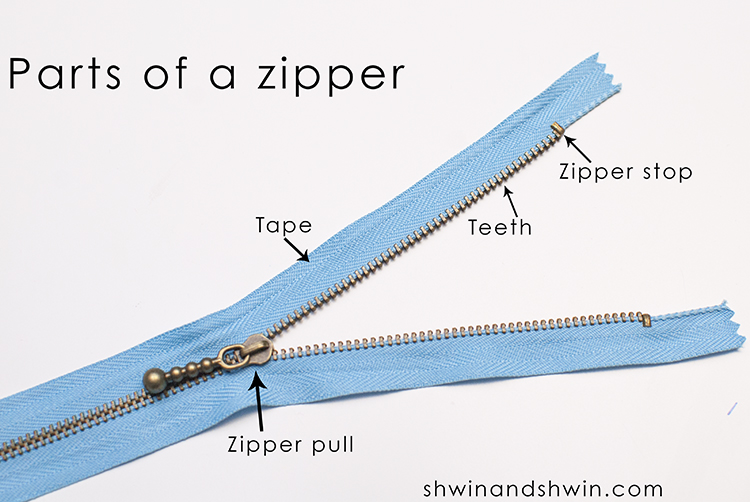
Now let’s talk about the parts of a zipper. The zipper has a zipper pull which opens and closes the zipper by locking and unlocking the teeth. There is a zipper top at the top of the teeth and this keeps the zipper pull on the track. The tape is the edge of the zipper and where you sew the zipper to the fabric.
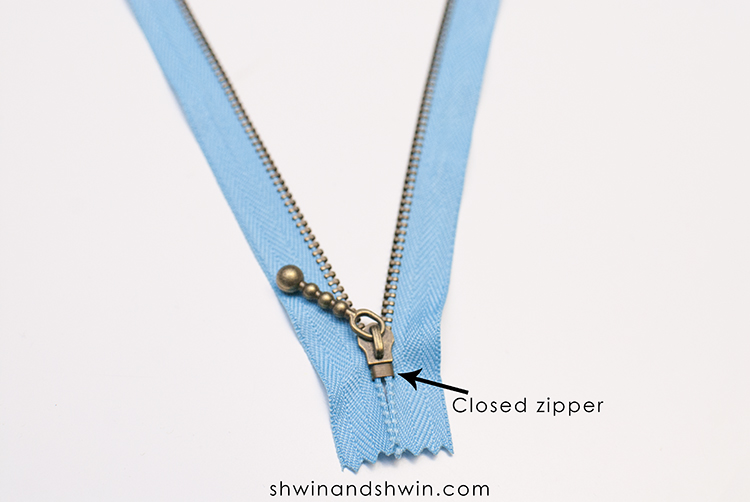
A closed zipper has a stopper at the bottom of the zipper teeth as well.
Open ended zippers have a zipper separator at the bottom instead of a zipper stop.
A double sided zipper or 2 way zipper, has another zipper pull at the bottom so it can open from both ends but also fully open.
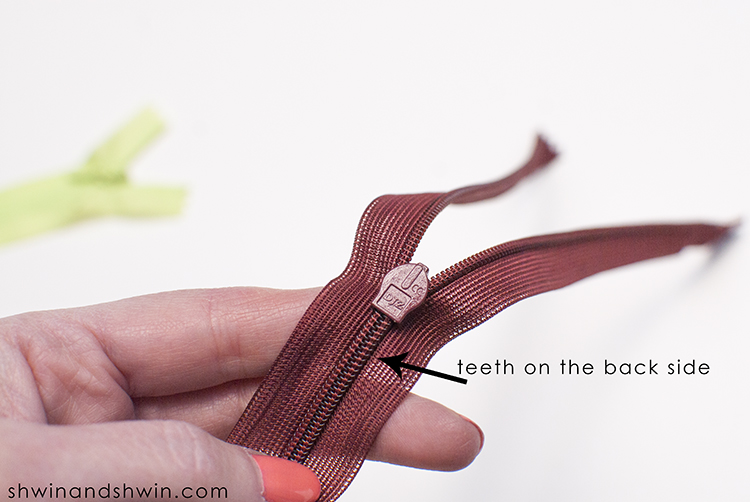
An invisible zipper has teeth on the back side of the zipper, but nothing is seen from the top side of the zipper.
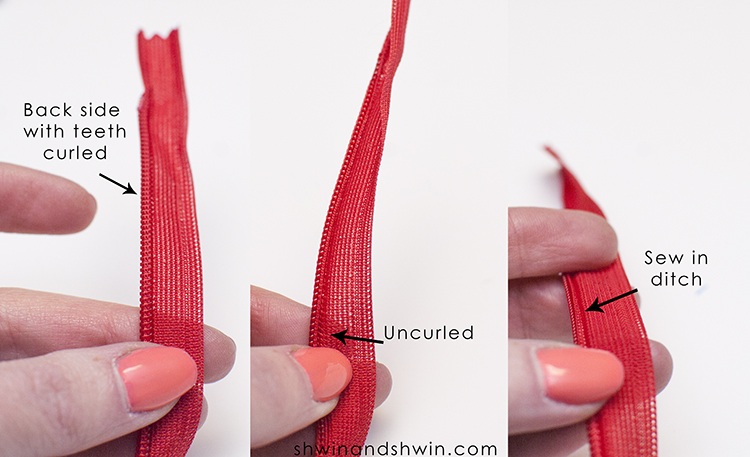
Another thing to understand about the invisible zipper is where you should sew the zipper in place. (sewing in the correct place is what makes the zipper invisible) Open the zipper, you will see the teeth curl towards the back side. Uncurl the teeth. Use an iron to press the zipper flat so it doesn’t curl back. You can see when it’s uncurled that there is a ditch or ridge just behind the zipper teeth. This is where you will sew. Then when the zipper is zipped back up the fabric curls around the zipper teeth so it is hidden in the seam.
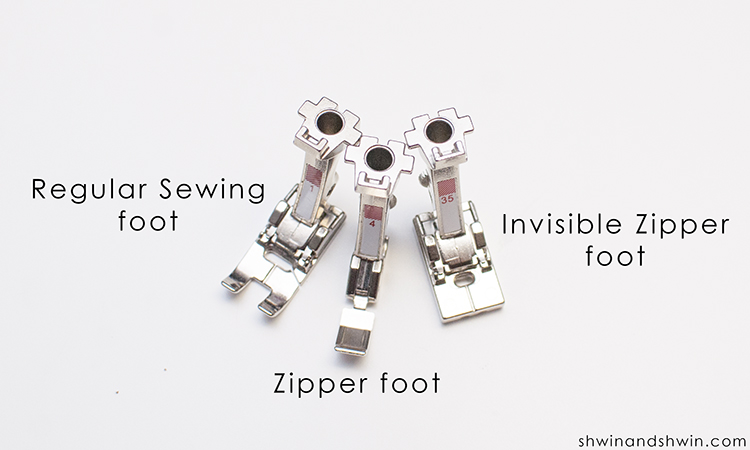
Moving on to sewing feet. You can sew most any zipper with a standard sewing foot, however using feet designed for sewing zippers will make the whole process easier. Let me show you how.
When sewing a zipper, any zipper the goal is to sew as closely to the teeth as possible. With a standard sewing foot (as shown above) if you sew along the teeth, even with your needle placement moved all the way to the side you can’t get very close to the teeth.
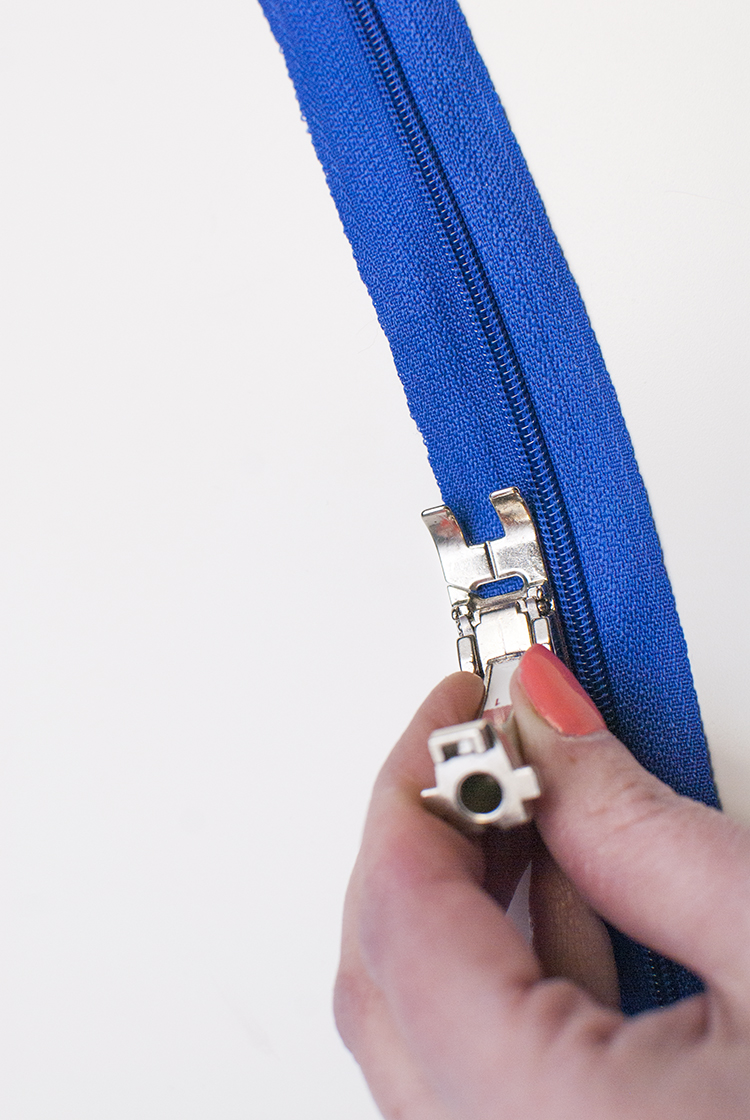
A zipper foot is narrower and allows the needle to get right up next to the teeth. The foot follows along the edge while you sew.
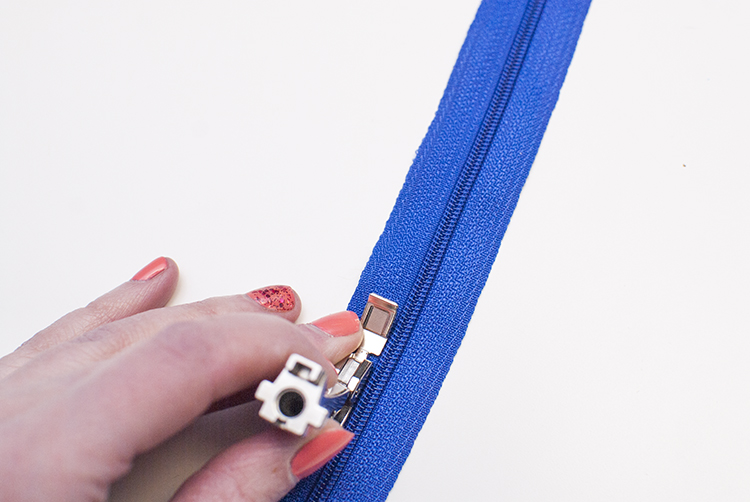
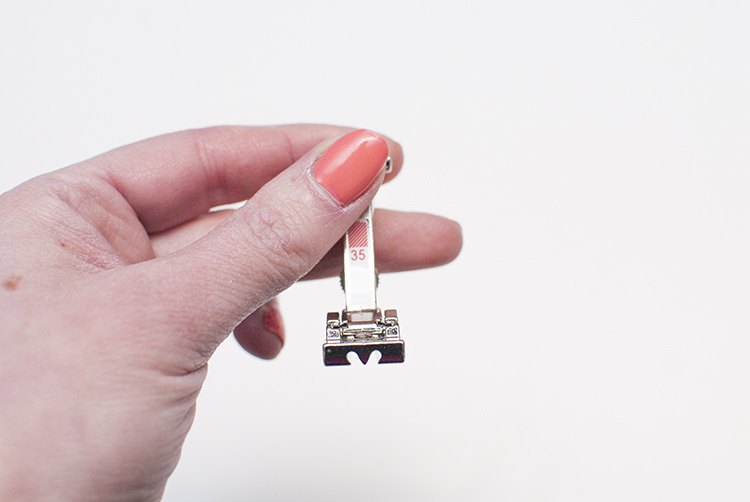
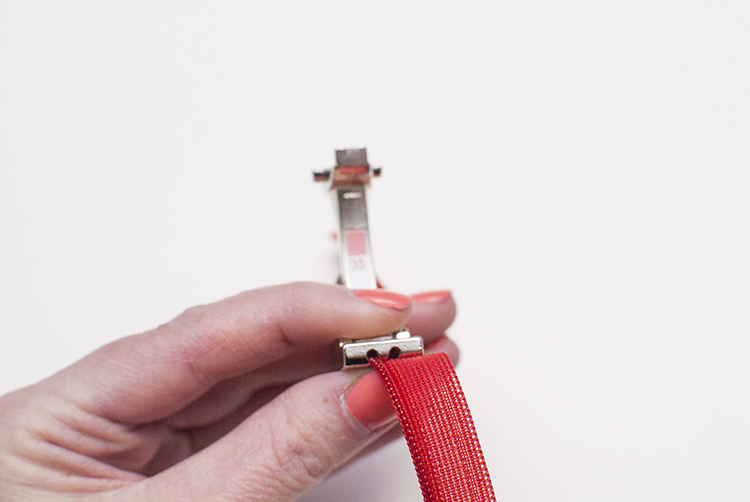
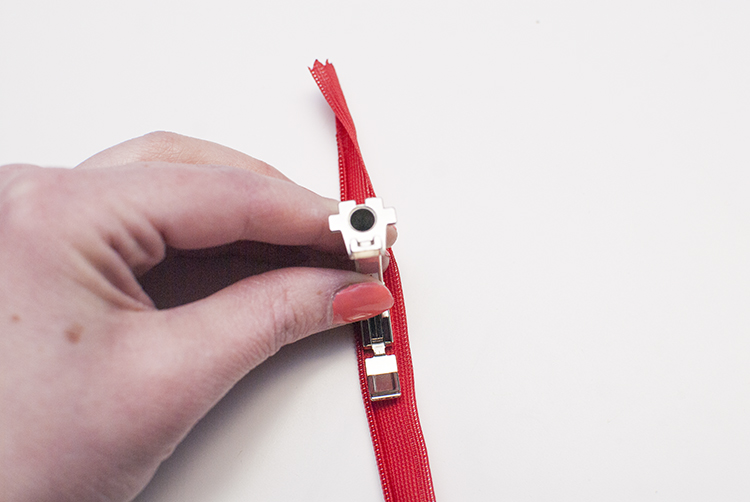
An invisible zipper foot (one of my favorite tools) has grooves along the bottom.
The grooves are made so the uncurled teeth of the invisible zipper fit in the groove. This keeps the teeth from curing back up and allows you to sew just where you need to.
With a good pressing of the zipper, you can also sew the invisible zipper with a zipper foot which will guide along the ditch.
If you want to see how you would sew an invisible zipper, or a standard zipper making it hidden in the seam click on the photos below.
See how to sew an invisible zipper 