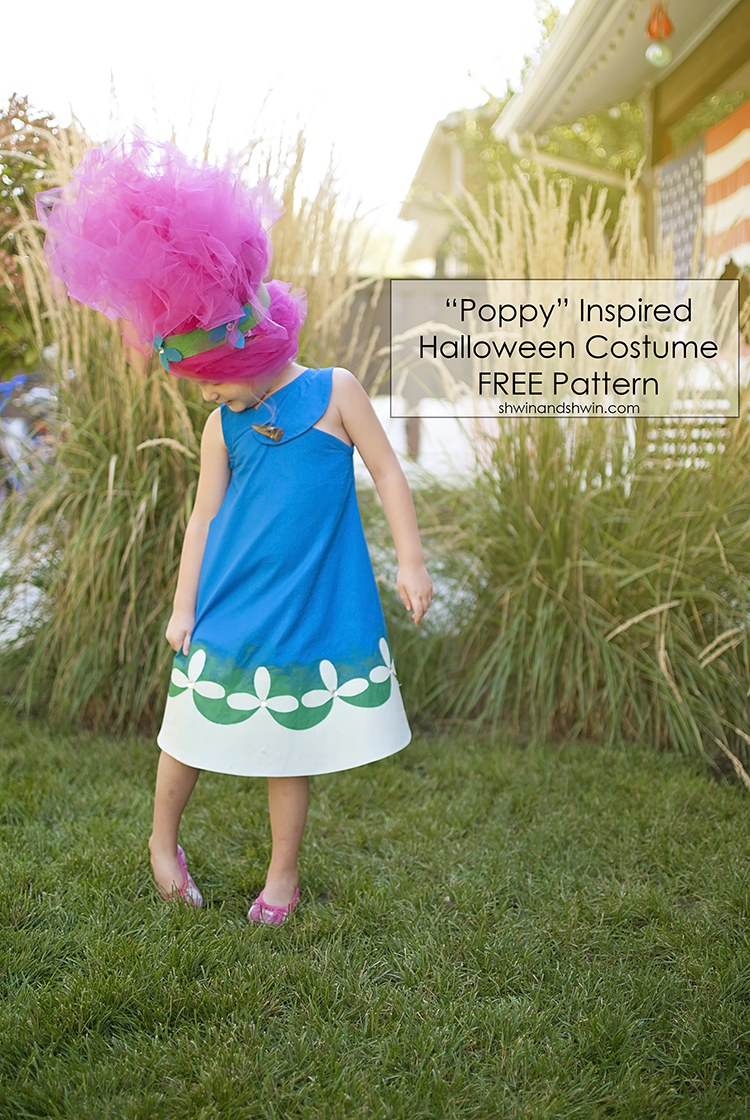
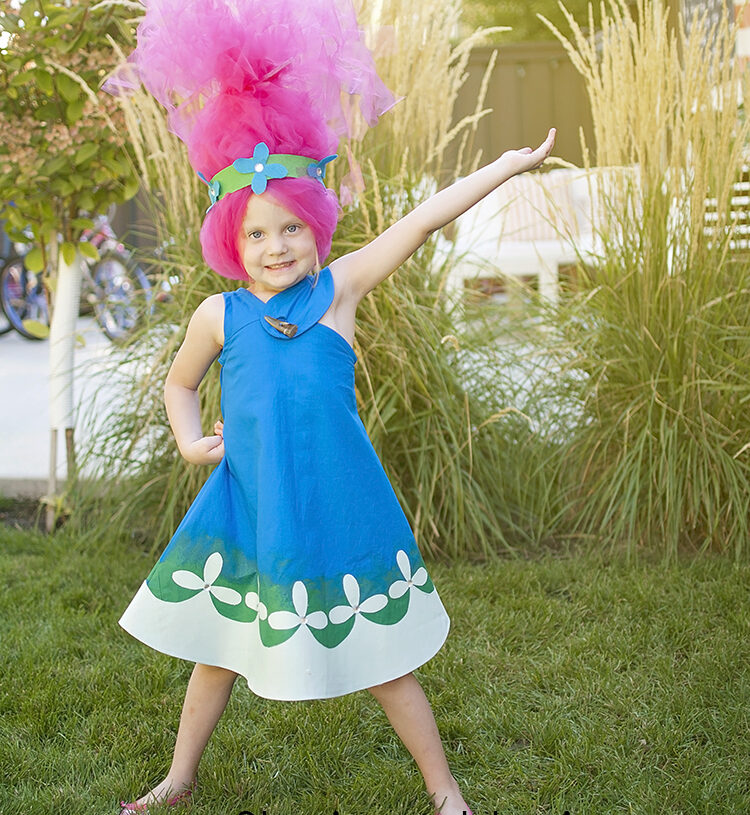
 This year for halloween my kids have requested a few costumes. They were indecisive and since we have several different halloween events I told them I would make them more than one. (especially since the other costumes are things they can wear past just halloween) The top request from Penny this year was to be Poppy from Trolls. She is a HUGE fan of the movie (despite the fact that I am not a fan) She sings the songs all day long and I am pretty sure she would be Poppy if she could be Poppy.
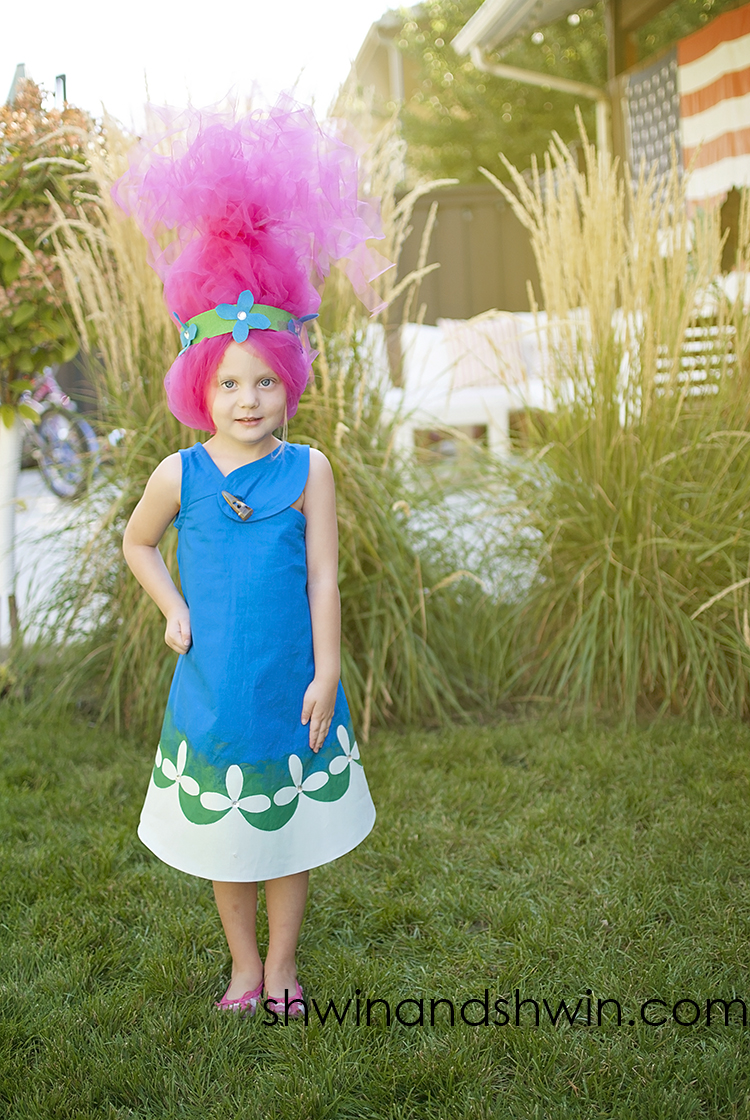
  Making the costume was quick and easy and I love the way it came out, as does Penny. I also have a free pattern for the Dress. It’s size 4T
To make the costume you will need:
1 Yard Blue cotton for dress
1/2 Yard Mint for bottom detail
1/2 Yard Wonder Under (or other double sided fusible product)
2 Yards bias tape
1 Large button
Green Fabric Paint
3 Yards Pink Tulle
Elastic (3/4″ non roll)
Green Felt
Blue Felt
Hot Glue Gun
Glue on gems (optional)
 Step 1: Sew Button hole in front strap.
Step 2: With right sides together, sew the front strap to the left hand back shoulder. Finish seam as desired.  Step 3: With right sides together, sew the front and back together at the other shoulder seam, and the side seams. Finish seams as desired.
Step 4: With right sides together, sew bias all around the neckline and the arm opening. Fold it at the ends and have the bias overlap at the ends.  Step 5: Press the bias tape out and press the seam allowance towards the bias. Then fold the bias in to meet the stitch line, and then turn it again so the bias is all towards the inside. Then stitch along the folded edge to secure the bias in place.
Step 6: Trace the floral (and curved) design off the pattern. Then cut it out of the mint fabric and fusible wonder under. Iron the wonder under to the mint fabric.  Step 7: Paint the bottom of the dress with some green paint so the paint will be just at the bottom of the curved design. Let the paint dry.
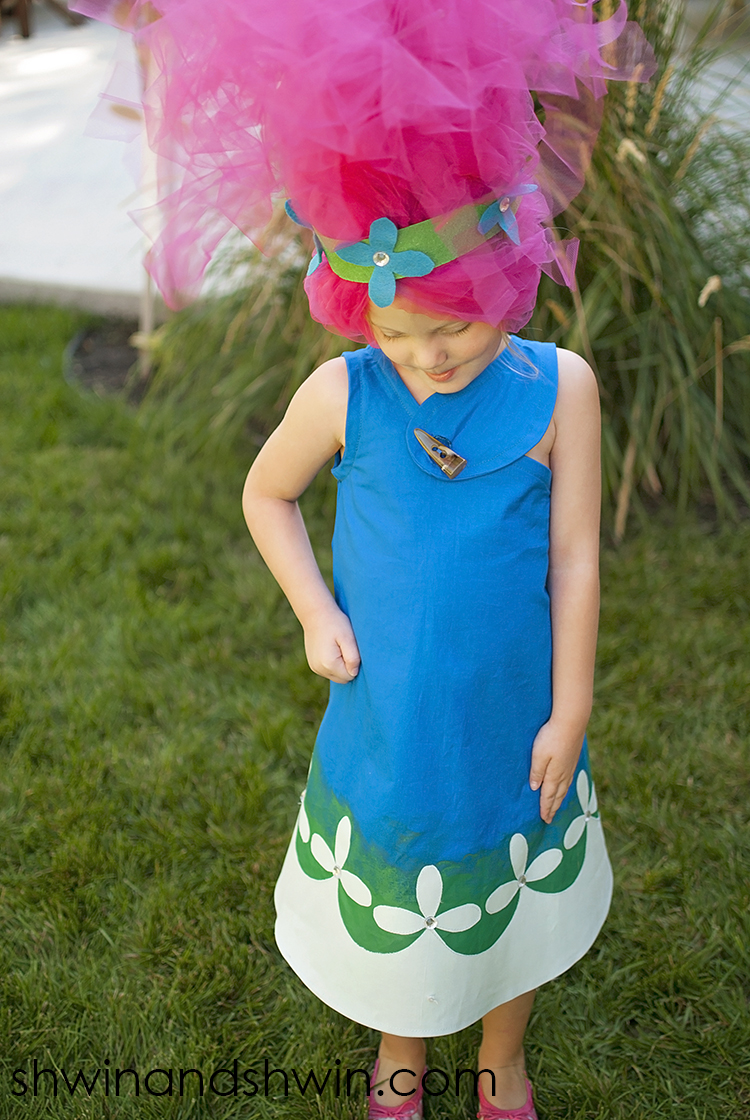
Step 8: Iron the floral design on to the bottom of the dress, sew around the edges to secure. Add a button to the front neckline. If desired glue gems on to the center of the floral designs.  For the “wig” you will make a tutu for the head.
Step 1: Measure the elastic so it fits around the head like a headband. You want it to fit snug but not so tight it slips off the head. Then cut the Tulle into 2″ strips. The strips should be cut moving down the 3 yards edge so they are the length of the width of the tulle. Then fold each strip in half and pull the tales through a loop around the elastic.
Step 2: Continue making loops until you have used all but 1 strip and your elastic is nice and full.
Step 3: Cut a rectangle band about 1″ by 20″ (I used 2 bands and glued them together to make 20″) Then cut out some blue felt flowers and glue the flowers on to the band.
Step 4: Pull a few strands of the tulle off to the side, Then pull the rest straight up and tie the last strip of tulle around the bunch of tulle so it starts to look like troll hair.
Step 5: Glue the headband around the hair near the base of the tutu.
When wearing it the elastic will fit around the head. The strands that were left down should wrap around the back of the head and back to the front where you will tuck the ends under the headband in front. This gives it the look of having hair around the face.  Then you are done! If the headband slips while being worn you can add a few dots of hot glue to the inside, once it dries it will help the headband stick to the head a bit. You could also clip it in place. The hair stands up on it’s own quite well since it’s made from light tulle, but if you are having trouble you can spray it with hairspray or starch to make it a little stiffer.
