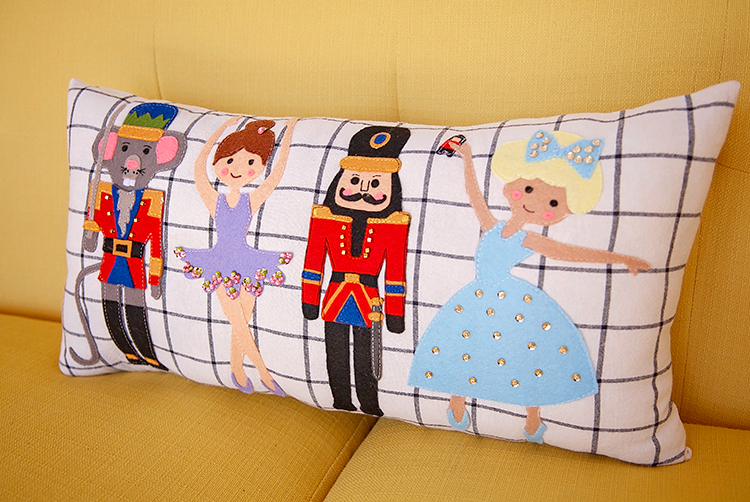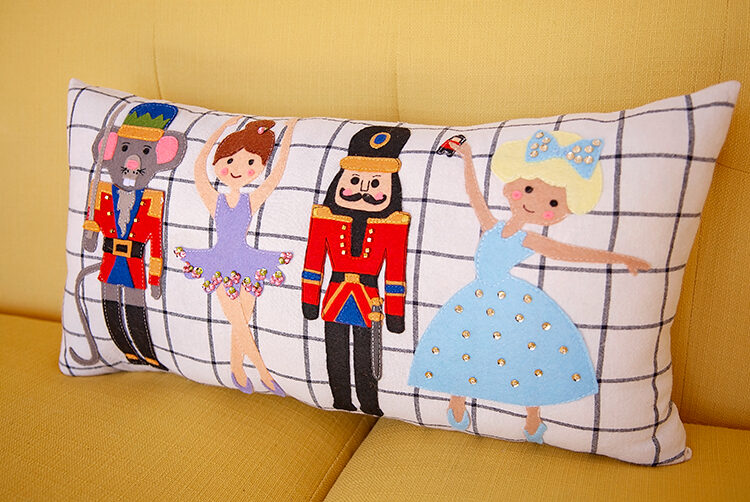
It’s the Nutcracker time of year here at our house. Both my my girls dance in the local metropolitan ballet company’s Nutcracker production. They have for the past few years now and while they LOVE it, it also takes over our life for about 2.5 months. That means it’s all Nutcracker all the time. We listen to the music constantly while they practice and we buy all the nutcracker things we see because they are obsessed. (we all are) So for part of my holiday decor this year I wanted to bring in even more Nutcracker things.
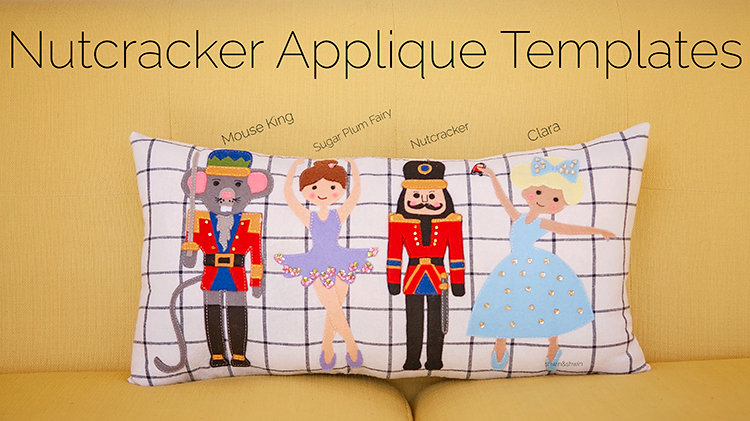
I made these Nutcracker applique templates so that I could put these cute little characters on anything I wanted. I made a pillow with them but I also think they would be great on:
- Tree skirt
- Clothing
- Stocking
- Quilt
- Bag
- Wall hanging
To use these templates here are the things I used (and highly recommend)
- Freezer paper (to trace the template pieces on to)
- Heat n’ Bond
- Felt ( I use acrylic wool blend and give it a good steam to help pre shrink it)
- Small beads (for button details)
- Sequins (to also add details)
- Embroidery floss
- Iron
- Sewing machine
- Good sharp scissors (but not for fabric only scissors since you will cut paper and felt at the same time)
**I am using affiliate links. Yes I use those products and purchased many of them from Amazon, and yes I get a small commission if you were to also purchase them, and at no added cost to you.
You will also need the templates. You can find those here
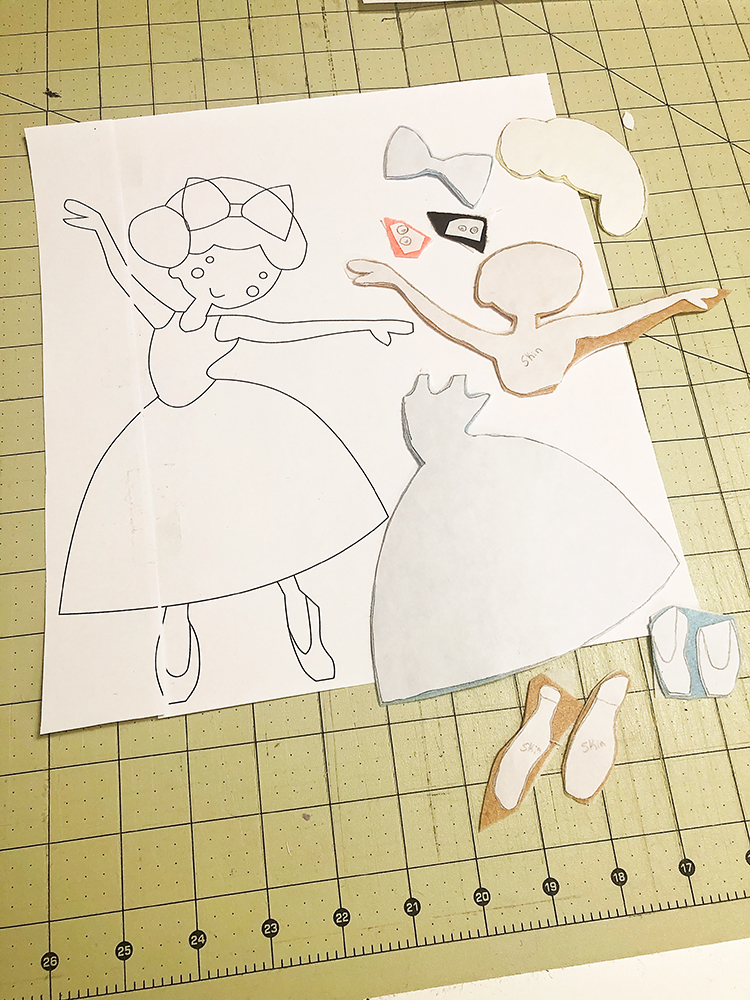
First step is to trace the applique on to the freezer paper. Couple things when doing this, you will trace off each part of the template separately. This means that you will layer some pieces. For example I traced off all the upper skin pieces (head, arms, body) into one piece, and traced the dress on another, these will overlap each other but that’s ok. After tracing all the pieces I rough cut them out and use the iron to press the freezer paper pieces on to the felt. Then, press heat n’ bond to the back of each piece. I find it’s easier to do this while they are rough cut, especially the small pieces like the eyes and rosy cheeks. Then when the heat n’ bond is all on trim the felt to neatly cut each piece.
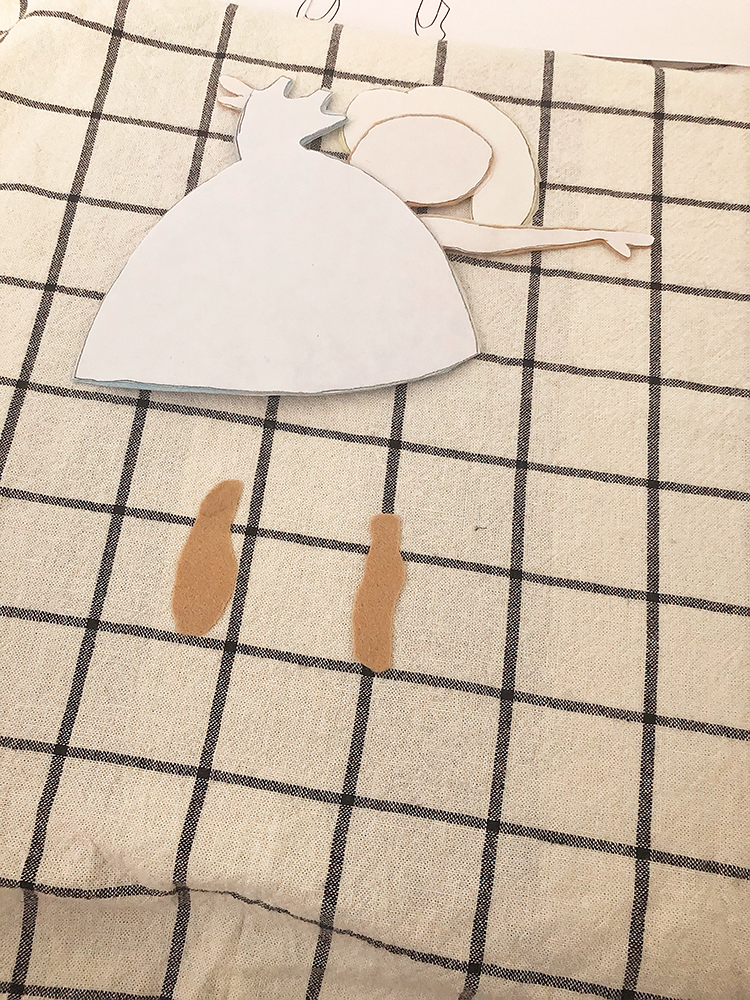
I like to use the heat n’ bond because it holds all the pieces in place while working with applique. For the Nutcracker and the Mouse King the whole back ground was cut in one color (black for the Nutcracker and gray for the Mouse King) because they were all one base piece the rest of the pieces could be pressed on top. For Clara here she gets pressed right on to the base fabric (for a pillow in this case) I started by pressing the skin pieces down since they are the bottom layer.
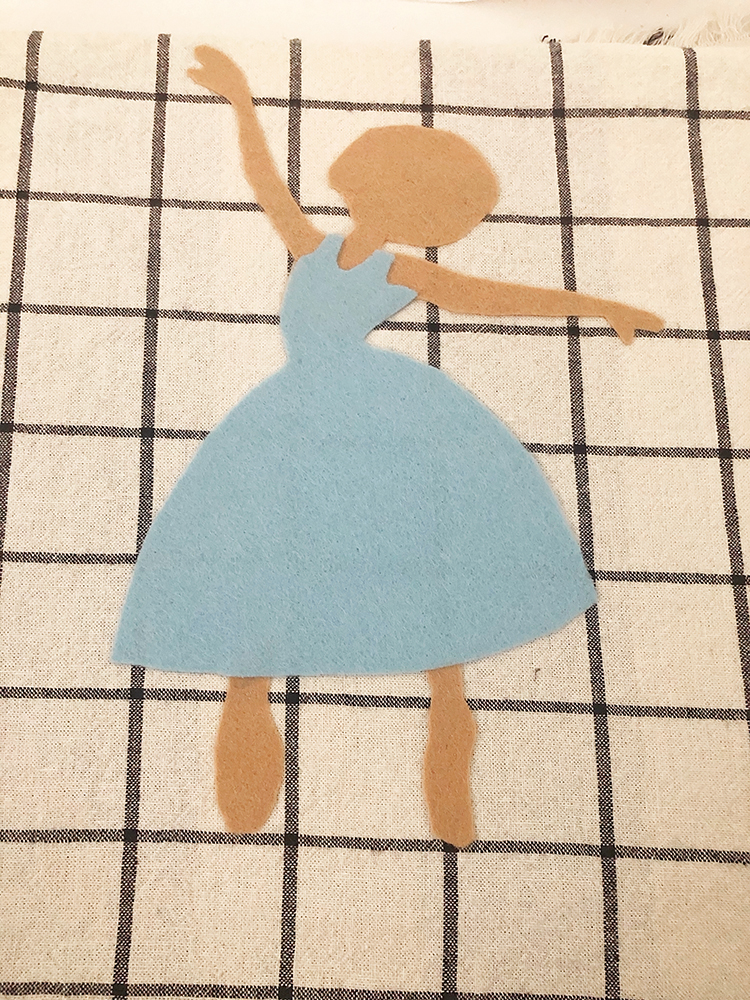
Then you can start adding layers on top, in this case the dress goes next.
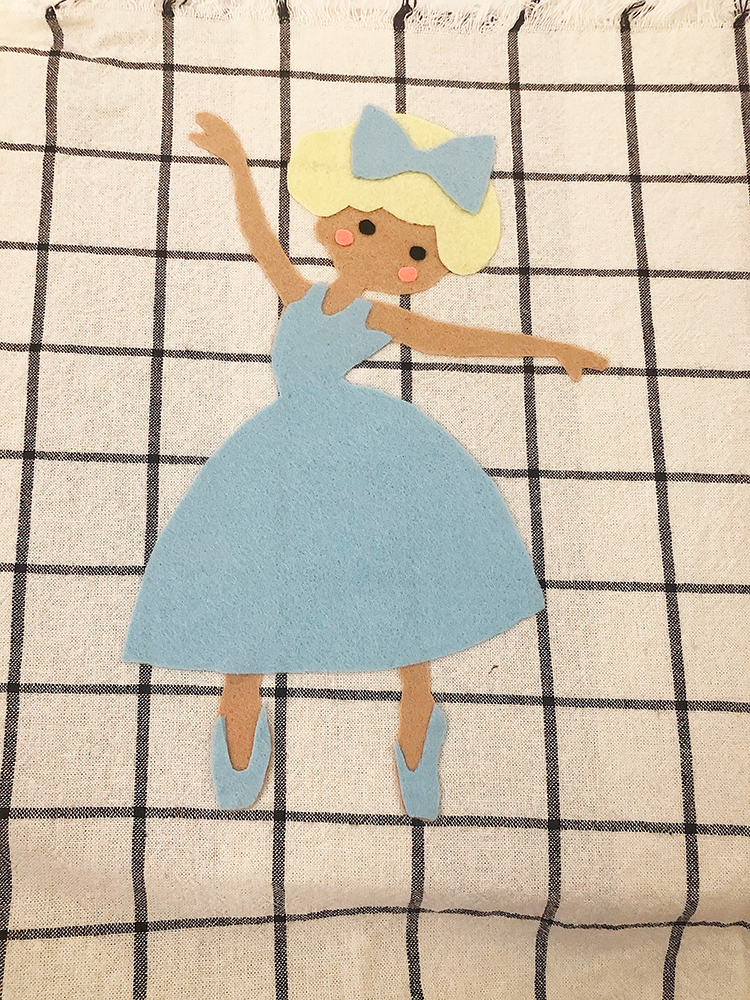
Then add the other details, the shoes, eyes, cheeks, hair, and bow. All pressed in place layer by layer.
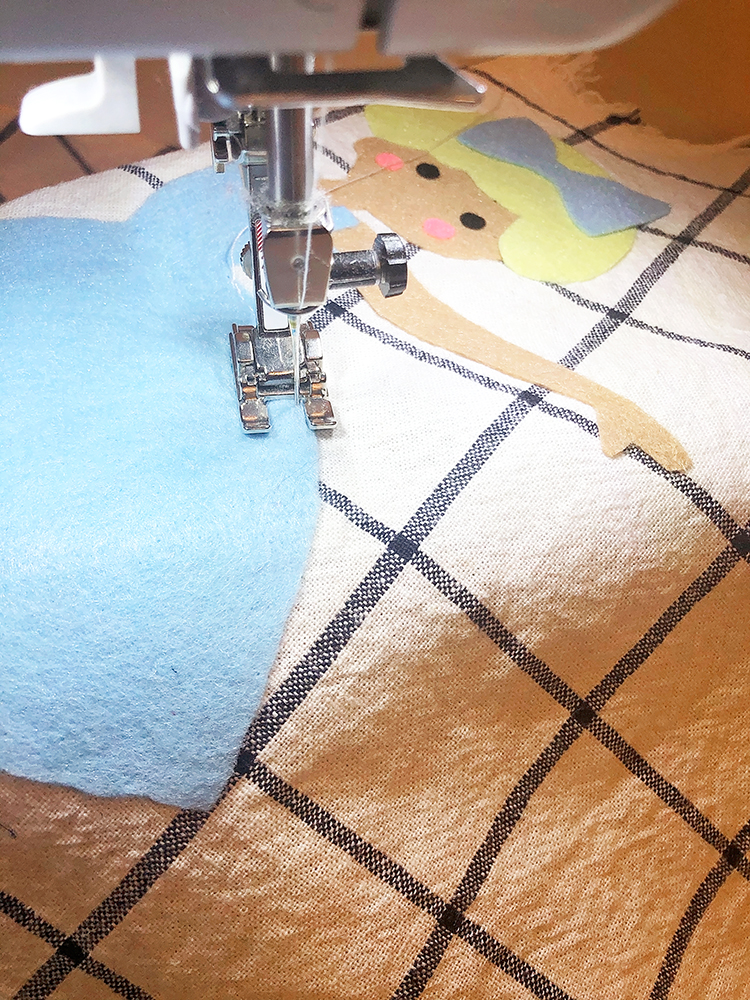
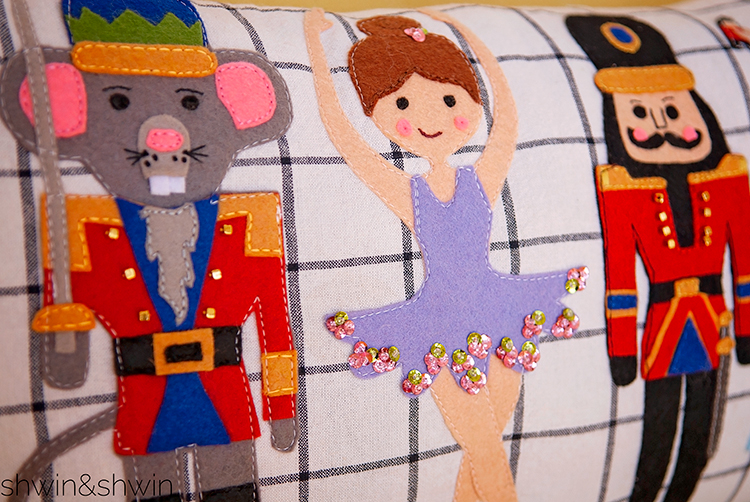
The heat n’ bond can hold pretty well but if you want it to hole up to wear and tear or washing I would secure everything by stitching it down. I stitch down the majority with the sewing machine.
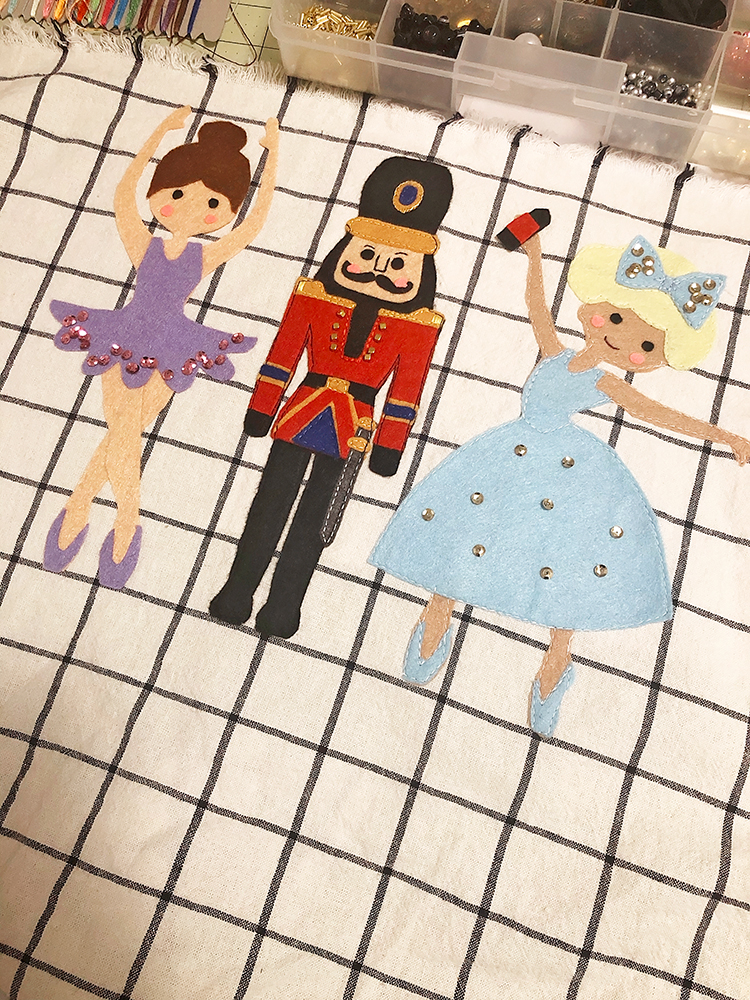
Then I add other details, like the mouth, and sequins on Clara by hand stitching them on. Same with the other characters. I also used embroidery floss to stitch some of the details on.
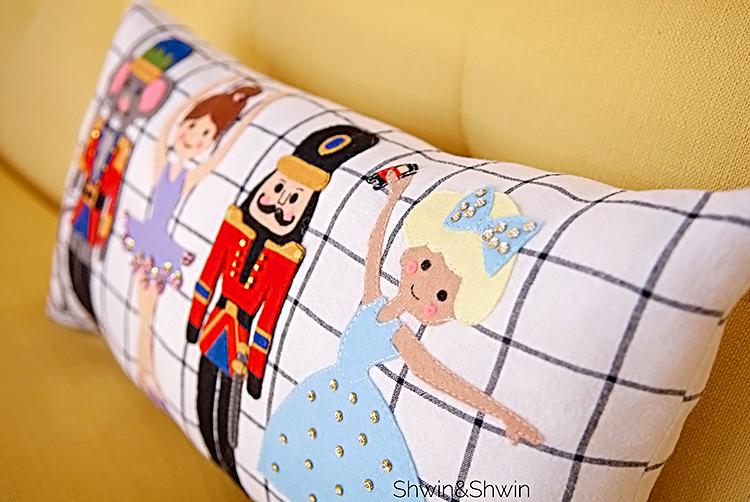
I love some hand sewing, it is relaxing to me, but you can really add as few or as many details as you want.
