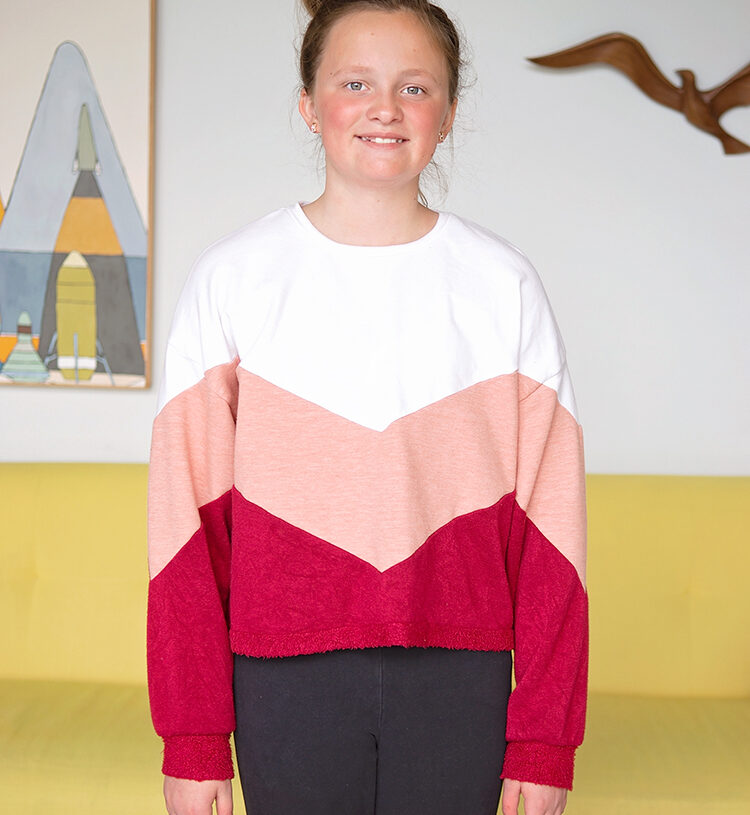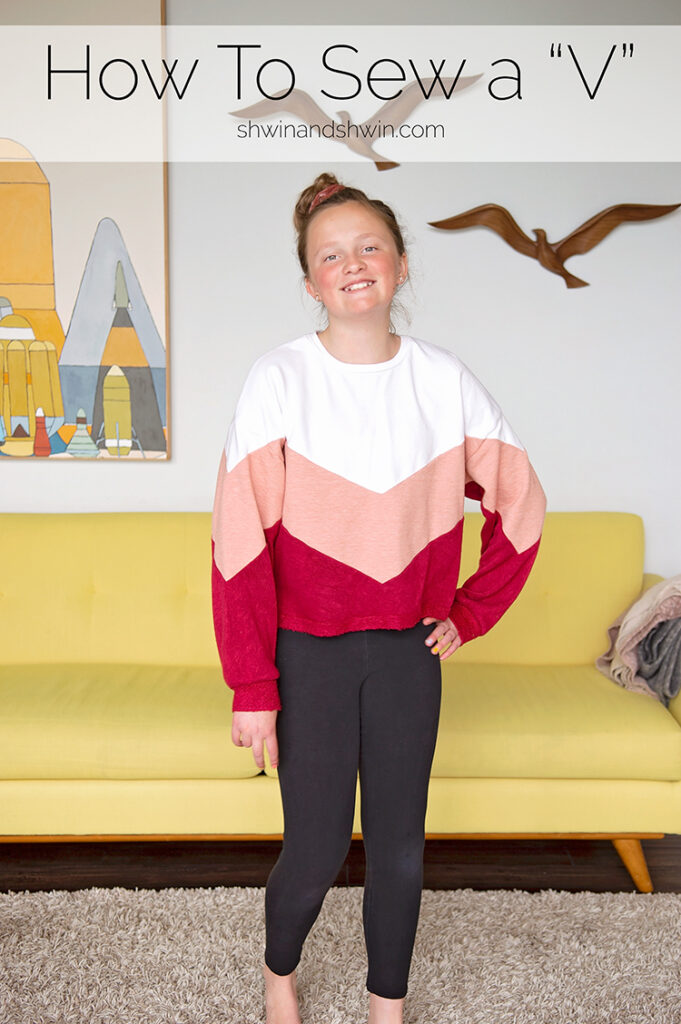
Sewing a straight line is easy, sewing a curved line is fairly easy, however sewing a V? It can be a little tricky for some people. Let me show you how to sew a perfect V every time. It’s the same way I sew all my V necks, or color blocked patterns that have fun angles. Learn this tip and you will never struggle with a V angle again.
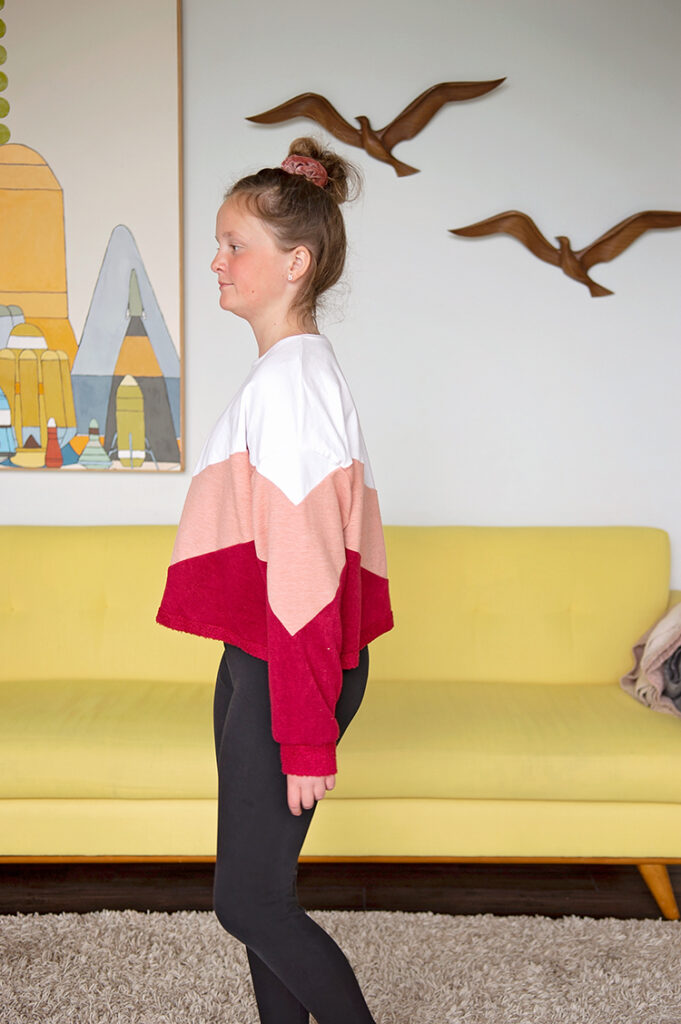
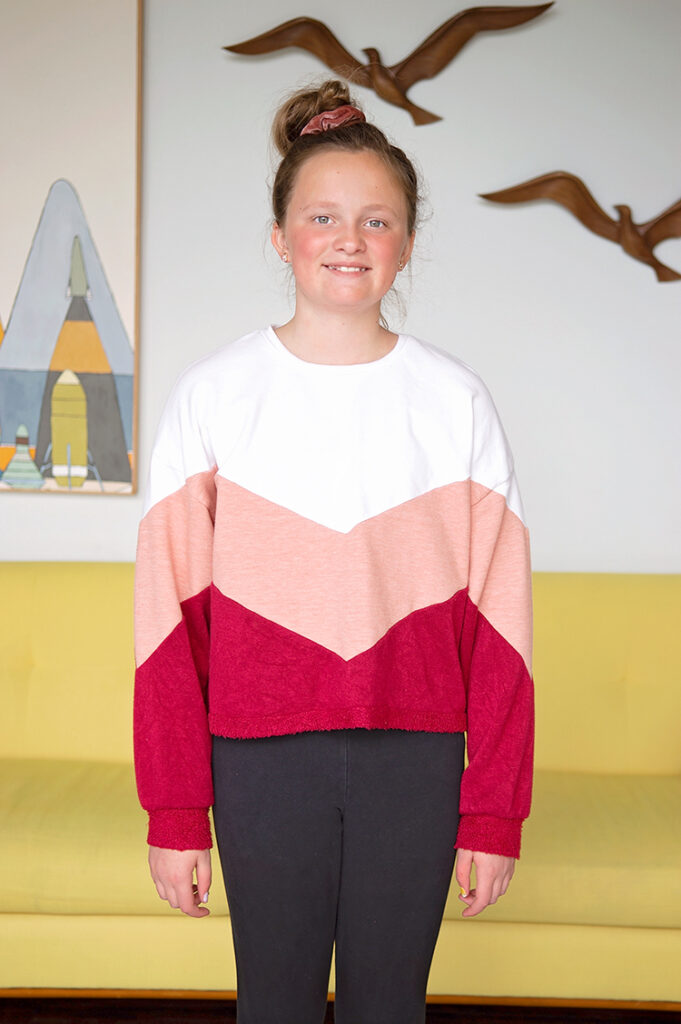
For this top, which has several V angles on it, I used the free oversized sweatshirt pattern as the base (since it is my daughter’s favorite style) Then I cut the pattern up.
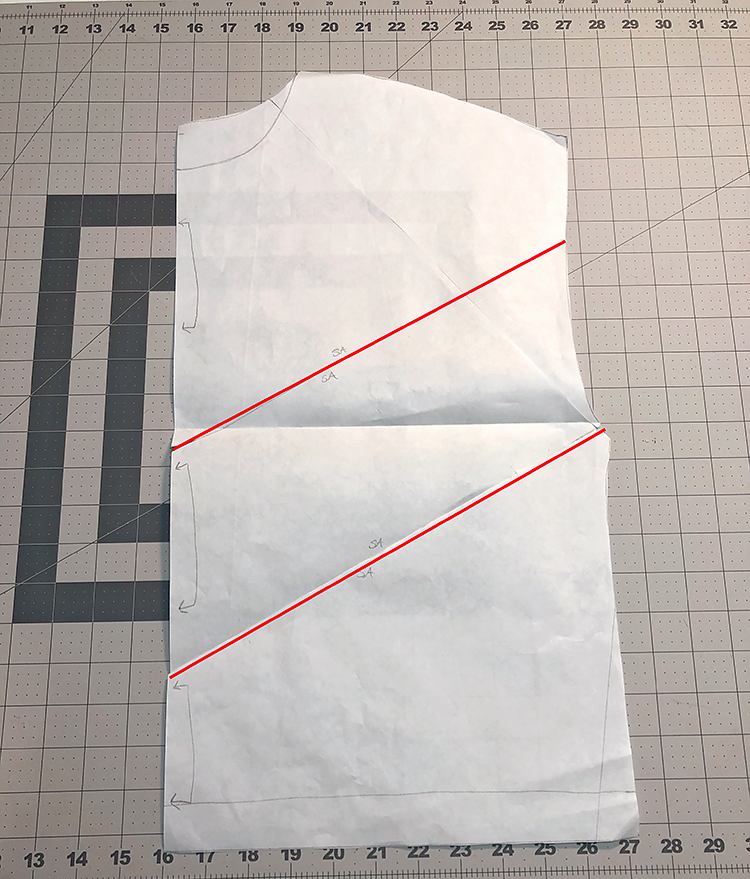
First I drew angles on the pattern. You can place yours however you like, to keep my lines perfectly parallel I used a ruler to make sure my spacing stayed even. You will notice a few things, both of my lines go up and end into the sleeve curve, and go down to the center fold. (also forgive my beat up pattern piece if it looks slightly off from the pattern, I traced the front and back bodice together into the one piece, and it’s been cut up and taped back together at least a dozen times so it has seen better days, but it still works)
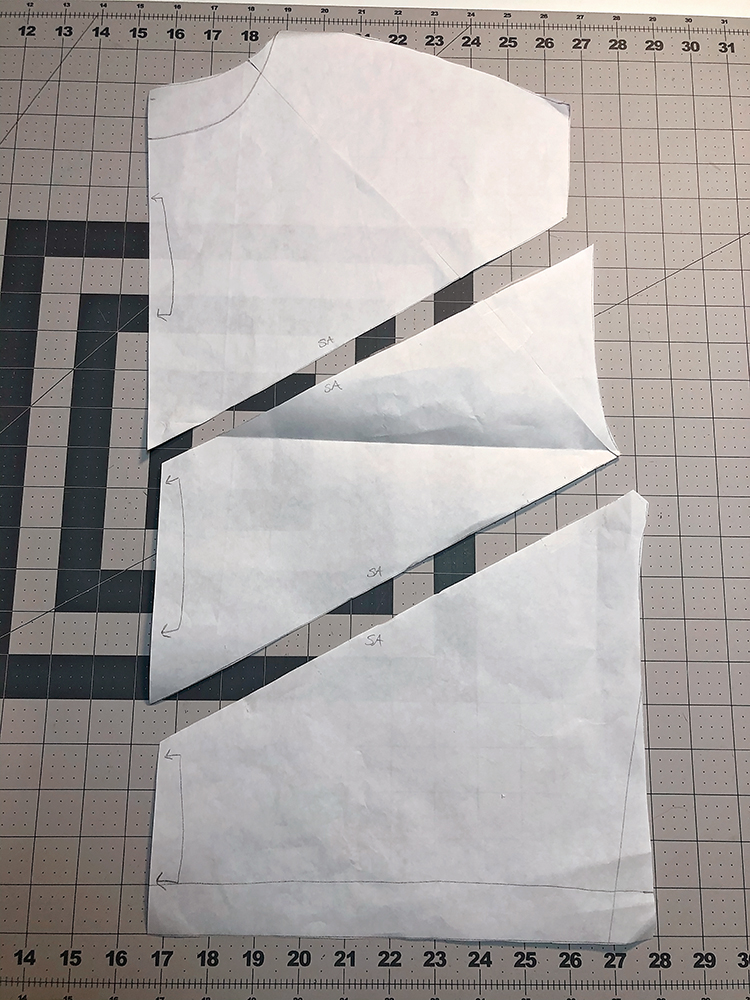
Then you will cut your pieces apart. (I also label the edges with SA so I know to add seam allowance there, otherwise it can be hard to remember what edge needs seam allowance and what edge doesn’t)
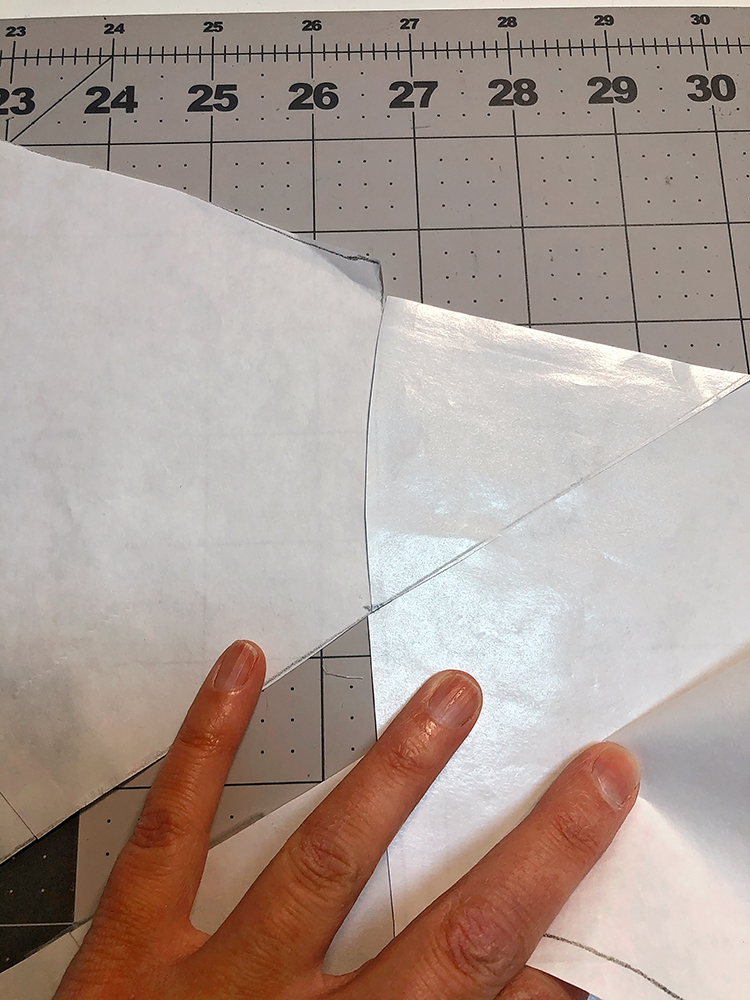
To add the same color block lines to the sleeve I like to match up my sleeve to the pattern and “walk” it along the edge to make my marks. Keep in mind for this pattern the sleeve is cut on a fold and so you will have to subtract the seam allowance from the shoulder of the bodice. You can see how I moved my sleeve down just a bit to account for the seam allowance. Then I marked the sleeve, and I made sure my line from the bodice continues evenly up through the sleeve.

Do the same for the middle section. It gets a little tricky here since the sleeve and bodice curve just walk the pattern pieces along the edge together. (or you can measure the curved edges as well) Make your mark and then make the second angle line parallel to the first one. Then add the last line.
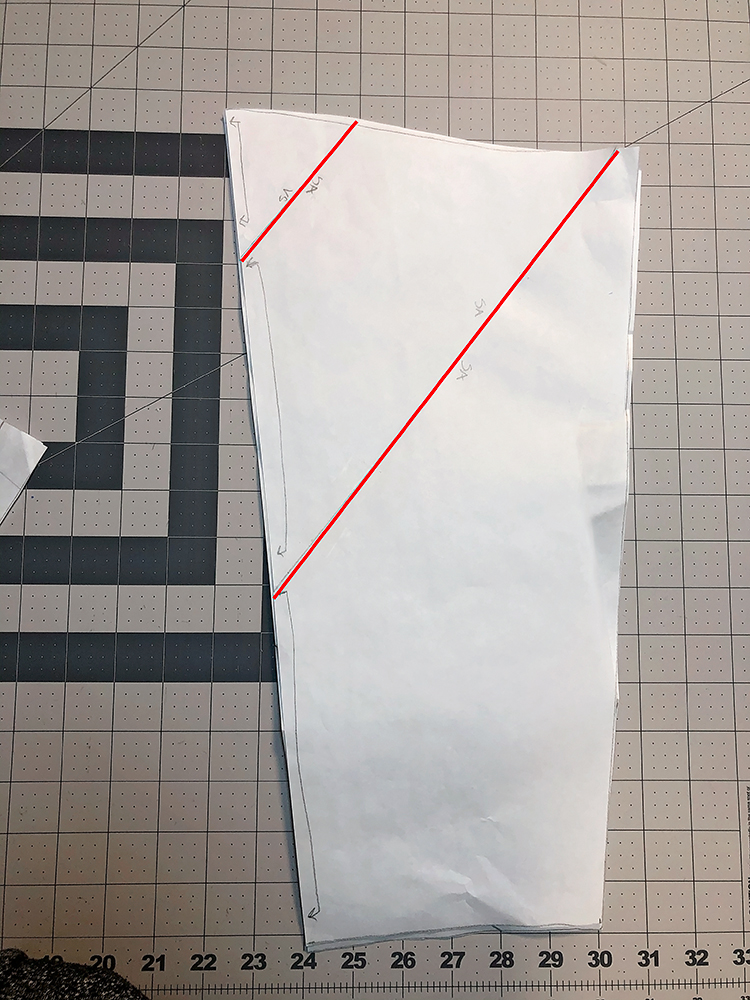
You should end with a sleeve that looks a bit like this. Again cut it apart and make sure the seam allowance lines are marked.
How to Sew a Perfect V
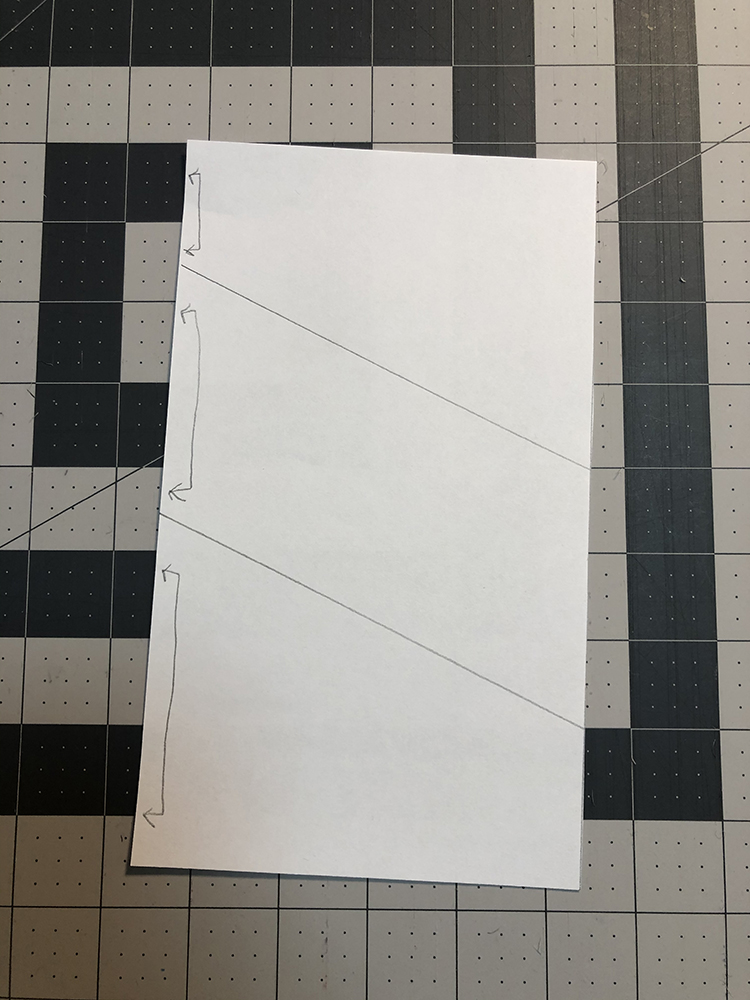
To show you how to sew the perfect V I am showing you on some scraps. So I made a small rectangle and added the angles to it. I will cut these apart.
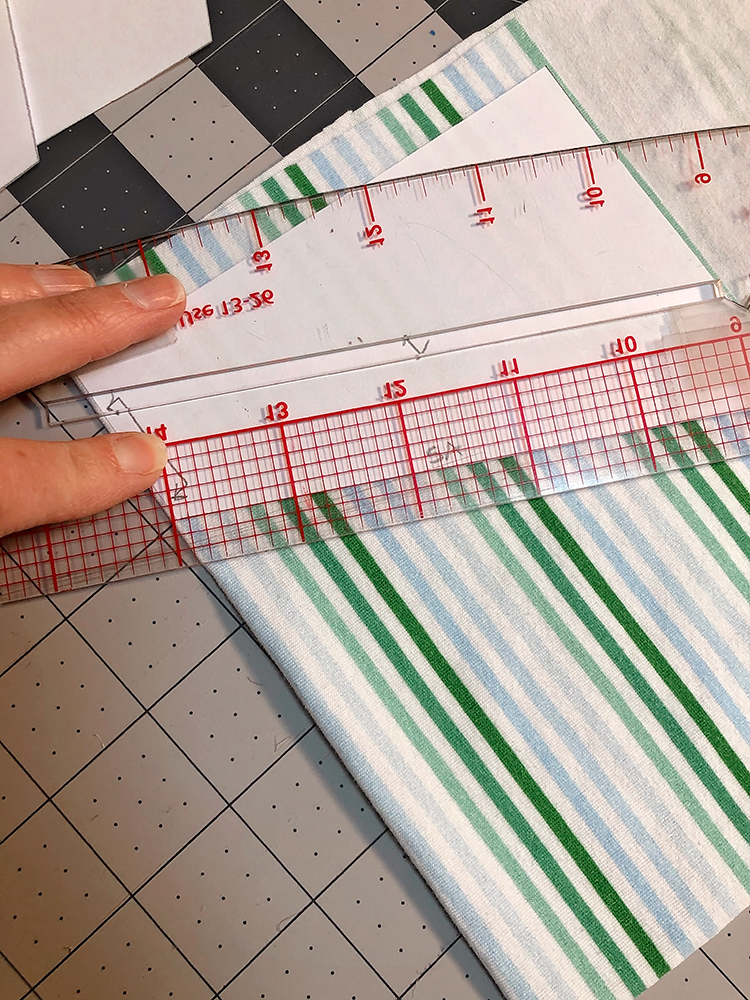
When cutting out your fabric, you will add seam allowance to the cut edges. I sew with a 3/8″ seam allowance so that is what I am adding here. I find it easiest when dealing with straight edges like this to just line my ruler up with the edge and add them on as I cut. You could also retrace the pattern so the seam allowance is added and then just use the new pattern piece.
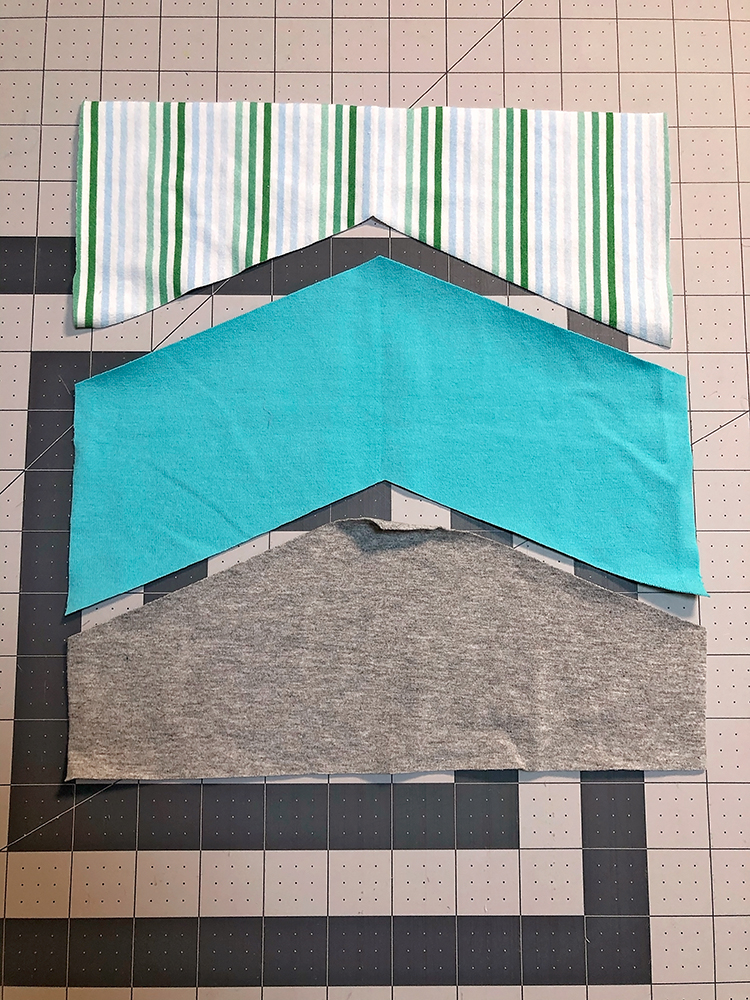
Here I have all three angled pieces cut (with added seam allowance) and they are ready to go.

The first step is to sew a basting stitch (longest stitch length) just a little past 3/8″ from the edge. Start a few inches from the V and then sew down to the V, pivot, and sew a few inches up the other side. You only have to do this on the valley parts of the V not the mountain parts. (if that makes sense) or if you are sewing a V neck, you will sew the basting stitch along the neckline not the neck band.
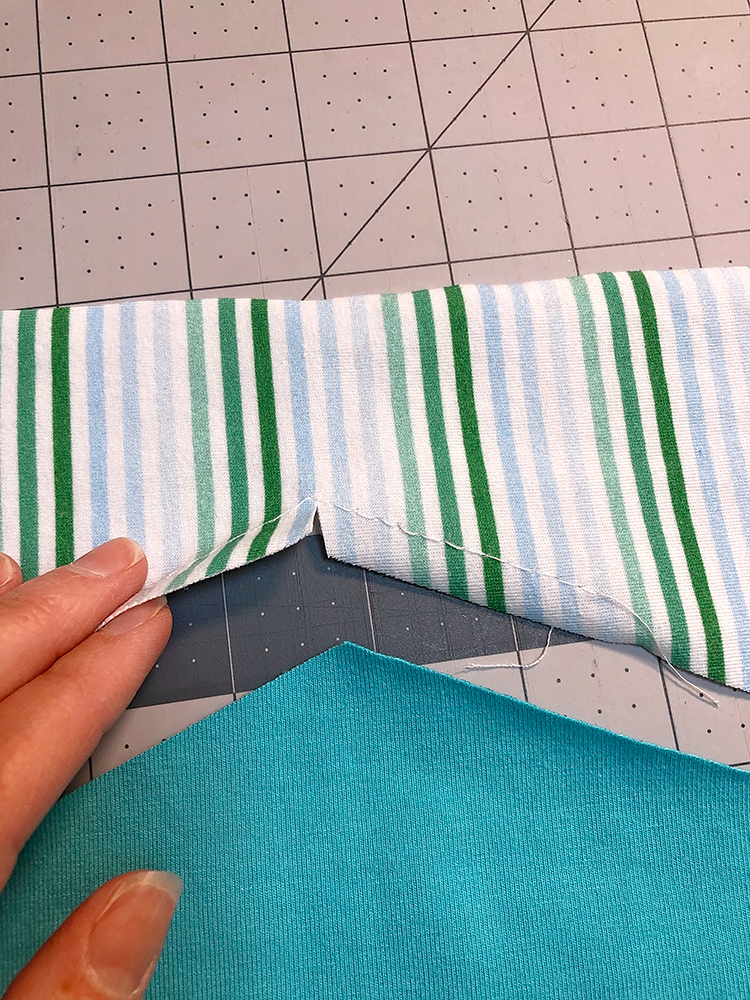
Then you will clip a notch into the V toward the basting stitches but not all the way to the stitch line.

With right sides together, match up the one side of the valley with the mountain piece. You want the slit you cut to match up perfectly with the peak of the mountain piece.
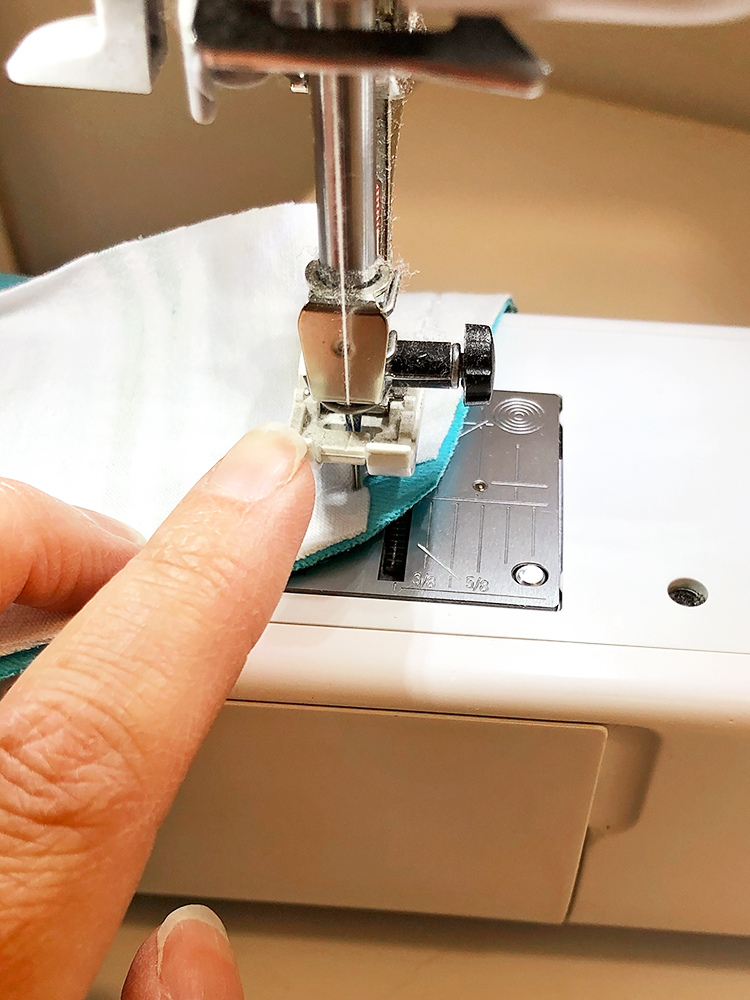
Sew along that first side until you come to the point in the center of the V. With your needle in the down position it should be right at the top of the cut slit. Pivot your fabric and line up the next side.
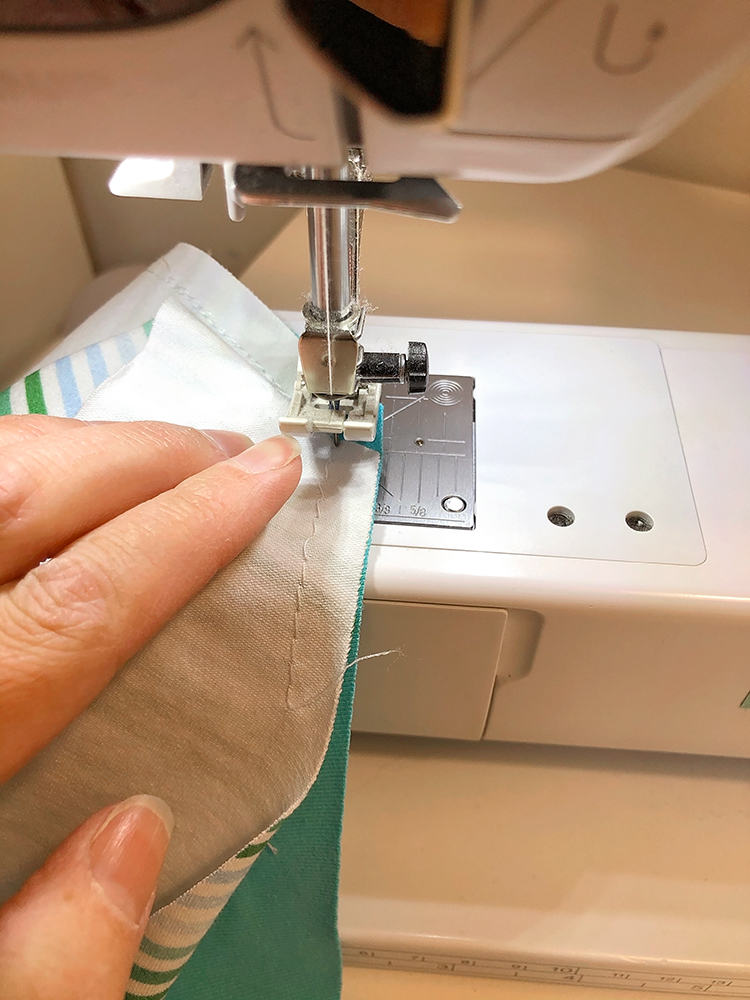
When you turn to sew down the next side, make sure everything is laying flat and nothing is puckered.
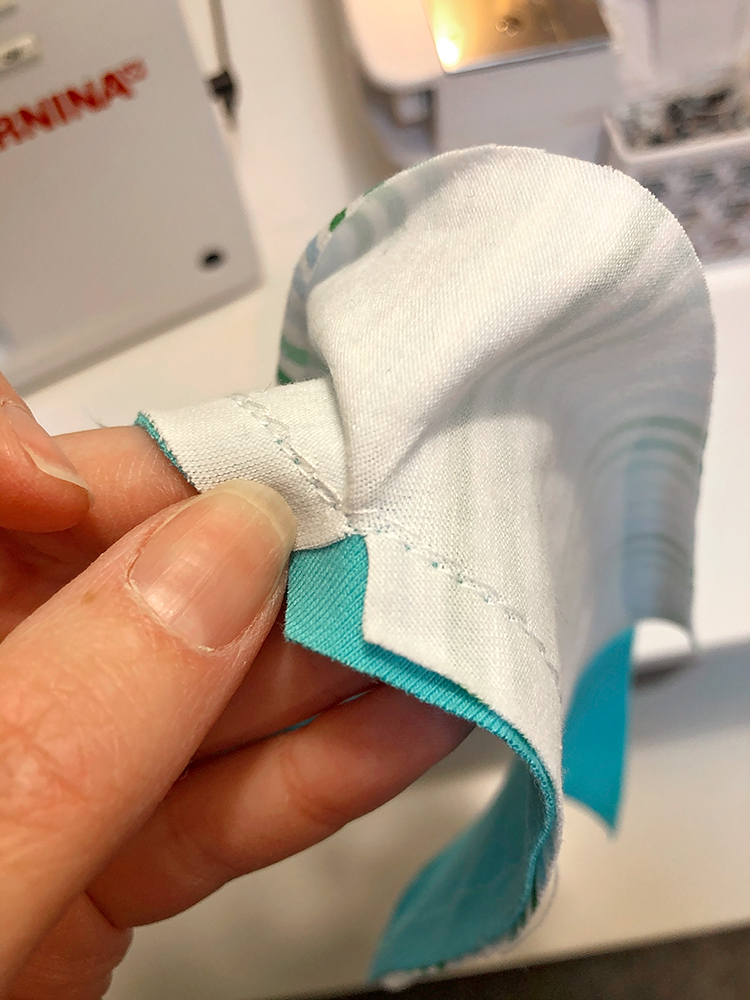
When you are done you should see your stitches run right along the basting stitches, and come right to the point of the notch. If they don’t meet at the slit you cut you can make the slit larger so it meets your stitches, this will still help give you a nice flat seam. Then you can remove the basting stitch.
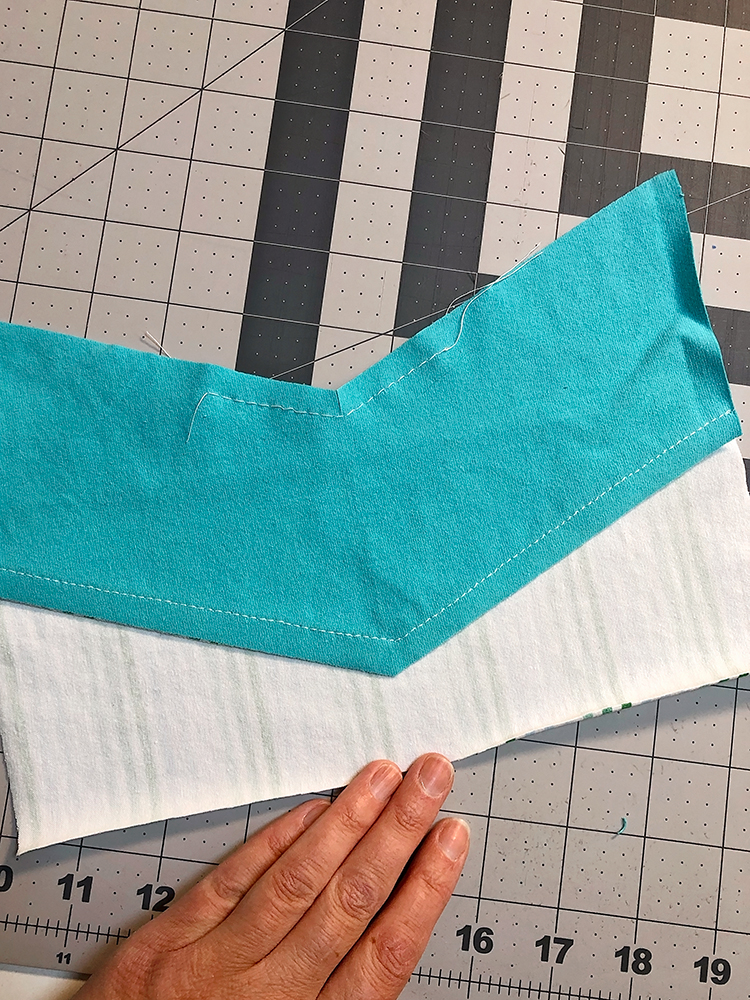
Press the seam allowance down so it all lays nice and flat.

Repeat as needed.
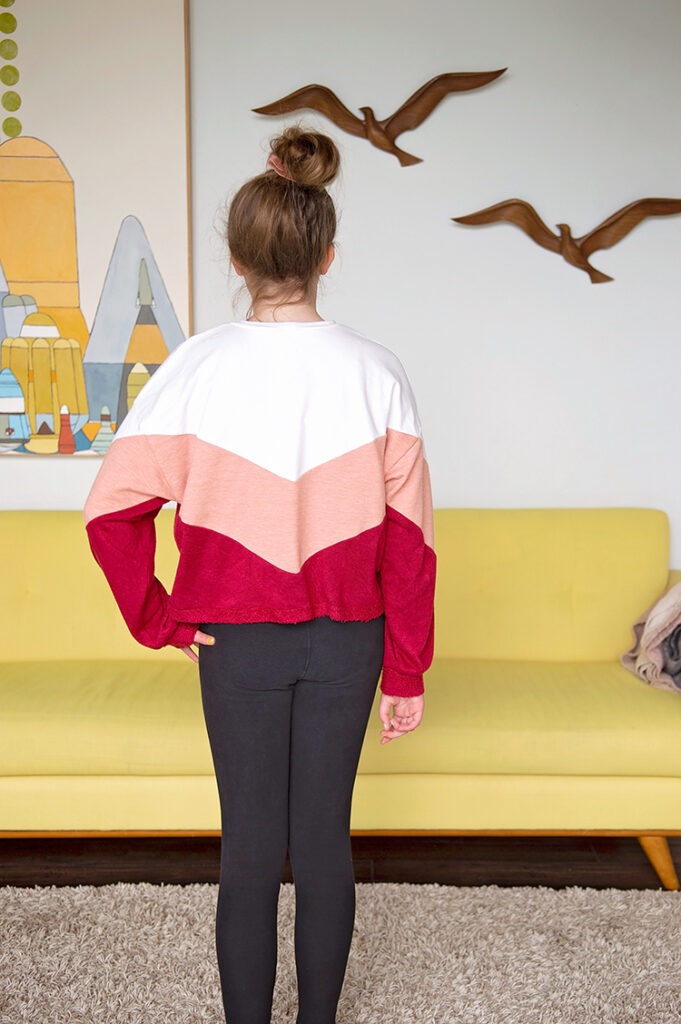
Now you can color block all the tops you want and embrace all those angles.
Or even tackle a v neck, or quilt.
