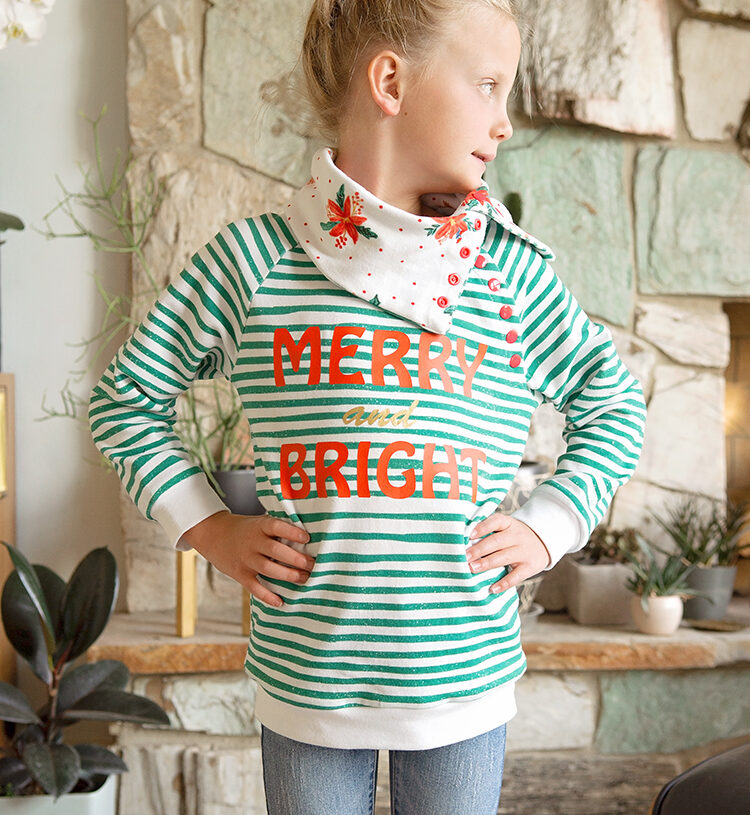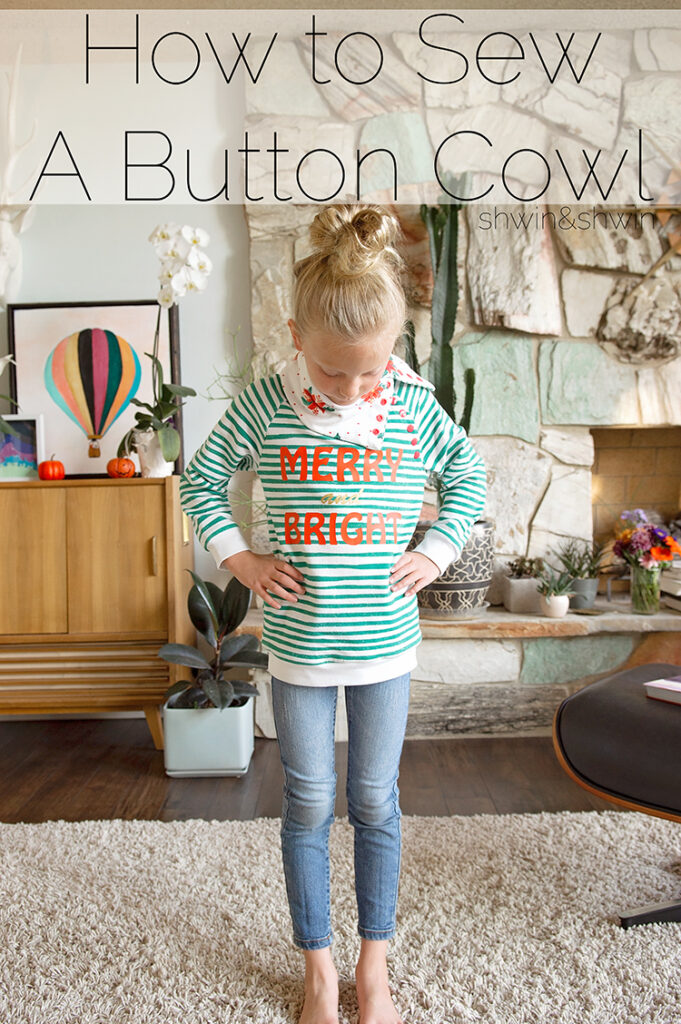
Ever since I made the post about how to add a cowl neck to any pattern. I have been wanting to make this button cowl hack. My favorite part of this is how the buttons run down into the shirt. To do this hack I like using a raglan style pattern but you can do this with a regular sleeve as well and place the buttons at the shoulder there. I used the Ringo Raglan to start.
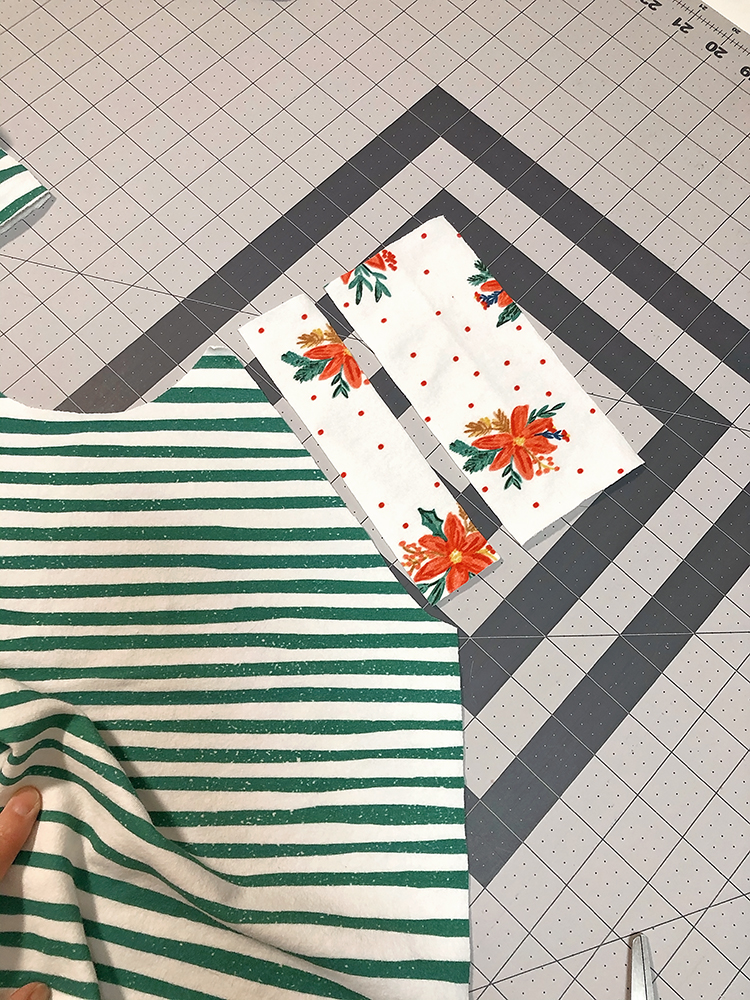
Now I will show you how to add a button cowl to any raglan pattern. You will need to cut a facing for the front bodice and a placket piece for the sleeve edge. This should be about 2″ wide for the facing and 4″ wide for the placket. For the length I measured most the way down the edge where the sleeve and front bodice meet. (keep in mind there will be a seam allowance on one end)
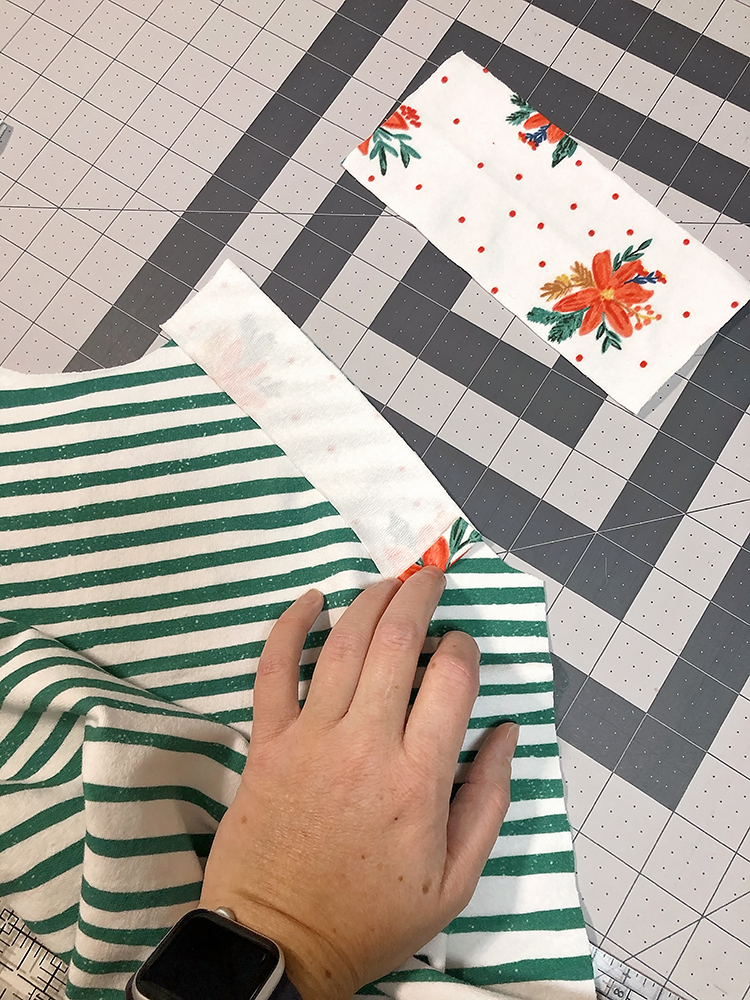
Then fold up the bottom edge of the facing piece by 3/8″ and sew it right sides together along the front bodice where the sleeve would normally go. *Tip I like to add a small strip of interfacing to the facing.
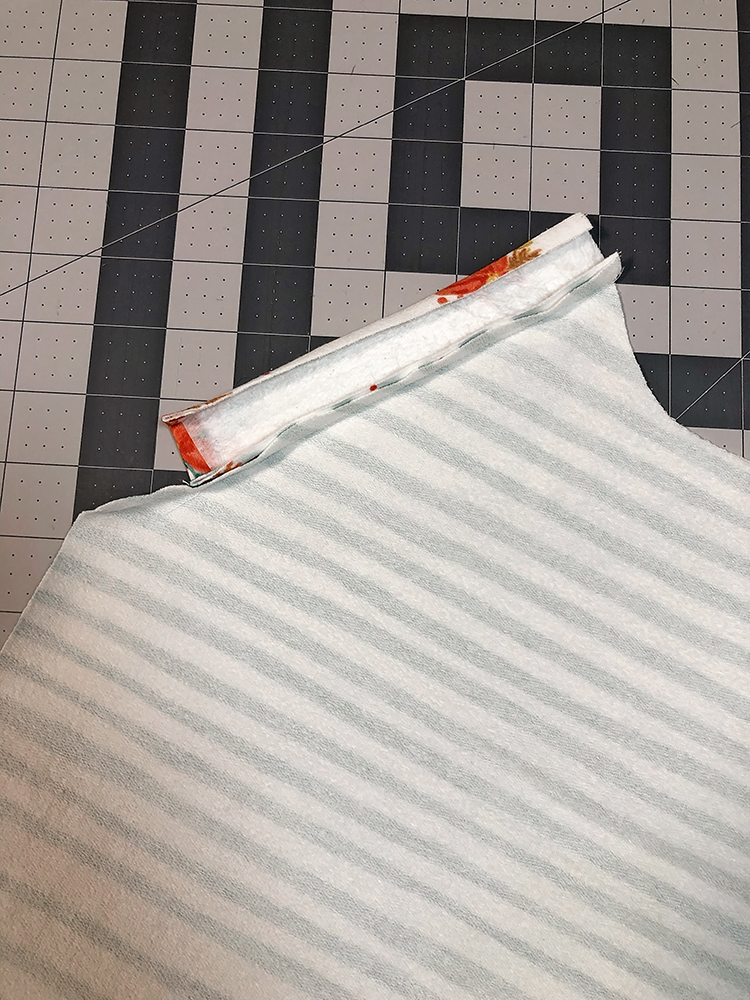
Press the facing out flat. Then fold the outer edge under by 1/4″
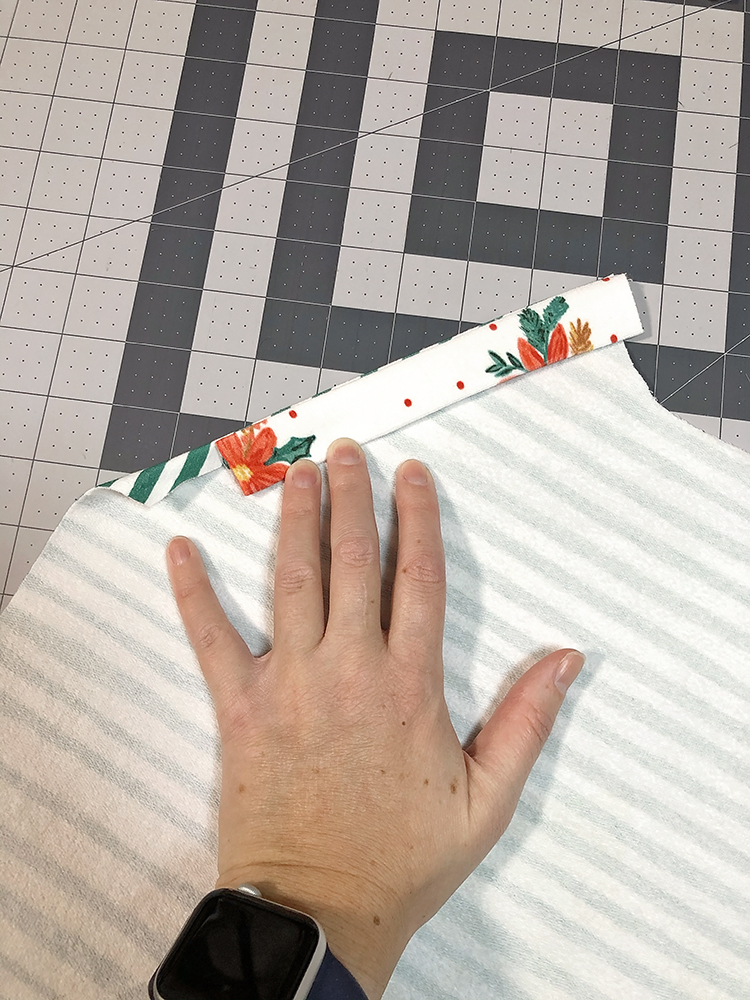
The facing will then fold all the way to the inside of the bodice. However don’t stitch it down yet.
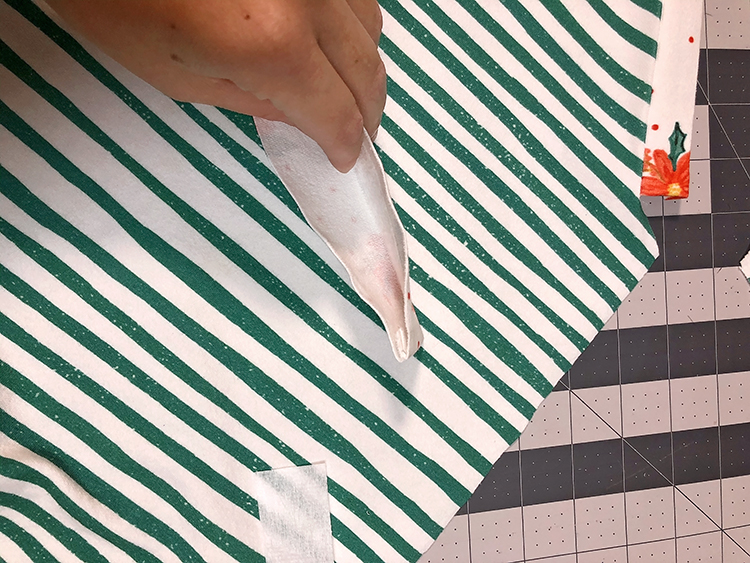
For the placket piece you will fold it in half right sides together and and sew the one bottom edge. Then turn the placket right side out. *Tip I like to add a small strip of interfacing to the inside of the placket.
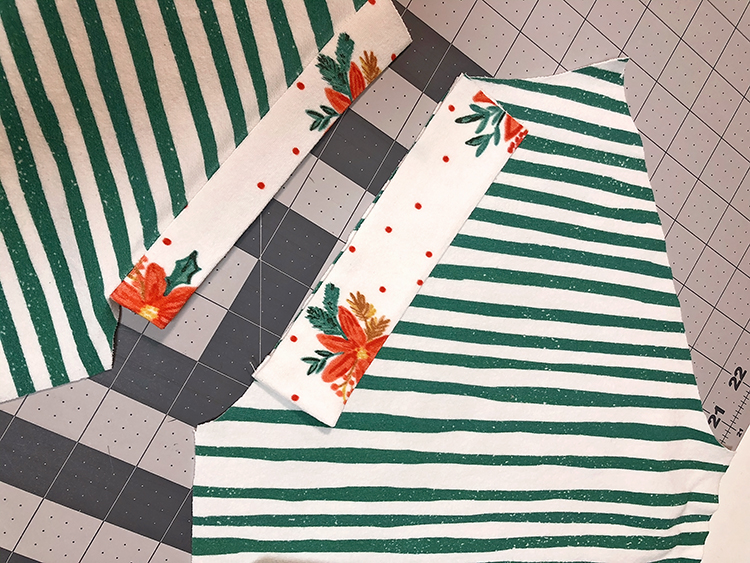
Then with the finished edge towards the armpit of the sleeve, sew the placket to the sleeve right sides together.
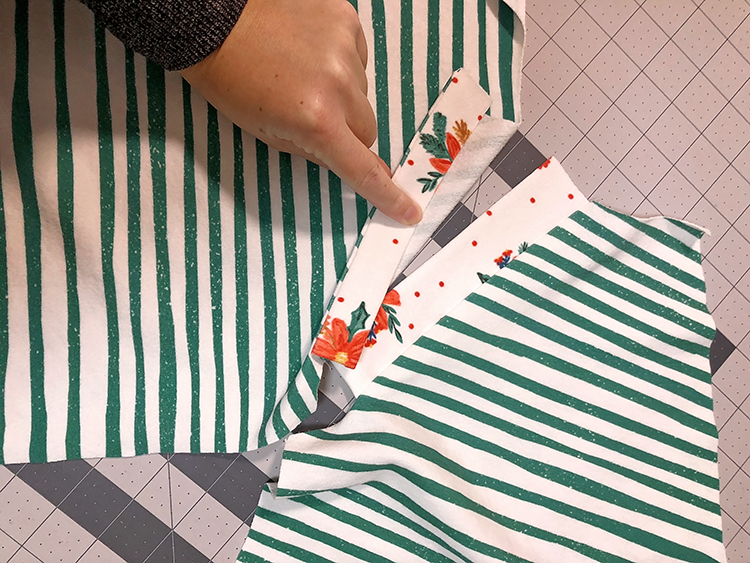
Then press the placket out flat. At this point you will be able to see how the front bodice and sleeve will over lap with the placket.
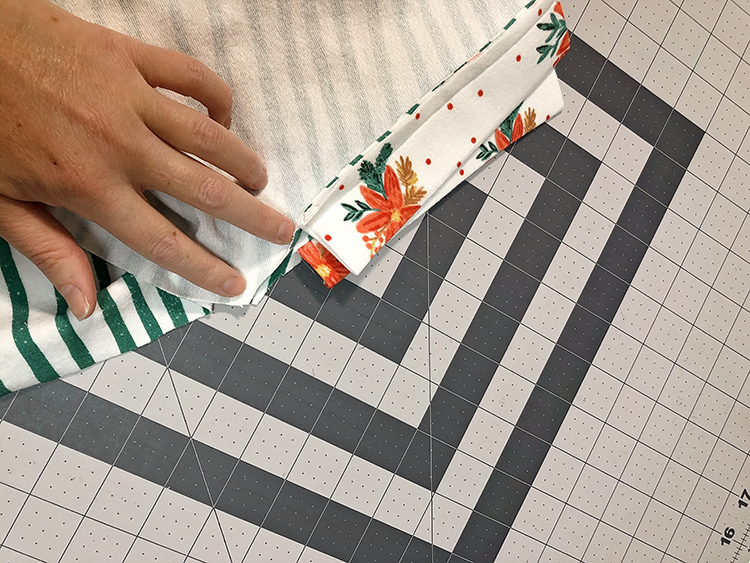
Now with right sides together you will sew the sleeve and bodice together just under the placket/facing.
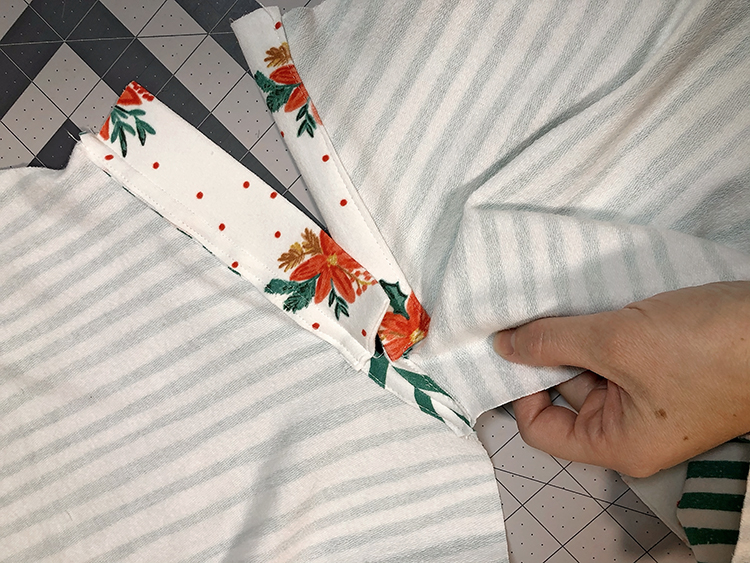
Then press the seam allowance open flat. At this point you will top stitch around the facing and the seam allowances.
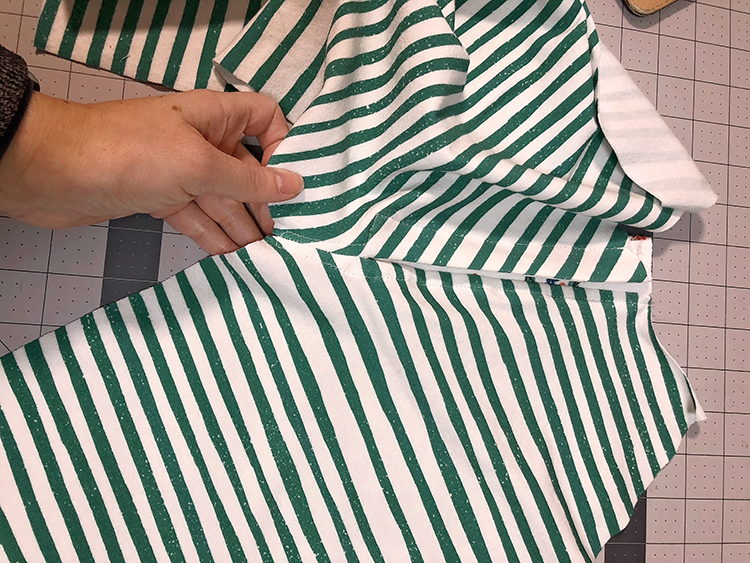
Here is what it will look like from the front. You can then sew the rest of the shirt as directed but don’t finish the neckline.
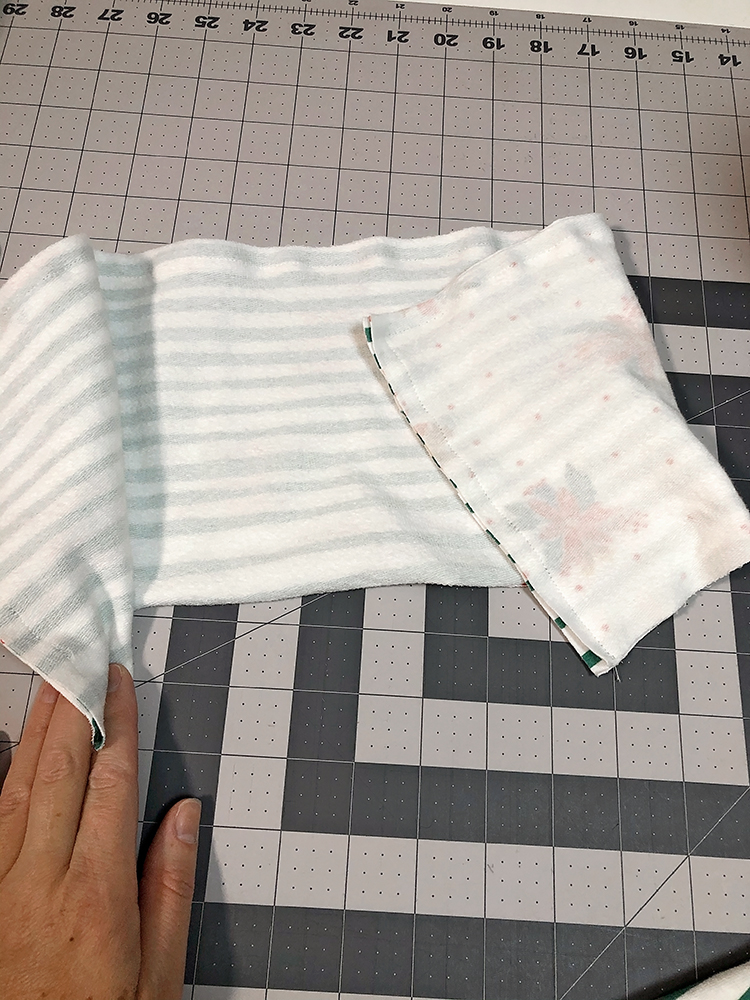
Now for the cowl neck part. Use the tutorial here to make the cowl. (I made this one 6.75″ tall for reference) When you measure the neckline make sure you include the placket in the measurement. Then cut 2 instead of just the one. You will sew them right sides together along the sides and up along the top. *Tip I would also add a strip of interfacing along both sides.
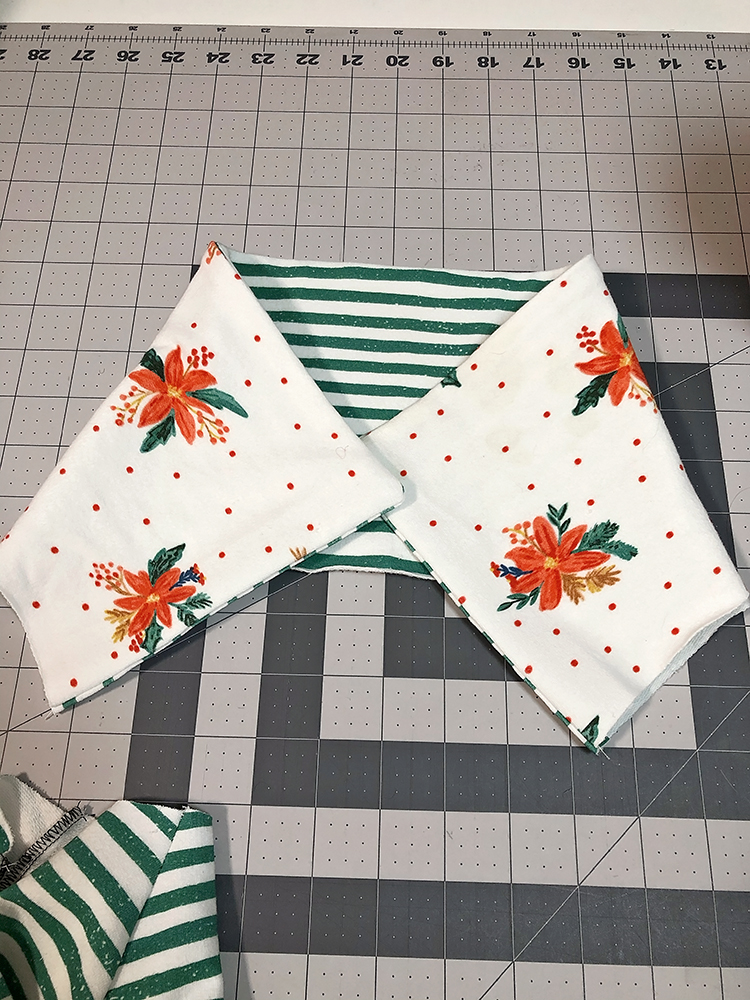
Turn the cowl piece right side out and press well.
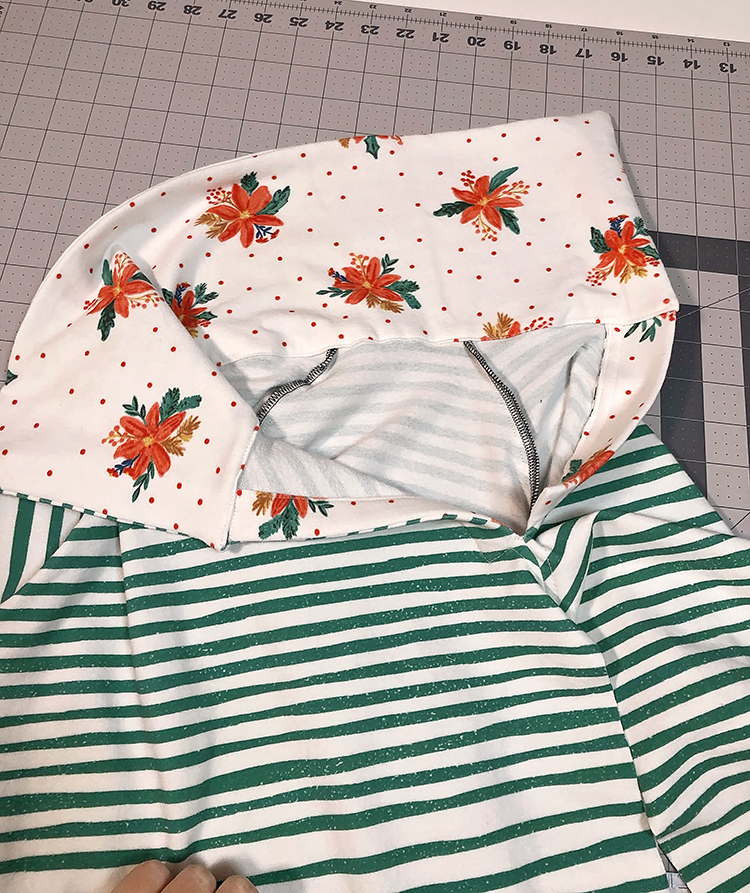
This is the point I didn’t take as many photos as I thought. So with right sides together you are going to sew the outer layer of the cowl only (so for me that was the green stripe) Sew it all around the neckline. Then fold the bottom edge of the inside cowl layer (for me the floral) under by 3/8″ and top stitch it in place along the stitch line of the neckline.
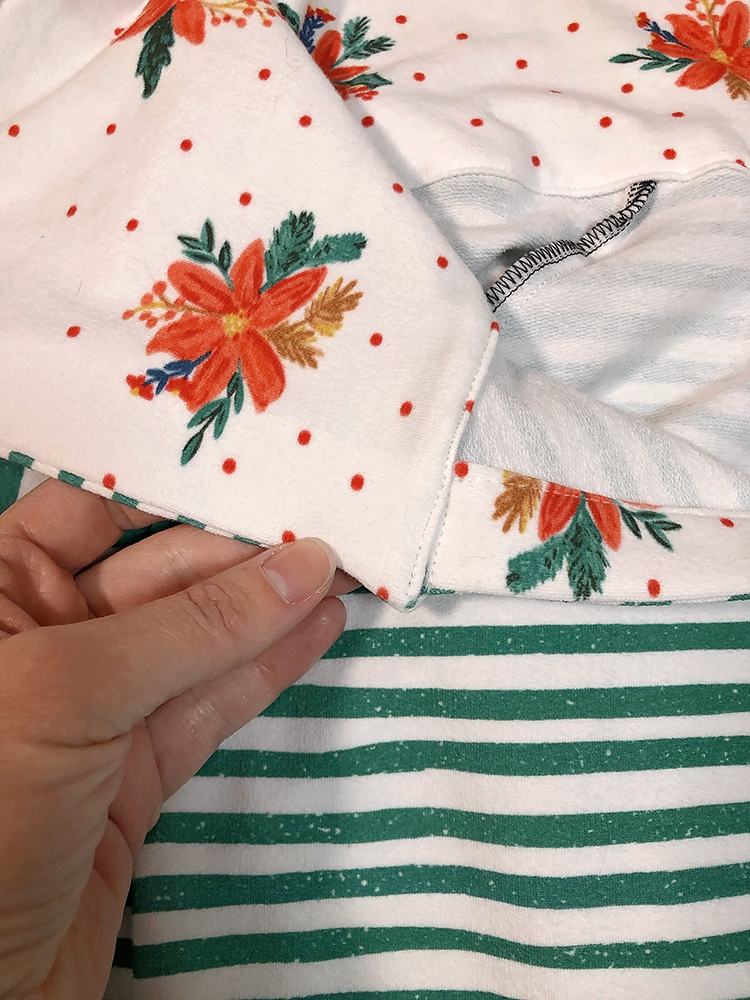
I sew it to the neckline this way so there isn’t an exposed seam here where the cowl and neckline meet since there will be snaps all along this edge and it could be worn open I want it to look pretty.
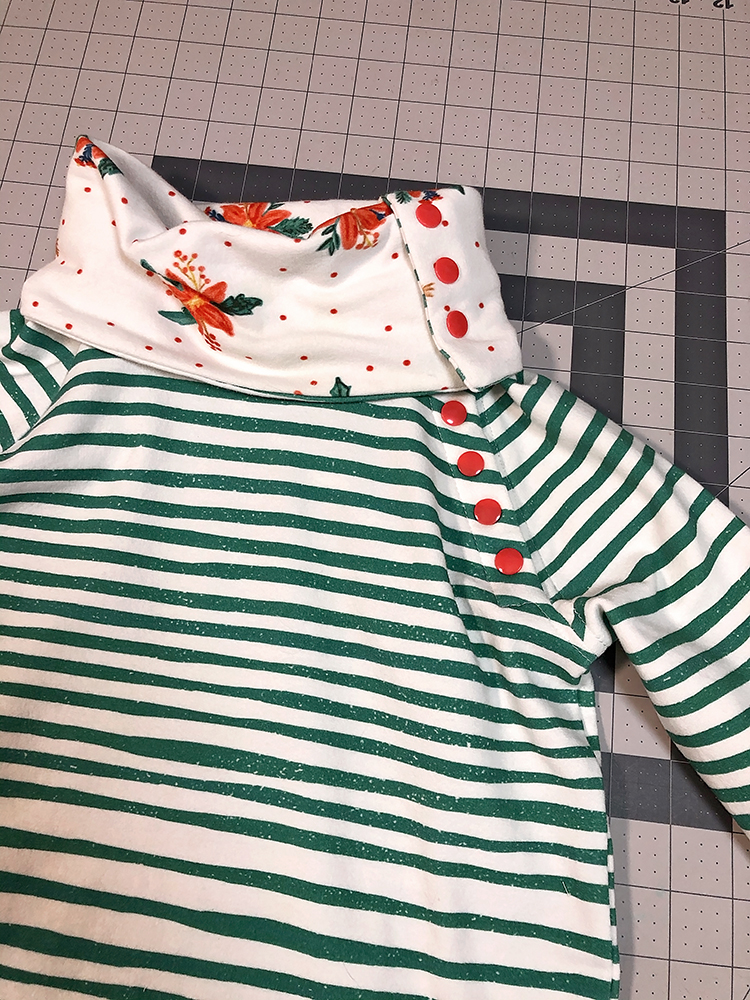
Then place snaps (or buttons if you roll like that) all along the placket and cowl. I spaced these 1″ apart.
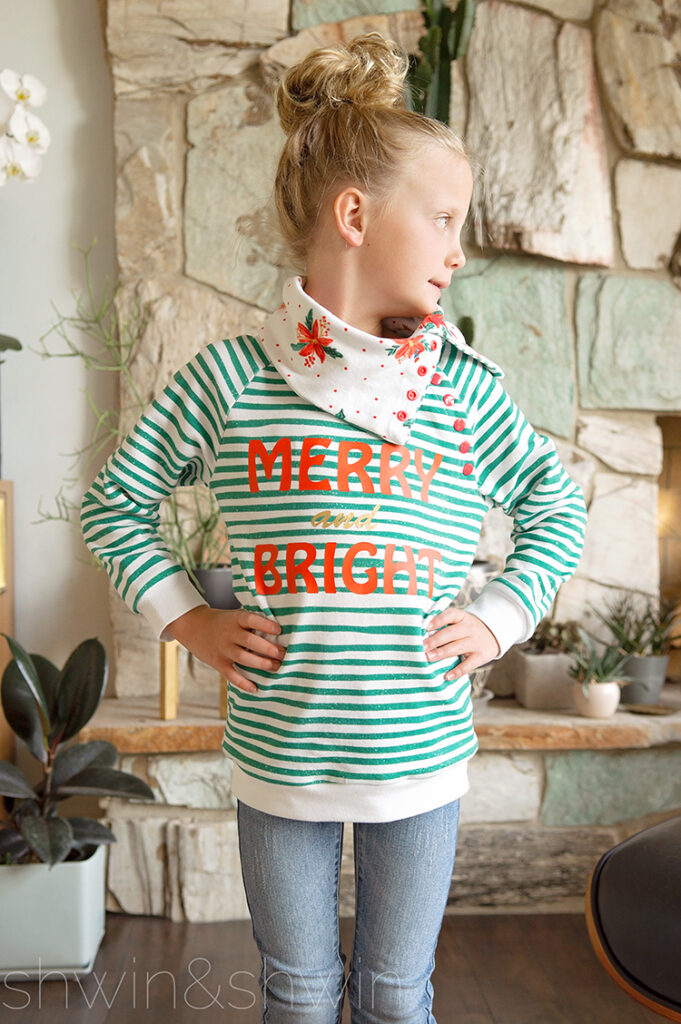
That’s all there is to it. I did also add some heat transfer vinyl to the front for this Christmas sweatshirt. You can then wear the neck open or…
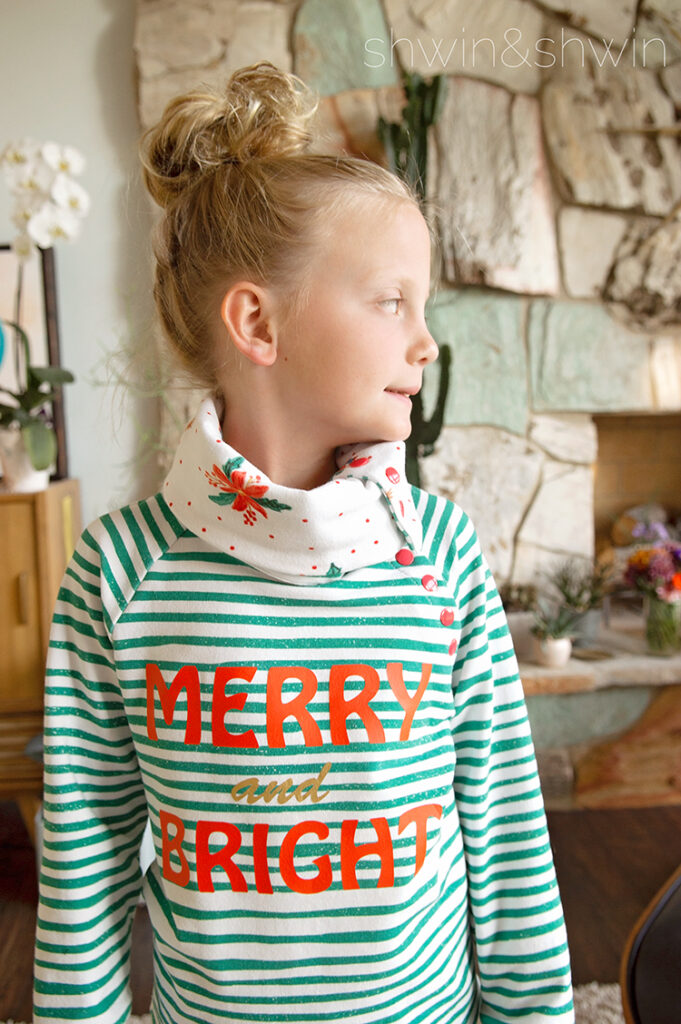
Button it all the way up for a snug and cozy cowl neck/turtle neck fit.
